


Make a Magnetic Herb Garden for the Fridge
If you've always wanted to keep herbs indoors but simply don't have the counter space, this smart upcycling project will have you cooking with fresh ingredients in no time!

Materials Needed
- metal tea or coffee tins
- glue
- plastic storage bags
- scissors
- foam balls or packing peanuts
- potting soil
- herbs
- wooden dowels
- marker
- washi tape
- strong magnets
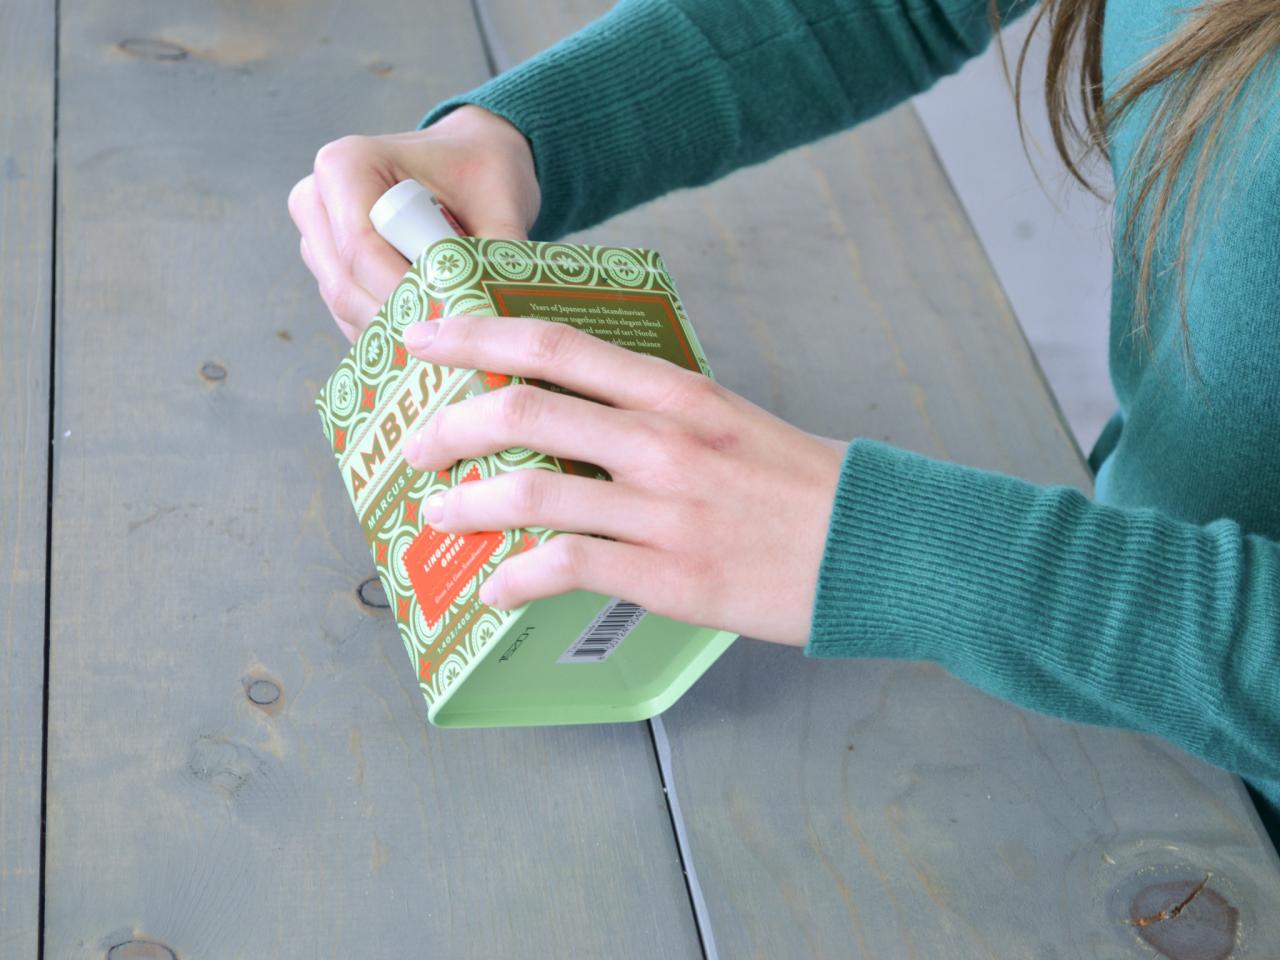
Apply Glue
Take your empty tea or coffee tin and apply glue to the bottom and each side, paying special attention to the inner rim.

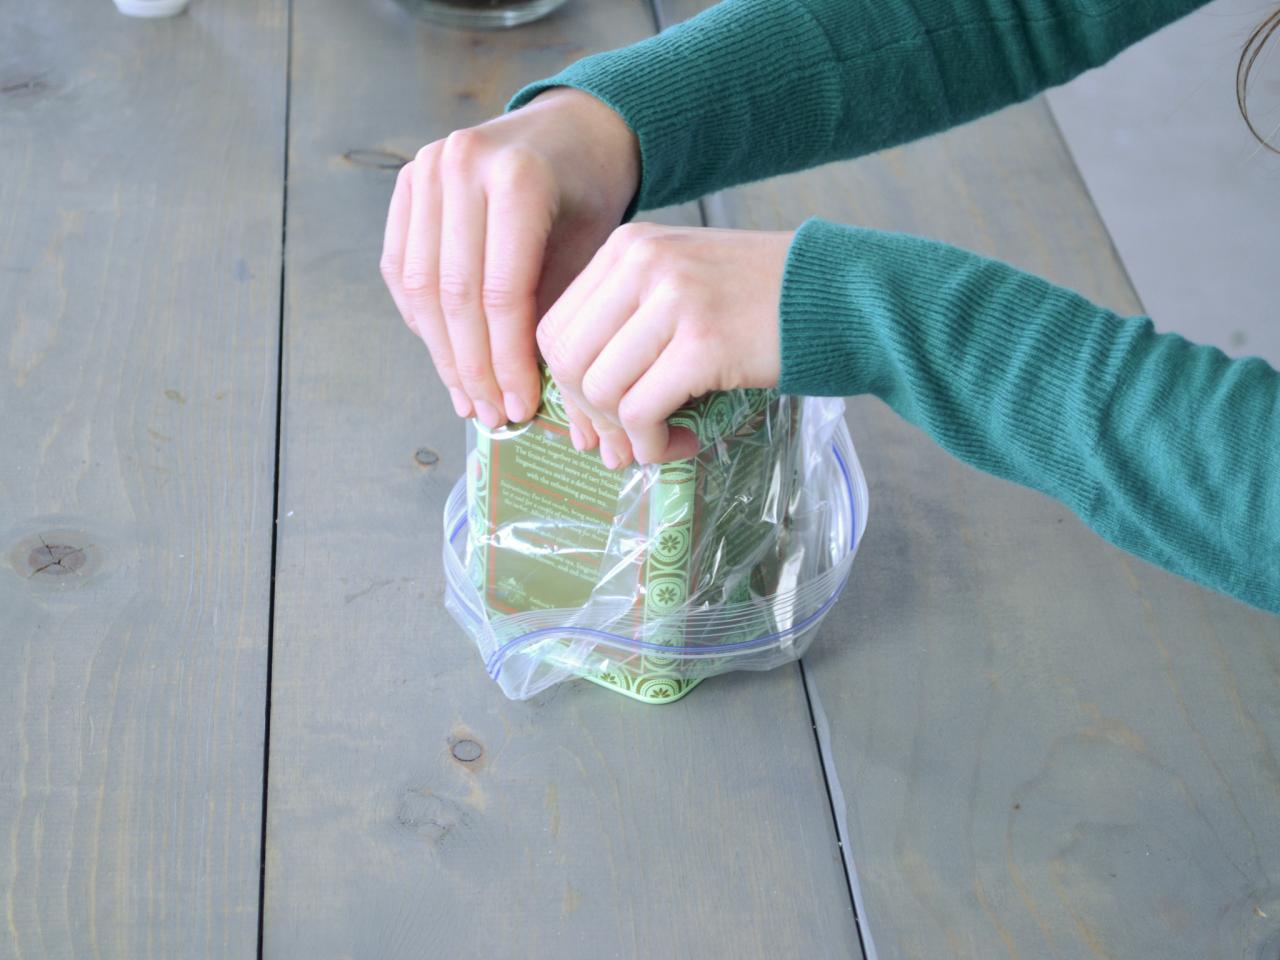
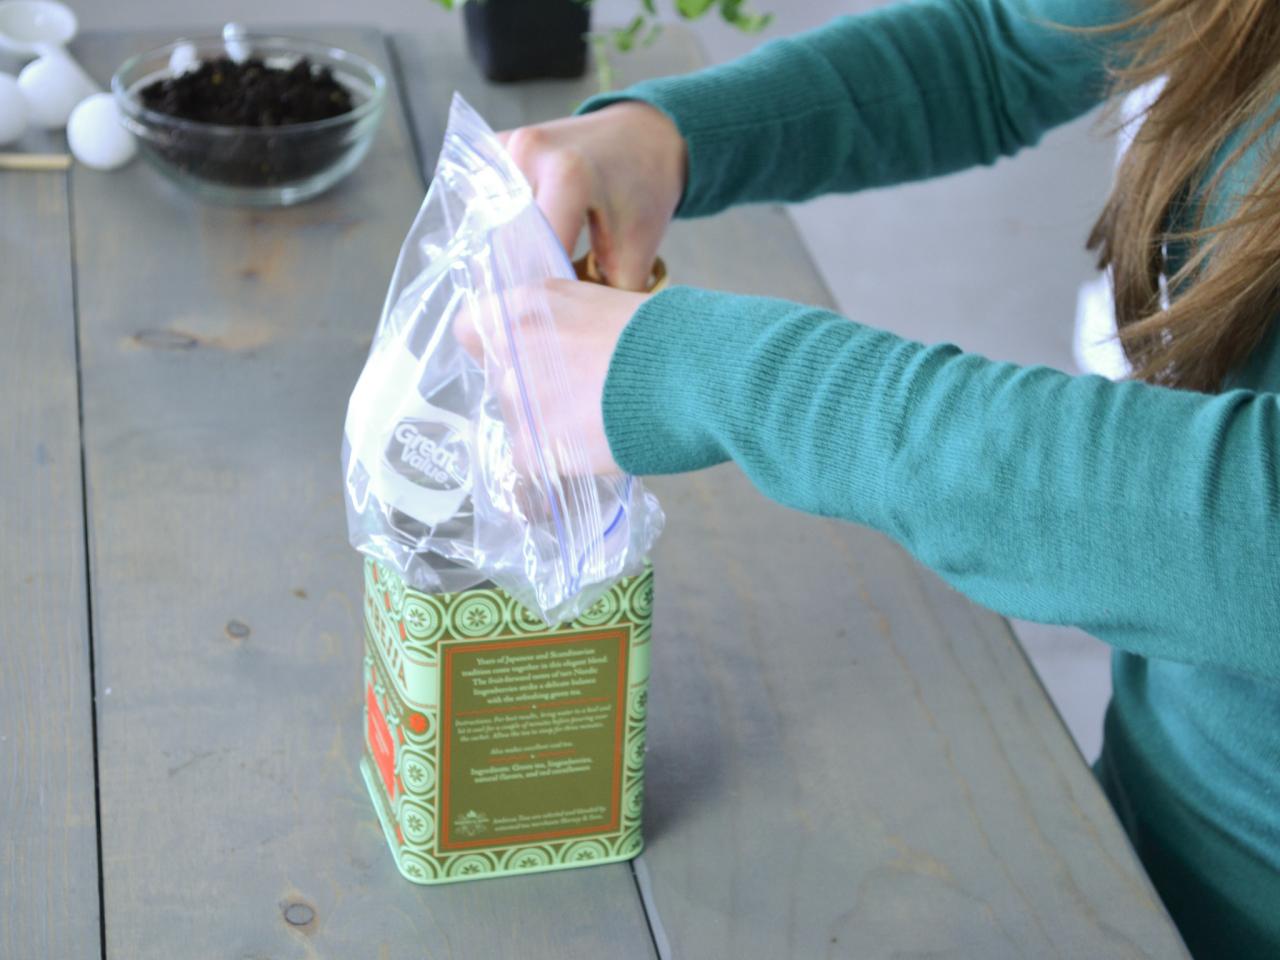
Attach Plastic Liner
Next, line the tin with a plastic storage bag, pressing along the bottom and each side. After the glue has dried, use your scissors to cut the excess plastic. This liner will keep the metal tins from rusting.


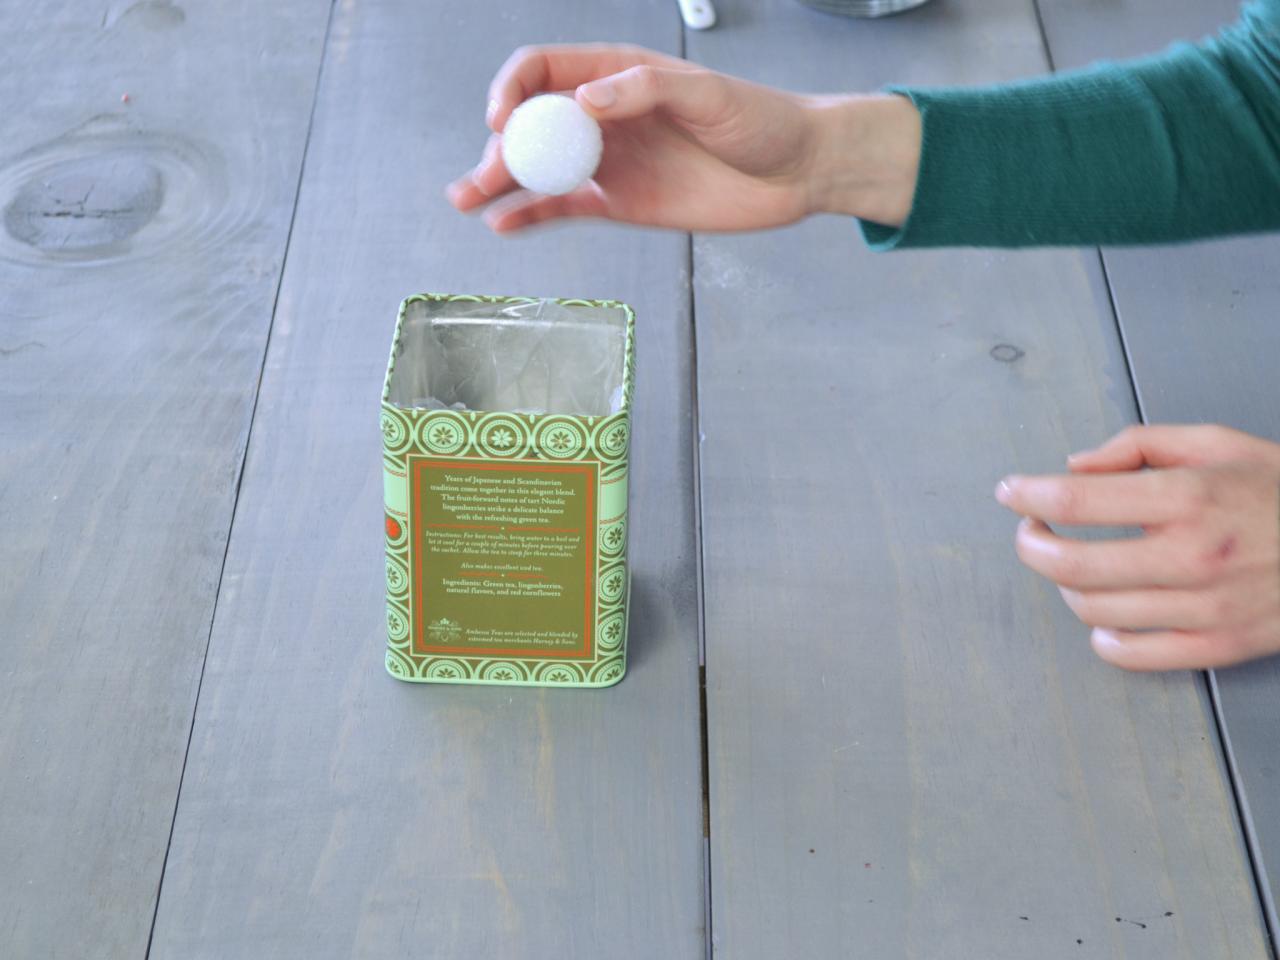
Add Foam Balls
Add nonbiodegradable packing peanuts or foam balls to the bottom of your tin for drainage that won't weigh down your magnetic tins.

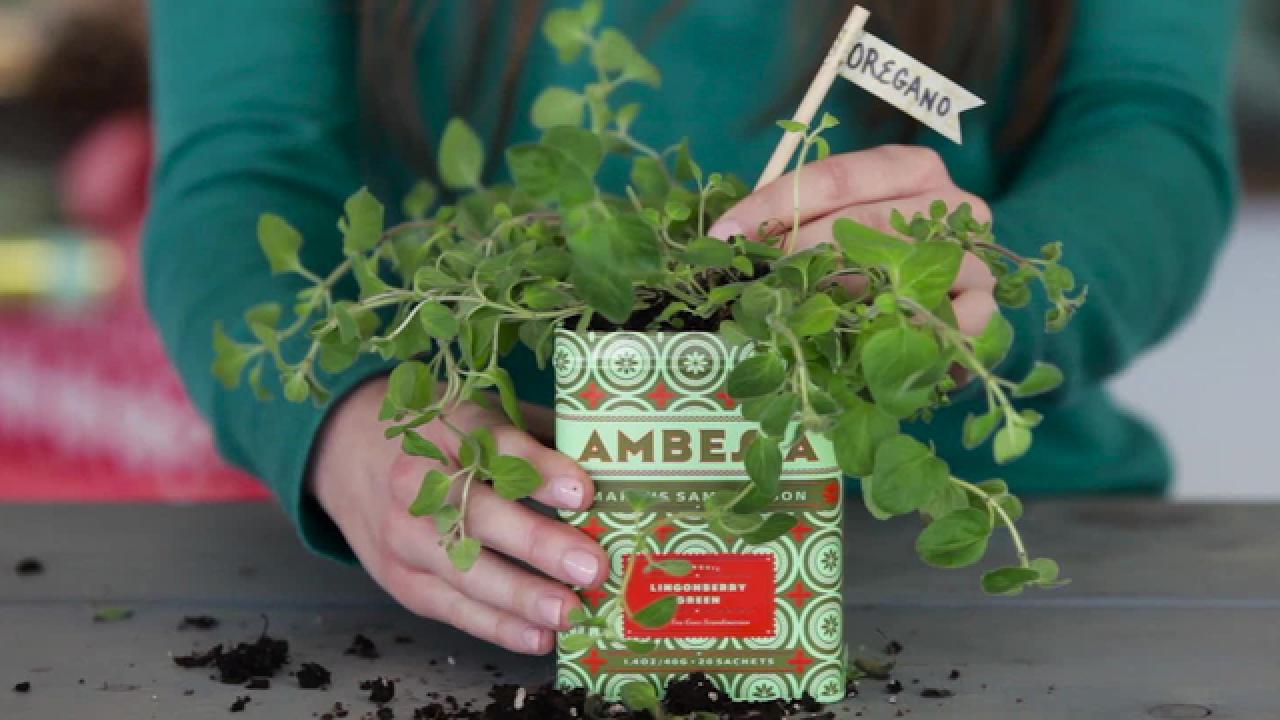
Add Potting Soil
Add a couple of small scoops of potting soil on top of the foam balls. Now is the time to add your herb. Be sure to loosen the roots and add a bit of potting soil on top.

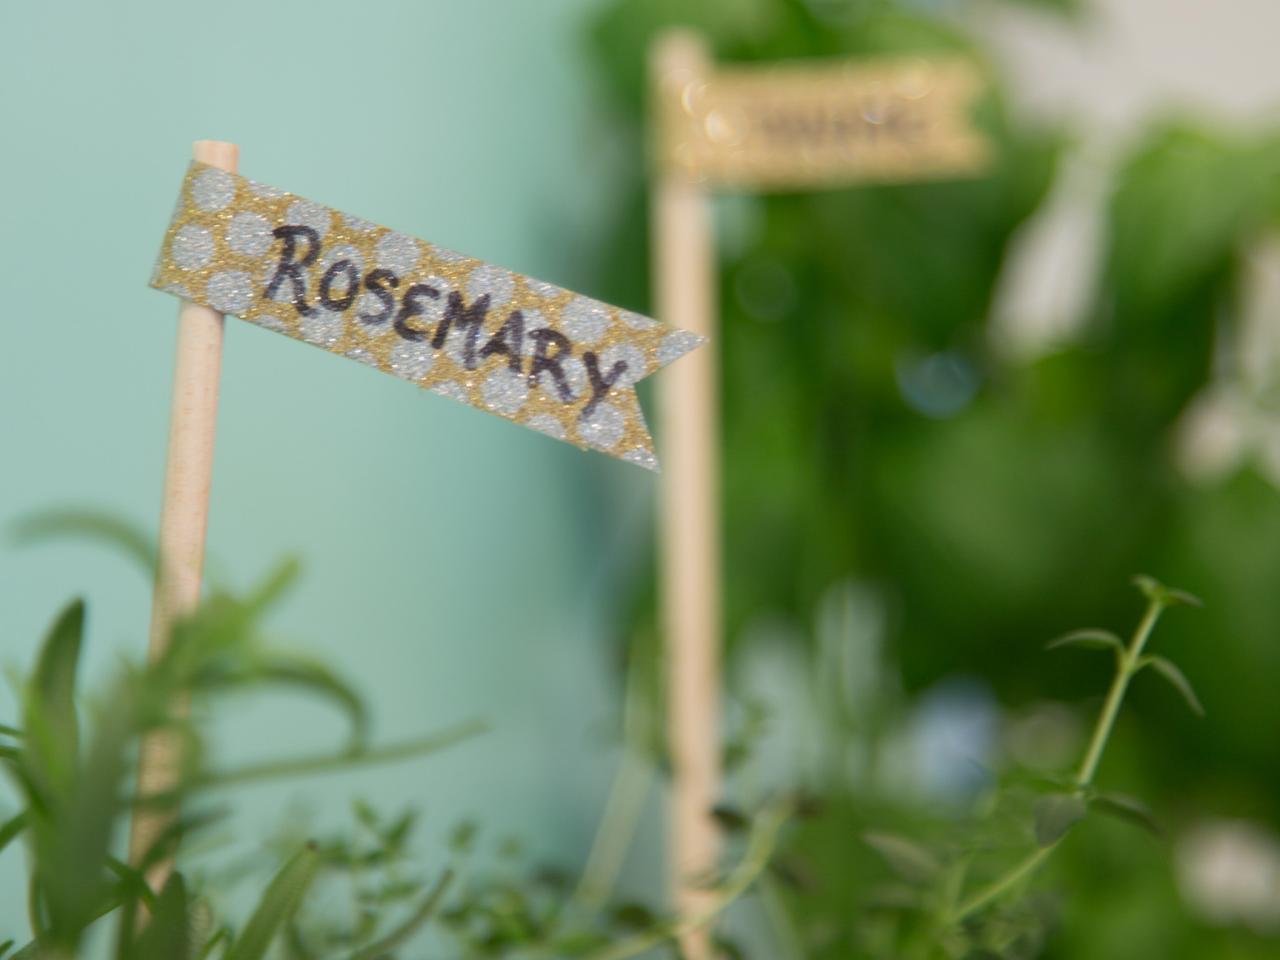
Create Labels
To make cute plant markers for your herbs, use wooden dowels and a bit of washi tape.

Attach to Magnets
When you're ready to display your garden, be sure to choose strong magnets. You can usually find these at home improvement stores. Since the tins are metal, there's no need to glue the magnets onto the tins. Simply place the magnets on your fridge and add your freshly-potted herbs.
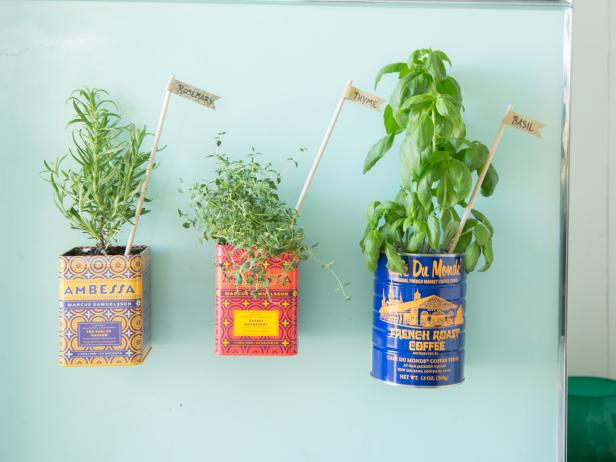
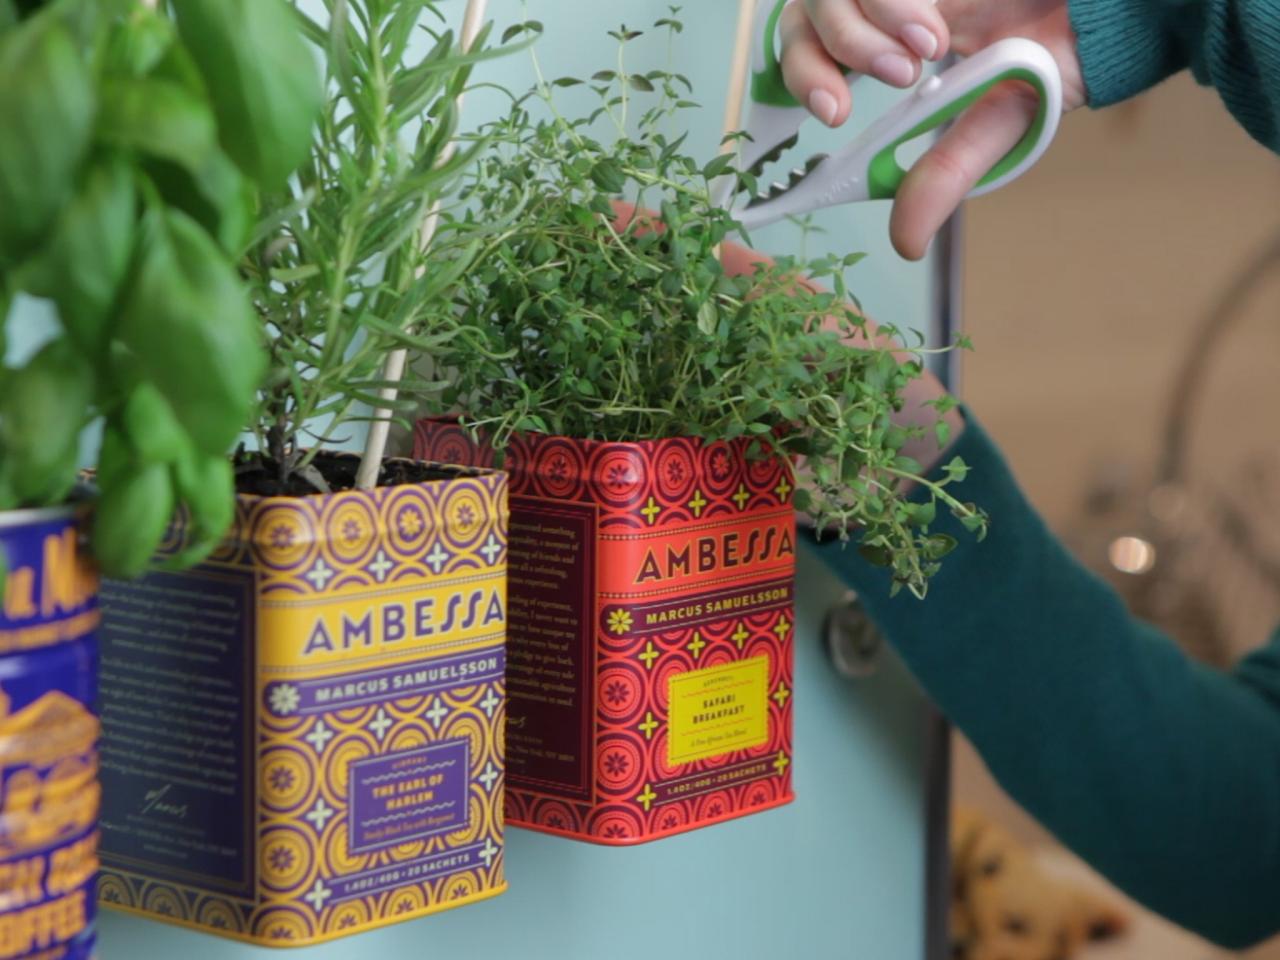
And there you have it! Be sure to place your new herb garden where the plants can get plenty of light, and don't forget to water for plants that will keep on giving.


