
.-Battle-on-the-Beach-courtesy-of-HGTV.-.jpg.rend.hgtvcom.196.196.suffix/1714761529029.jpeg)


Party Like a Viking With DIY Faux Fur Drink Coozies

Brian Patrick Flynn

Materials Needed
- 12-ounce canned drink
- faux craft fur
- piece of felt that coordinates with
faux fur - 1/8"-wide craft lace
- scissors
- ruler
- hot glue gun
- hot glue sticks
- marker
- 1/8" hole punch
Cut Felt
Measure and cut the felt to 4 1/2 x 8 1/4". Set aside.

Brian Patrick Flynn
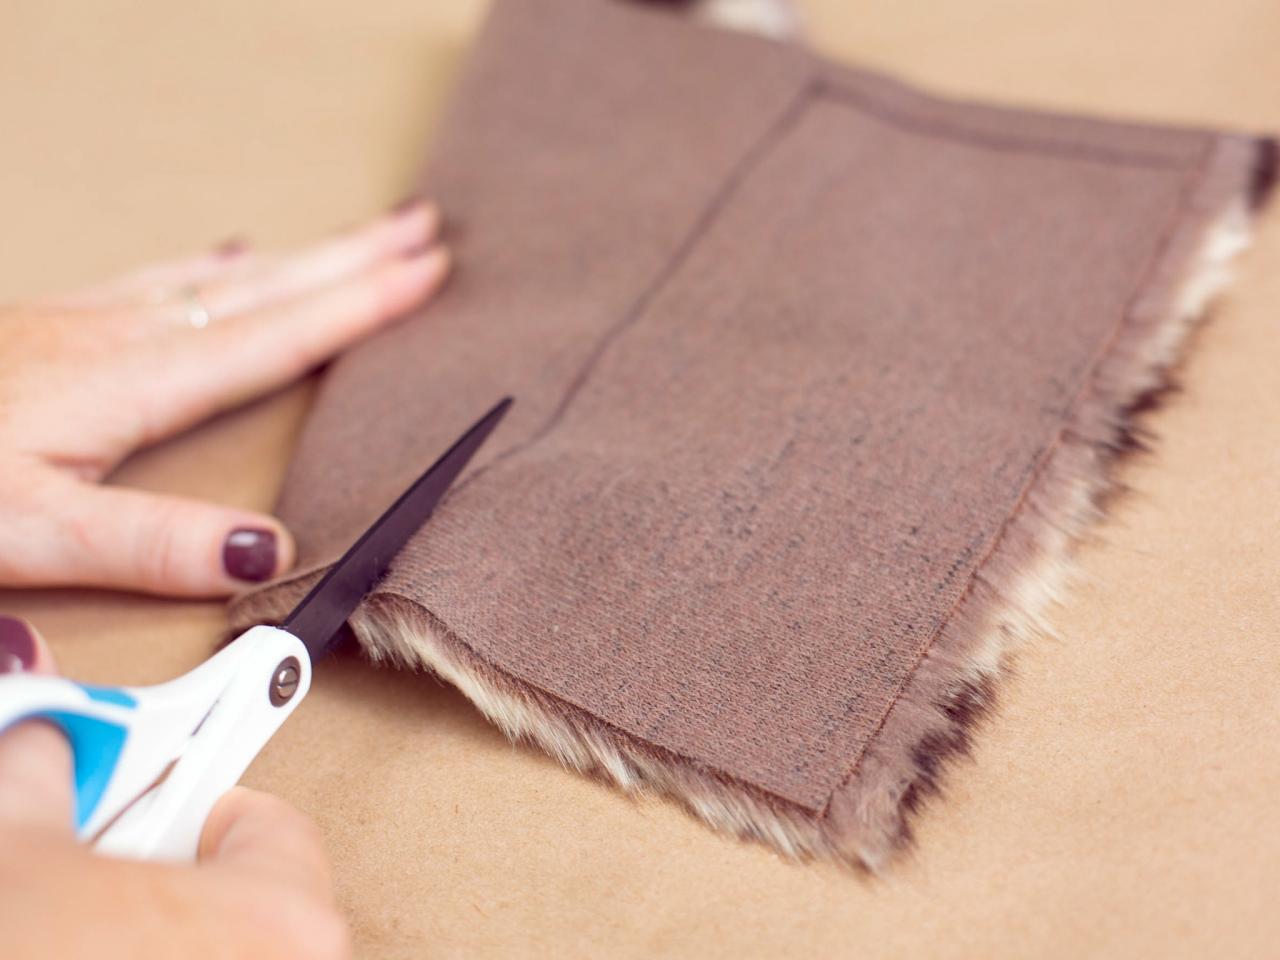
Cut Faux Fur
Measure and cut the faux fur to 4 x 8 1/4", making sure the nape of fur is running downward towards the bottom of the can. Shake vigorously to remove any loose cuts of fur. Tip: For a clean, crisp line, trim the faux fur at the bottom.

Brian Patrick Flynn
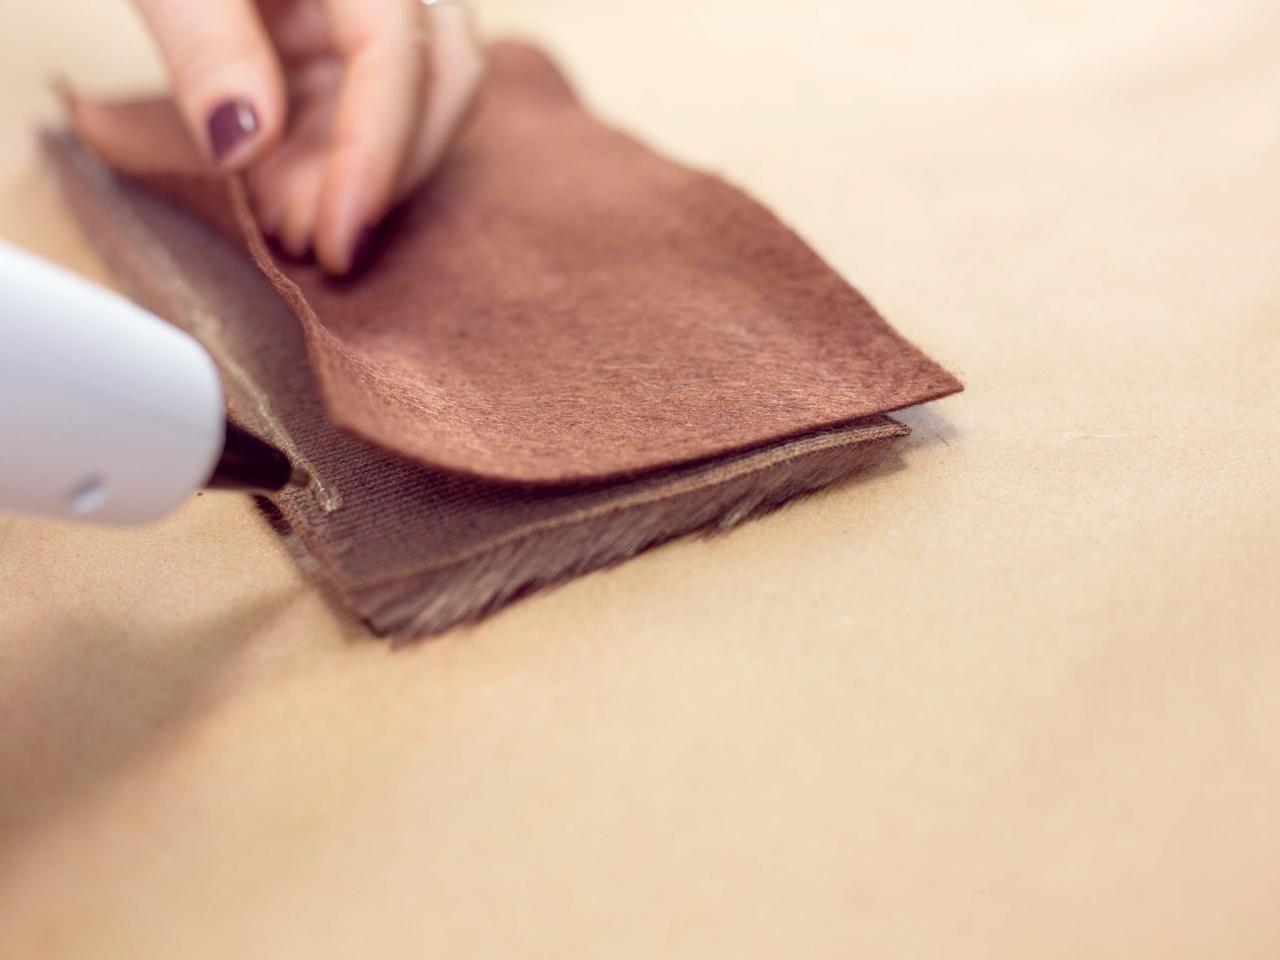
Attach Felt to Faux Fur
Lay the faux fur face down. Run a long, thin line of hot glue along the bottom and

Brian Patrick Flynn
Finish Felt Edge
Flip the piece over so it's now

Brian Patrick Flynn
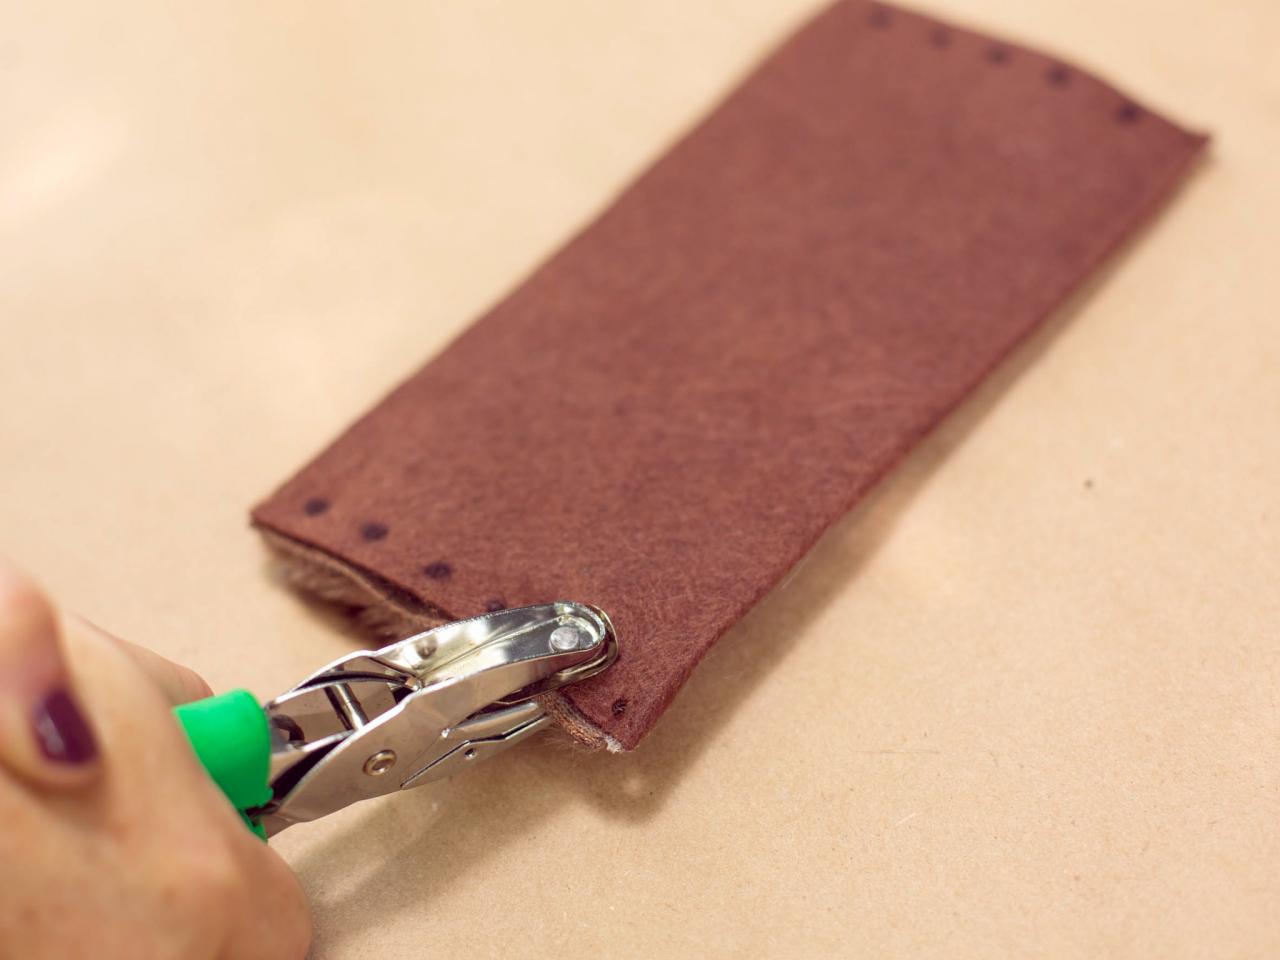
Punch Holes
Lay the material fur side down, then measure and mark where the holes will be punched on either end. Start at the top where the felt has been folded and work your way down, marking the holes approximately 5/8" apart and 3/8" from the edge. Punch the holes.

Brian Patrick Flynn
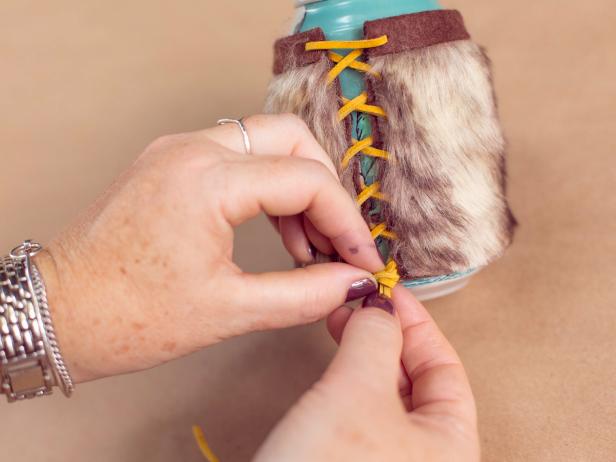
Lace Up
Wrap the faux fur around a can and run craft lace through the holes, starting at the top and working your way down. Tie off with a slip knot.
Brian Patrick Flynn

Brian Patrick Flynn


