


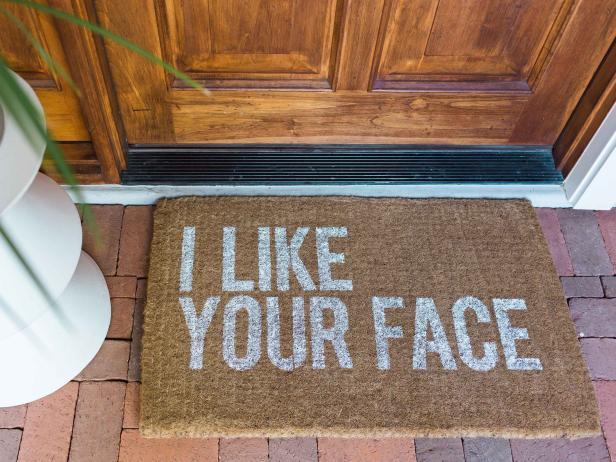
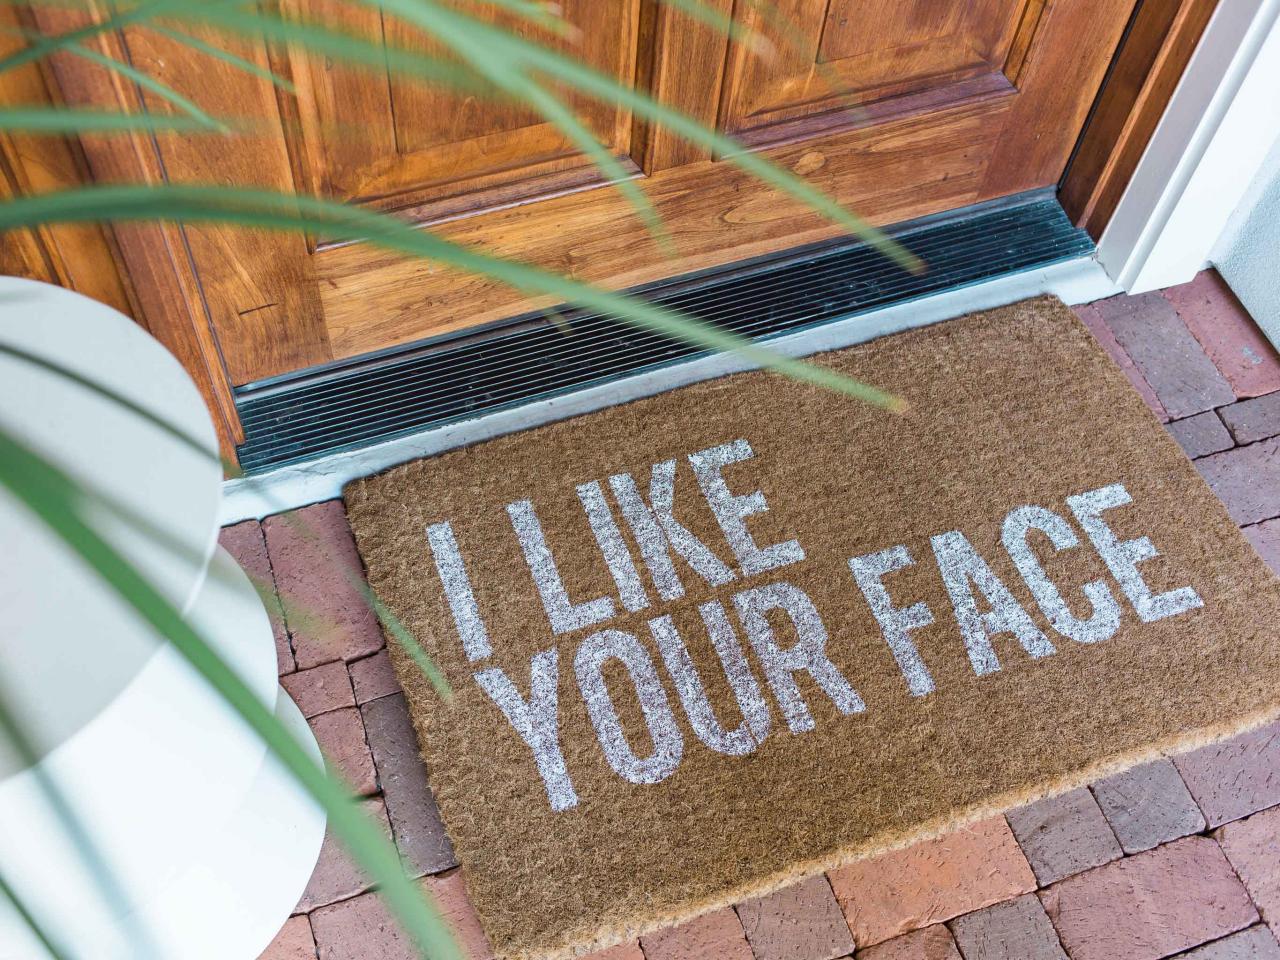
Make an Easy + Welcoming Spring Doormat
With this simple DIY doormat, you can shower guests with compliments all season long.

Tomas Espinoza

Materials Needed
- exterior doormat (coco coir works best)
- printable templates (below)
- painter's tape
- ruler
- utility knife
- adhesive stencil paper
- cutting mat
- exterior paint (we used white)
- foam paintbrush
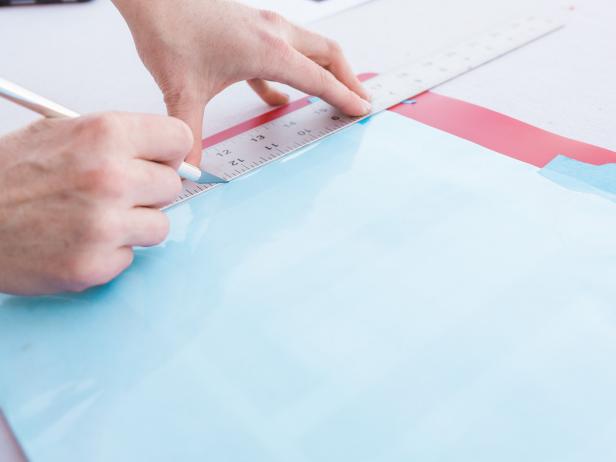
Prep Template
Print out the greeting. (This will be your template for the text.) Then, line up the text and tape together into two lines, as they’ll appear on the doormat.

Tomas Espinoza
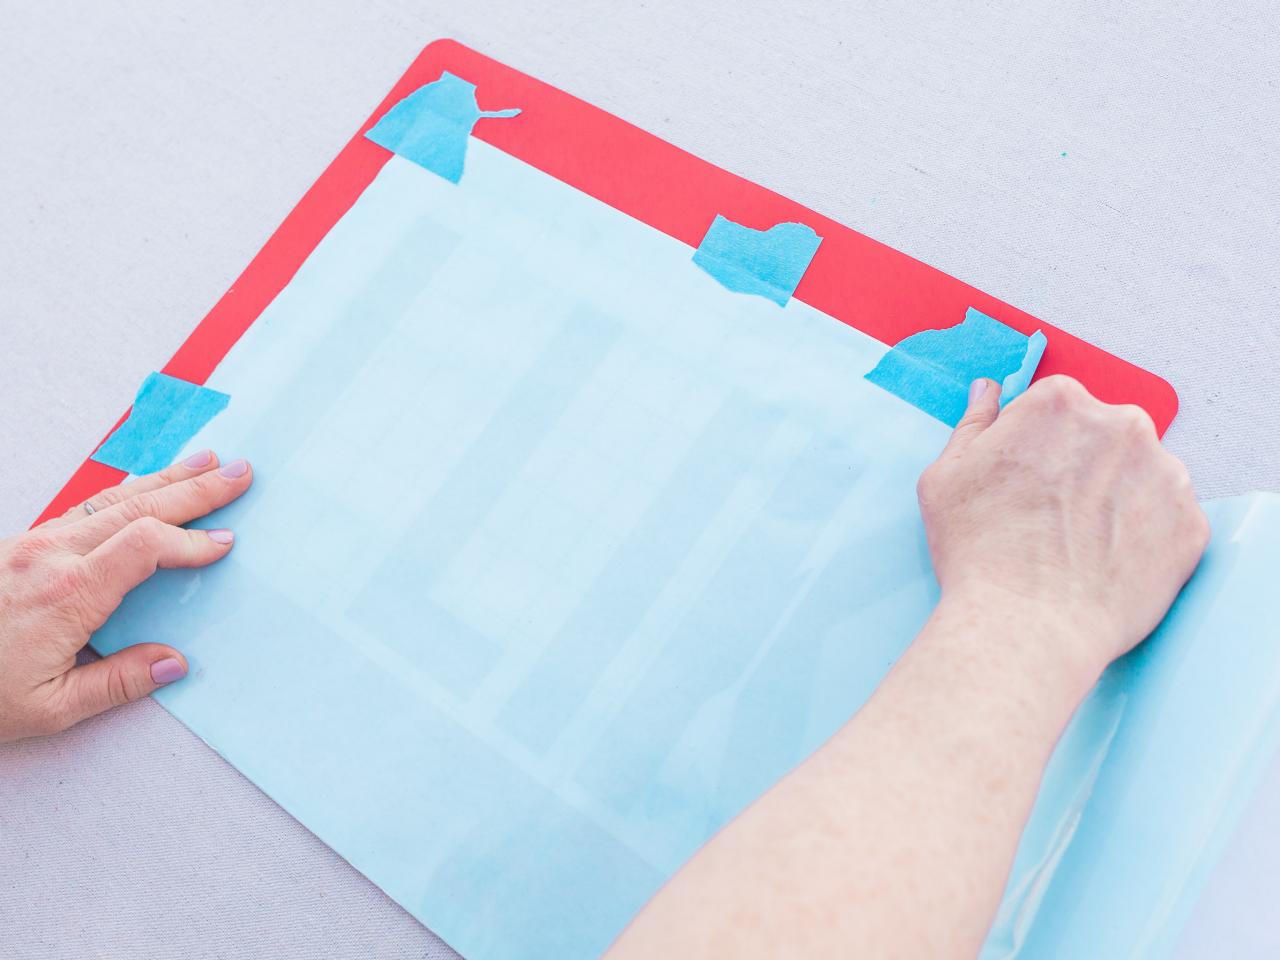
Secure Adhesive Over Template
Lay the stencil paper over the printed template. Use painter's tape to secure them to each other. Be sure to align these so the sticky side of the stencil paper is facing down, but keep the backing paper on.

Tomas Espinoza
Cut Out Letters
Using a utility knife (Image A), cut along each letter's edge. Use a ruler as your guide, if necessary. Be sure to use a cutting mat underneath to protect the table's surface. Cut out all the letters. (Keep the inside of the 'O,' as you will need it later (Image B).)
Tomas Espinoza
Image A

Tomas Espinoza
Image B
Position Stencil on Doormat
Once all the letters have been cut away from the stencil paper and template, gently pull off the adhesive backing from the stencil paper and position it on the doormat. Press into place. (Don’t forget to add the interior of the 'O.')

Tomas Espinoza
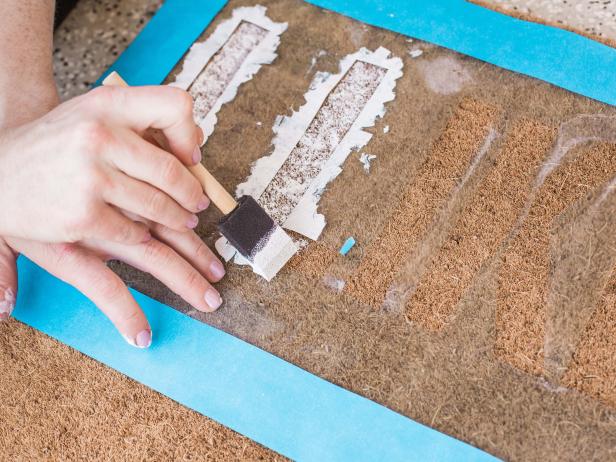
Paint Text Onto Doormat
Using a foam paintbrush, gently pounce the paint into the stencil and doormat (Image A). Be sure to use an up and down motion with the brush to ensure crisp, clean lines. Allow to dry overnight before using your doormat (Image B).
Tomas Espinoza
Image A
Tomas Espinoza
Image B


