How to Make a Space-Saving Floating Desk
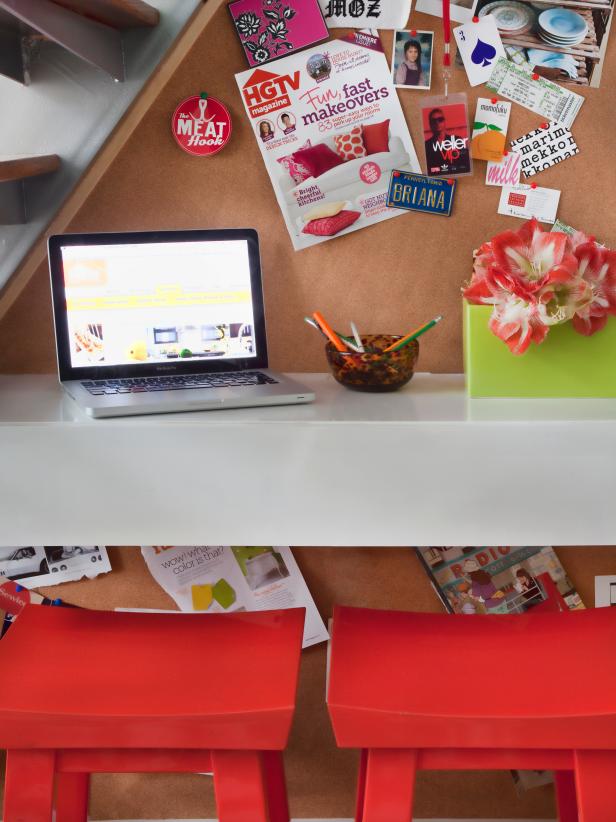
Create a streamlined, custom floating desk that is aesthetically pleasing, efficient and packed with storage with these easy instructions.
Floating Shelf Workstation

Floating Shelf Workstation

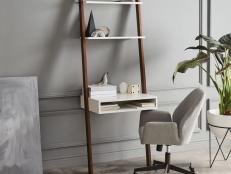
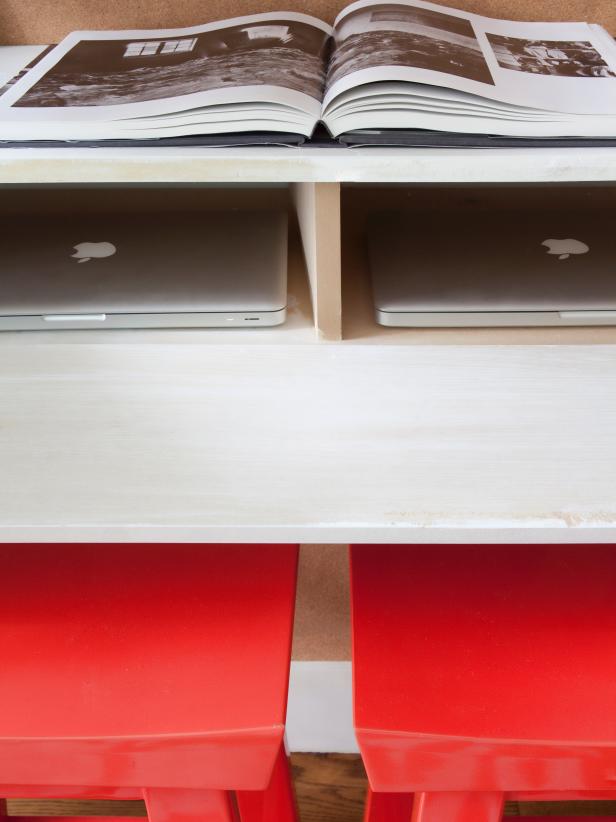
When it's not in use as a workspace, this floating desk can double as a regular shelf.

When it's not in use as a workspace, this floating desk can double as a regular shelf.

As more and more professionals work from home, they find it's important to have a designated workspace for working on a laptop, catching up on reading and paying bills. In homes where space is at a premium, finding room for a workspace can often mean sacrificing one function to support another. Clever multipurpose solutions make it possible to sneak in a workspace, no matter how spatially-challenged a room may be. An excellent, flexible solution that is ideally suited to small spaces is a floating-shelf workstation.

In recent years floating-style furniture has emerged as an effective way to create the illusion of more space. In bathrooms, floating-style vanities free up floor space, creating the feeling of slightly more square footage. In more decorative spaces — such as living rooms, bedrooms and offices — floating shelves keep everyday items within arm's reach in a sleek, light and airy manner. By applying this same principle to a workspace, the same light, airy, space-saving illusion can be achieved to support multiple functions, including working from home.

Creating a custom workspace surface doesn't necessarily come with a custom price tag. By sticking with basic building materials such as MDF (medium density fiberboard), hinges and paint, there are endless possibilities for giving the do-it-yourself floating-shelf workstation a one-of-a-kind look. In a few simple steps, here is how to create a streamlined, custom workspace that is aesthetically pleasing, efficient and packed with storage.

Materials Needed:

  • MDF (medium density fiberboard)
  • table saw
  • pencil
  • notepad
  • stud finder
  • painter’s tape
  • tape measure
  • nail gun
  • nails
  • screw gun
  • wood screws
  • drywall anchors (75 lb capacity)
  • drywall screws
  • clean rag or sponge
  • small dust brush
  • hinges
  • paint roller
  • roller sleeve
  • semi-gloss or lacquer paint
  • paint pan
  • paintbrush
  • jigsaw
  • 2-inch paddle bit
  • drop cloth

Sketch Design

Sketch the overall shape, scale and style of the intended floating-shelf workstation onto a notepad using a pencil or black marker. This will help you determine how much material is needed.

Workstation Sketch

Workstation Sketch

Sketch the overall shape, scale and style of the intended floating-shelf workstation onto a notepad using a pencil or black marker. This will help you determine how much material is needed.

Find Wall Stud

Once the workstation's placement is determined, use a stud finder to find the location of the wall studs behind the wall's surface. This is necessary to properly secure the workstation to the wall.
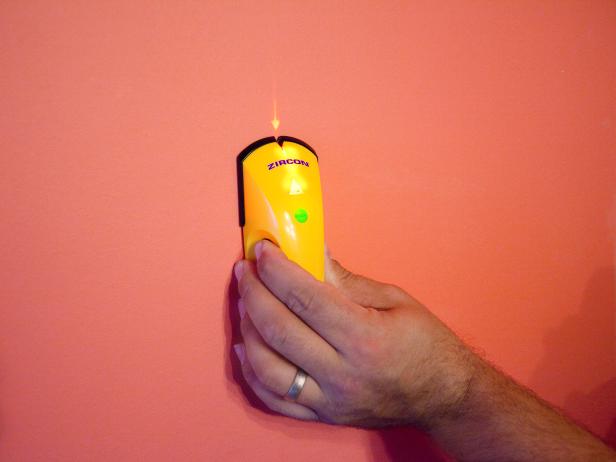
Find Studs Behind Wall

Find Studs Behind Wall

Once the workstation's placement is determined, use a stud finder to find the location of the wall studs behind the wall's surface. This is necessary to properly secure the workstation to the wall.

Mark Wall Stud

Mark the wall stud areas with a pencil or marker.
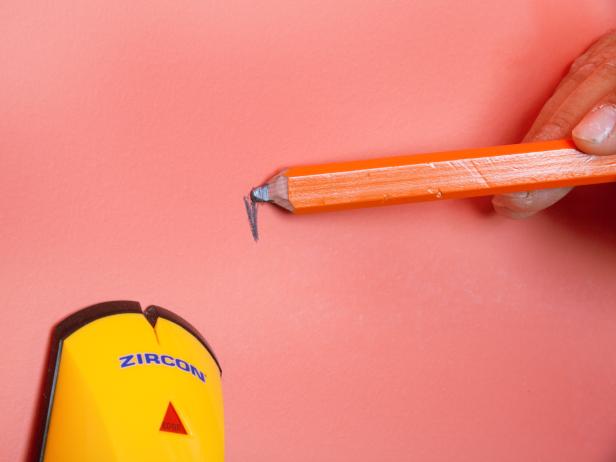
Marking the Wall Stud

Marking the Wall Stud

Mark the wall stud areas with a pencil or marker.

Mock Up Shape and Scale with Painter's Tape

To ensure that the intended shape, scale and style of the workstation will work logistically in relation to its surroundings, first create a mockup. Use blue painter's tape to mark the exact shape and size of the floating-shelf workstation. Take care to consider how the shelf's dimensions will work in the intended space; place a chair to make sure the height of the shelf bottom allows enough clearance to sit comfortably. If the space seems too tight, adjust the tape accordingly until the proper balance is achieved. Record adjusted measurements in the notepad.
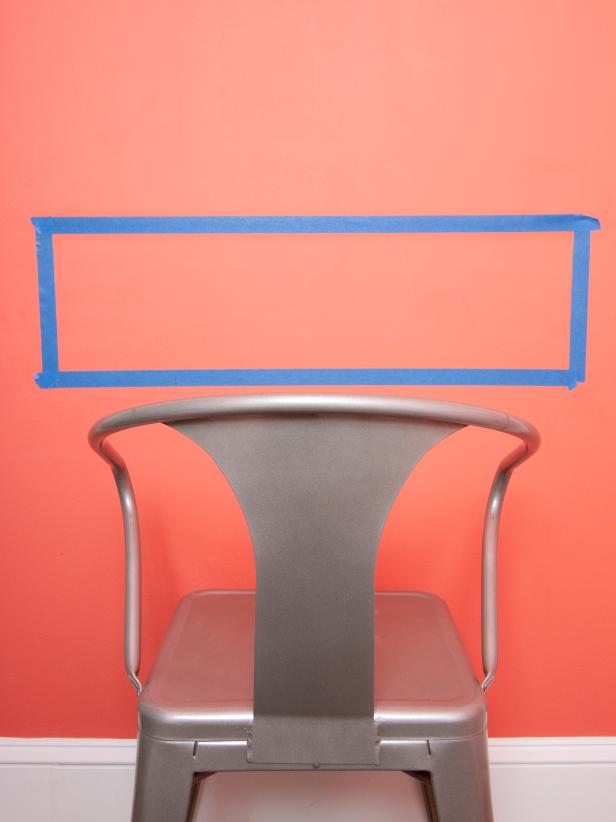
Mock Up Scale with Painter's Tape

Mock Up Scale with Painter's Tape

To ensure that the intended shape, scale and style of the workstation will work logistically in relation to its surroundings, first create a mockup. Use blue painter's tape to mark the exact shape and size of the floating-shelf workstation. Take care to consider how the shelf's dimensions will work in the intended space; place a chair to make sure the height of the shelf bottom allows enough clearance to sit comfortably. If the space seems too tight, adjust the tape accordingly until the proper balance is achieved. Record adjusted measurements in the notepad.

Add Cut Marks to MDF

Referring to dimensions recorded in the notepad, use tape measure and a pencil or black marker to mark the MDF. These marks will dictate where each cut should begin and end.

Mark the MDF with Dimensions

Mark the MDF with Dimensions

Referring to dimensions recorded in the notepad, use tape measure and a pencil or black marker to mark the MDF. These marks will dictate where each cut should begin and end.

Cut MDF with Saw

Once the MDF has been properly marked, cut each piece of the workstation to size with the table saw.
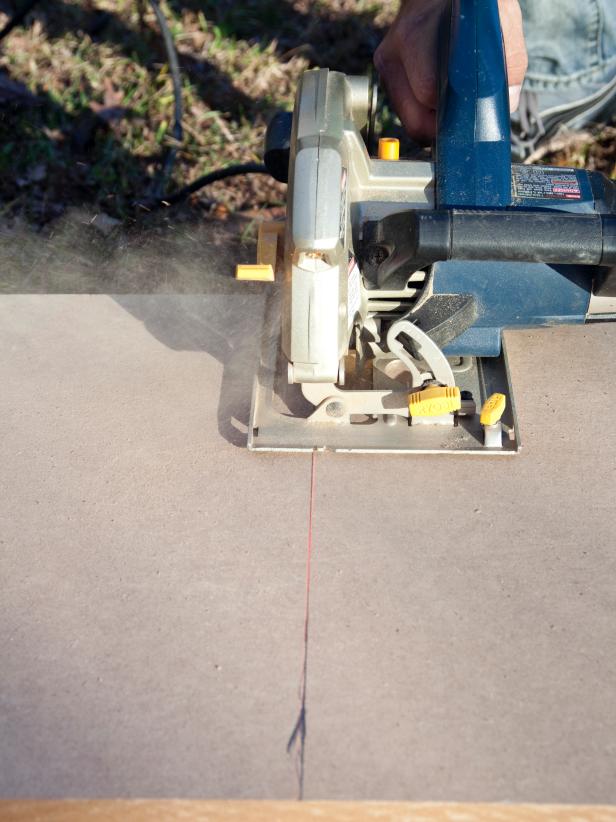
Cut MDF Pieces

Cut MDF Pieces

Once the MDF has been properly marked, cut each piece of the workstation to size with the table saw.

Wipe Away Sawdust

With the sawing complete, next thoroughly wipe away dust from each piece, one at a time, with a clean rag, brush or damp sponge.

Dusting Off Sawdust

Dusting Off Sawdust

With the sawing complete, next thoroughly wipe away dust from each piece, one at a time, with a clean rag, brush or damp sponge.

Assemble Floating Shelf

Referring to dimensions and design recorded on the notepad, assemble the shelf, attaching side panels to the top and bottom panels. Use of either nails and a nail gun or screws and a screw gun are recommended. TIP: At this stage in construction, consider drilling a hole for use in concealing cords and wires from electronics such as laptops and printers. If desired, drill a 2-inch hole directly into the top of the floating shelf; use a drill with a 2-inch paddle bit.
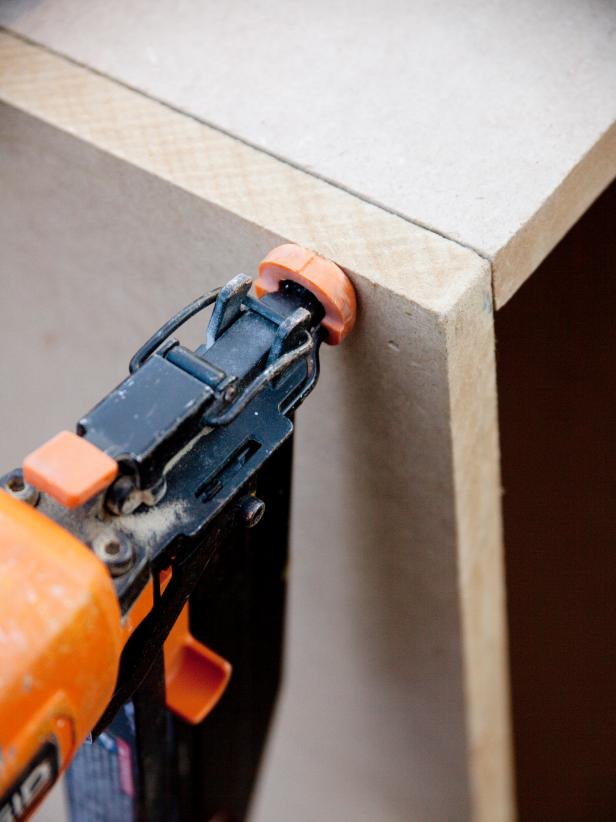
Attach Side Panels

Attach Side Panels

Referring to dimensions and design recorded on the notepad, assemble the shelf, attaching side panels to the top and bottom panels. Use of either nails and a nail gun or screws and a screw gun are recommended. TIP: At this stage in construction, consider drilling a hole for use in concealing cords and wires from electronics such as laptops and printers. If desired, drill a 2-inch hole directly into the top of the floating shelf; use a drill with a 2-inch paddle bit.

Attach Flip-Down Door Front

Using a screw gun, attach one end of hinge to the backside of the flip-down door front, and the other to the interior of the floating shelf. To confirm that these are properly placed, close the door and make sure it stays closed tightly.
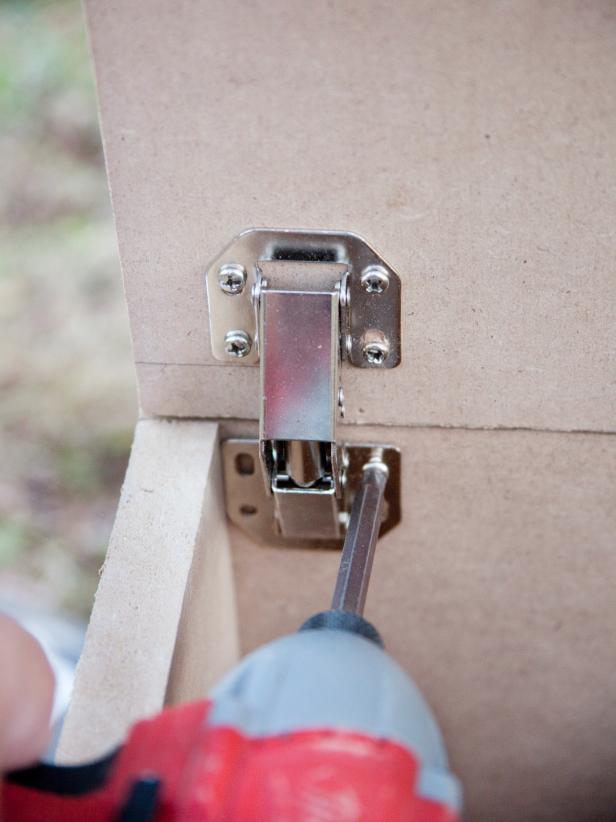
Attach Door Front

Attach Door Front

Using a screw gun, attach one end of hinge to the backside of the flip-down door front, and the other to the interior of the floating shelf. To confirm that these are properly placed, close the door and make sure it stays closed tightly.

Cut and Install a Cleat

Using leftover MDF scraps, cut a cleat that is approximately 1/4 inch shorter in size than the interior of the shelf (this will not only hold the shelf firmly to the wall but also serve as the back panel for the interior of the workstation). Attach the cleat directly into wall studs with drywall screws and a screw gun, referencing the marks previously made to note the wall studs' locations. TIP: For the most secure installation into the wall studs, first drill drywall anchors designed to hold up to 75 lbs, then drill screws through the cleat and into the stud.
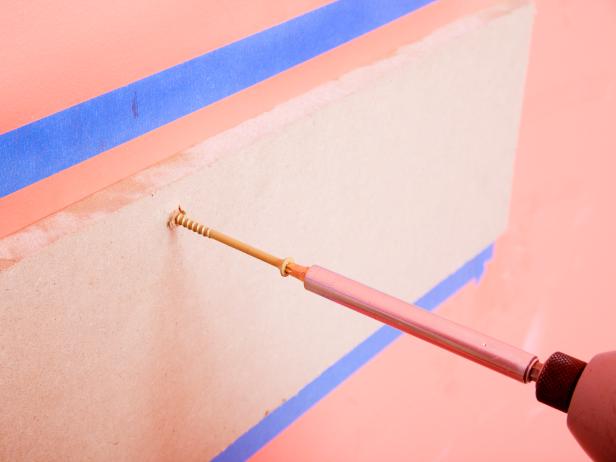
Attach the Cleat

Attach the Cleat

Using leftover MDF scraps, cut a cleat that is approximately 1/4 inch shorter in size than the interior of the shelf (this will not only hold the shelf firmly to the wall but also serve as the back panel for the interior of the workstation). Attach the cleat directly into wall studs with drywall screws and a screw gun, referencing the marks previously made to note the wall studs' locations. TIP: For the most secure installation into the wall studs, first drill drywall anchors designed to hold up to 75 lbs, then drill screws through the cleat and into the stud.

Attach Workstation to Cleat

With the help of a friend, hold the floating shelf above cleat, then lower it onto the cleat so that the bottom of the shelf surface is flush with the top of the cleat. Once placed, add screws through the top and bottom of the workstation, securing it directly into the cleat. Next, apply weight to the top of the shelf to ensure a tight fit. If loose, it may be necessary to add a few more screws in the top, sides, and directly into the front of the cleat.
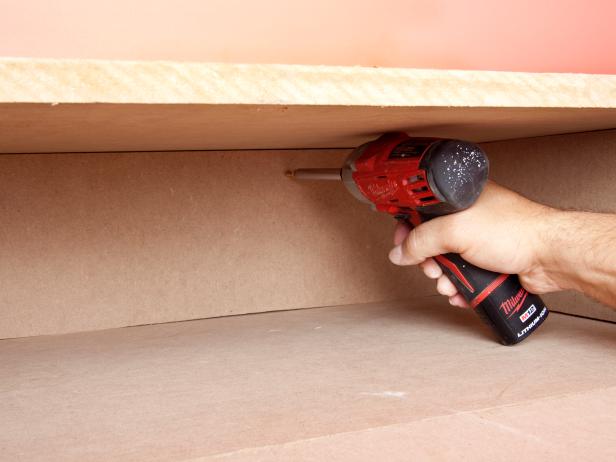
Screw Workstation to Cleat

Screw Workstation to Cleat

With the help of a friend, hold the floating shelf above cleat, then lower it onto the cleat so that the bottom of the shelf surface is flush with the top of the cleat. Once placed, add screws through the top and bottom of the workstation, securing it directly into the cleat. Next, apply weight to the top of the shelf to ensure a tight fit. If loose, it may be necessary to add a few more screws in the top, sides, and directly into the front of the cleat.

Paint Interior and Exterior

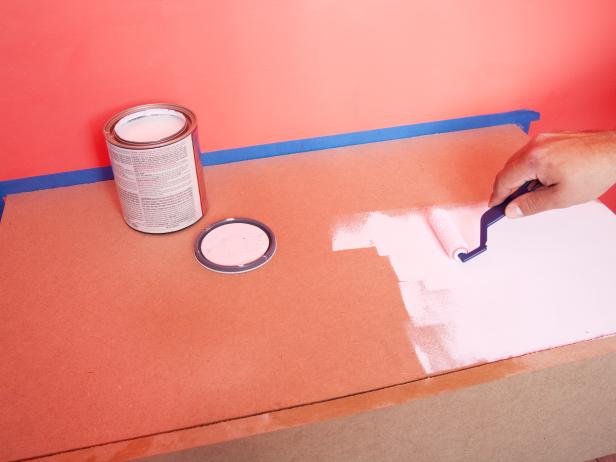
After the shelf has been securely fastened to the cleat, place a drop cloth to protect the surrounding area from paint splatter. Use paintbrush and roller to thoroughly coat interior and exterior surfaces (Images 1 and 2). TIP: For a two-tone look, consider painting the exterior, but leaving the interior the natural tone of the MDF. This creates a nice contrast when the door is open.
Next Up

Small Space Ideas for the Bedroom and Home Office

Small space decorating can be a big challenge. Steal these smart ideas to transform your cramped bedroom or home office and maximize your space.

How to Turn a Dresser Into a Media Console

Turning a dresser into a media console that looks just as sleek at the flat screen above it is easy. Just follow these step-by-step instructions.

How to Make One Large Custom Area Rug from Several Small Ones

You can make a custom, large-scale graphic area rug for your small space. Just follow these easy step-by-step instructions.

15 Small Space-Friendly Desks Under $350

Finding a budget-friendly desk for a small space can be tricky, but these under-$350 picks will give your apartment or guest-room-meets-home-office the function it needs.

The Best Desks for Every Style and Budget

Find the right tabletop for every need, from homework stations to ergonomic computer desks.

The Best Small-Space Kitchen and Dining Tables

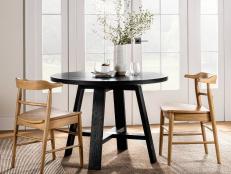
These space-saving tables are short in size but big on style.

The Best Desk Organizers for Your Workspace

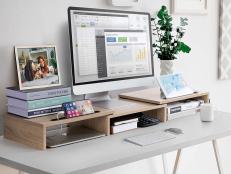
See our favorite storage solutions, from desk risers to customizable wall calendars and bookshelves, and get fresh ideas for arranging your workspace.

The Best Under-Desk Treadmills of 2024

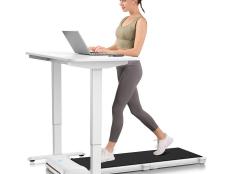
Shop our favorite under-desk treadmills to put some pep in your step and support heart-healthy movement on even the busiest work days.

How to Make a DIY Tufted Headboard From Pool Noodles

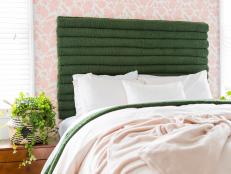
Pool noodles in the bedroom? Yes, it sounds sketchy but trust us — if you can handle a staple gun, you can make this dreamy DIY headboard. Dive on in!

The Best Standing Desks of 2023

Hit your daily stand goal and leave your office chair in the dust with these top-rated standing desks.

What's New in Handmade

On TV

Follow Us Everywhere

Join the party! Don't miss HGTV in your favorite social media feeds.