


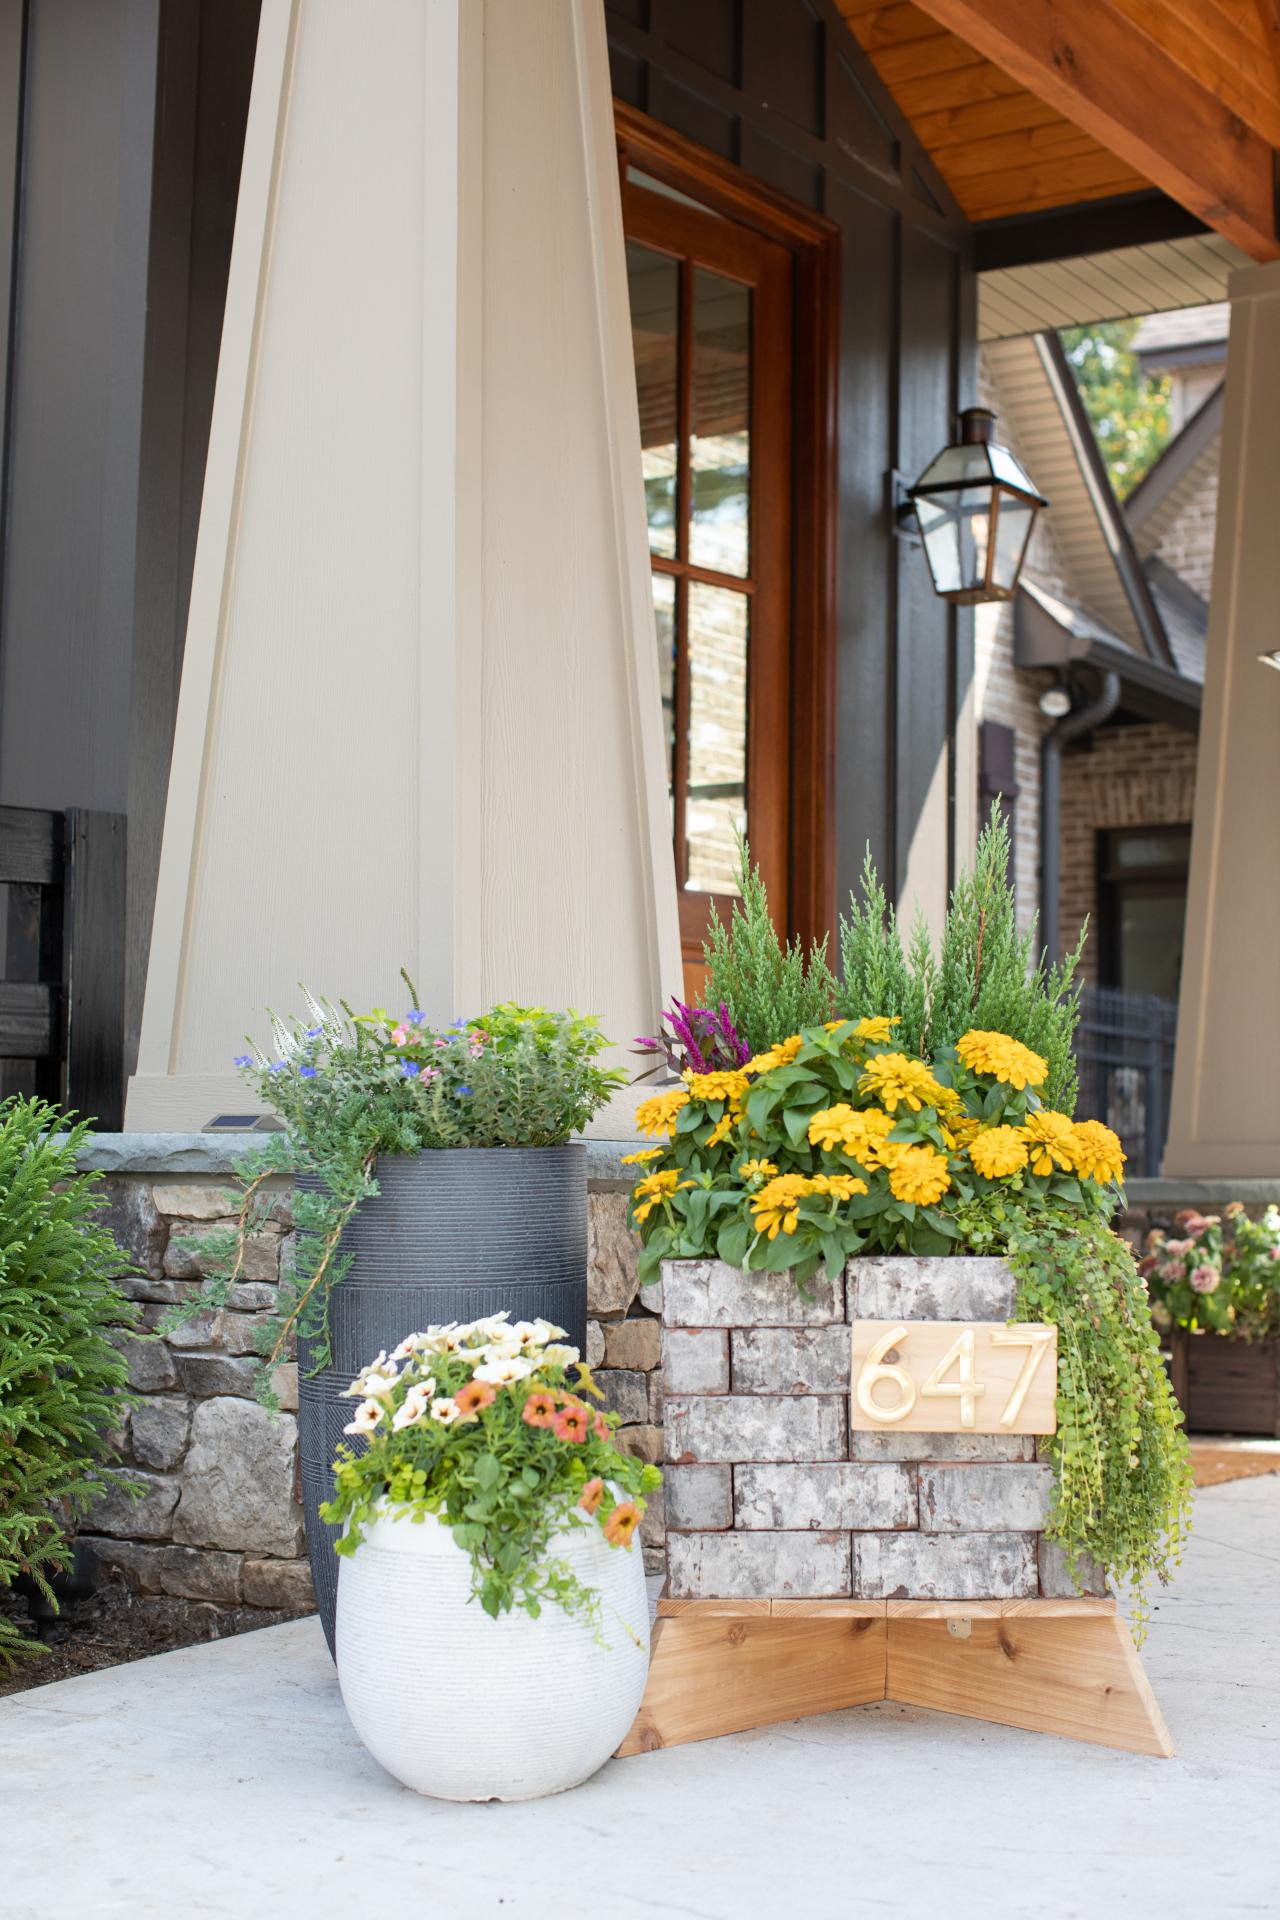
Brick-by-Brick Guide to Building a Raised Planter With House Numbers
Turn a pile of leftover bricks into a stylish planter you can use for years to come!

Have a leftover pile of bricks and no clue what to do with them? Before you clutter the classifieds with yet another “free bricks” advertisement, consider building this adorable cedar and brick planter complete with house numbers.
Materials Needed
- 40 leftover bricks
- (2) 1x6 x 8’ cedar boards
- safety equipment
- measuring tape
- pencil
- miter saw
- table saw
- speed square
- jigsaw + wood blade
- 5/8” wood screws
- drill + bits
- (2) 18” metal straps
- (4) L brackets
- 1” paddle bit
- orbital sander + 120-grit sandpaper
- landscaping adhesive
- rag
- landscape fabric
- staple gun + staples
- waterproof spray for bricks
- masonry screws + matching masonry bit
- house number plaque
Create Cedar Base
Elizabeth Wiseman

Elizabeth Wiseman
Elizabeth Wiseman
Elizabeth Wiseman
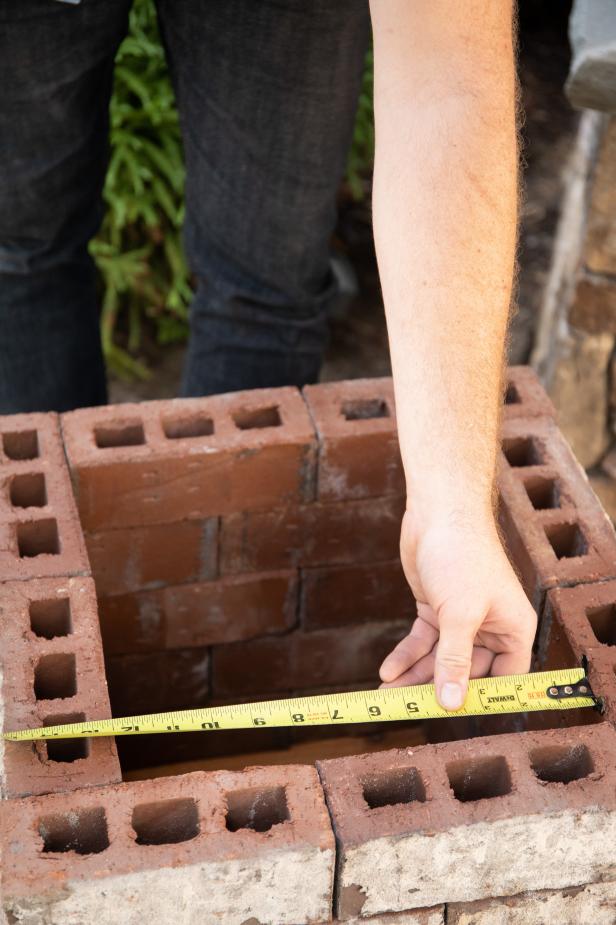
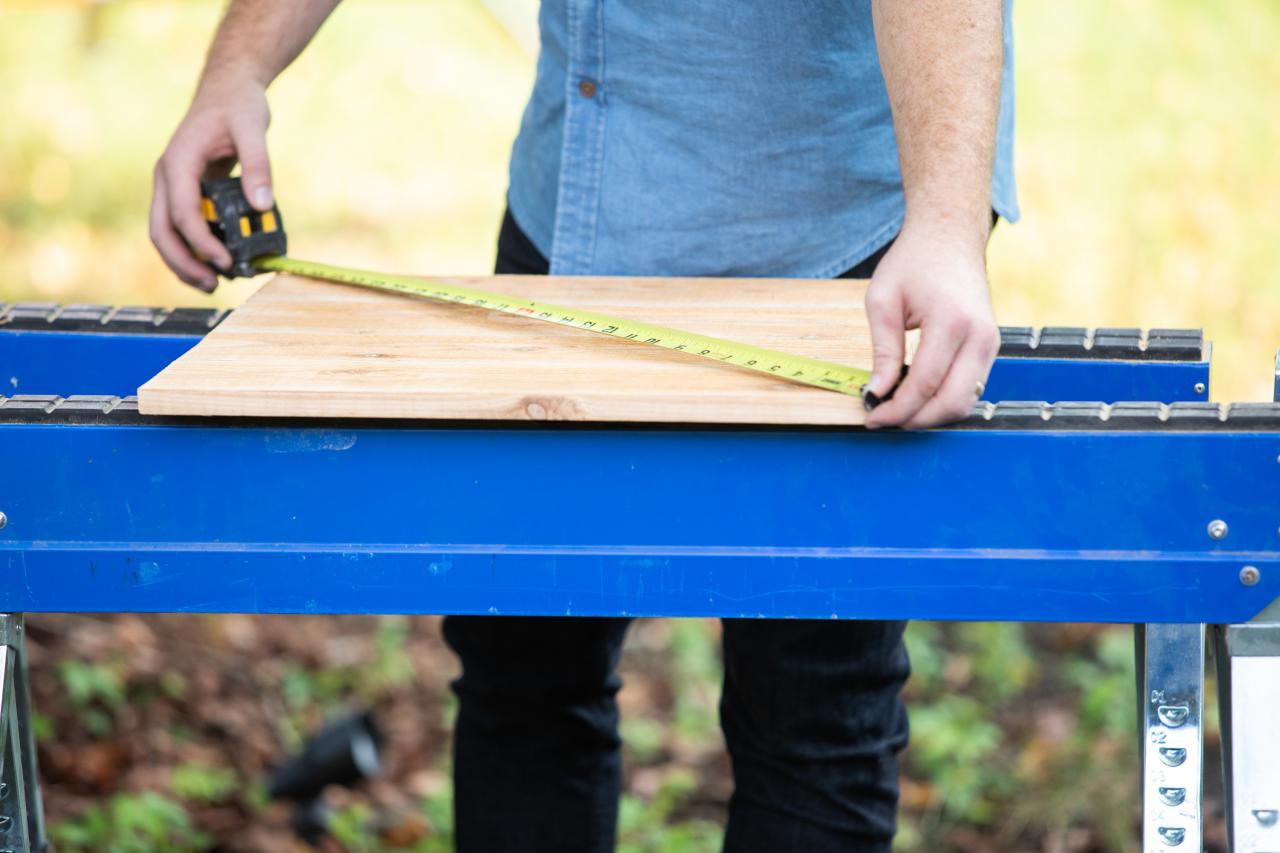
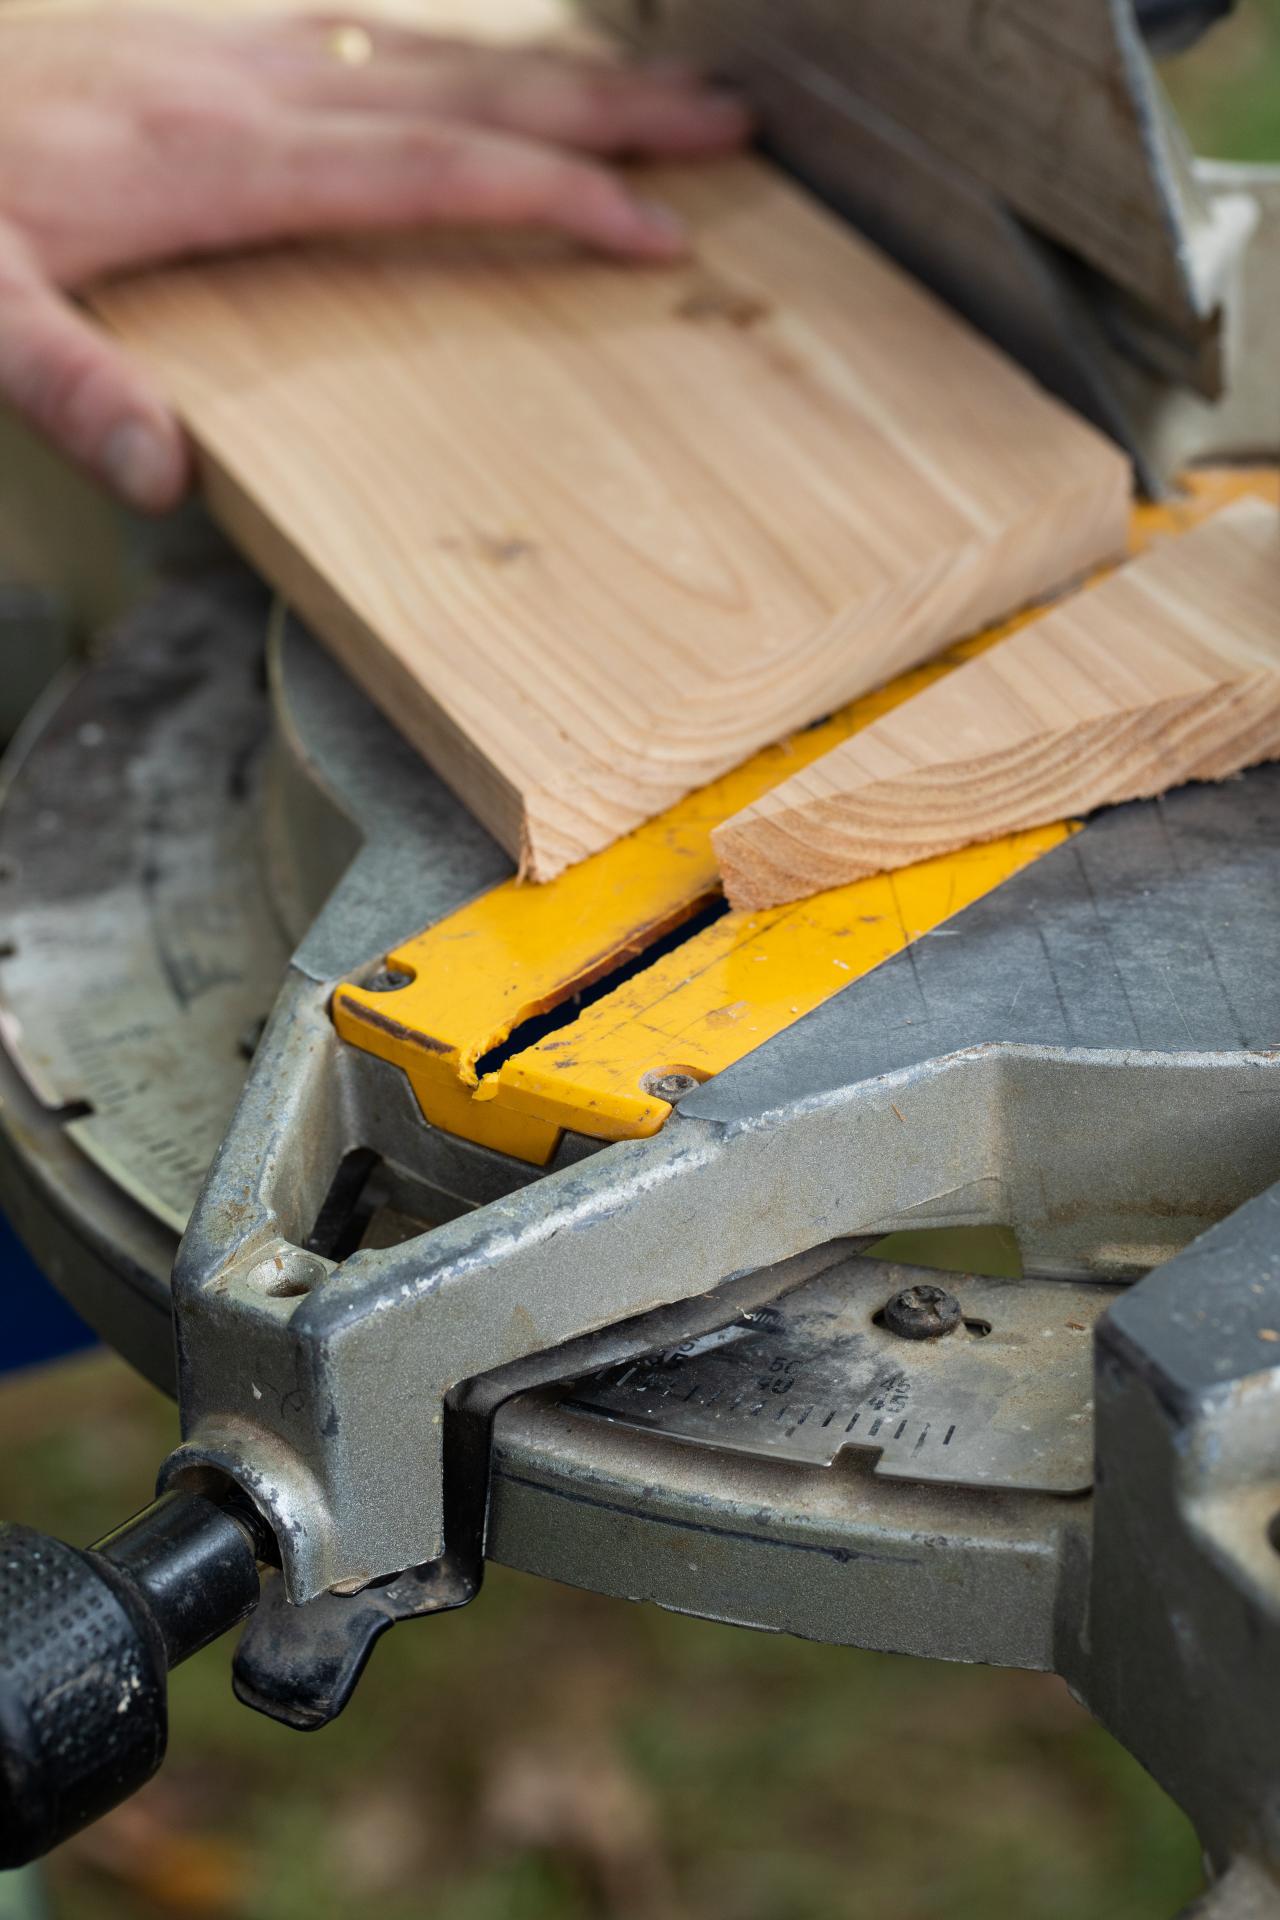
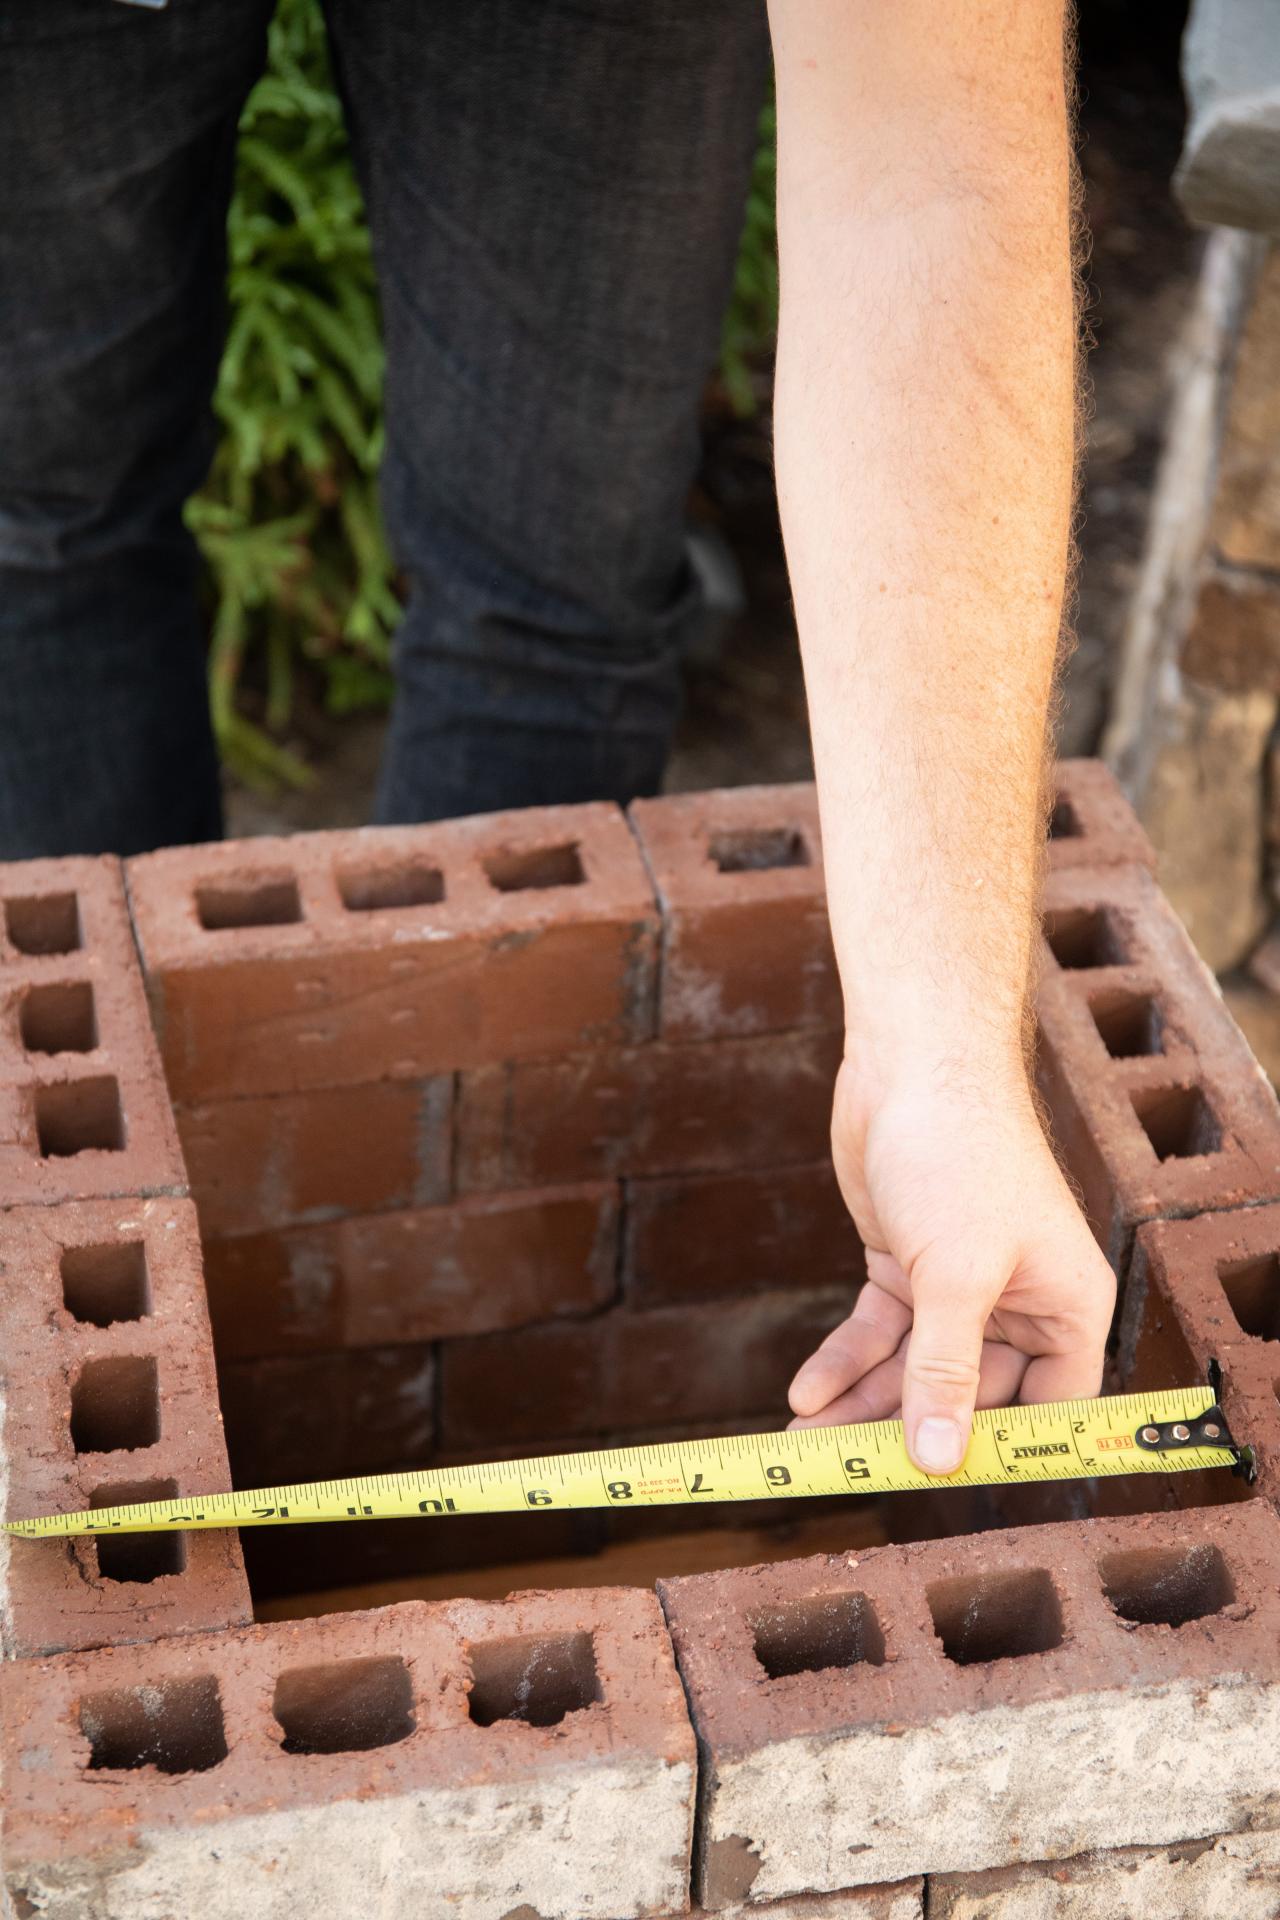
Before you get started, measure your bricks to determine the appropriate size of your planter. Our bricks are 2-3/4" x 2-3/4" x 7-5/8". We chose to make a square planter with eight bricks on each level. Because of the specific size of the bricks used, we determined our base should be 19 inches on all sides, and all our other measurements will be based off of those dimensions. But it's important to note that because bricks vary in size, you may need to adjust your measurements to your specific brick.
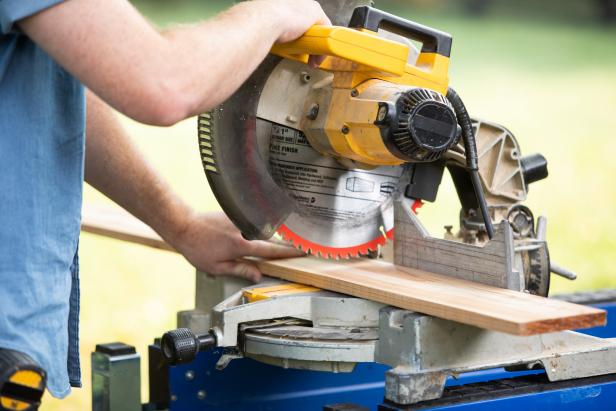
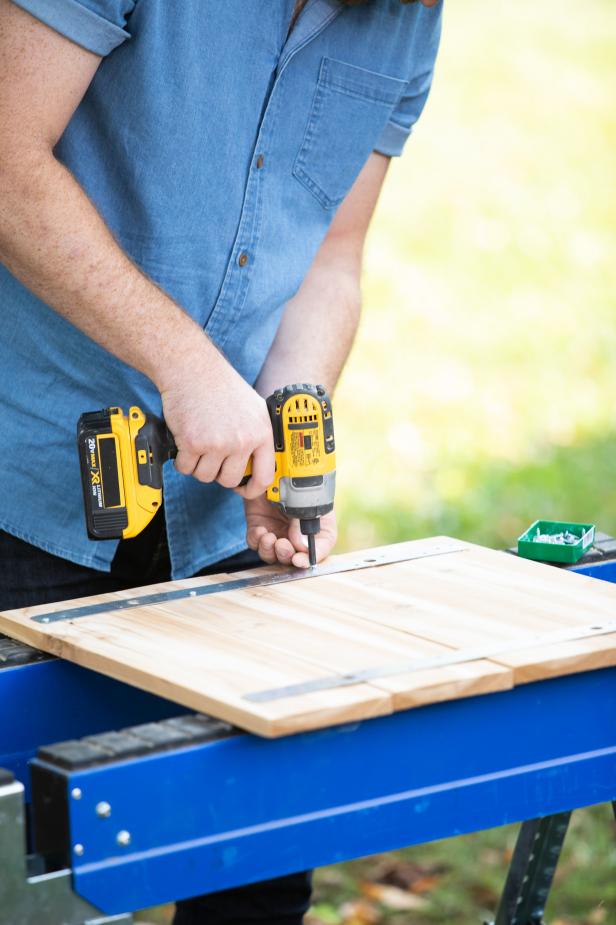
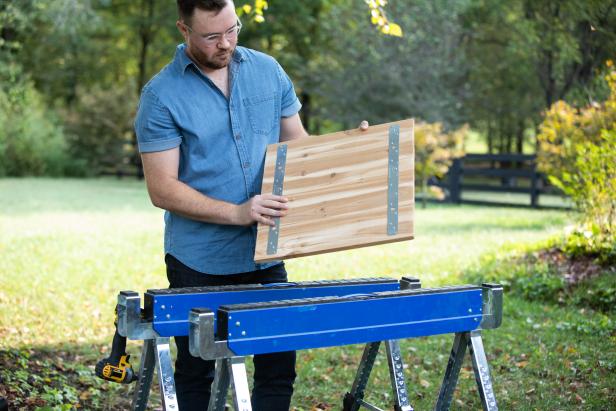
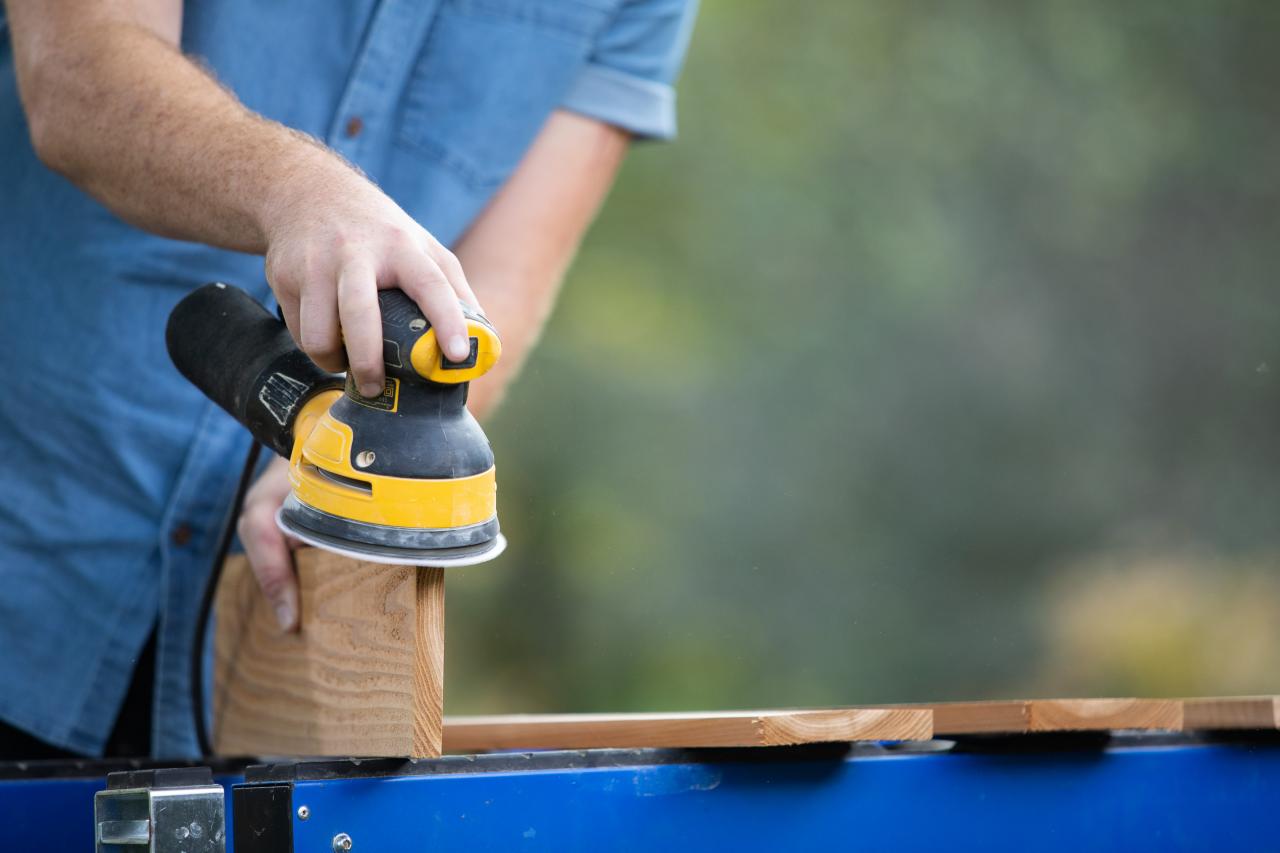
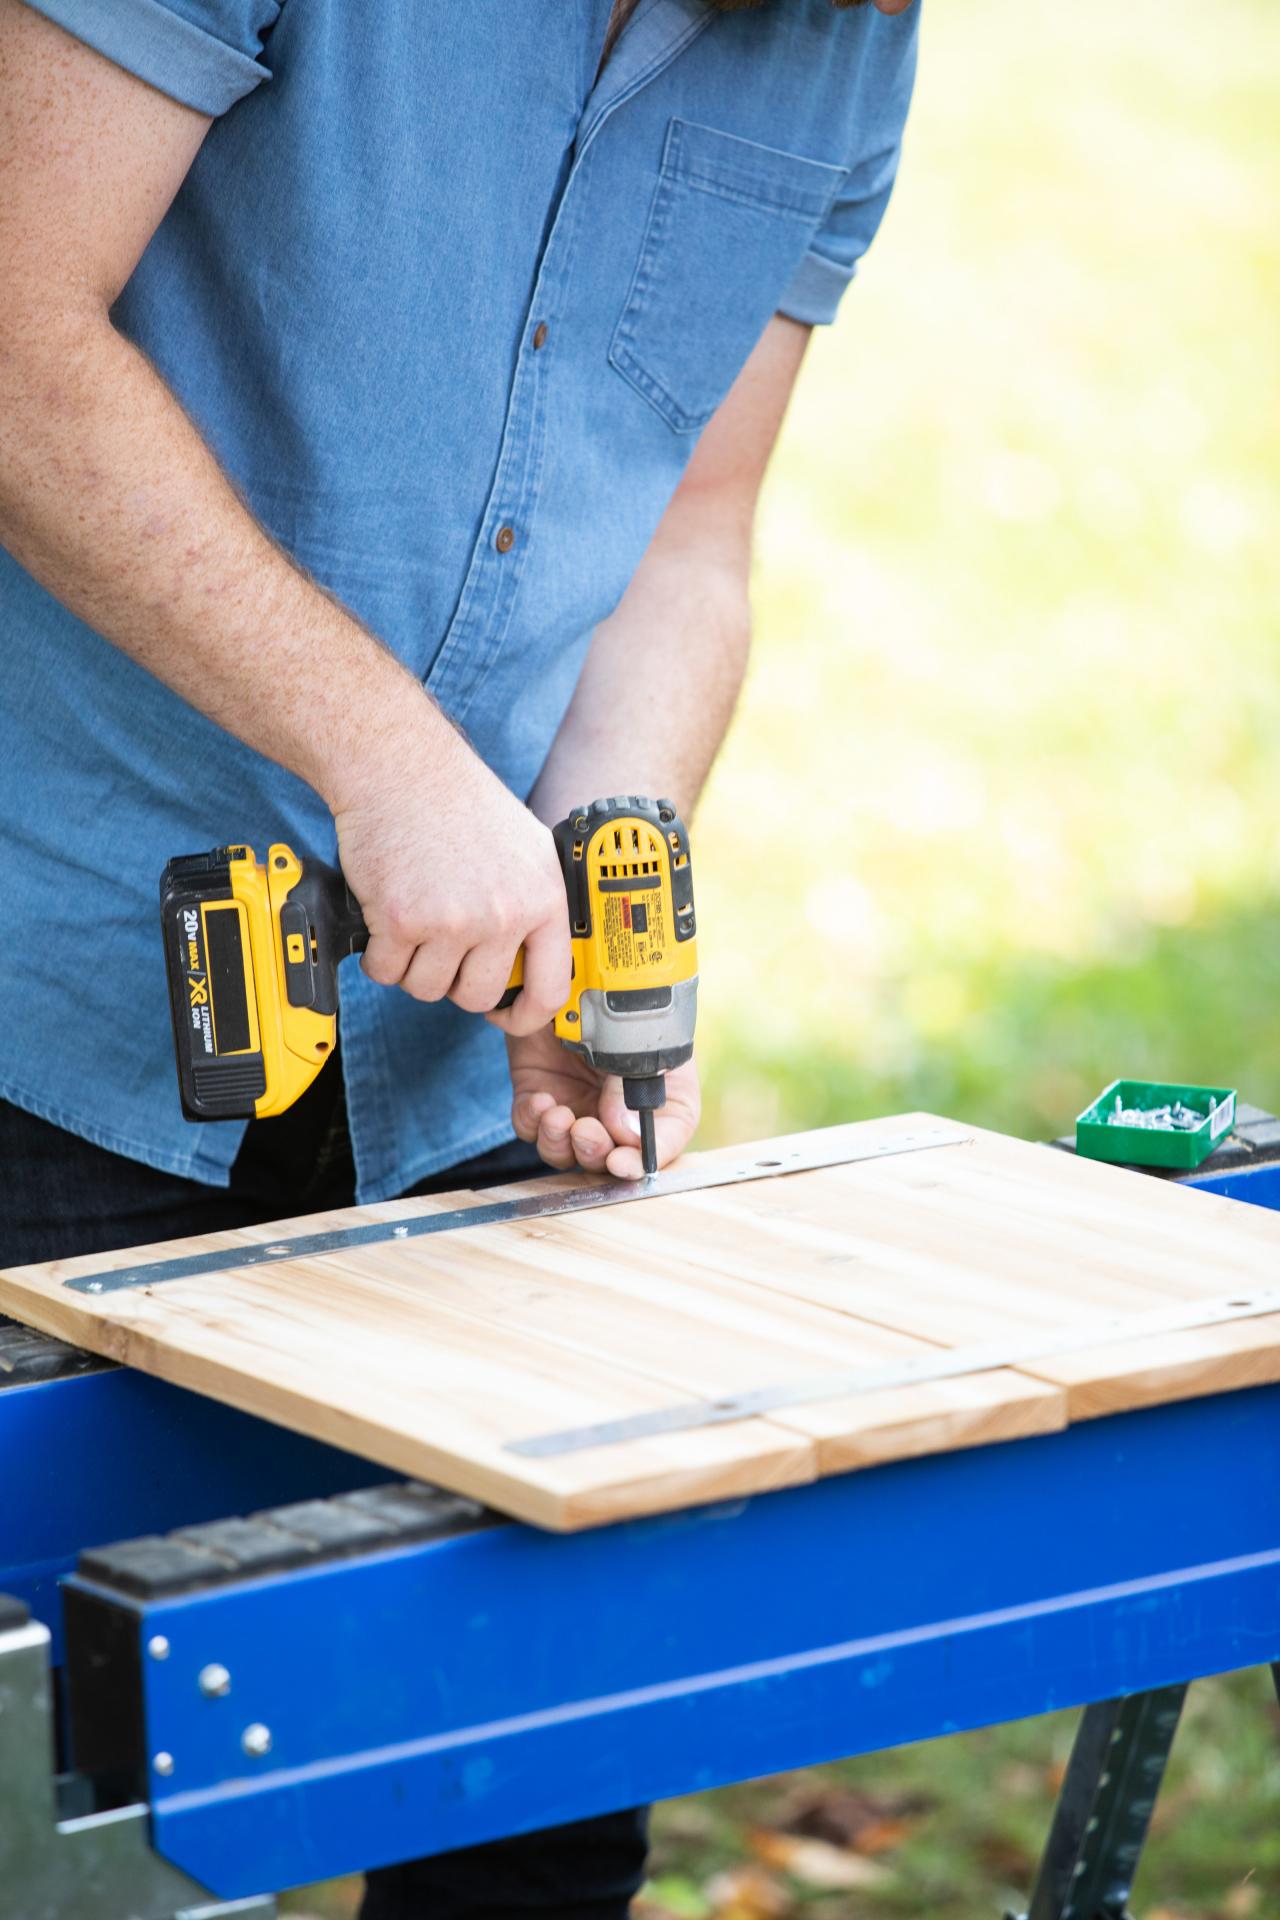
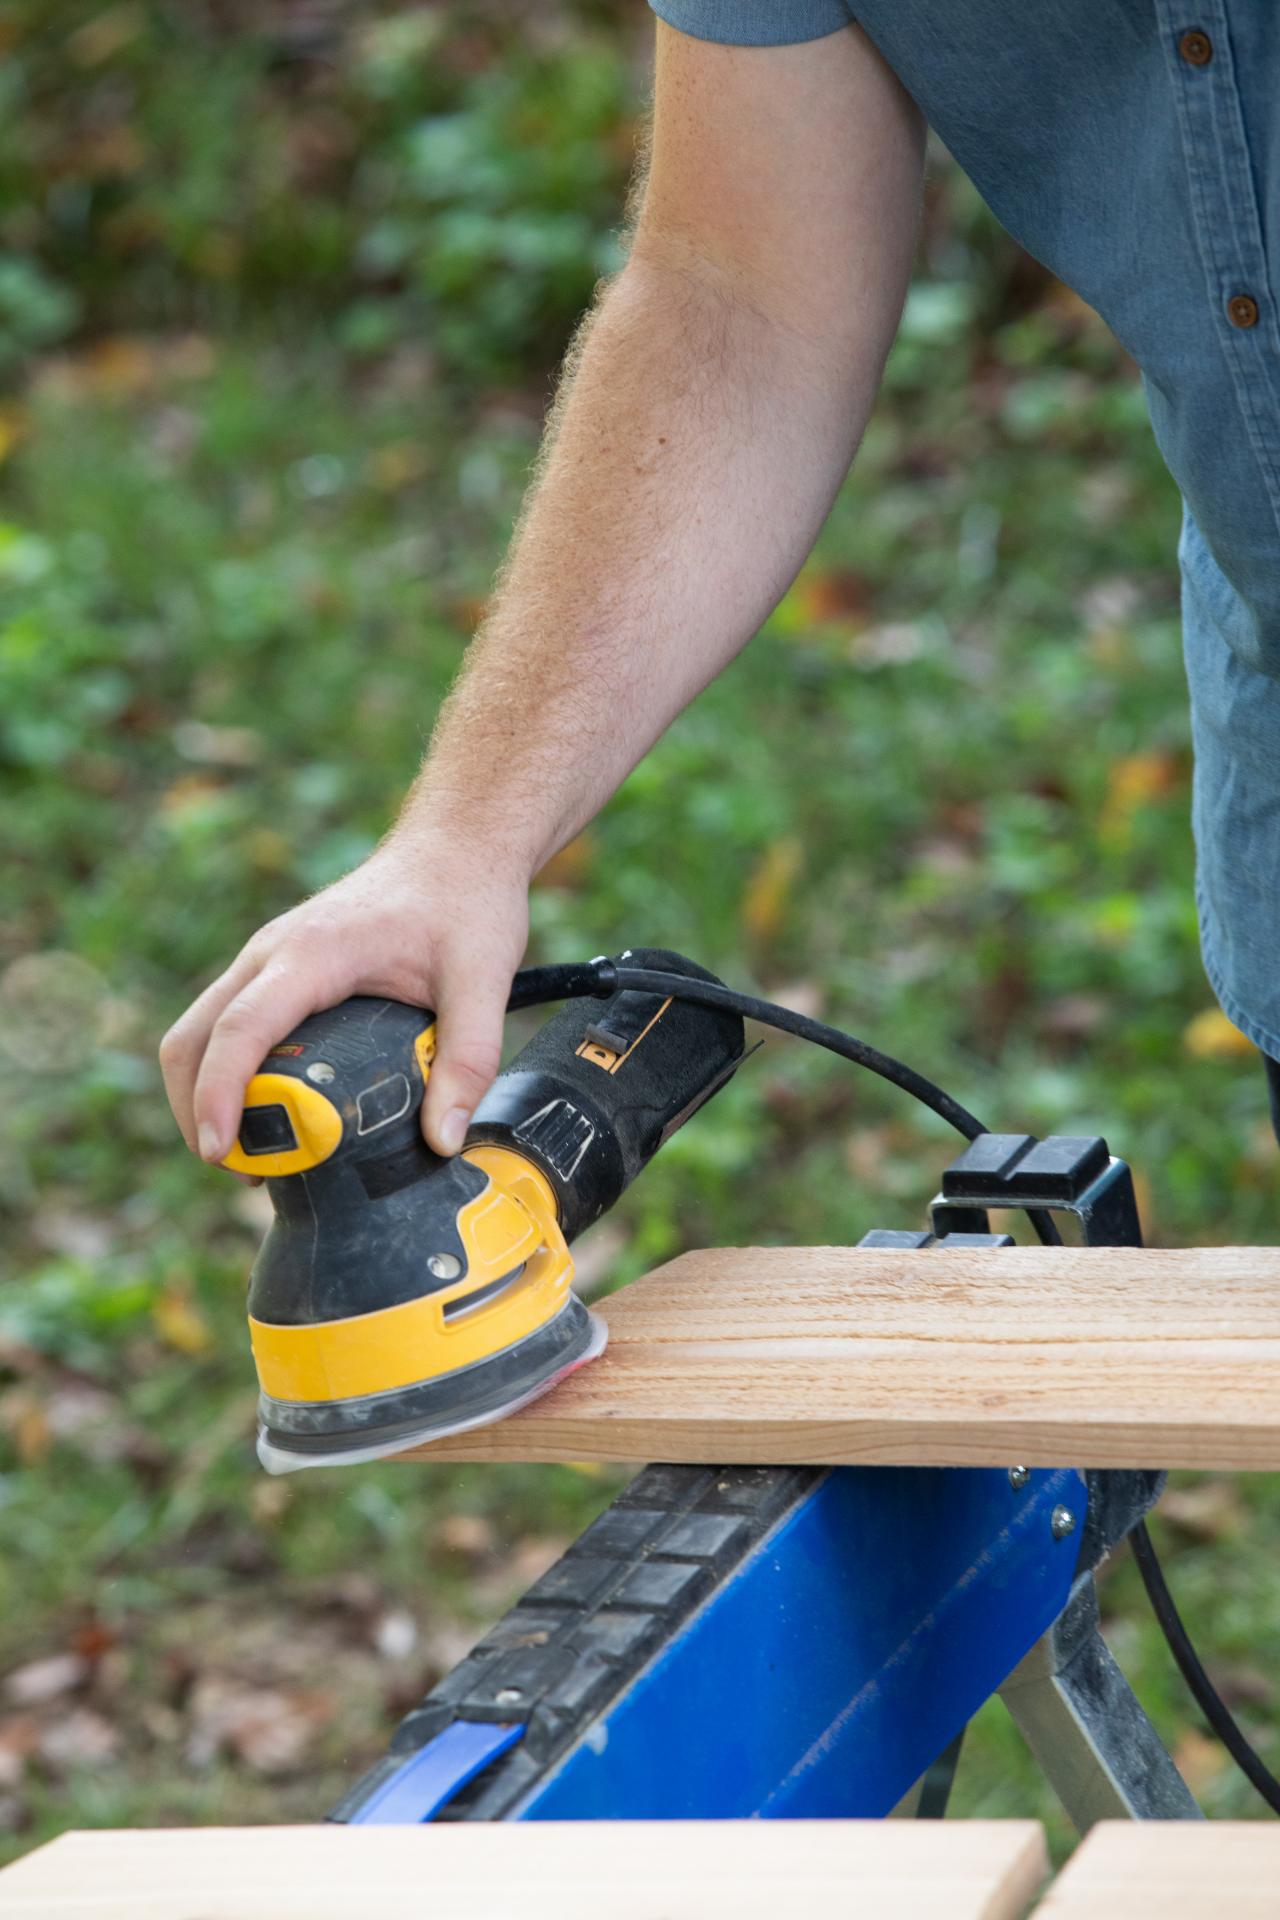
If you have a table saw, begin by ripping one 1x6 board to a width of 4-3/4 inches. If you don’t have a table saw, call ahead to the hardware store, and they should be able to do this for you. Once your board has been ripped, use your miter saw to cut it into four 19-inch pieces. Once the pieces have been cut, use the orbital sanders to lightly sand the edges to remove any splintering. Line the four pieces up side-by-side and use the two 18-inch straps to tie them together, creating one solid square piece.
Create Cedar Legs

Elizabeth Wiseman
Elizabeth Wiseman
Elizabeth Wiseman
Elizabeth Wiseman
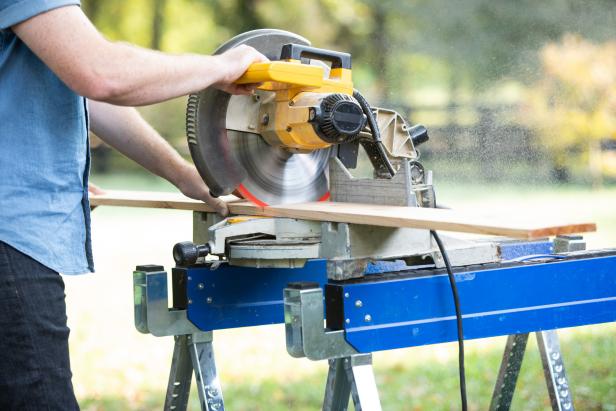
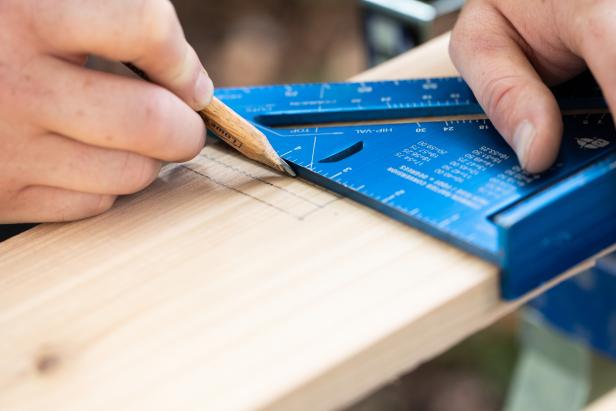
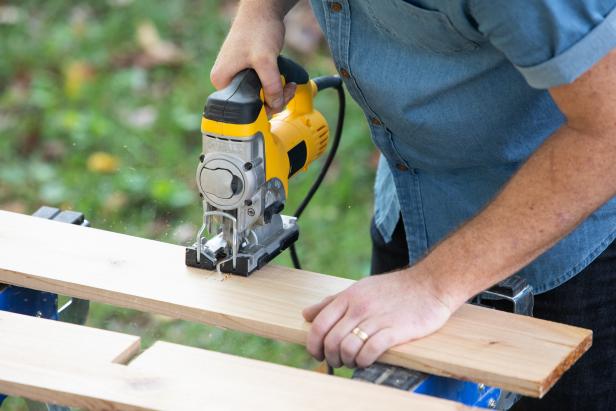
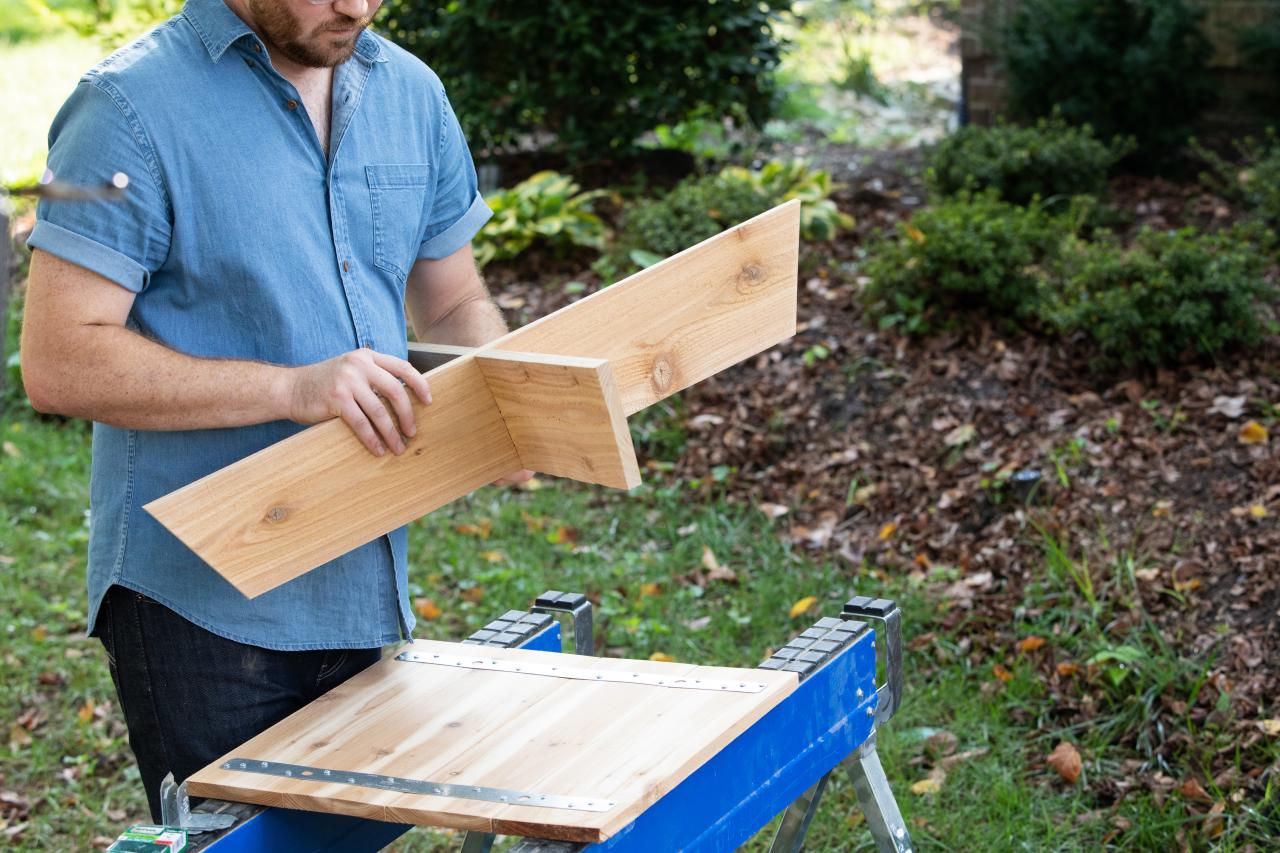
To find the length of the boards used to create the “X” shape of the legs, measure from corner to corner on your base. In order to leave room for 25-degree angles on each end, cut your boards to this length plus 5 inches. Ours measured 27 inches, so we used the miter saw to cut two 32-inch boards. To assemble the “X” shape, the boards will have to slide into one another, requiring a notch to be removed from each board. To position this notch, find the center point of the board and use a speed square to mark halfway down the width of the board. Use your measuring tape to layout a 3/4-inch notch centered on the first mark and use the speed square to draw down from each end of the 3/4-inch lines. Cut out the section using a jigsaw and repeat on the second board.
Cut Angles for Legs
Elizabeth Wiseman

Elizabeth Wiseman
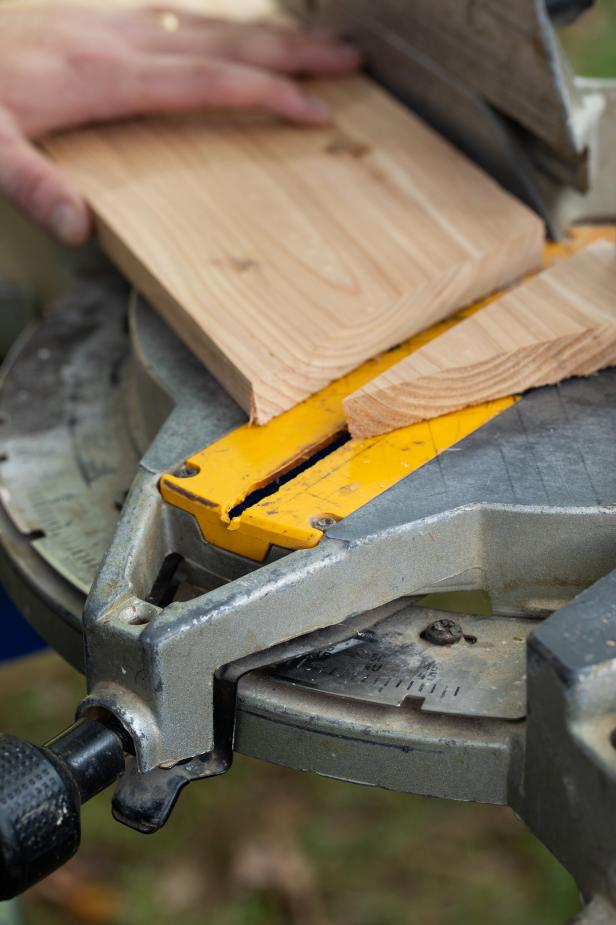
Set your miter saw to 25 degrees to make the angled cuts on the end of the legs. The end result should be two isosceles trapezoids, with a short point of 27 inches and a long point of 32 inches. The notch should be facing up on one board and down on the other. Once cut, use the sander to remove any splinters.
Assemble Base
Elizabeth Wiseman

Elizabeth Wiseman

Elizabeth Wiseman
Elizabeth Wiseman
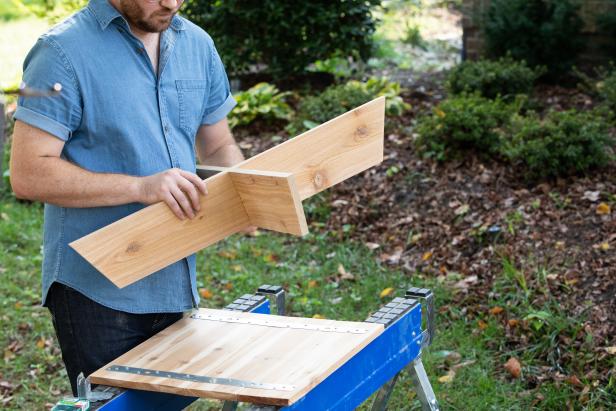
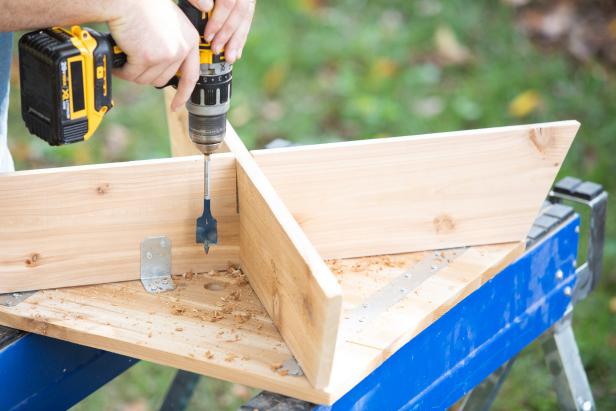
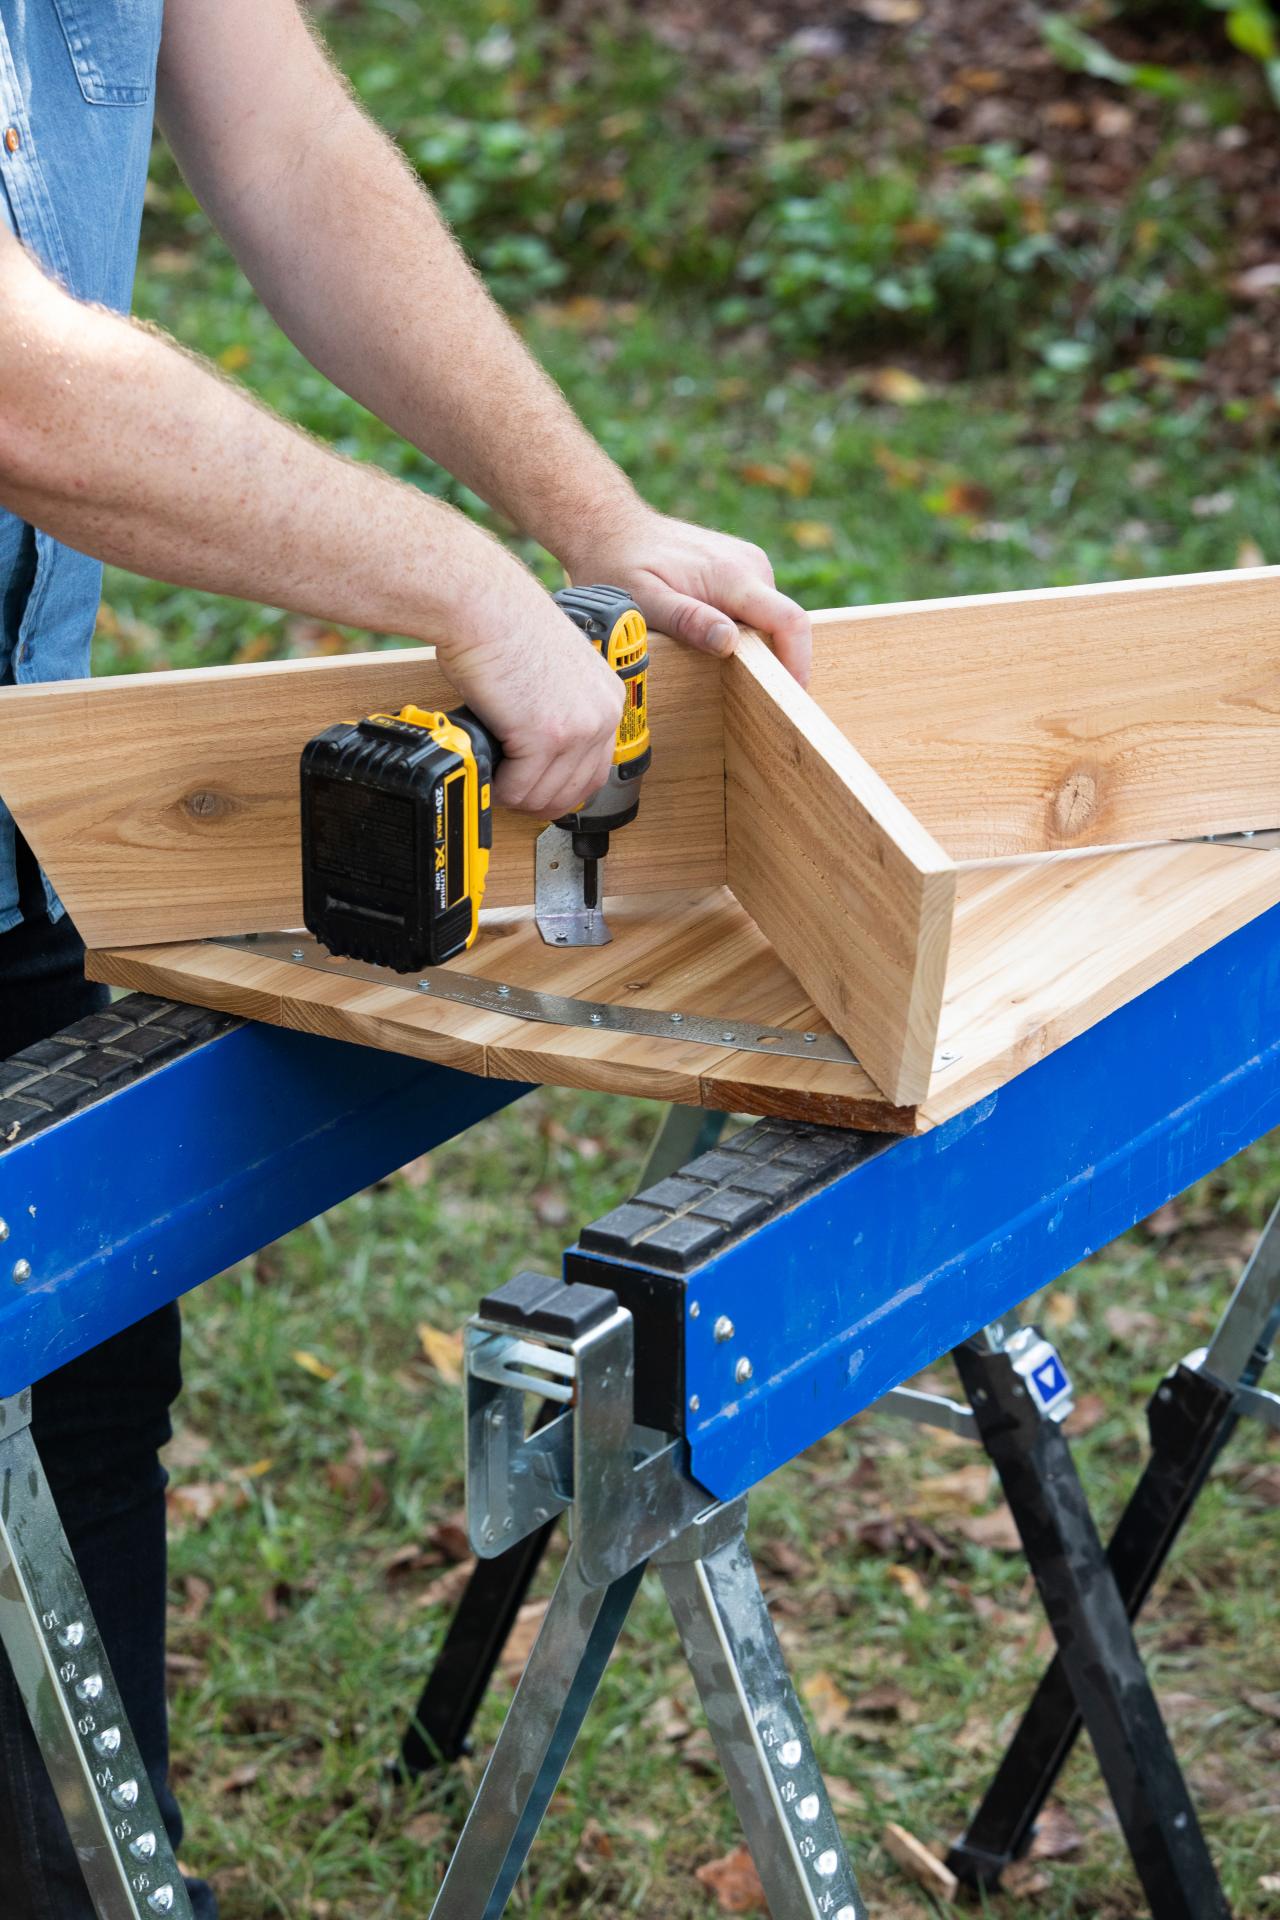
Slide the two trapezoid pieces together to create the “X” shape and place the completed piece on the square base. Once you’ve double checked that the corners are lining up properly, use “L” brackets and screws to attach the “X” to the base. Complete the base by drilling four drainage holes using a 1-inch paddle bit.
Assemble Brick Structure
Elizabeth Wiseman
Elizabeth Wiseman

Elizabeth Wiseman
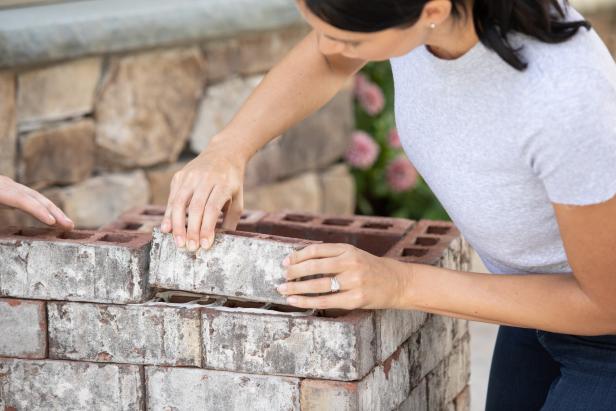
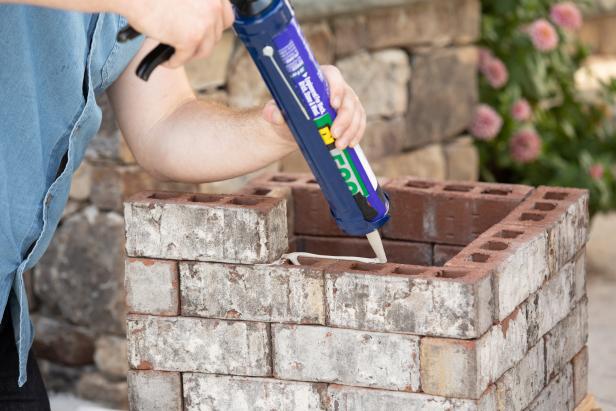
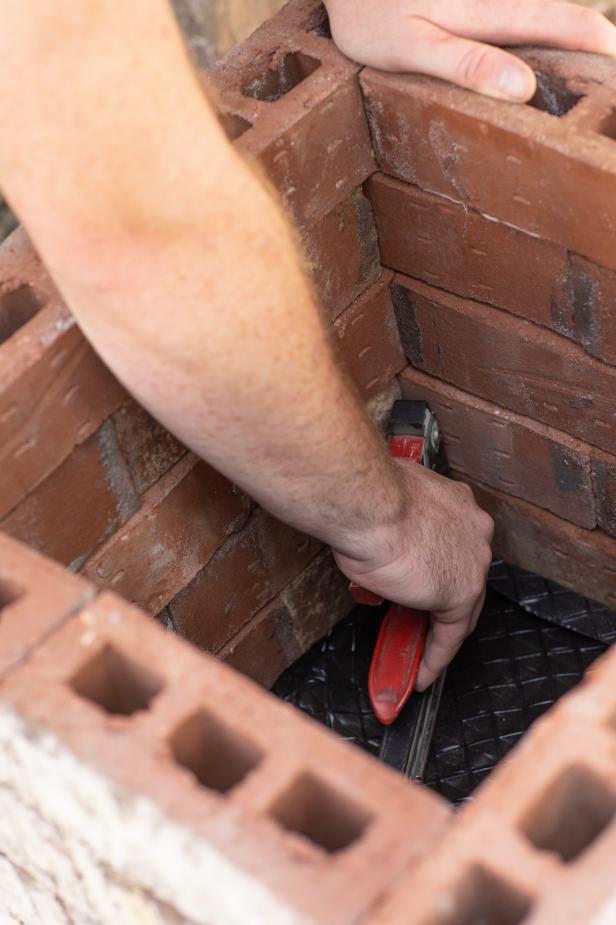
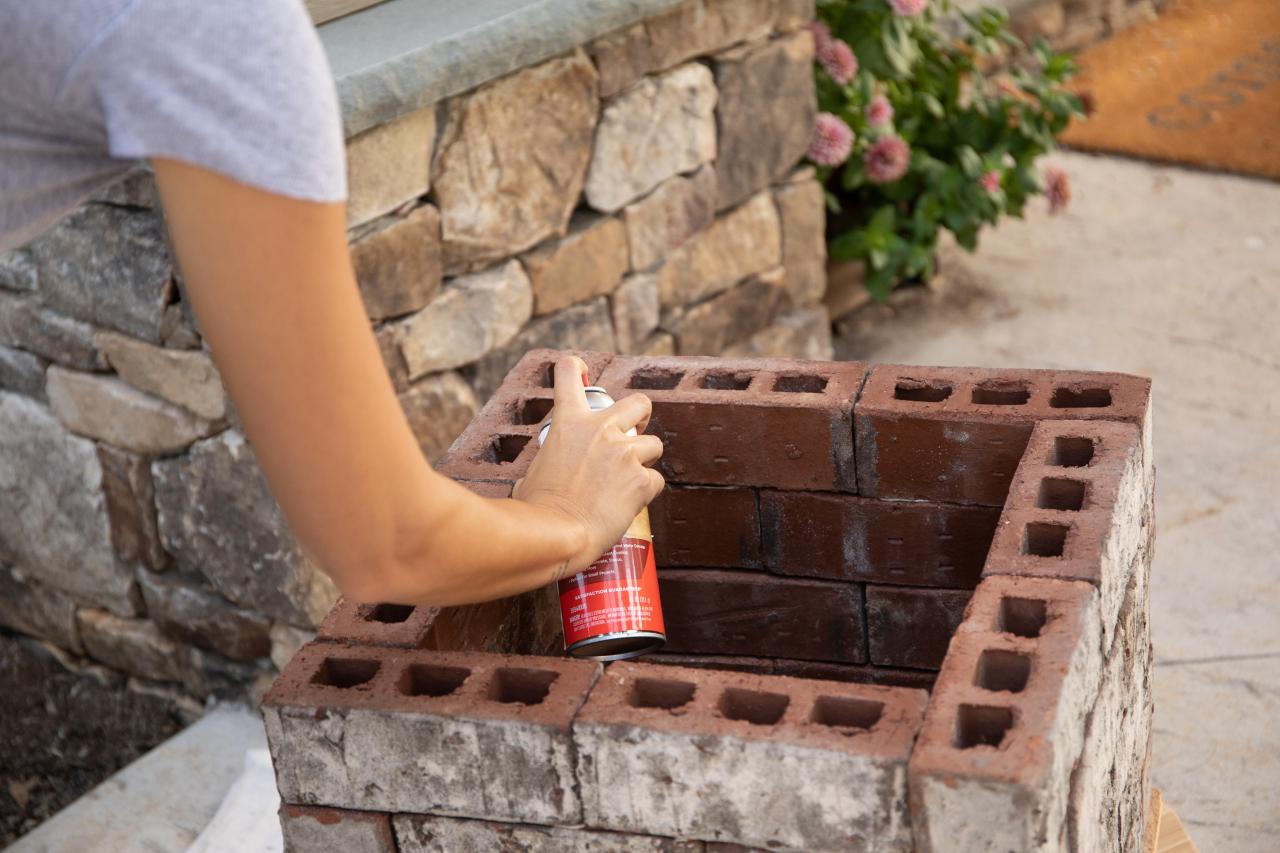
Mock up your first row of bricks and check that everything fits together properly. If so, begin assembling the planter using landscaping adhesive. Be sure to evenly line the bricks around the brick's webbing, without getting so close to the outer edge that adhesive comes out of the bricks when they are pressed together. If adhesive does squeeze out, quickly wipe up using a rag. Allow the landscaping adhesive to dry for 24 hours after the application is complete. In the meantime, it is a good idea to spray the inside of your planter with several coats of waterproof sealer and allow it time to dry per the manufacturer’s instructions. You may also choose to use something to protect your wood, but we chose cedar for its resistance to rotting.
Add House Numbers and Plants
Elizabeth Wiseman

Elizabeth Wiseman
Elizabeth Wiseman

Elizabeth Wiseman

Elizabeth Wiseman
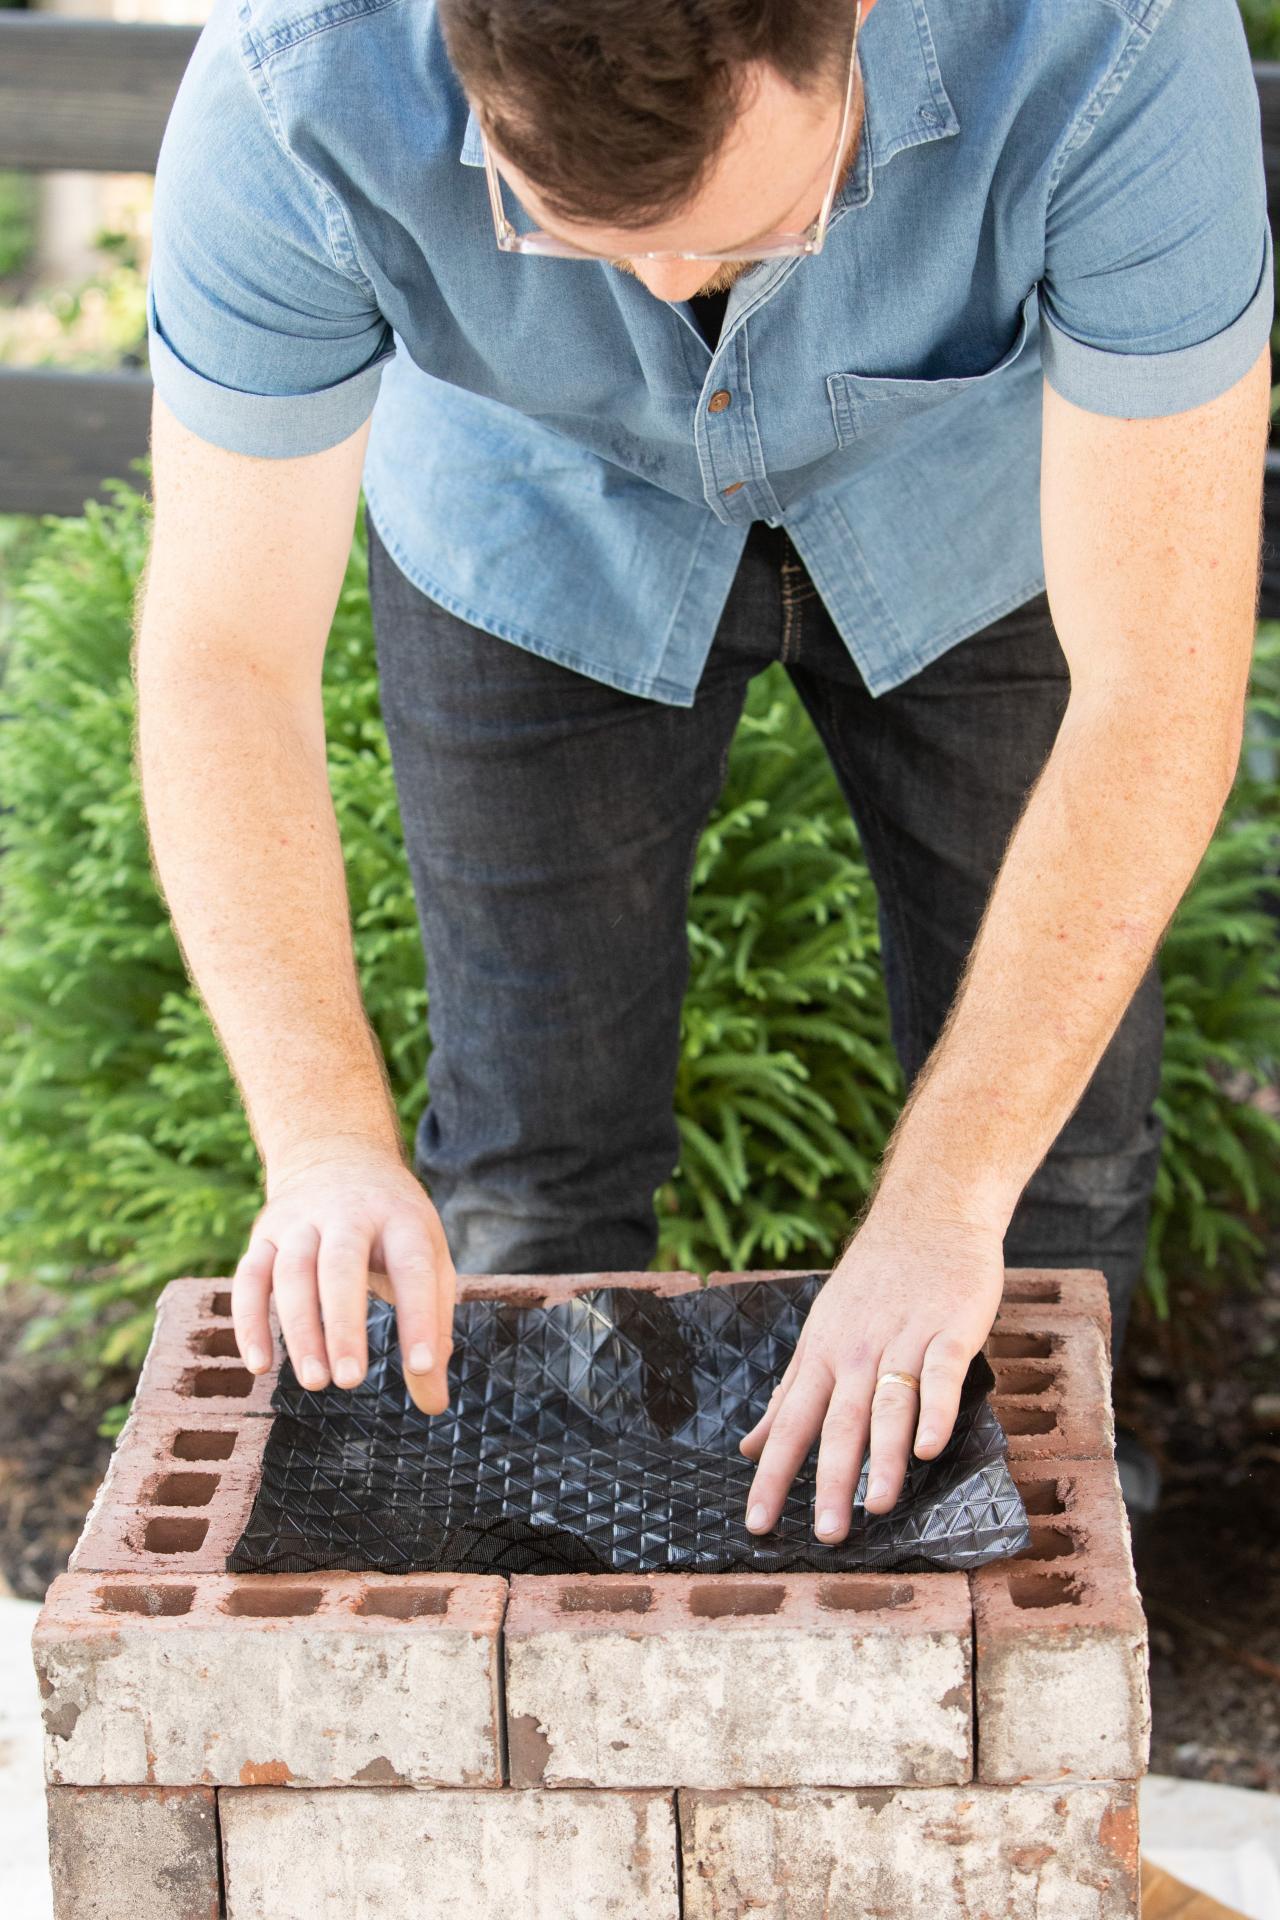
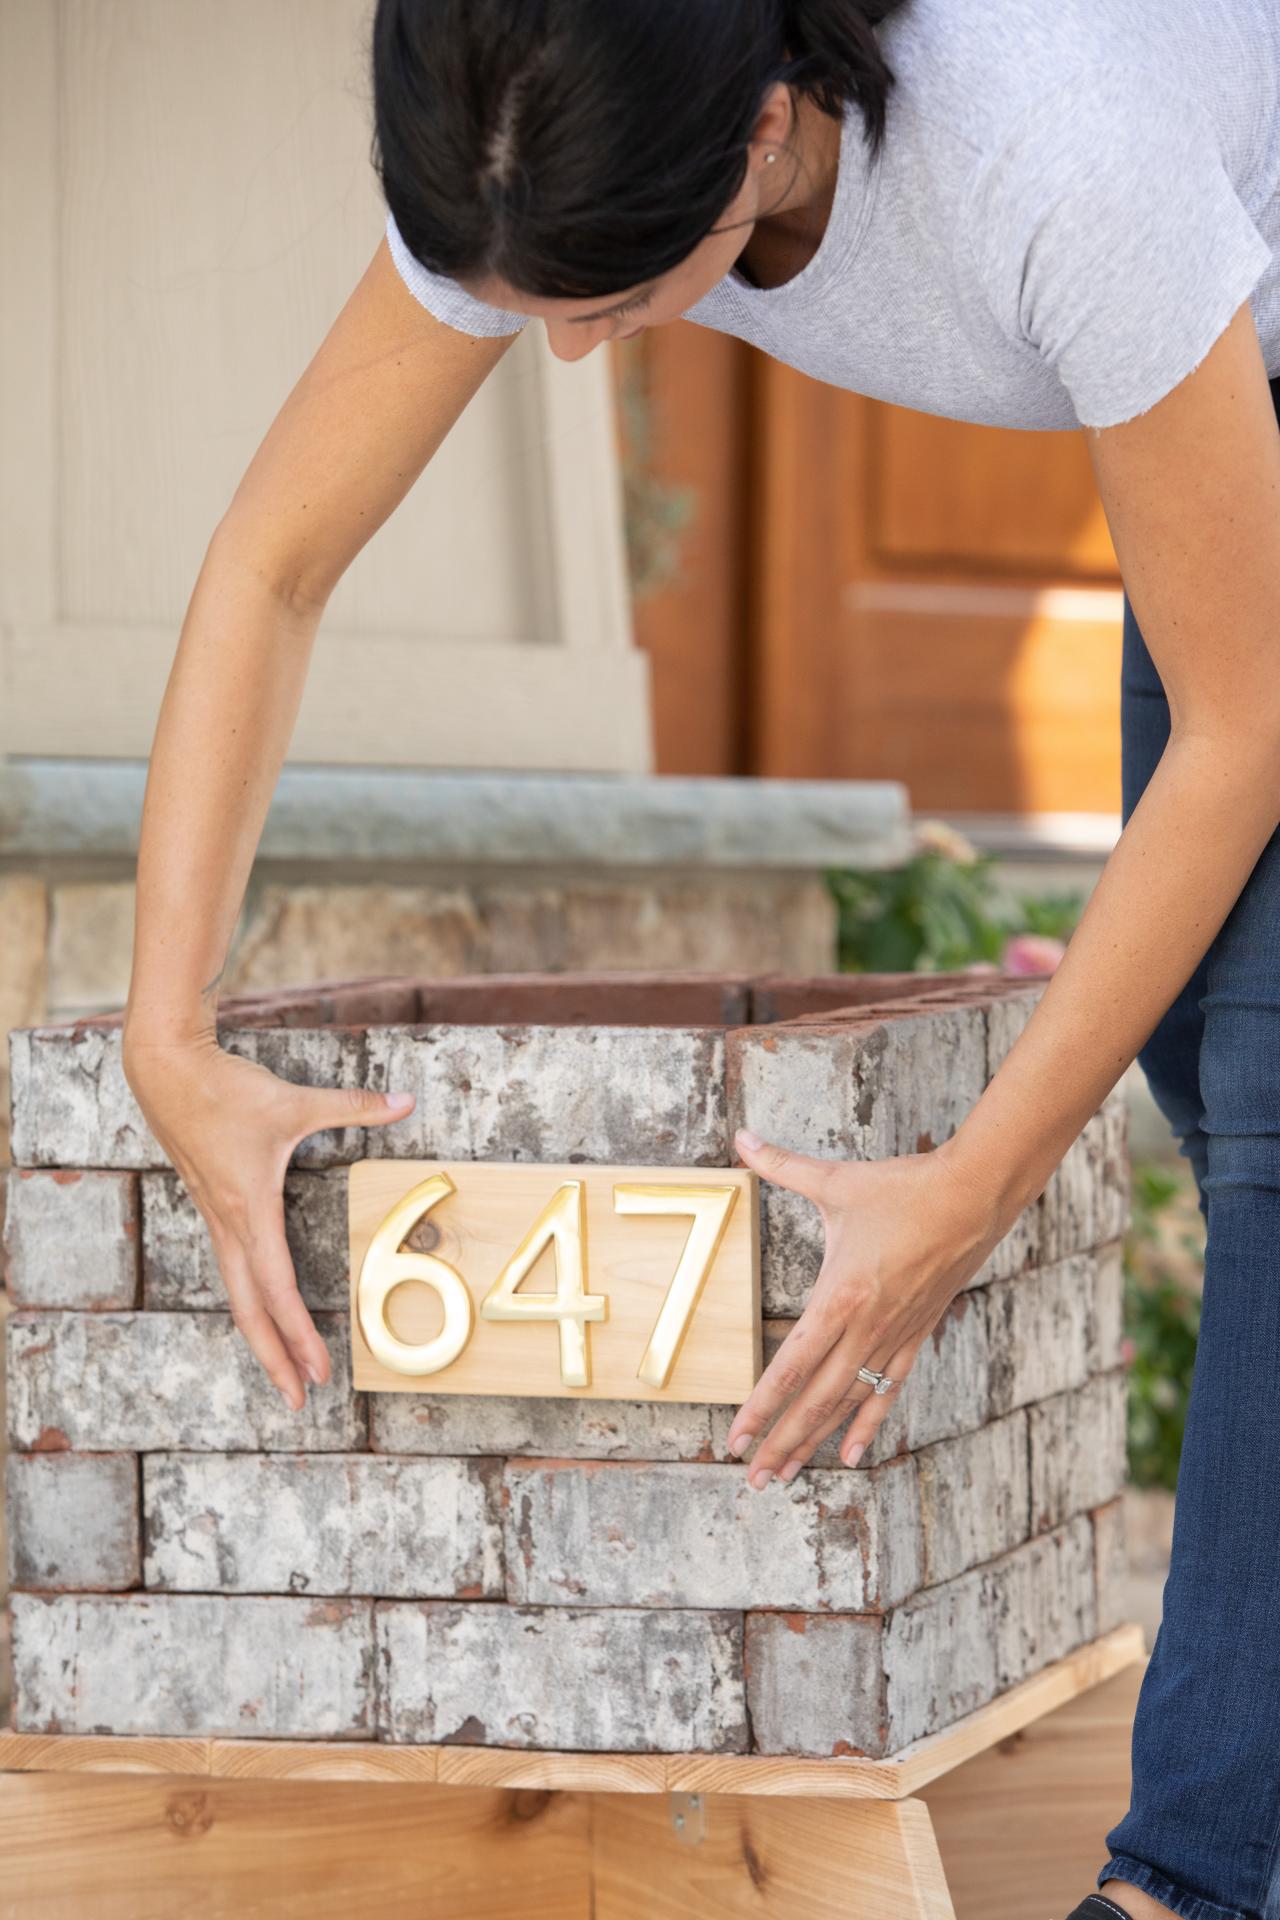
We recommend buying a custom plaque rather than trying to attach individual house numbers to the brick face. To hang the plaque, use a masonry bit to drill into the middle of the brick of your choice. Add a masonry screw. If your plaque requires more than one screw, be careful not to drill holes too close to the edge of a brick to avoid cracking. Before adding plants, cut a piece of landscaping fabric to fit the inner dimension of the planter and staple to the cedar base. All that’s left now is to fill your beautiful creation with potting soil and your favorite plants.

Elizabeth Wiseman


