


How to Easily Install Picture Frame Molding
Many modern homes don’t include architectural character in the form of moldings. The good news is that adding traditional picture frame wainscoting is a relatively inexpensive and high-impact project that can be completed in a weekend.


Materials Needed
- chair rail molding
- 1” wide decorative wood trim
- pencil
- miter saw (or miter box and hand saw)
- eye protection
- level
- scrap wood blocks
- nail gun and 1-1/4” finish nails (or a hammer and finish nails)
- spackle
- paintable caulk
- primer
- trim paint
- trim roller
- 2” angled-sash brush
Install Chair Rail
Use a miter saw to cut pieces of chair rail to size, mitering the cuts at the corners where the trim meets. Chair rail is typically installed at a height between 28" and 32” or a quarter of the height of the room’s ceiling. Mark the desired chair rail placement with a pencil, check trim with a level, and attach to the wall using 1-1/4" finishing nails. Tip: Always wear eye protection when working with power tools.

Determine Molding Spacing
It's helpful to assess the room and draw a diagram of the picture frame molding placement. This will help you determine how many boxes will be on each section of wall and allow you to create a detailed cut list. The other determination that needs to be made is the desired spacing around each box. For this tutorial, a 3” spacer was cut out of scrap wood to create a 3” border around each box. With these two decisions made, it will be easy to calculate your measurements for each cut. The vertical pieces will all be the same length, but the horizontal pieces will vary based on the size of the wall and number of desired boxes.

Cut + Install Molding
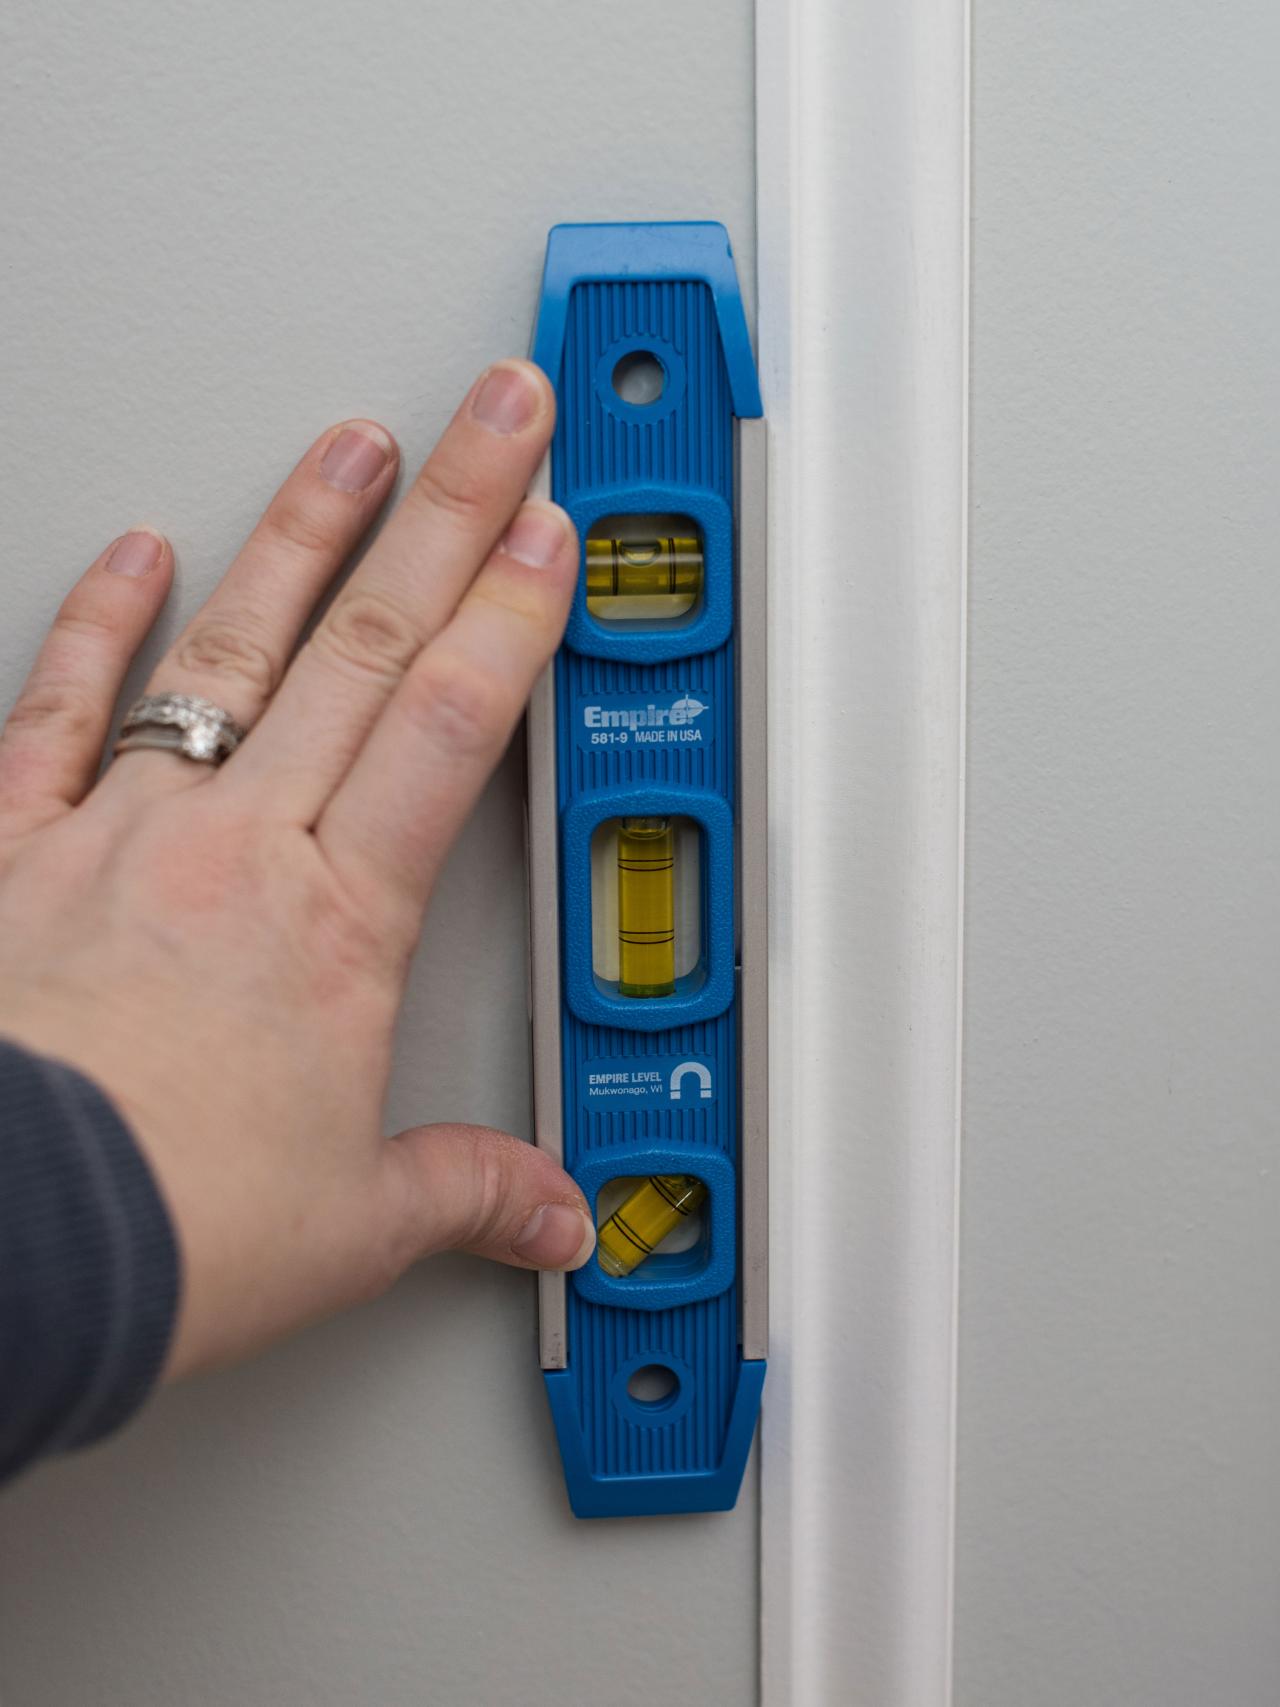
Once measurements are determined and double-checked, cut pieces for each molding box. You should have two identical vertical pieces and two identical horizontal pieces with the corners cut at a 45-degree angle, so they fit together to create a box. This angle is a standard setting on a miter saw (or miter box if a hand saw is being used). Dry fit the molding by positioning pieces on the wall to ensure a proper fit. Make adjustments if necessary. Once pieces are fitting properly, install the top, horizontal piece first. Use a spacer between the molding and chair rail and on the right and left side (Image 1) to determine proper placement. Double check with a level (Image 2) and affix to the wall using a nail gun and finishing nails (Image 3). Continue around the box, installing each piece in the same manner. Tip: Since the third and fourth pieces complete the box, dry fit them before installing.


Prime + Paint Trim
Once the chair rail and picture frame moldings are installed, there are a variety of ways the look can be completed. Either prime and paint the molding only, allowing the wall color underneath to act as a contrast, or prime and paint the molding and wall behind it to mimic wainscoting. If painting the wall, prime trim and wall together first, then finish with a satin, semi-gloss, or gloss trim paint applied with a trim roller and angled-sash brush.

Enjoy Your New/Old Space
Architectural accents, like this easy wainscoting technique, dress up any room, giving even brand-new construction the charm and character typically found only in older homes.


