


How to Craft a Trendy Fabric-Covered Tray
Give an old wooden tray a trendy new lease on life by covering it with upholstery fabric, then add a high-end finishing touch with a decorative pattern created with nail-head trim.

Traditional Living Room in Shades of Blue
An upholstered bench is a chic stand-in for a standard coffee table in this cozy, traditional living room.

Photo by: H. Camille Smith
H. Camille Smith
Materials Needed
wooden tray
scissors
upholstery fabric (a solid is easier to use than a pattern)
spray adhesive
nail-head trim
stencil (optional)
foamcore or heavy-duty cardboard
X-Acto knife
pencil
ruler
Kraft paper or newspaper
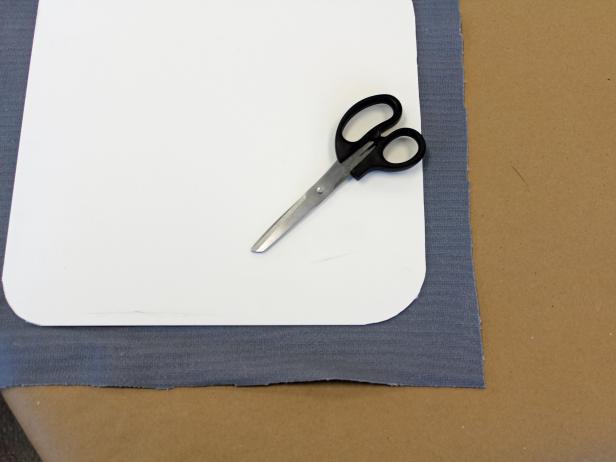
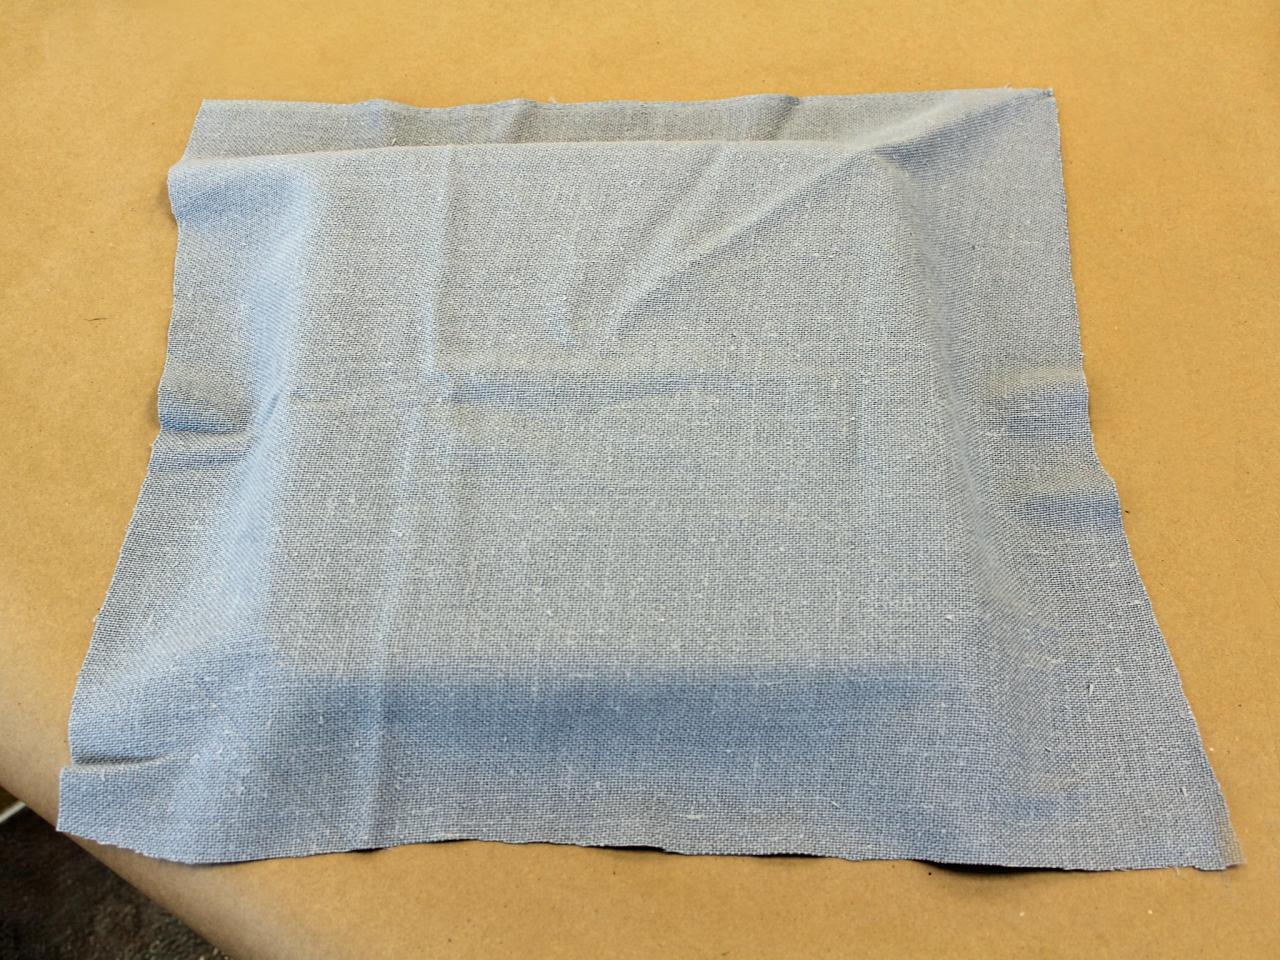
Cut Fabric and Cover Underside of Tray
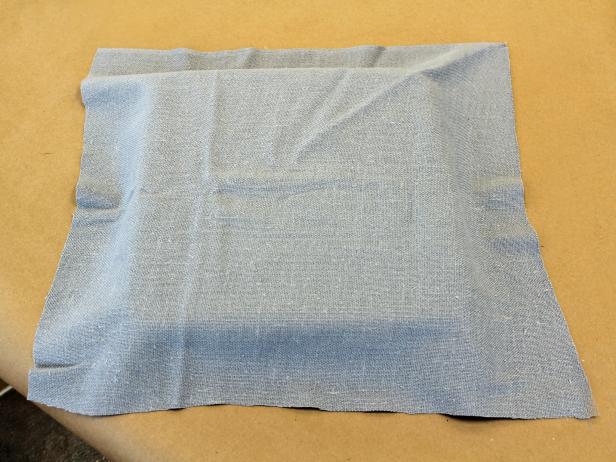
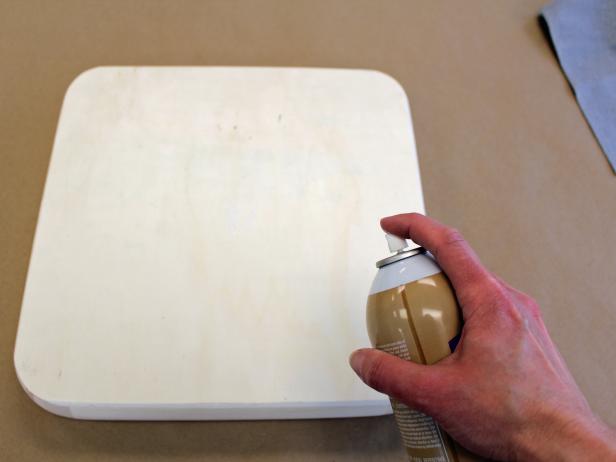
First, protect work surface with Kraft paper or newspaper. Place tray upside-down, then spread fabric over it to determine how much you’ll need. Cut fabric so you’ll have enough material to cover the bottom of tray, plus a few inches to wrap around sides onto front of tray (Image 1). Move cut fabric aside then coat bottom of tray with spray adhesive (Image 2). Allow glue to tack up for a minute or so, then center fabric over tray’s bottom and press down to securely attach it, using your hands to work out any wrinkles.
H. Camille Smith
H. Camille Smith
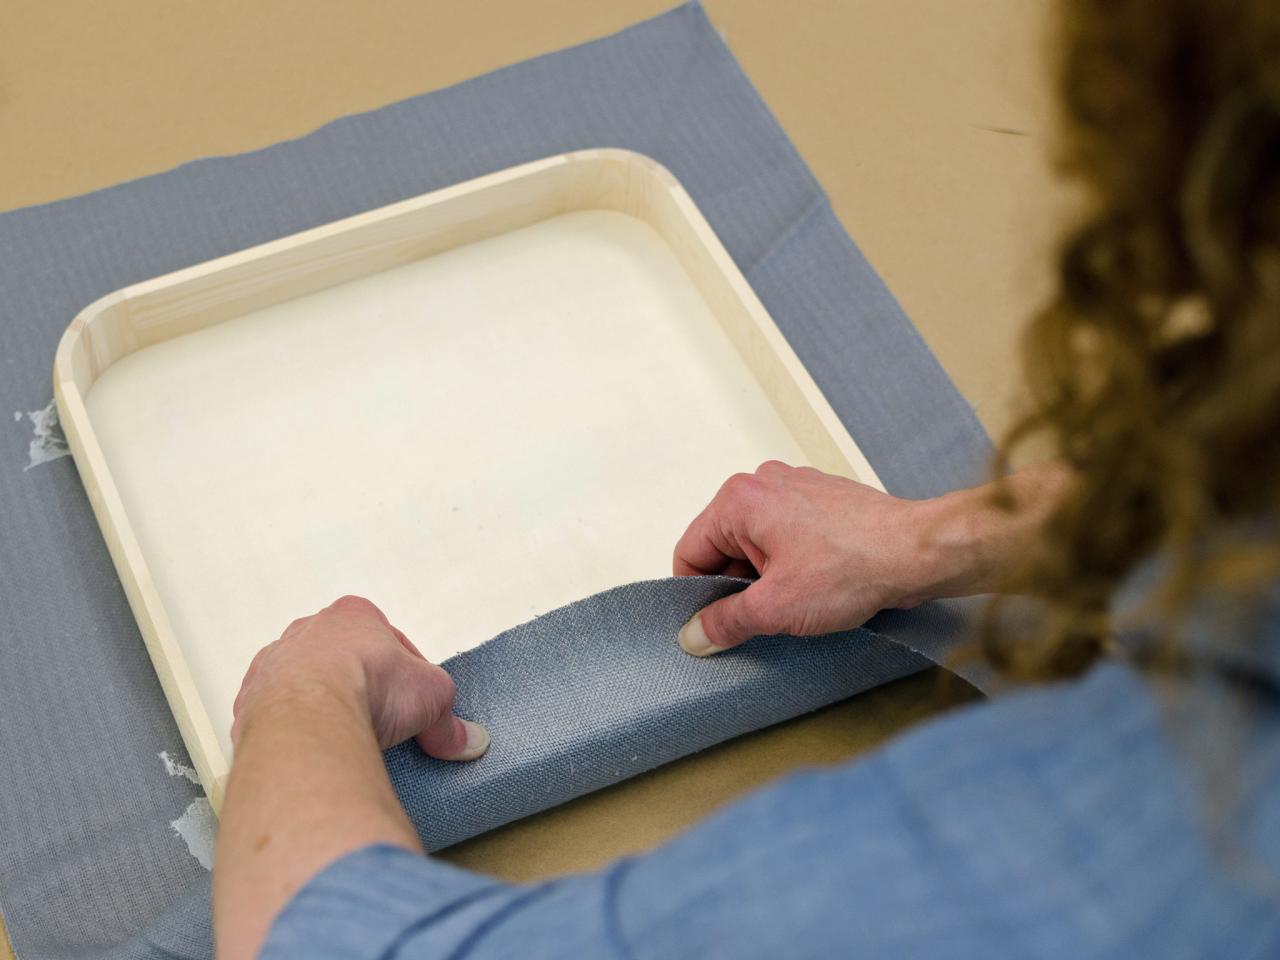
Cover Tray's Sides
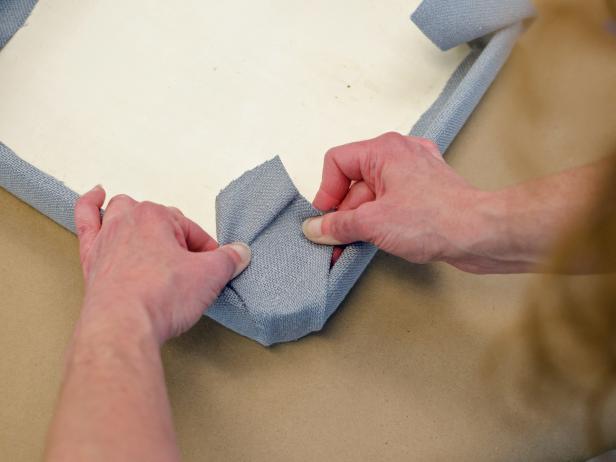
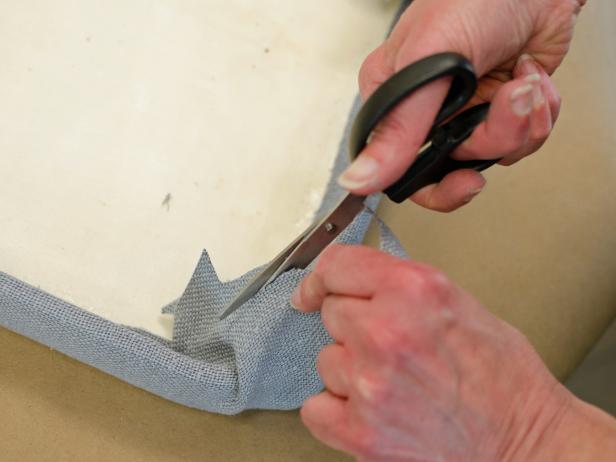
Flip tray over and coat the sides with spray adhesive. Wait a minute or so for the glue to tack up then firmly pull the fabric over the tray's sides, working out any wrinkles as you go (Image 1). Tip: To create tailored corners, attach the fabric to the center areas of all 4 sides of the tray first, leaving the corners free, then pull the fabric at each corner tight, tucking the excess under to create a pleated fold (Image 2). To eliminate bulky corners, note where your pleat edges fall, then cut away the excess fabric (Image 3).

H. Camille Smith
H. Camille Smith
H. Camille Smith
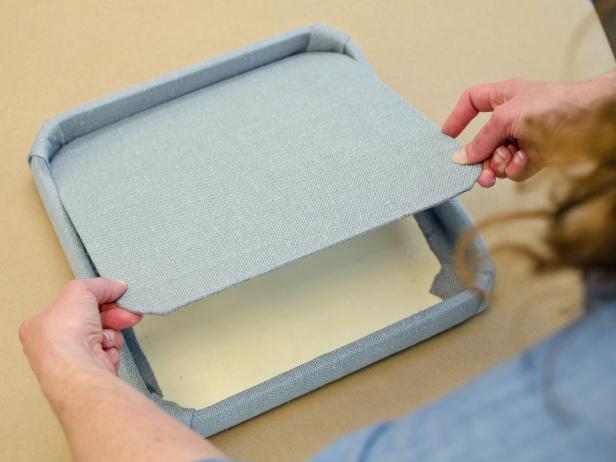
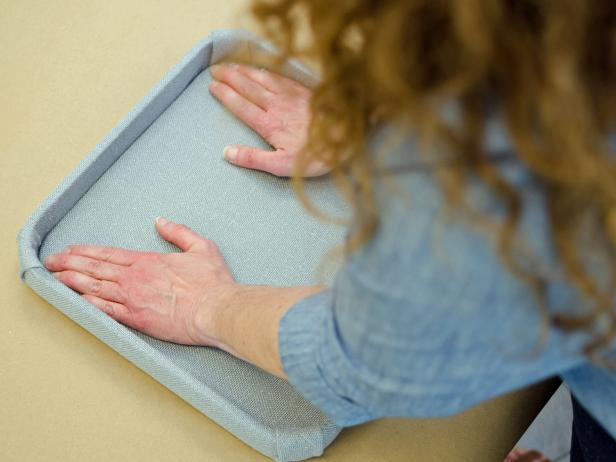
Create Upholstered Tray Insert
Measure inside dimensions of tray and cut a piece of foamcore that's a bit smaller. Tip: If your tray has rounded corners, use Kraft paper to create a pattern to ensure a perfect fit (Image 1). Use the ruler's straight-edge and an X-Acto knife to cut out foamcore shape. Cut a piece of fabric that's just a bit bigger than the foamcore (Image 2). Coat one side of the board with spray adhesive, cover with fabric and smooth out any wrinkles. Flip board over, add adhesive around edges and press fabric ends down. Insert fabric-covered board in tray and firmly push into place (Images 3 and 4).

H. Camille Smith
H. Camille Smith
H. Camille Smith
H. Camille Smith
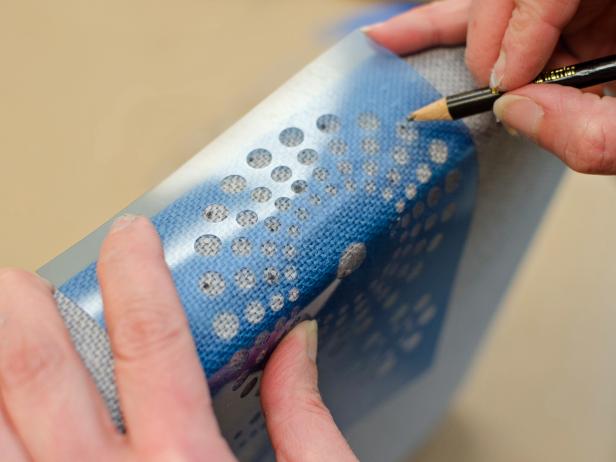
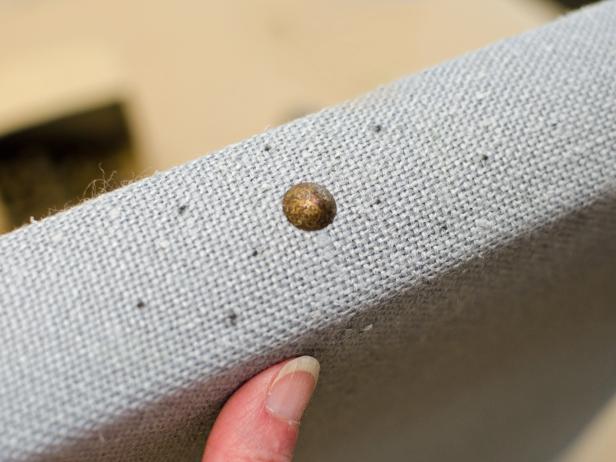
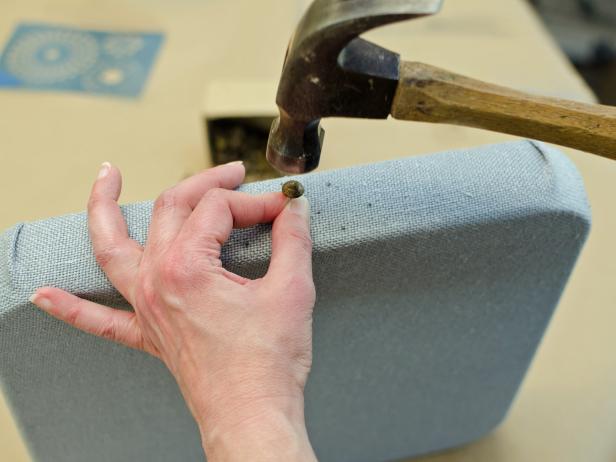
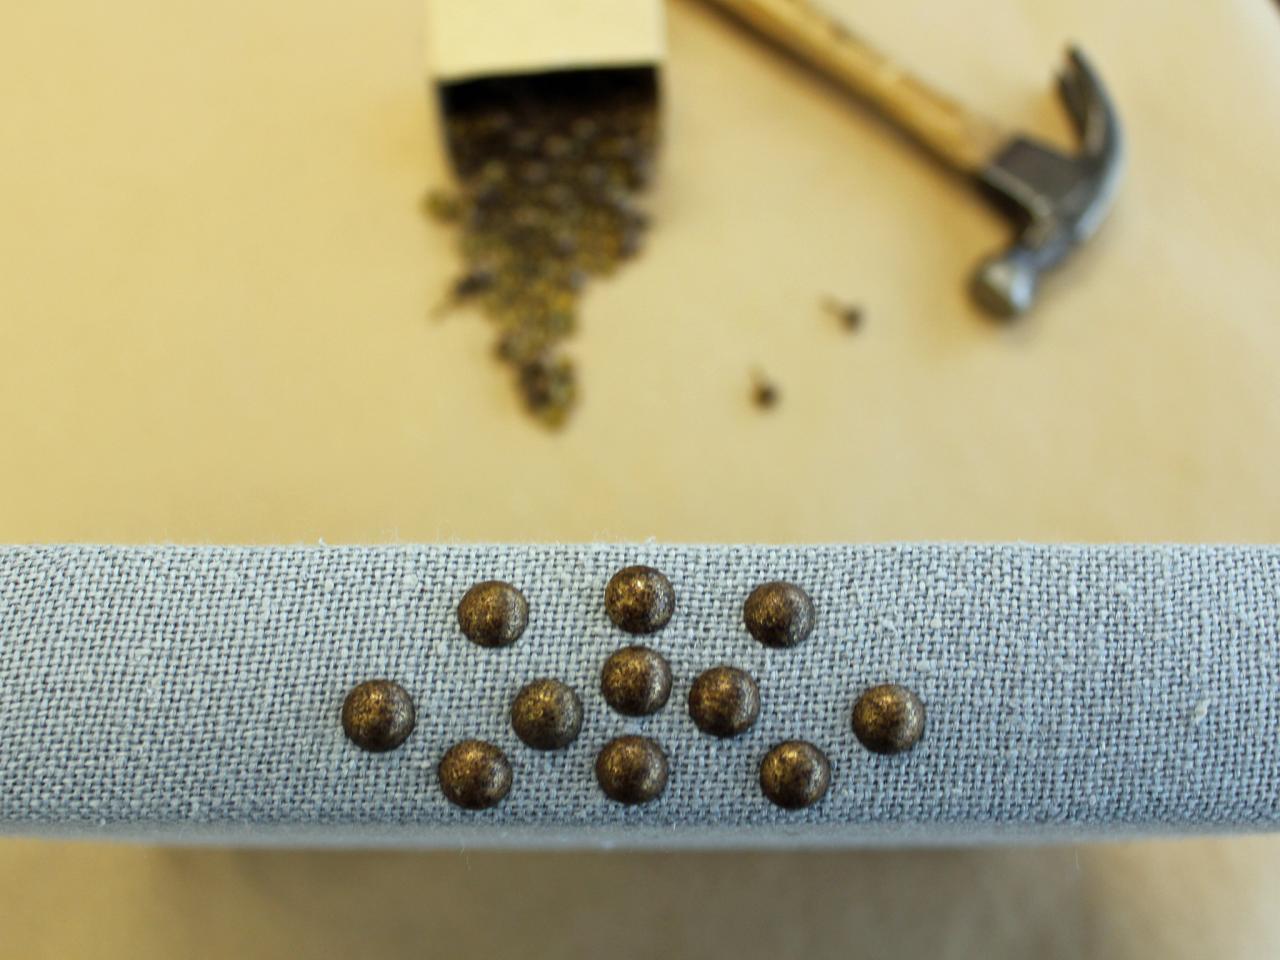
Embellish With Nail-Head Trim
Give your custom tray a glamorous finishing touch with nail-head trim. To determine placement, position a stencil on the tray's exterior sides and use a pencil to transfer the design (Image 1). Starting in the pattern's center (Image 2) and working your way out, tack nail heads into place with a hammer (Image 3). Continue adding nail heads till you're happy with the completed pattern (Image 4).
H. Camille Smith
H. Camille Smith
H. Camille Smith

H. Camille Smith
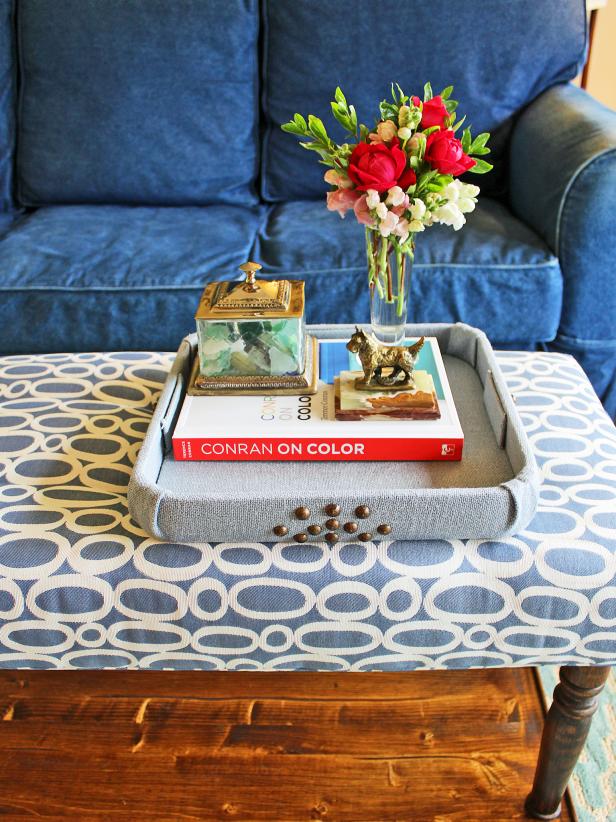
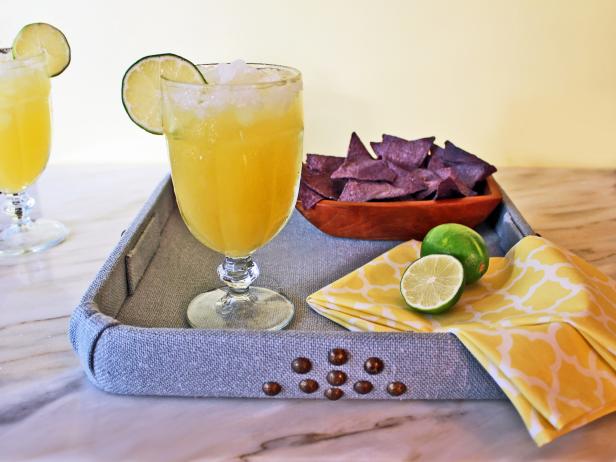
Put Your Pretty Tray to Work
Use your completed tray to corral tchotchkes, books or remotes on your coffee table (Image 1) or use it for stylishly serving cocktails (Image 2).
H. Camille Smith
H. Camille Smith
Traditional Living Room With Fabric Tray
Covering a plain or dated tray with fabric is an easy way to tie it in with your decor. Your trendy new tray can then be used to corral coffee table necessities or as a cocktail tray when entertaining.
Photo By: H. Camille Smith
Tropical Margarita
Mix up this classic lime margarita with a tropical twist to enjoy a summery sip any time of the year.
Photo By: H. Camille Smith


