


How to Install Snap-Together Laminate Flooring
If you’re looking for budget-friendly flooring that stands up to kids and pets, laminate is a great option. Learn how to easily install snap-together laminate flooring in your home.

Jalynn Baker
Whether you're looking to replace your dated carpet, turn your garage into an apartment, home office or gym, or you just need a quick, inexpensive way to cover up an existing floor, snap-together laminate flooring is a great solution. There are plenty of styles to choose from, and nearly all are budget-friendly, durable and easy on the eyes.
Materials Needed
- snap-together laminate flooring
- plastic sheeting
- duct tape
- table saw
- chop saw
- rubber mallet
- tape measure
- tapping block
- compass
- jigsaw
- baseboard
- shoe molding
- finish nails
- hammer
- nail set
- wood putty
- block sander
- all-purpose caulk
- trim paint
- paint brush
Buy Flooring
Ideally, you should have your new laminate in your home ahead of installation day to allow it to acclimate to your home's environment for at least 48 hours. This will help prevent warping after installation. To figure out how much you need, multiply the room's width by its length to find the total area, then tack on an extra 5 to 10 percent to account for cuts and mistakes.
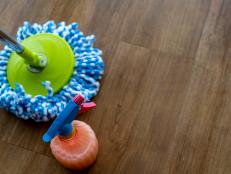
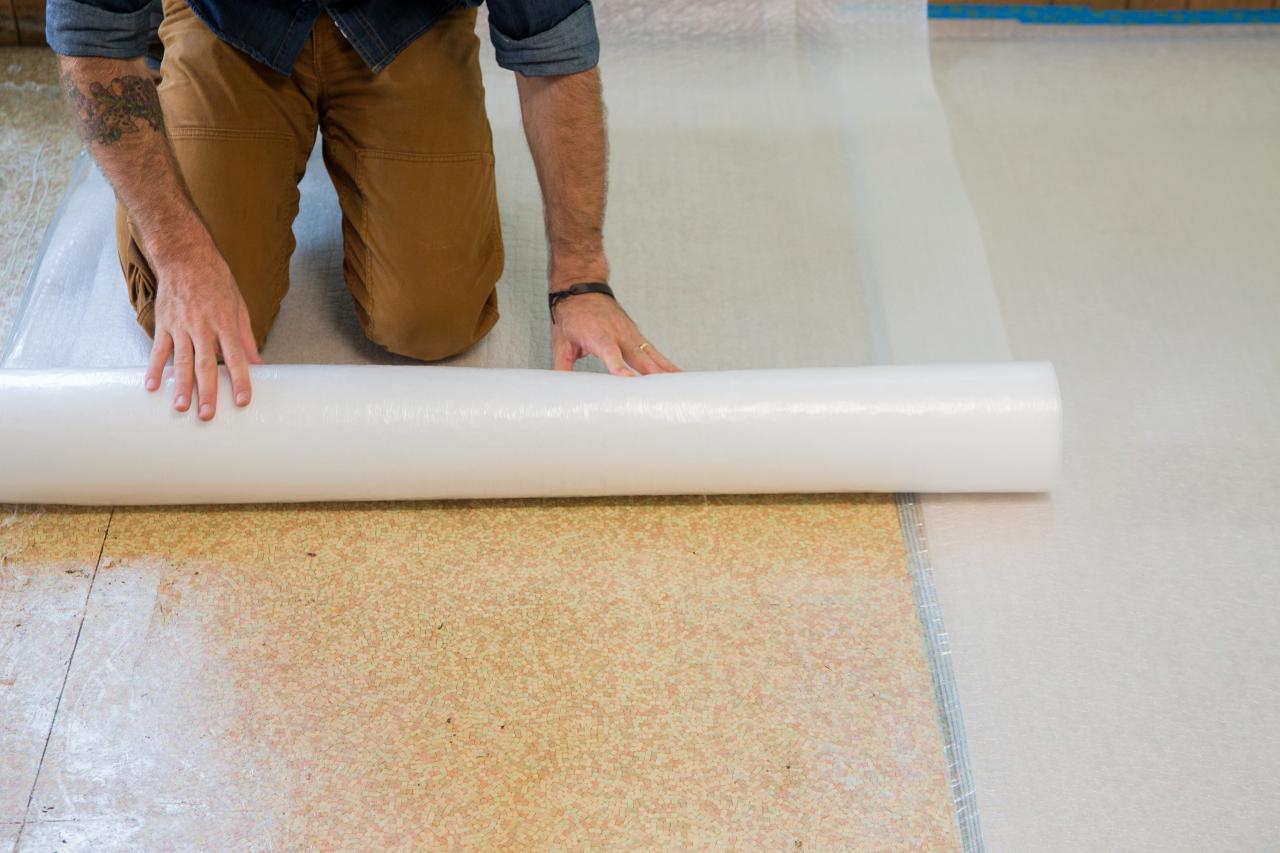
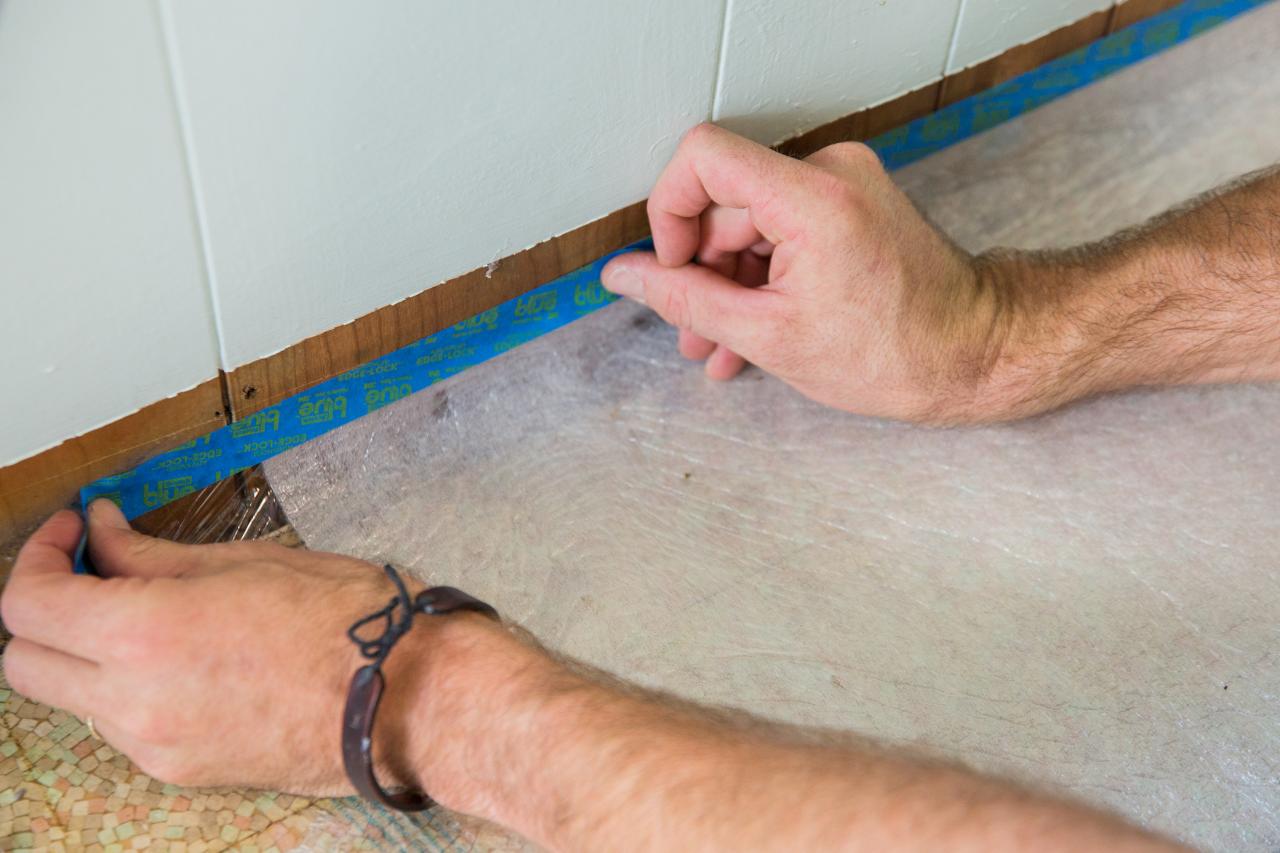
Prep Subfloor
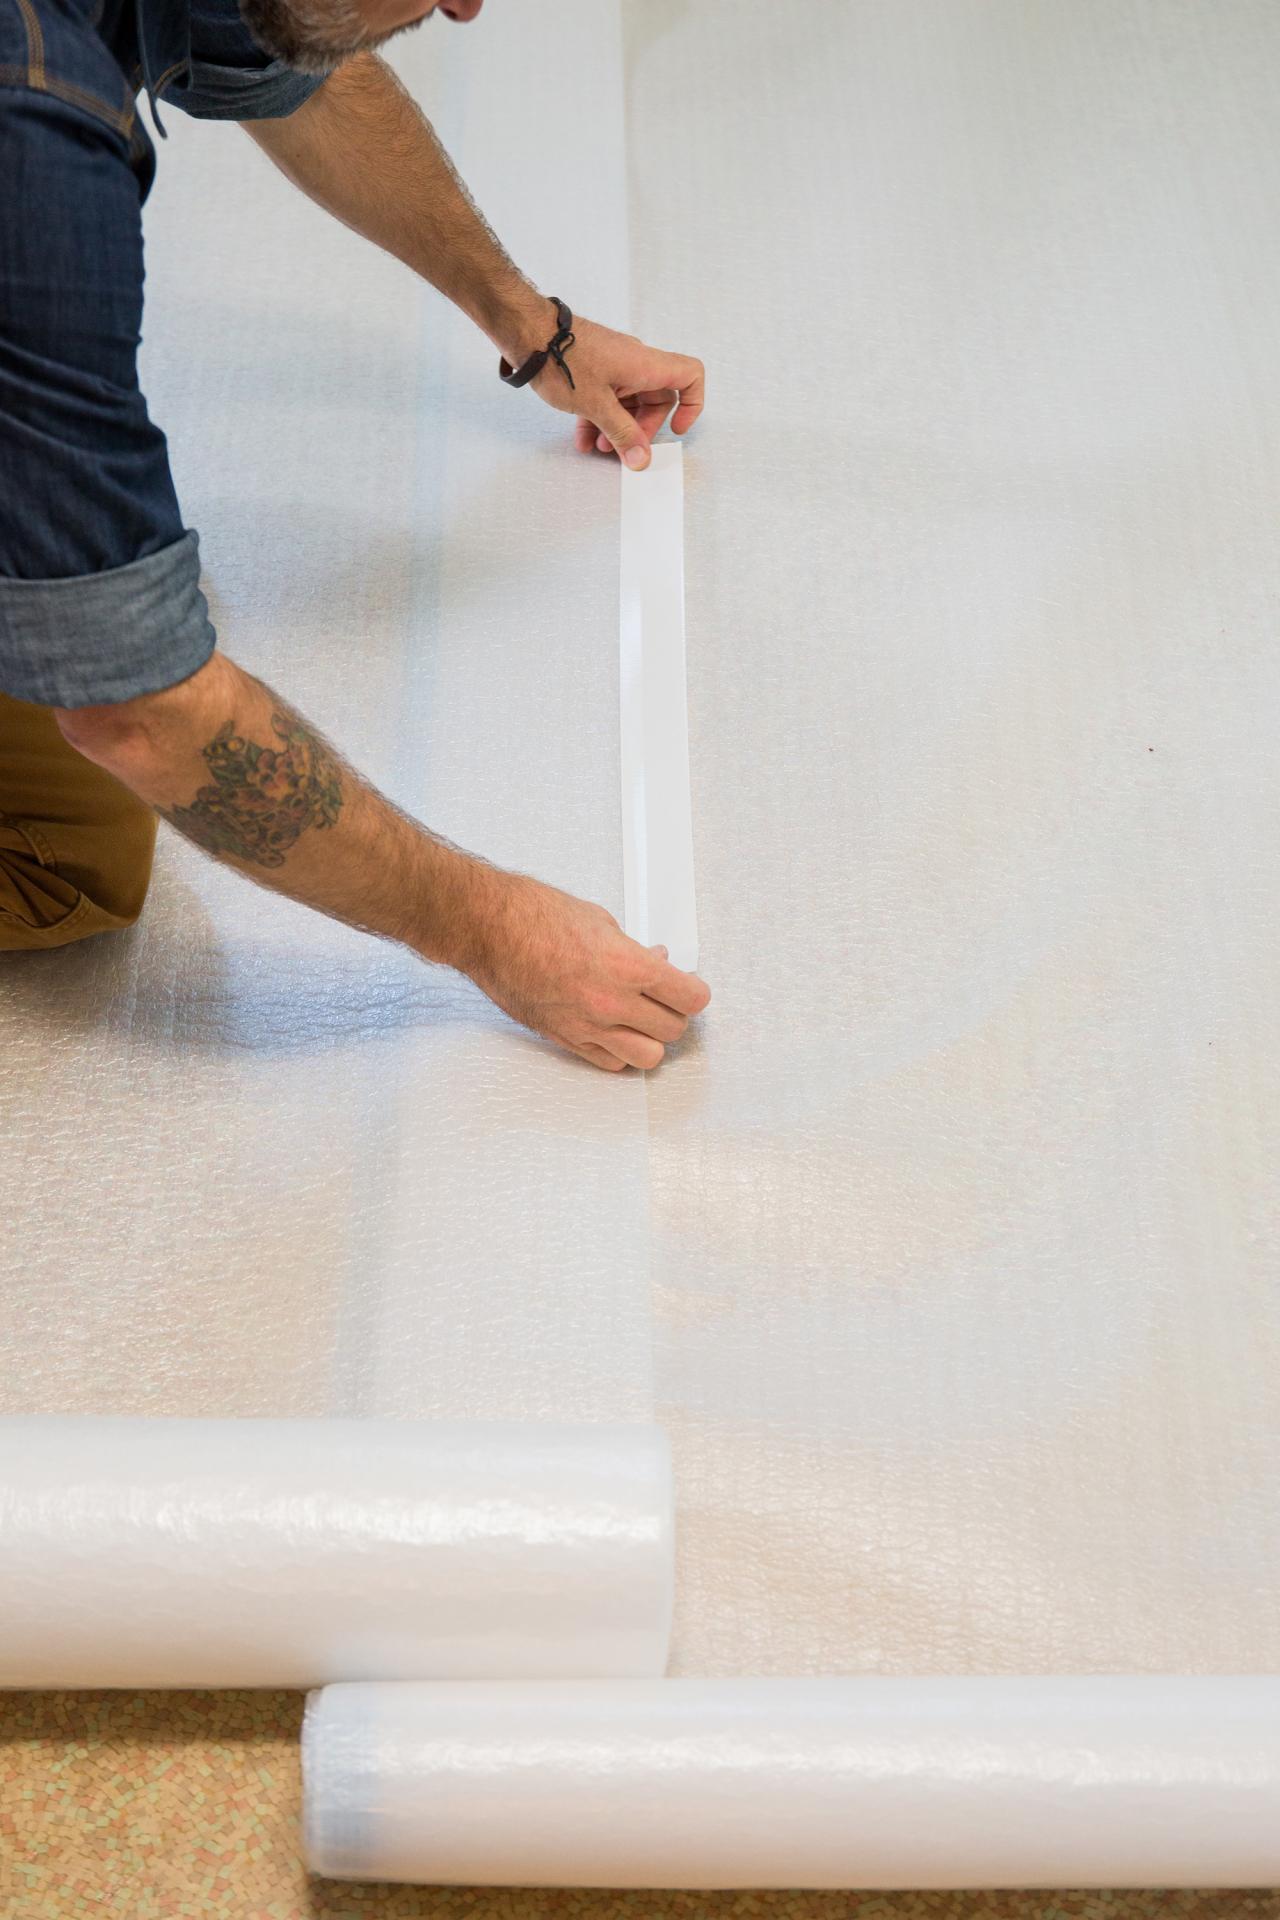
Thoroughly clean the subfloor to remove all debris and ensure the floor is level. Directly on the subfloor, install a layer of plastic sheeting to create a moisture barrier (Image 1). Tape the sheeting to the wall two inches above the floor using painter's tape (Image 2). If needed, use duct tape to overlap the edges of the plastic by 6 inches (Image 3).

Jalynn Baker

Jalynn Baker

Jalynn Baker
Install First Row of Flooring
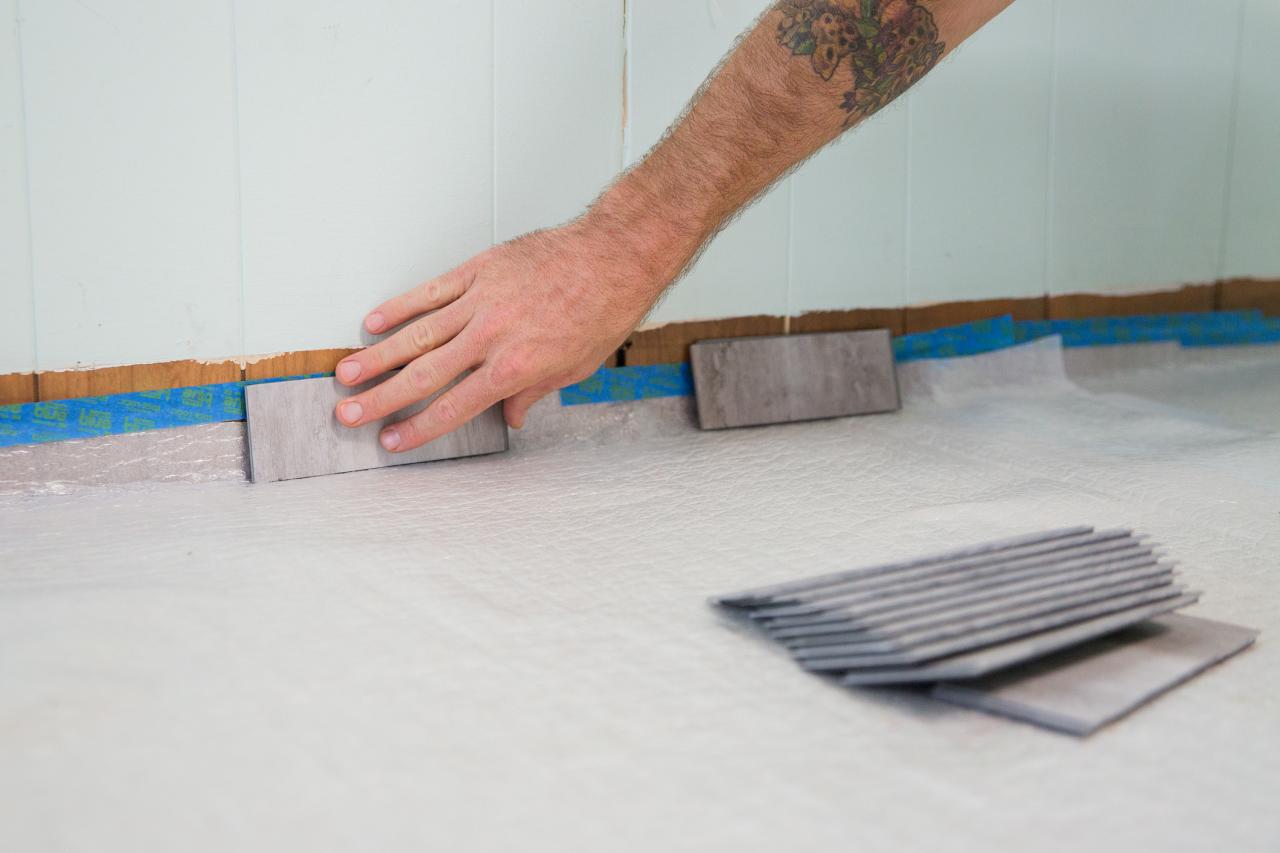
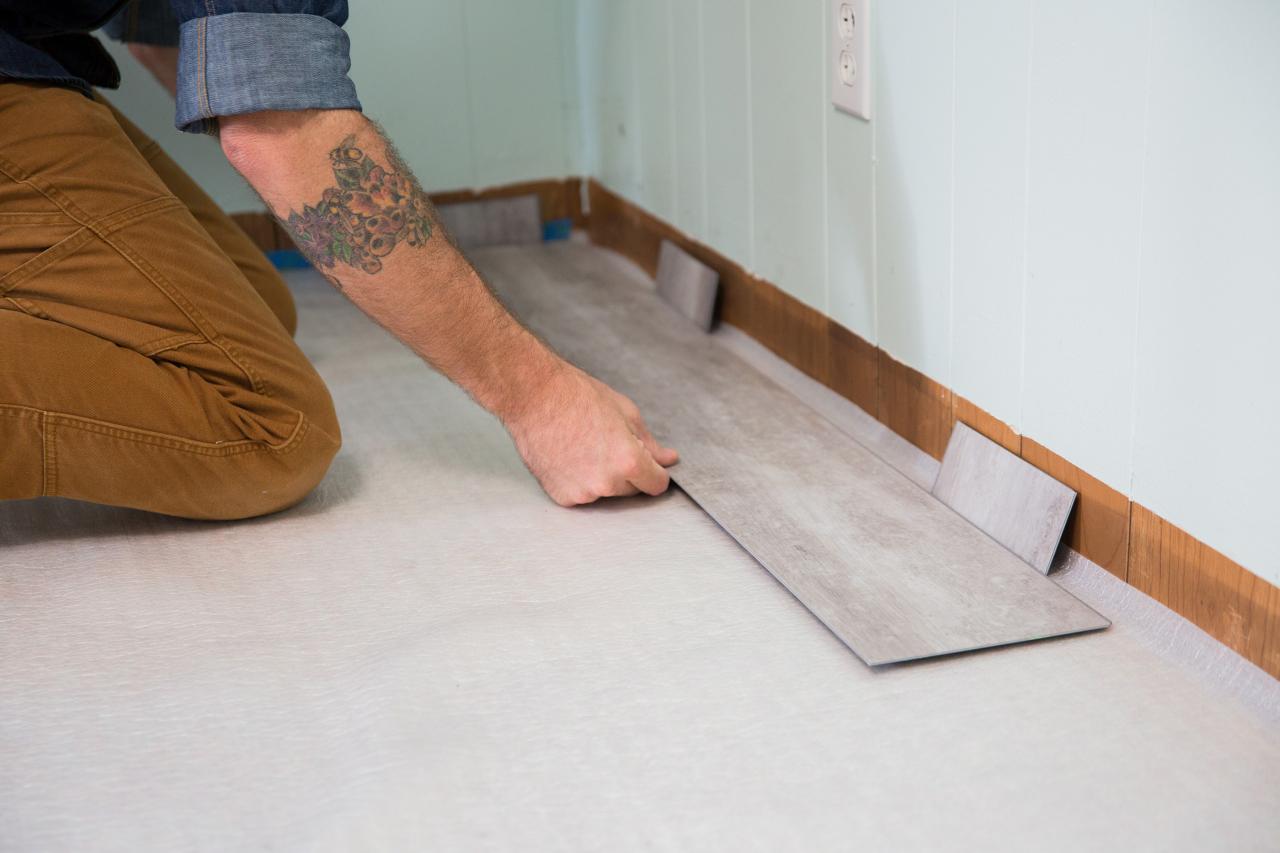
Use small sections of planks as spacers to hold the flooring away from the wall about 1/4 inch (Image 1). The spacers will allow for natural expansion to occur around the perimeter of the floor after installation. Using a table saw, rip the boards for the first row to remove the tongue. This ensures the true edge of the board will rest against the spacers, so the expansion gap will not be too large for the baseboard to cover. Install the first row against the spacers both on the side and end (Image 2). Trim the last plank to length to fit so that it ends 1/4 inch from the wall.

Jalynn Baker

Jalynn Baker
Pro Tip: If your particular flooring is too thick to use as a spacer, 1/4-inch tile spacers will do the trick.
Continue Installing Floor
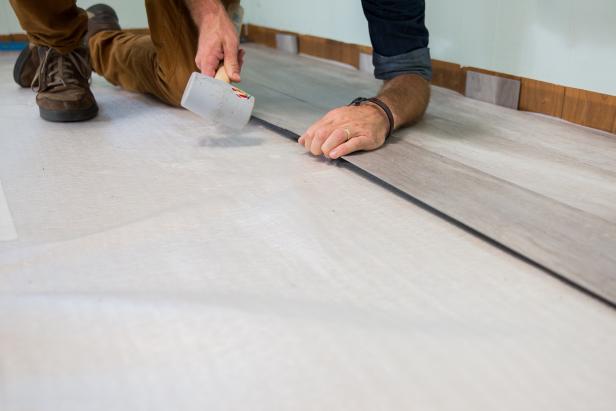
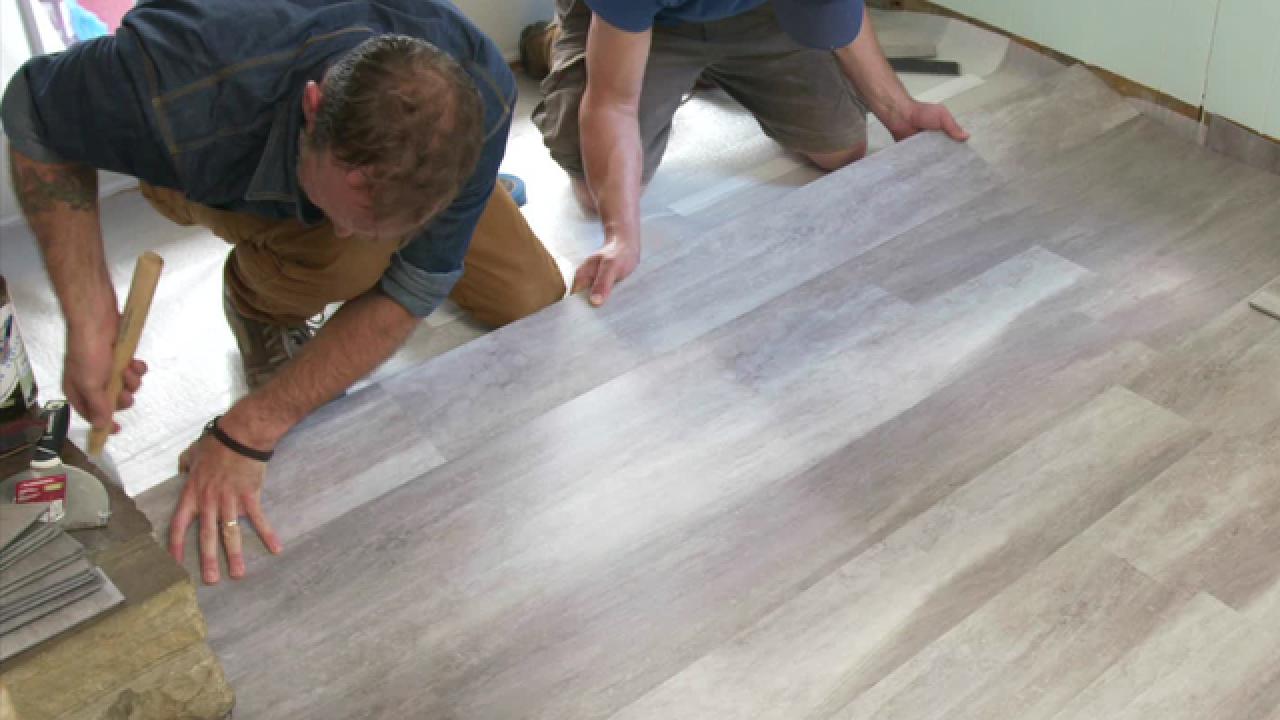
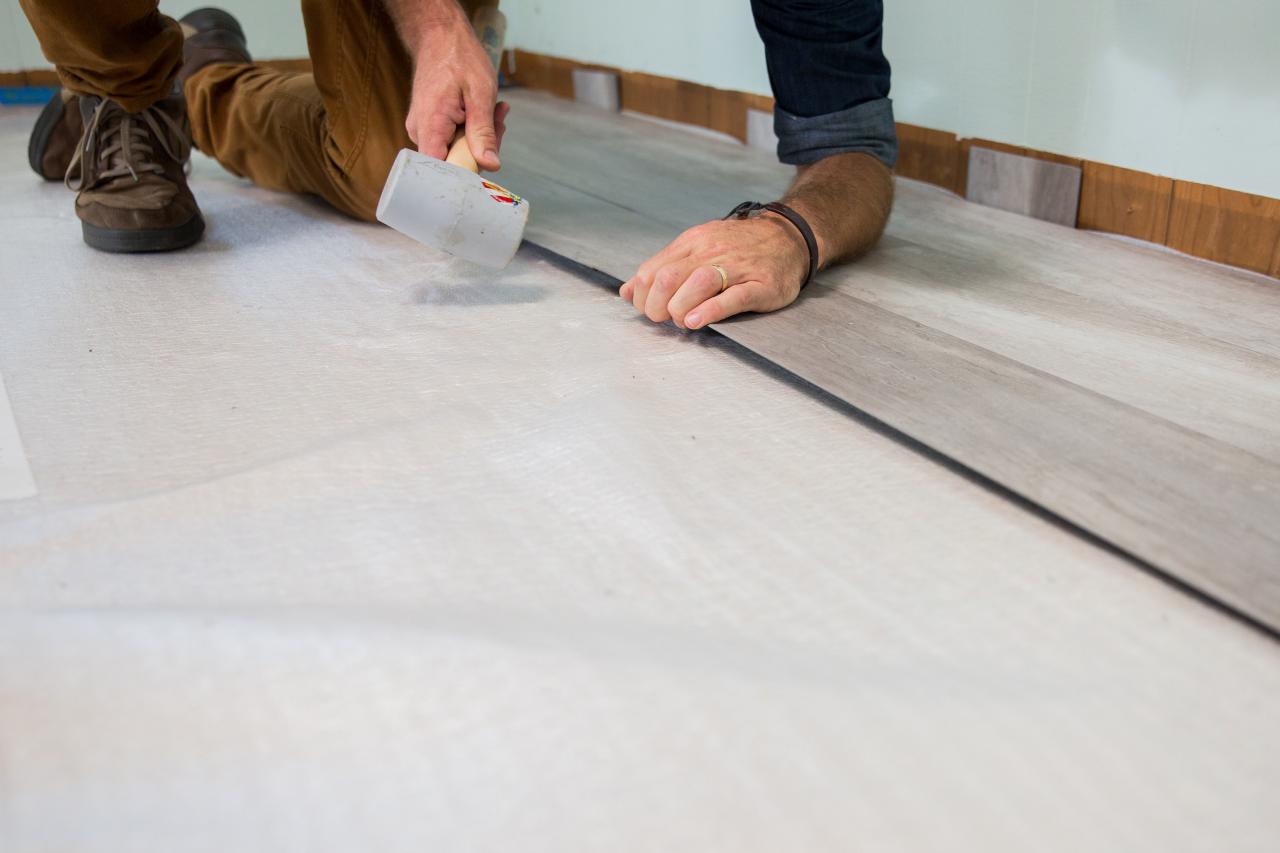
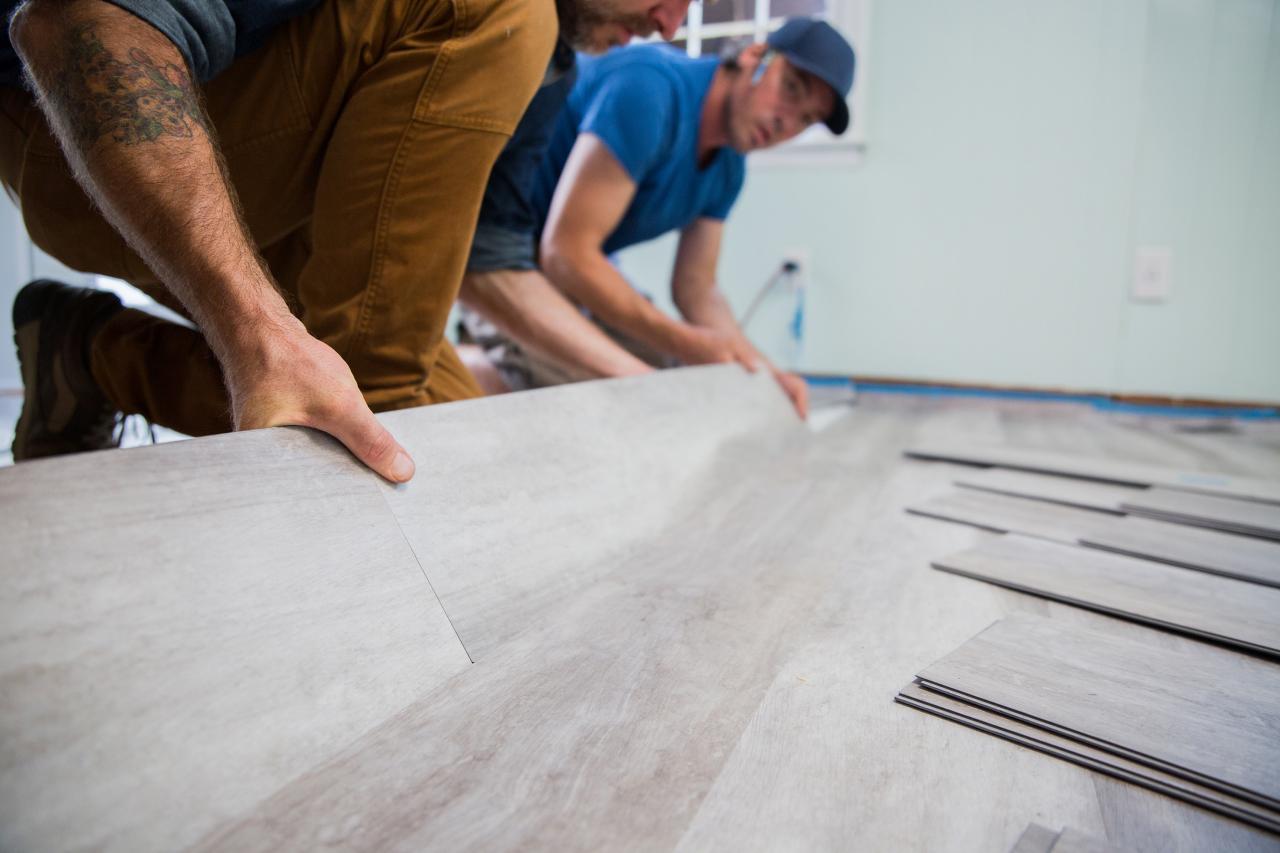
Use the short trimmed section of the previous row to start the next row. This will ensure the joints between planks in a row are staggered from the joints in adjoining rows. The laminate flooring in this project has a soundproof backing and wood finish. It snaps together by lining up at an angle and then flattening out the row being installed. To save the edges of the flooring boards, use a tapping block or rubber mallet to tap adjoining rows together (Image 1). This will prevent damage to the tongue or groove from the hammer.
When installing the next plank in the row, approach the groove at a 45-degree angle to allow the tongue to easily slide into place, lower until flat and tap the plank against the previous plank in the row with a mallet (Image 2). Continue across the room until you reach the far side. Trim the last row so it ends 1/4 inch from the wall. Repeat until the entirety of the room is covered, minus the last row.
Jalynn Baker

Jalynn Baker
Install Final Row
For the final row, the odds of a straight, full piece fitting are slim to none. Slight irregularities will require your final piece to be modified to fit. To ensure a snug fit, place your board against the wall and use a compass to scribe the wall's profile onto the board. To set your compass, place the laminate flooring piece against the wall, parallel with your last joint. Measure the amount of overlap between the boards excluding the tongue and use this number, plus 1/4 inch for expansion, to find your compass distance. This will also be where the board should be positioned when you scribe it (Image 1). Once scribed, cut along the line with a jigsaw (Image 2).


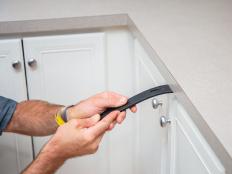
Install Baseboards and Molding
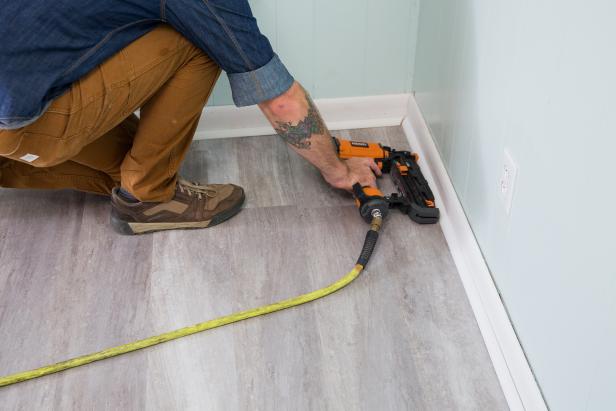
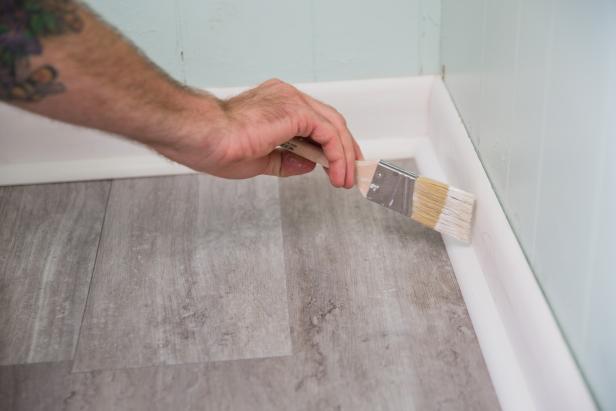
Remove the spacers around the border and install baseboard and shoe molding, covering the plastic moisture barrier on the wall and the gap between the wall and the flooring (Image 1). Use a nail set to set the heads slightly below the surface of the molding and fill with wood putty (Image 2). Let the putty dry, then lightly sand to make sure the surface is even. Once sanded, caulk the joints between the wall and baseboard, as well as the joint between the shoe molding and baseboard. Once the caulk is dry, paint the trim (Image 3).
Jalynn Baker

Jalynn Baker
Jalynn Baker
Pro Tip: A quick and easy way to fill small trim nail holes is to wipe them with all-purpose caulk. This method requires no sanding and is ready for paint in 30 minutes.

Don't Make These Mistakes
Need more tips? Read our expert advice to learn what you need to know before installing laminate flooring.


