How to Frame a Mirror
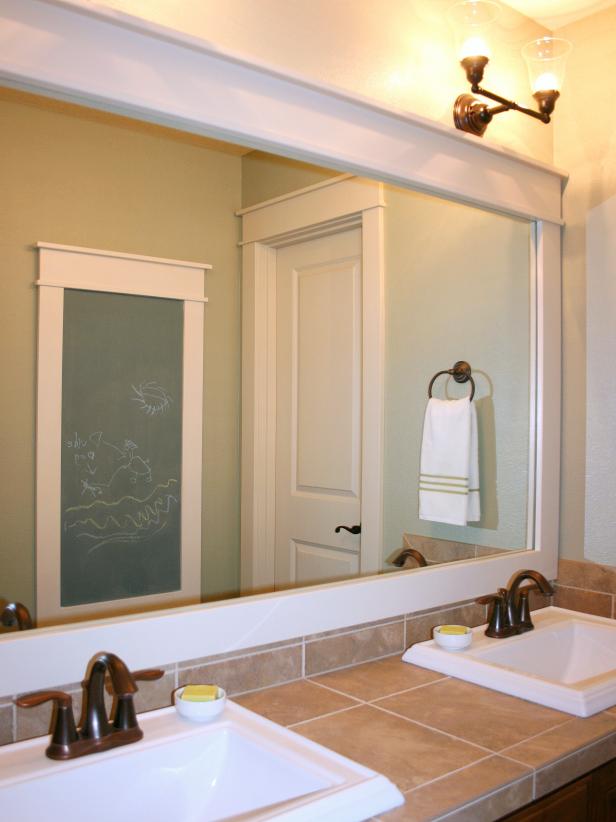
Transform the look of a bathroom by installing decorative trim around a plain plate-glass mirror.
Bathroom with Large Mirror and Chalkboard

How to Frame a Plate-Glass Wall Mirror

Transform the look of a bathroom by installing decorative trim around a plain plate-glass mirror.

How to Frame a Mirror
Loading Video...
By: Janell Beals

Materials Needed:

  • 70-1/2" length 4 1/2" wide primed MDF baseboard
  • 70-1/2" length 3 1/2" wide primed MDF baseboard trimmed down to 1"
  • 70-1/2" length 3 1/2" wide primed MDF baseboard trimmed down to 1 1/2–"
  • 38-1/2" lengths 3 1/2" wide primed MDF baseboard (2)
  • 63-1/2" length 3-1/2" wide primed MDF baseboard
  • tape measure
  • paneling adhesive
  • extra-strength wood glue
  • caulk
  • level
  • latex paint
  • latex paint extender
  • extra-fine sanding pad
  • paint brush
  • painter's tape
  • tack cloth
  • drop cloth

Step 1: Measure Mirror and Select Frame Style

Determine trim style and positioning of trim around mirror to obtain measurements specific to mirror being framed. Use measurements to cut lengths of primed MDF baseboard. Tip: Have materials cut at a home improvement store and consider using style of door casings in home as inspiration for the look of the mirror frame.
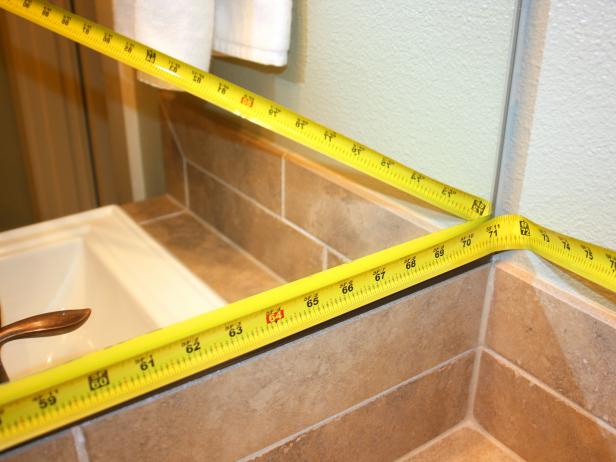
Measuring Tape Against Bathroom Mirror

Step 1: Measure Mirror and Select Frame Style

Determine trim style and positioning of trim around mirror to obtain specific measurements. Use measurements to cut lengths of primed MDF baseboard. Tip: Have materials cut at a home improvement store and consider using style of door casings in home as inspiration for the look of the mirror frame.

Step 2: Prepare Work Area

Gather required materials. Lay out lengths of trim on flat working surface.
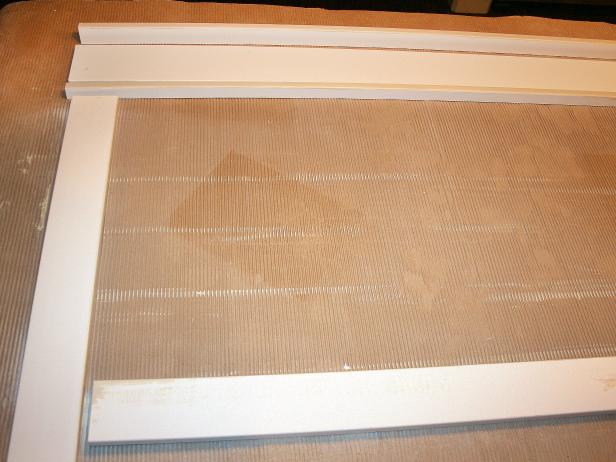
Pieces of White MDF Board Laying on Work Surface

Step 2: Gather Trim Pieces

Gather required materials. Lay out lengths of trim on flat working surface to envision finished product.

Step 3: Paint Back Sides

Add latex paint extender to paint, lengthening drying time and minimizing brush strokes. Paint back side of trim along edges that will extend over edges of mirror. Let dry two hours.
Tip: The back edges will be reflected in mirror.
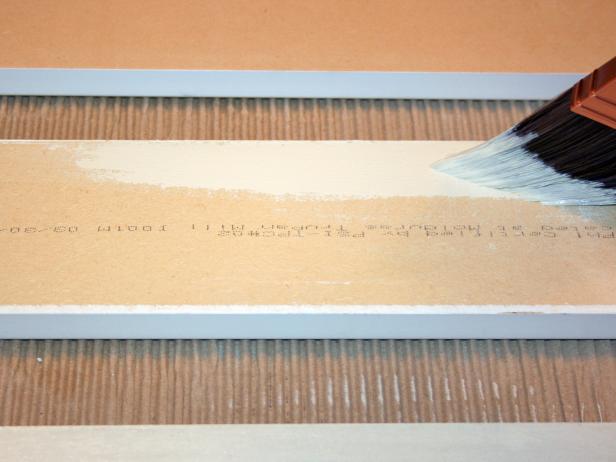
Paintbrush Applies Paint to Back of MDF Board

Step 3: Paint Backside of Trim

Add latex paint extender to paint, lengthening drying time and minimizing brush strokes. Paint backside of trim along edges that will extend over mirror. Let dry two hours. Note: The back edges will reflect in mirror.

Step 4: Paint Trim

Paint front sides and edges of trim. Let dry two hours.
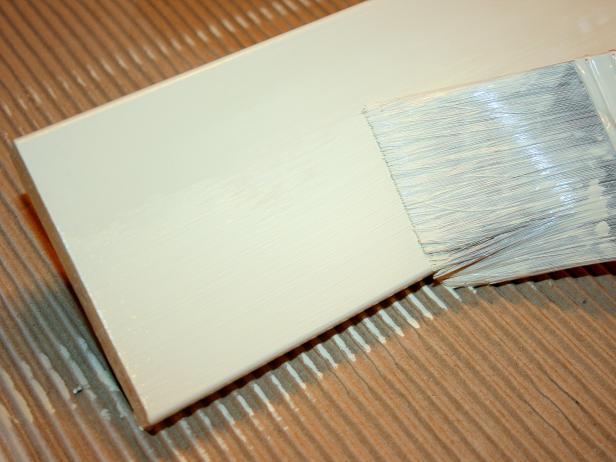
Paintbrush Applies Paint to MDF Board

Step 4: Paint Trim

Use soft-bristled paintbrush to paint front and edges of trim. Let dry two hours.

Step 5: Sand

Use extra-fine sanding pad to lightly sand surfaces. Wipe clean with tack cloth.
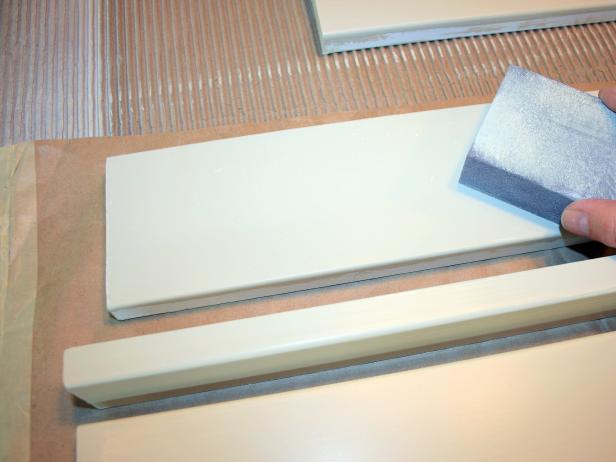
Sanding White Trim

Step 5: Sand MDF Board

Use extra-fine sanding pad to lightly sand surfaces. The smoother the wood, the easier painting will be. Wipe clean with tack cloth.

Step 6: Glue Top Frame Together

Glue three lengths of MDF baseboard forming top frame with extra strength wood glue. Press pieces firmly together. Let dry two hours.
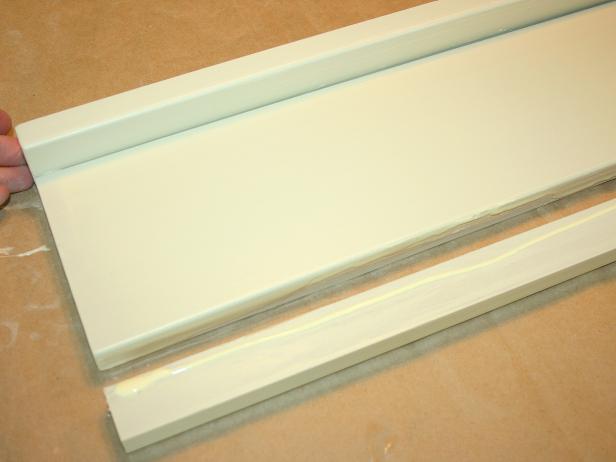
Three Pieces of White MDF Board Glued Together

Step 6: Glue Top Frame Together

Using extra-strength wood glue, adhere three lengths of MDF baseboard to form top frame. Press pieces firmly together. Let dry two hours.

Step 7: Caulk Joints

Run a bead of caulk along seam joints. Smooth caulk line and wipe away any excess. Let dry one hour.
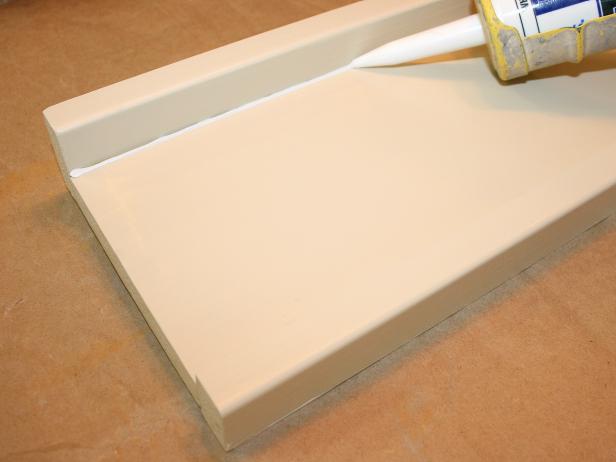
Caulking Joints of MDF Baseboard

Step 7: Caulk Joints of Frame

Run a bead of caulk along seam joints. Smooth caulk line and wipe away any excess. Let dry one hour.

Step 8: Apply Touch -Up Paint

Paint over caulk by lightly brushing layer of paint along joint.
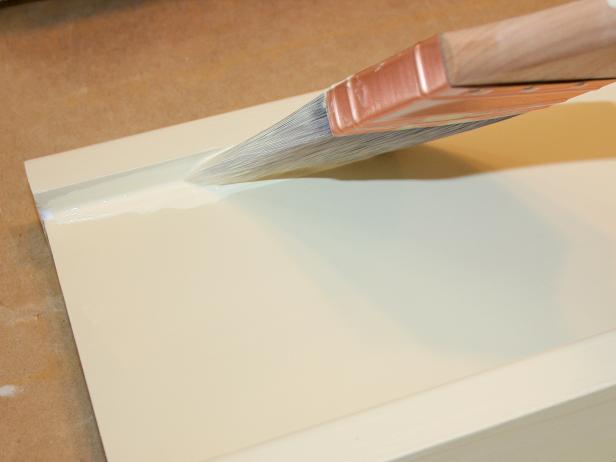
Paintbrush Smooths Paint Along Joint Seam

Step 8: Apply Touch-Up Paint

Paint over caulk by lightly brushing layer of paint along join seam.

Step 9: Apply Second Coat of Paint

Paint a second layer of paint over fronts and sides of trim. Let dry 12 hours before installation.
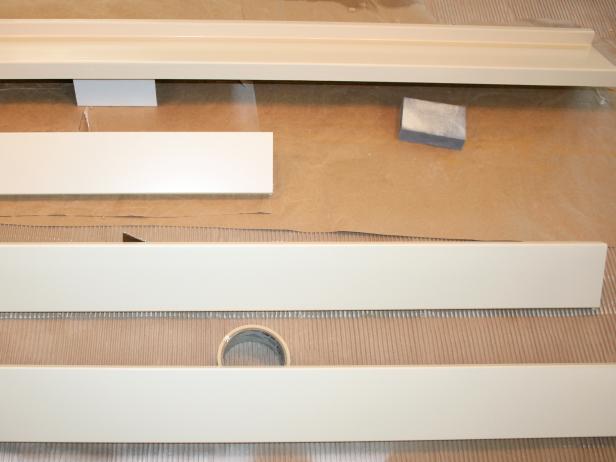
Whitewashed Pieces of Trim Dry on Crate Paper

Step 9: Apply Second Coat of Paint

Apply at least two coats of paint to wood that will be used as frame for your bathroom mirror. Let dry on non-stick paper for 12 hours before installation.

Step 10: Install Top Frame

Apply paneling adhesive to area where top frame piece will be positioned.
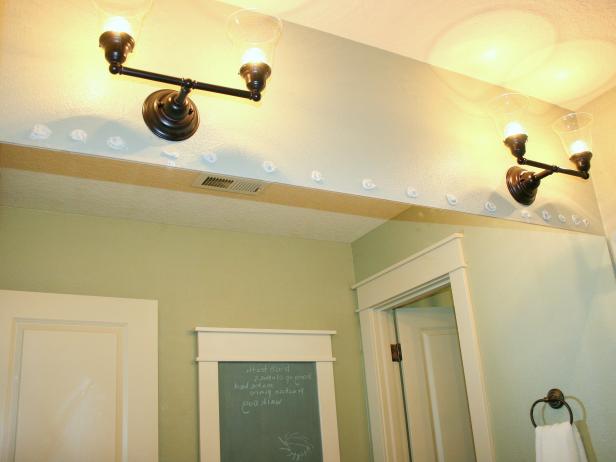
Dots of Glue Above Wall Mirror in Bathroom

Step 10: Install Top Frame With Adhesive

Apply paneling adhesive to area above mirror where top frame piece will be positioned.

Step 11: Position and Tape

Press frame piece onto adhesive, check for proper placement and ensure piece is level. Secure in place using clean-release tape.
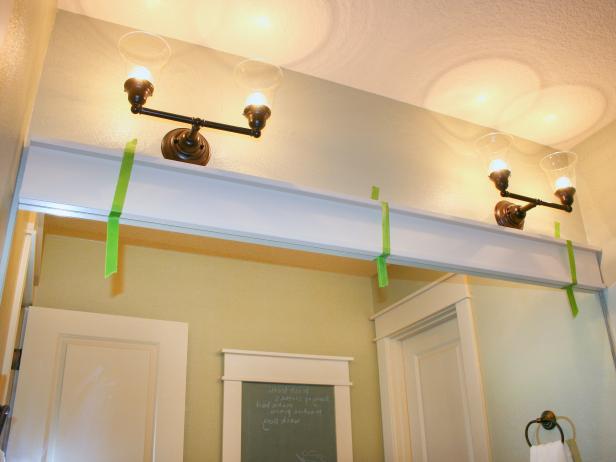
White Molding Taped Above Bathroom Mirror

Step 11: Position and Tape

Press wood trim onto adhesive, check for proper placement and ensure piece is level. Secure in place using clean-release tape.

Step 12: Repeat Steps

Repeat prior steps, installing two side pieces of trim followed by bottom piece.
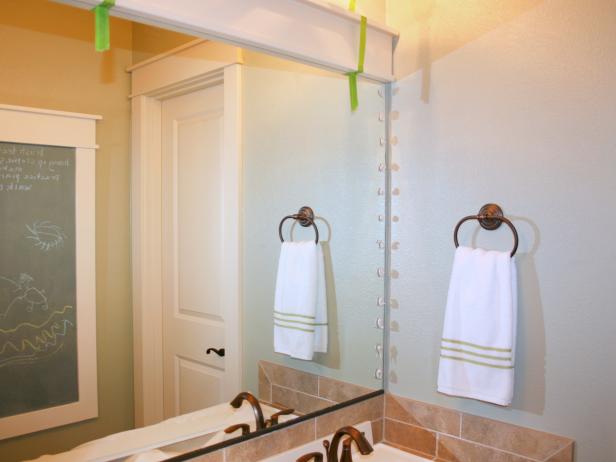
Bathroom Mirror With White Trim on Top With Green Tape

Step 12: Repeat Steps to Attach Trim

Repeat prior steps, installing two side pieces of trim followed by bottom piece.

Step 13: Check Placement and Tape

Check all joints where trim meets to ensure pieces are positioned correctly and square. Make any necessary adjustments before adhesive begins to dry. Secure in place using clean–release tape. Let dry 24 hours.
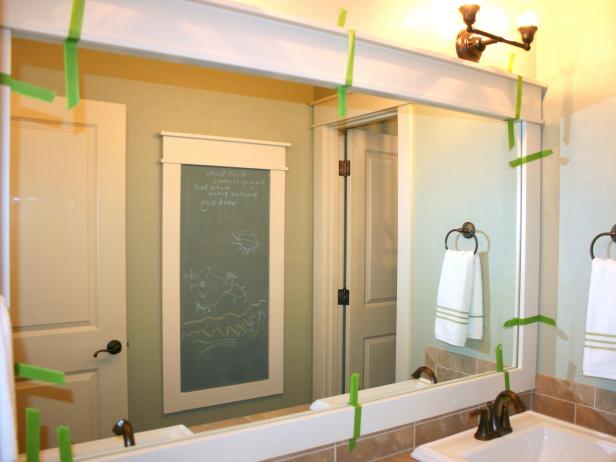
Bathroom Mirror With Green Tape on White Trim

Step 13: Check Placement and Tape

Check all joints where trim meets to ensure pieces are positioned correctly and square. Make any necessary adjustments before adhesive begins to dry. Secure in place using clean–release tape. Let dry 24 hours.

Step 14: Caulk Joints

Run a bead of caulk along any gaps at joints. Smooth caulk line and remove any excess. Let dry one hour.

Caulking Joints of MDF Baseboard

Step 7: Caulk Joints of Frame

Run a bead of caulk along seam joints. Smooth caulk line and wipe away any excess. Let dry one hour.

Step 15: Apply Touch Up Paint

Paint over caulked joints and any areas of frame requiring touch-ups.
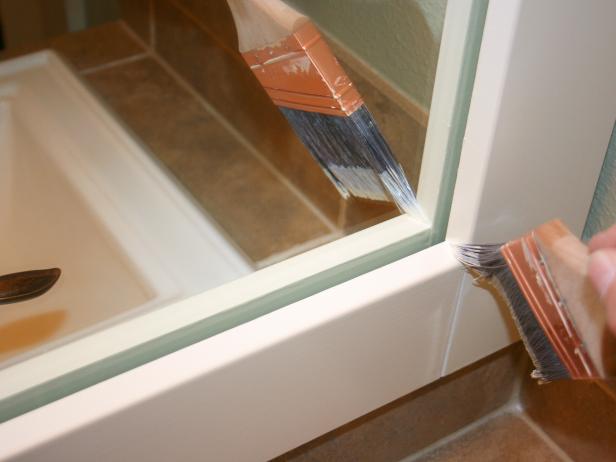
Paintbrush in Corner of White Trim on Mirror

Step 15: Apply Touch Up Paint

Once frame is attached to mirror, use small paintbrush to touch up any joints or areas damaged while hanging the frame.

Watch How to Do It

Next Up

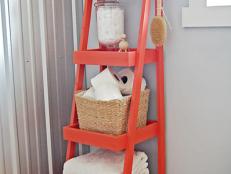
Build a Storage Ladder

Create stylish, freestanding storage for your bathroom with this simple project.

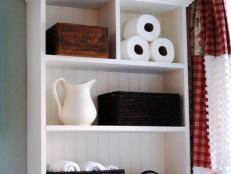
Cottage Bathroom Storage Cabinet

Create stylish storage for your bathroom: This build-it-yourself shelving unit is a perfect way to make unused wall space functional.

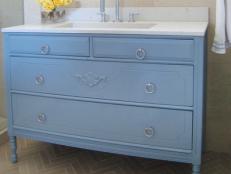
How to Turn a Cabinet Into a Bathroom Vanity

Turn a flea market cabinet into a stylish bathroom vanity with antique charm.

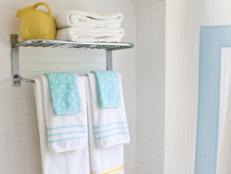
Embellished Bath Towels

Customize and liven up the look of ordinary bath towels with the addition of colorful bands of ribbon.

How to Make a Sink Skirt

Pedestal sinks are ideal for tight spaces but often show exposed plumbing and offer little storage. An easy-to-sew sink skirt will solve both problems, providing style and function to a bathroom.

Replace Recessed Light With a Pendant Fixture

Add instant style to a room by replacing a recessed light fixture with a stunning pendant fixture.

Update a Vanity With Wallpaper

Give an old bathroom vanity a fresh new look with vinyl wallpaper.

Modern Bathroom Vanity Update

Give an old vanity a fast makeover with fresh paint and repurposed door knockers.

Bold Bathroom Door Update

Add some razzle-dazzle to a drab bathroom door with trim and fresh paint.

How to Swap Out a Bathroom Faucet

A budget-friendly way to customize your bathroom is by replacing a builder-grade or dated faucet with a shiny, new model that's better suited to your taste. This plumbing project may seem intimidating, but it's actually an easy DIY project that can be done, in most cases, in less than an hour.

More from:

Fast Fix: Bathrooms

Go Shopping

Get product recommendations from HGTV editors, plus can’t-miss sales and deals.

On TV

Follow Us Everywhere

Join the party! Don't miss HGTV in your favorite social media feeds.