


Next Up
Fixer Upper: Tackling 'The Beast'
By:
David L. Haynes
September 09, 2015
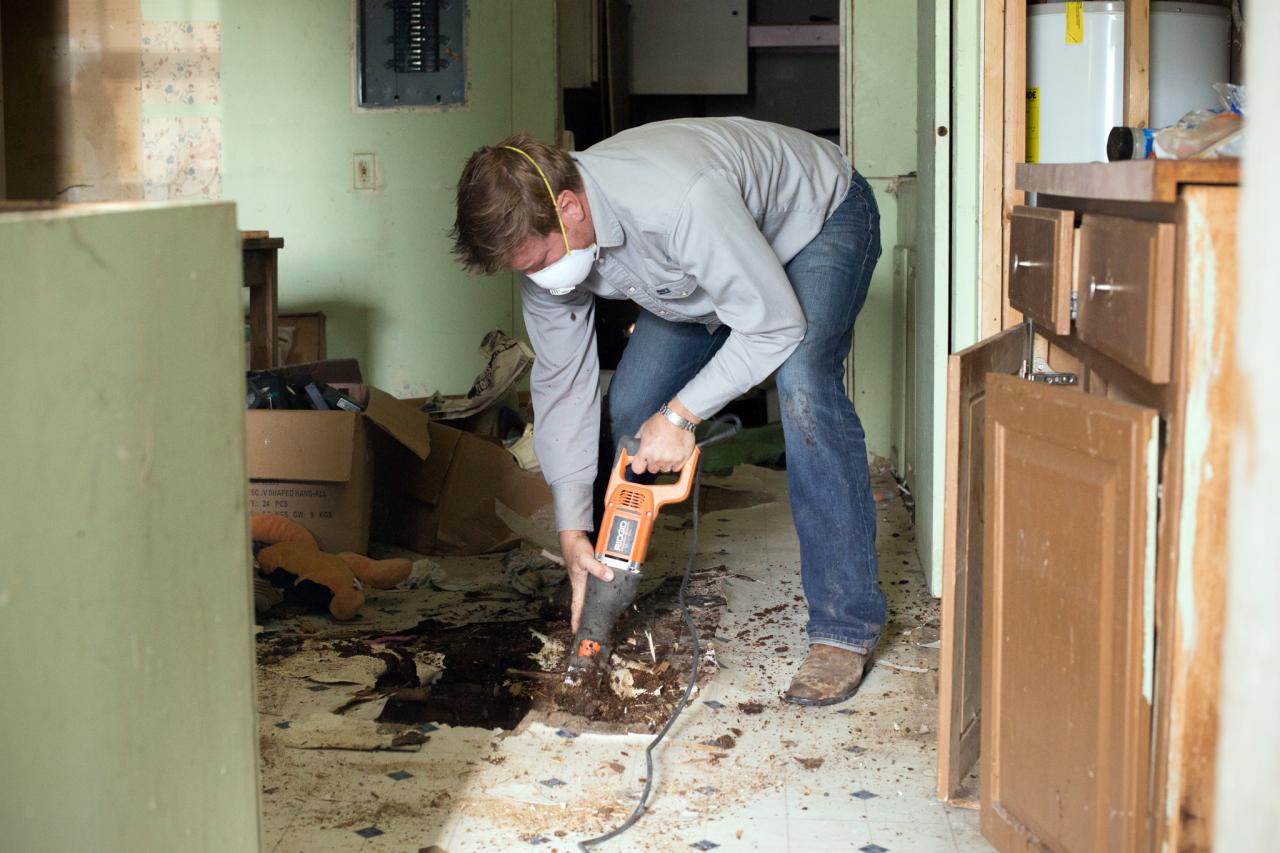
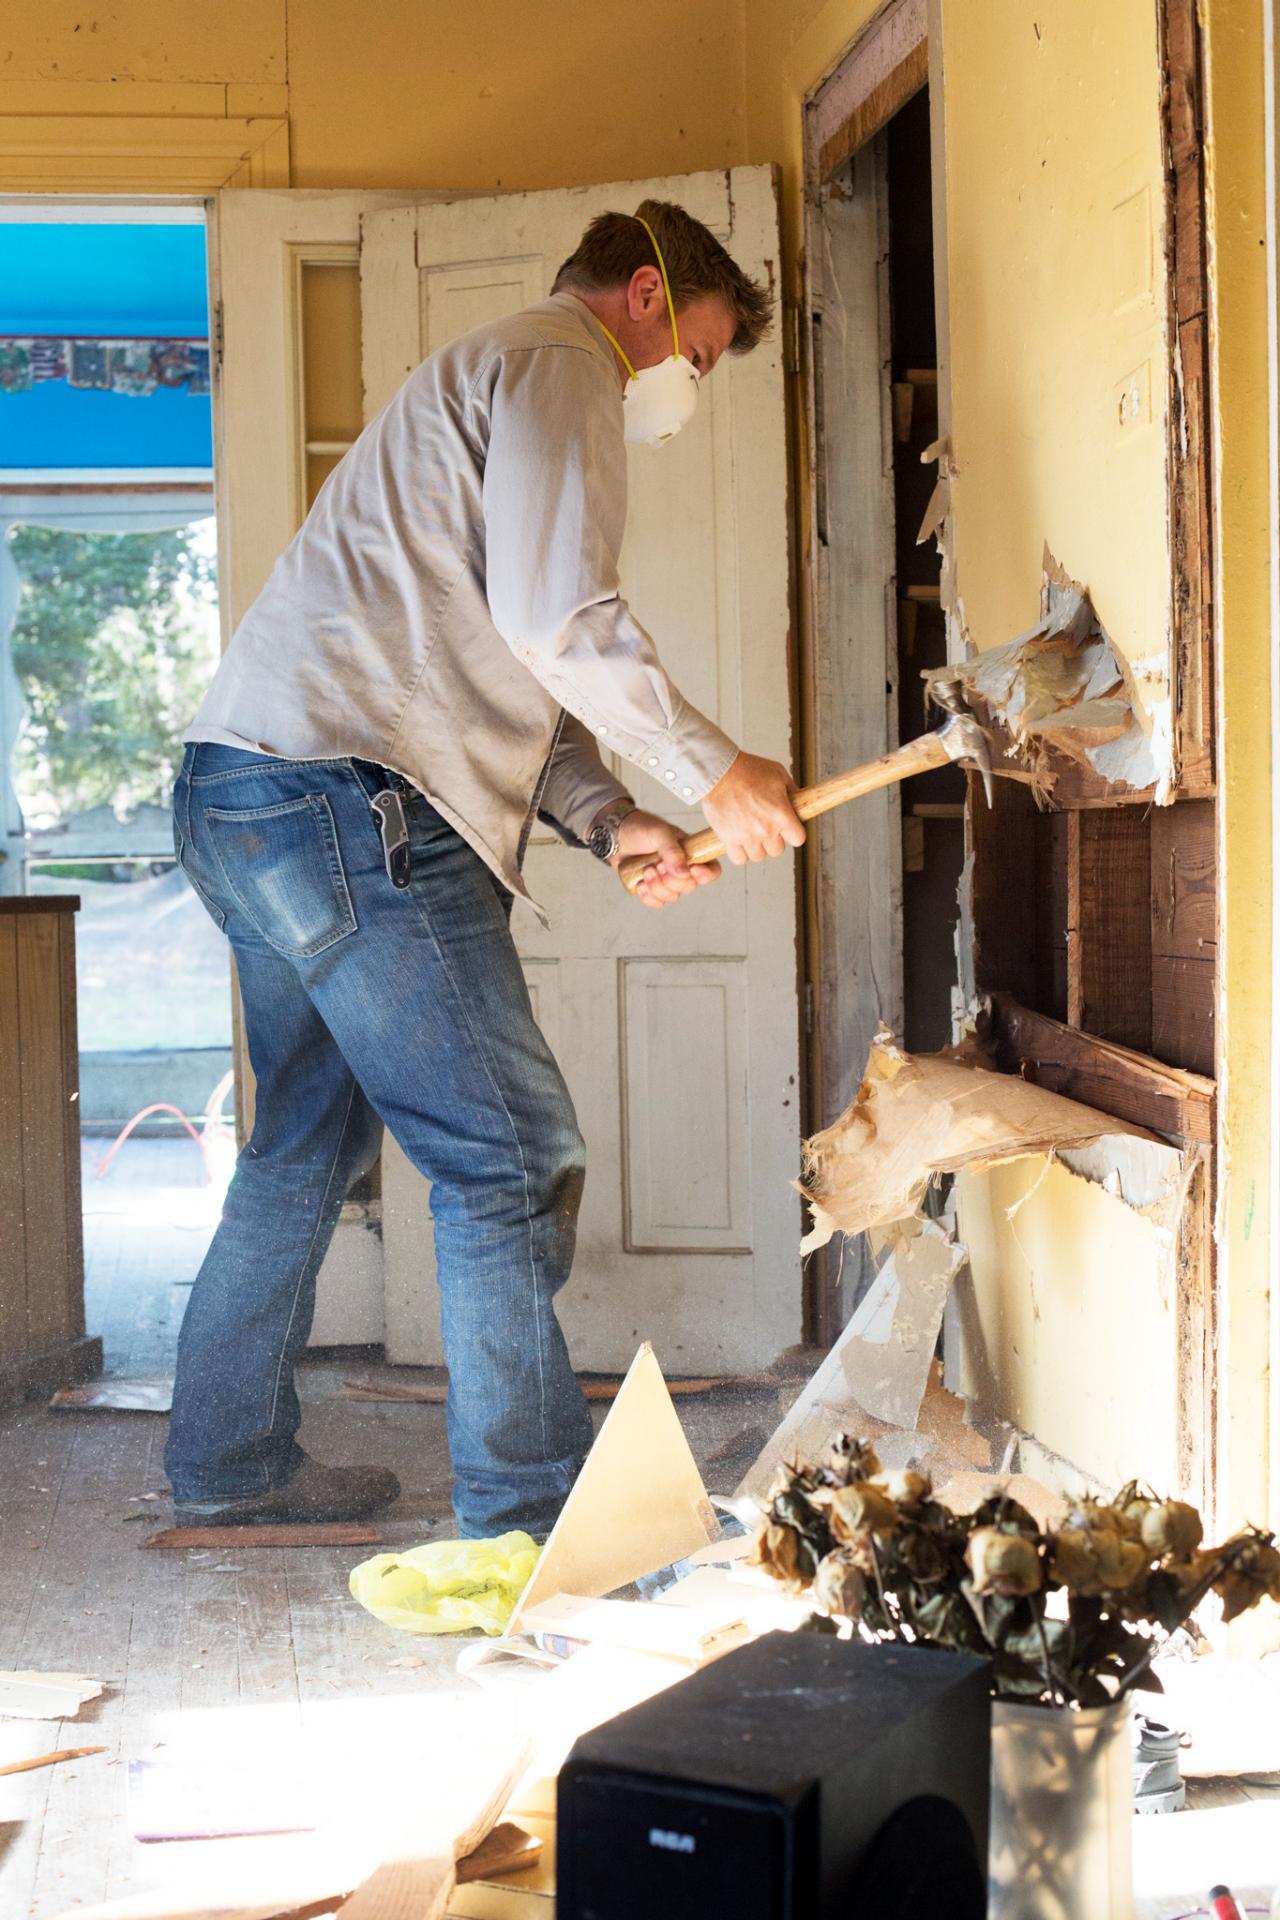
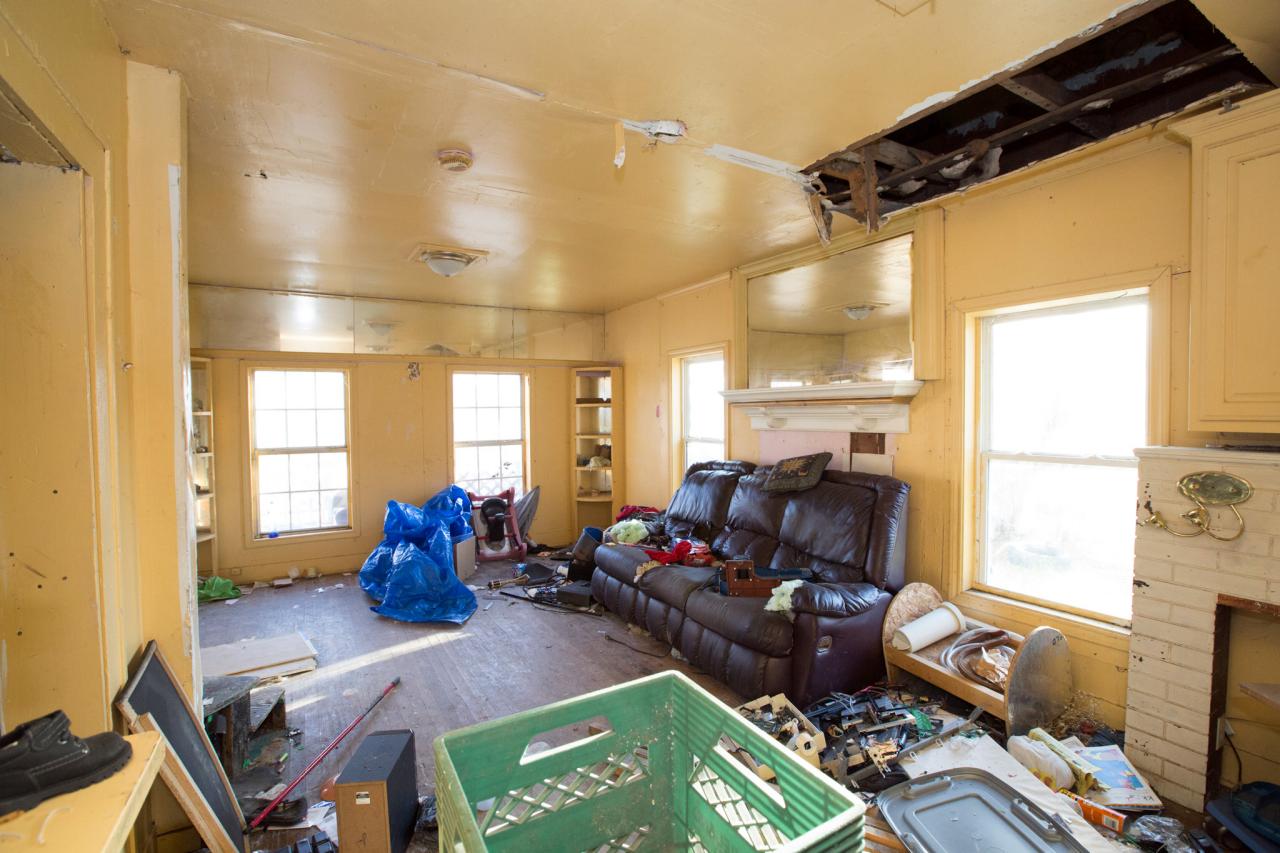
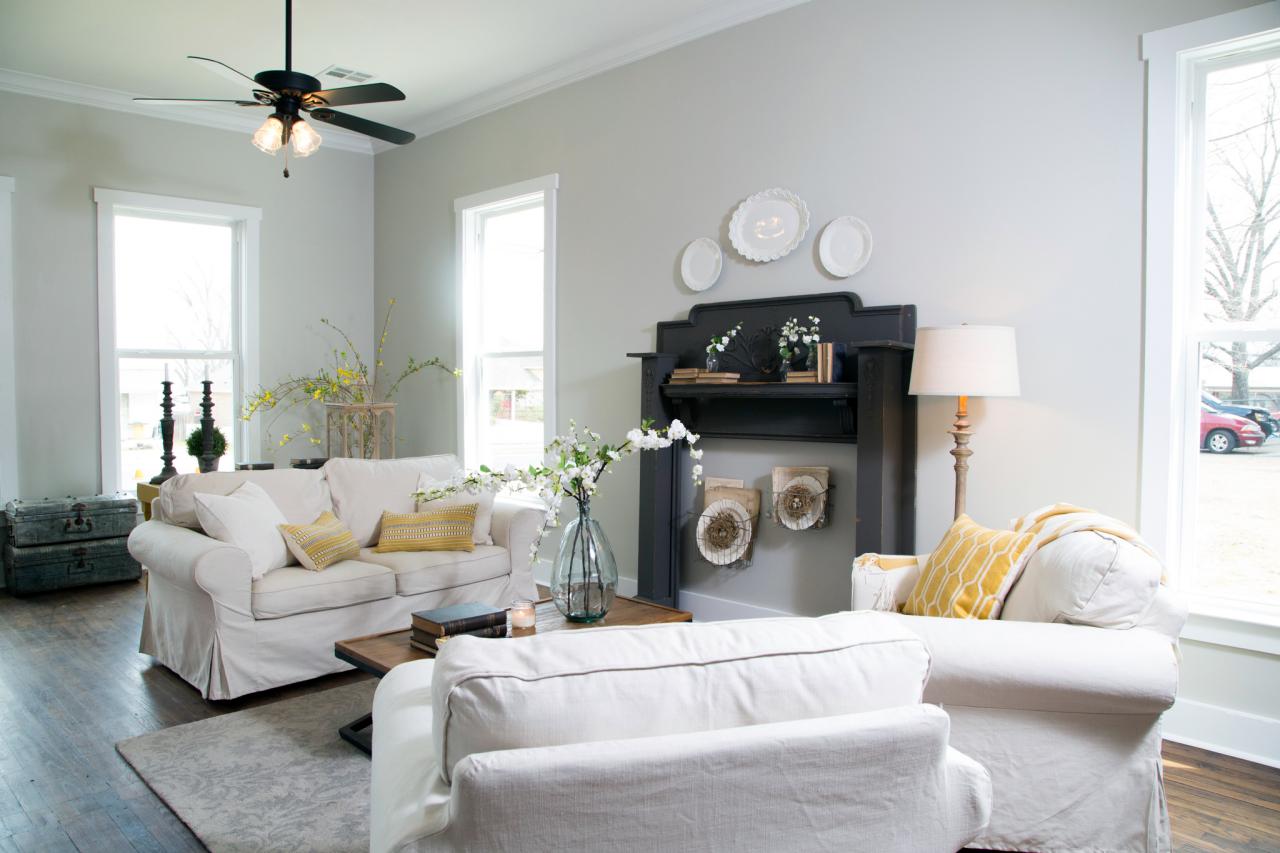
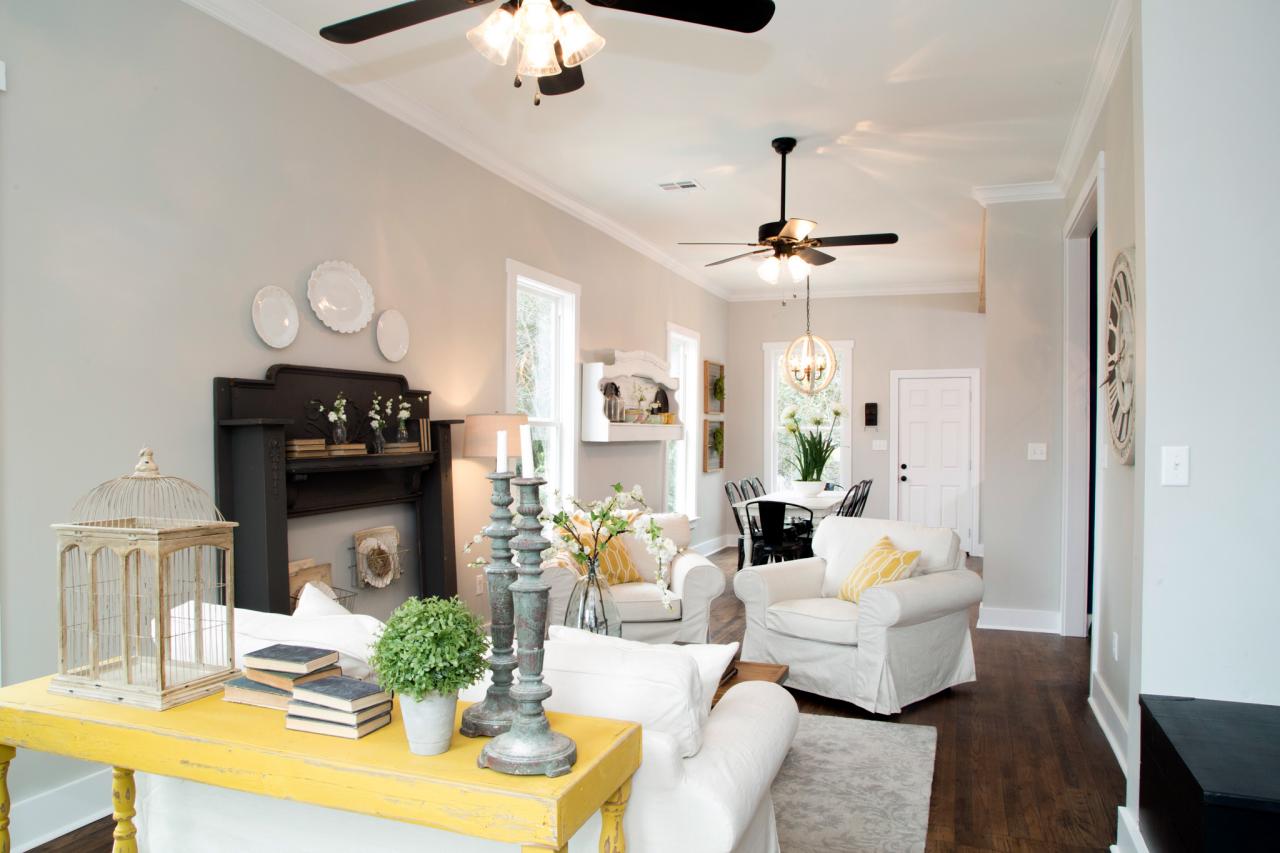
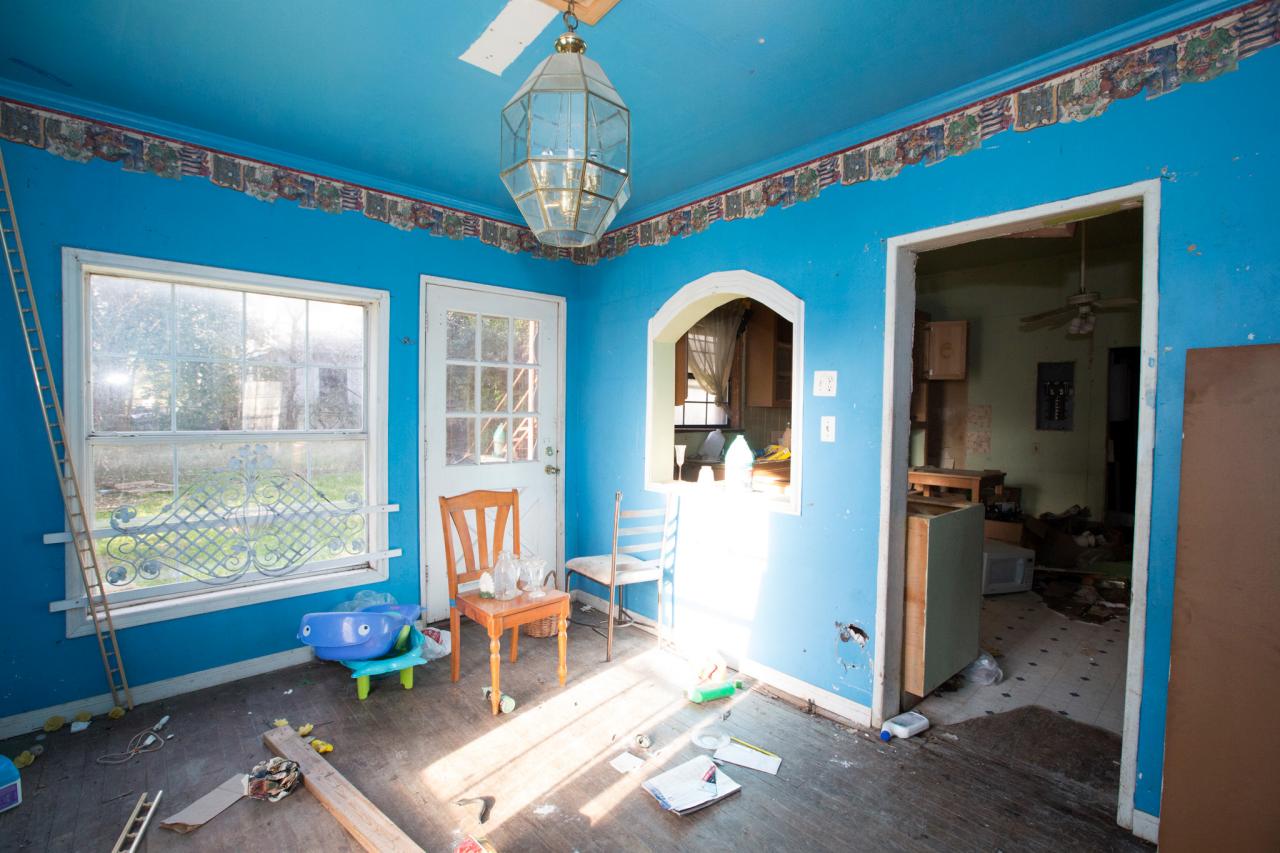
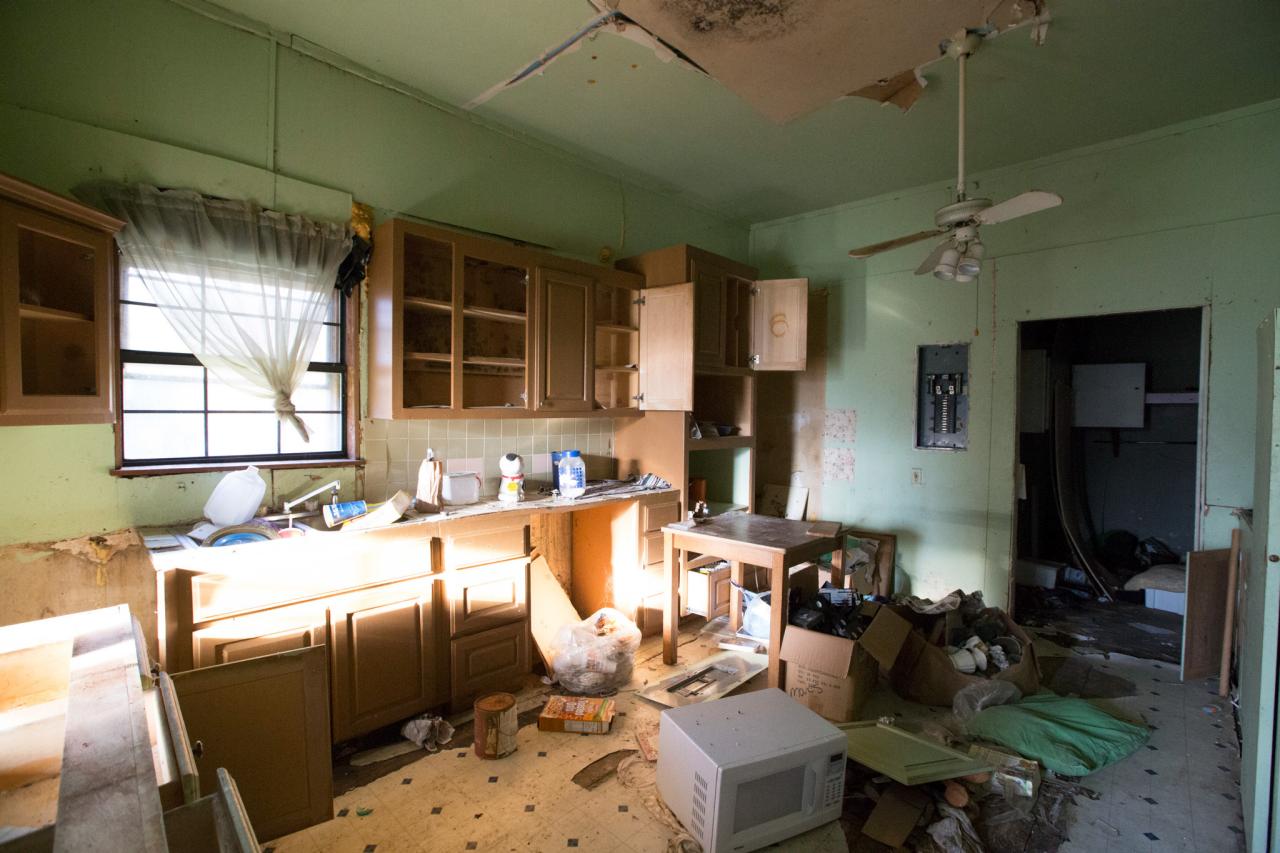
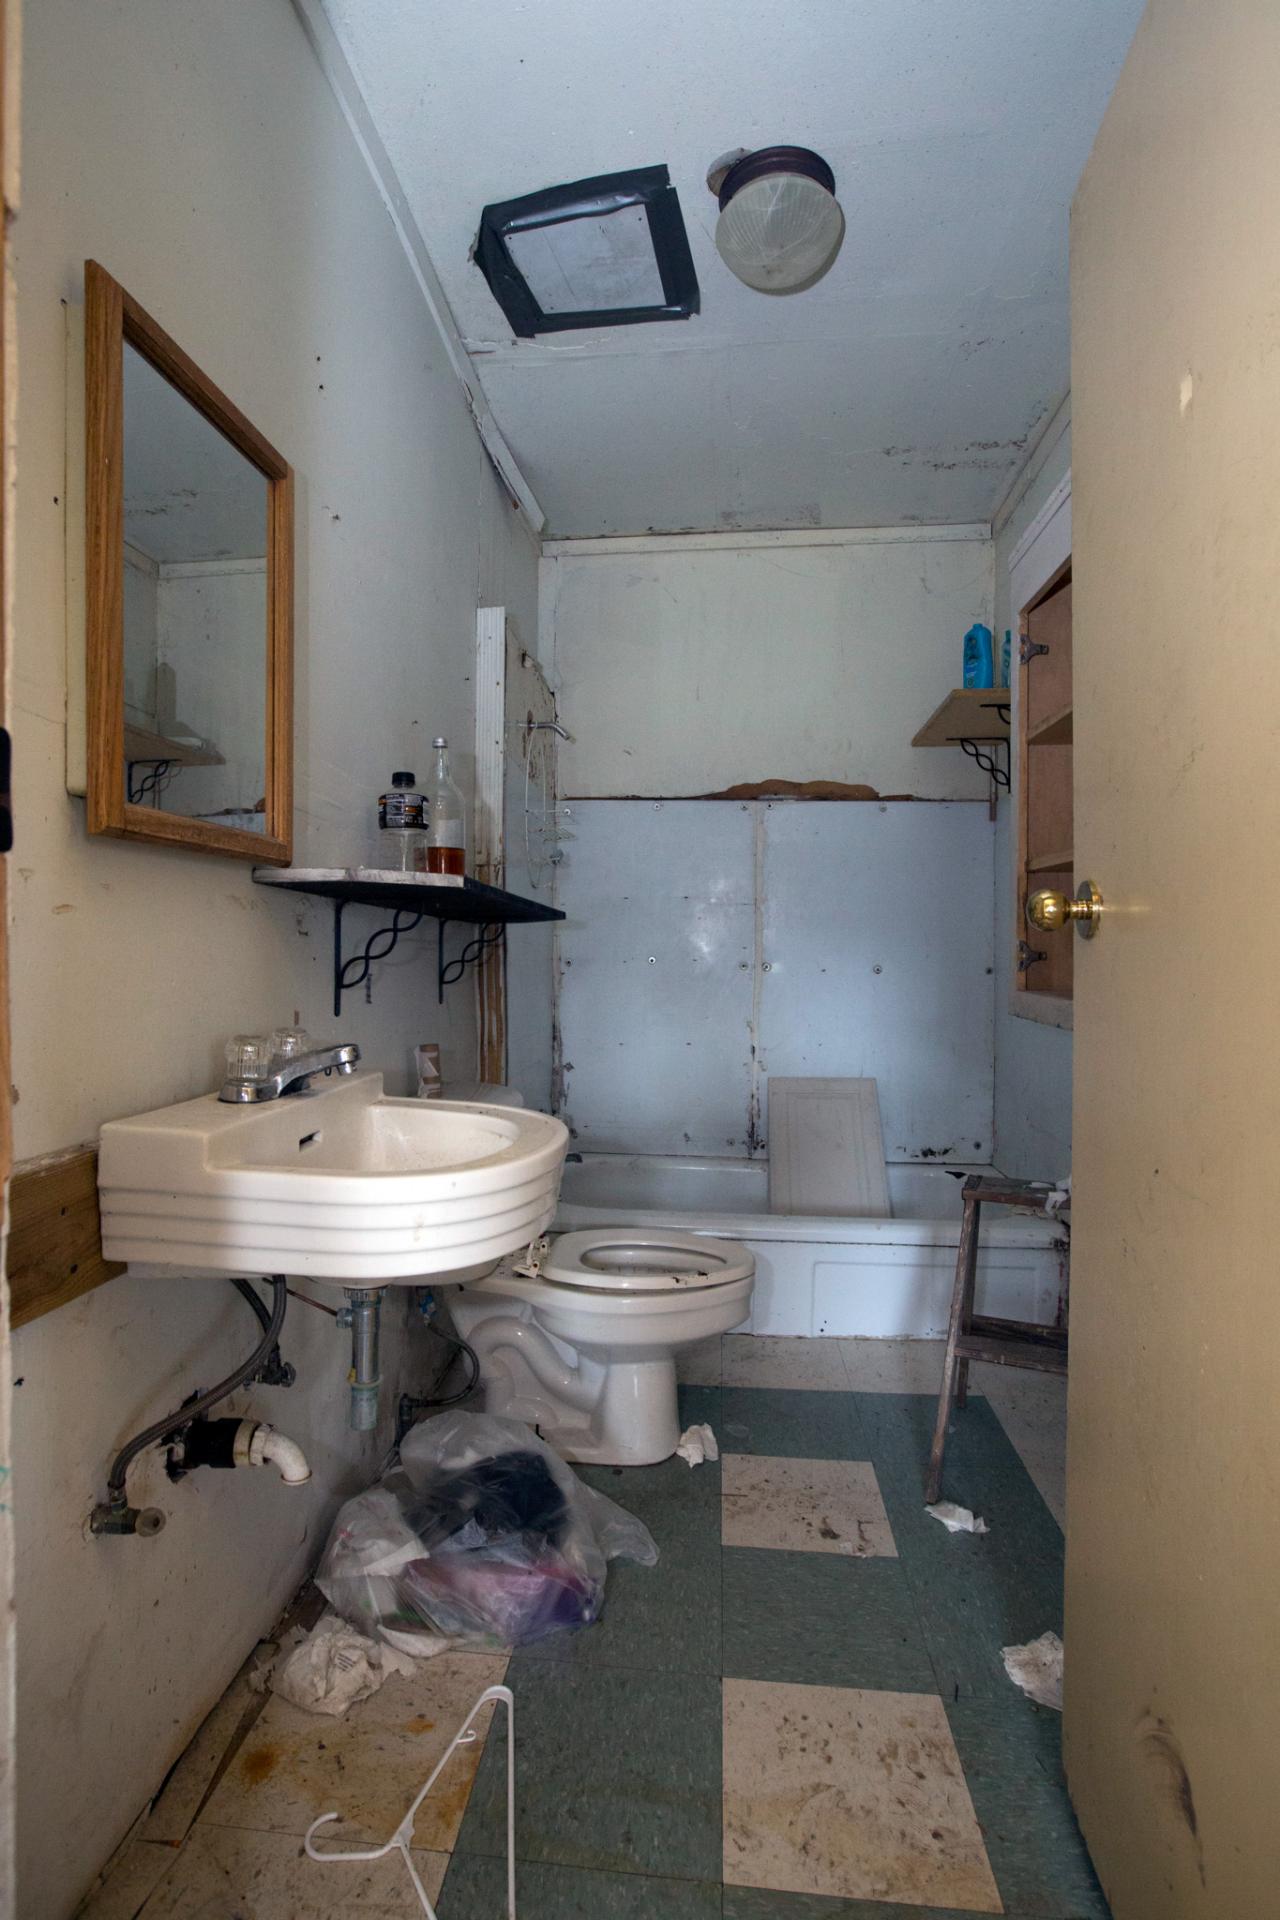
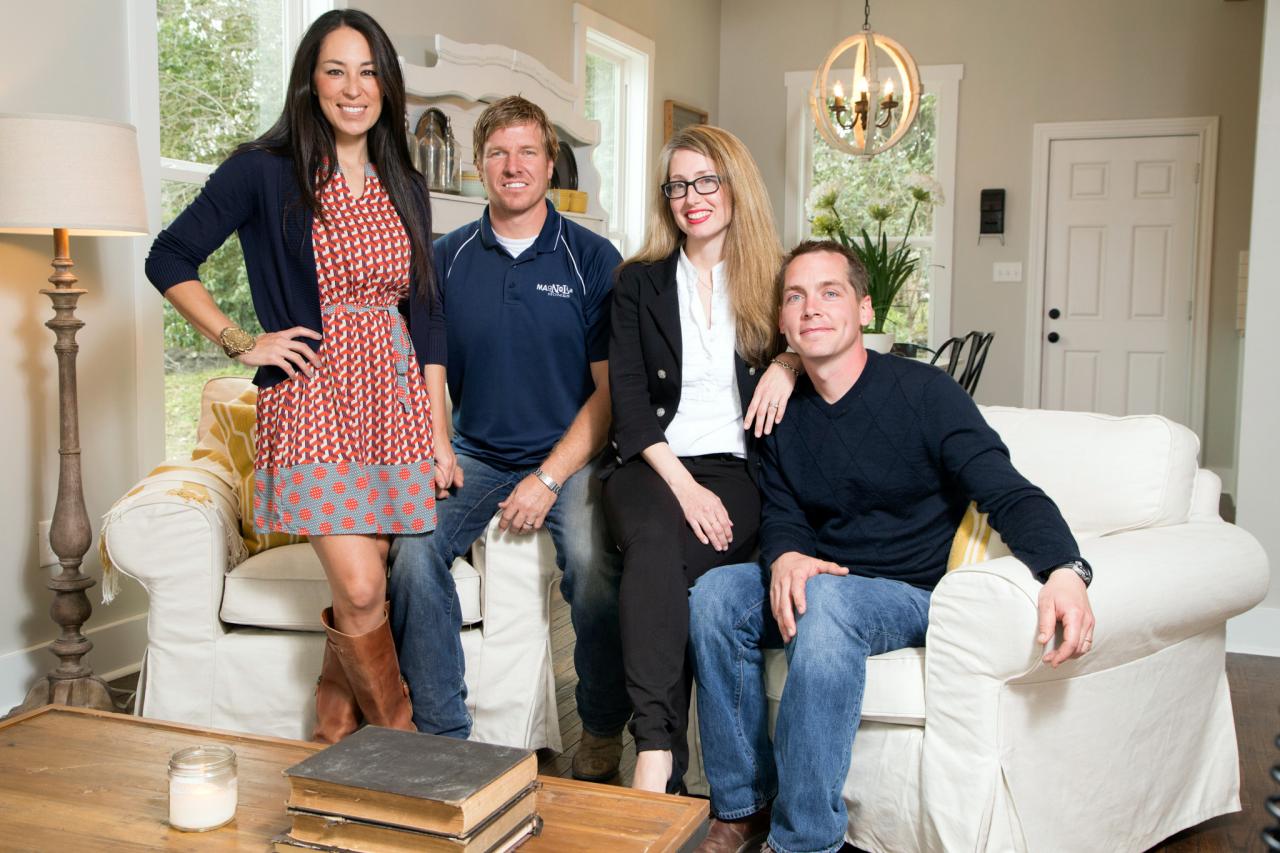
Chip and Joanna take on their biggest fixer upper to date when they help furniture designer Clint Harp and his wife Kelly turn a ready-for-the-wrecking-ball junk-heap of a house into a beautifully restored gem.
Price and stock could change after publish date, and we may make money off these affiliate links. Learn more.
Open Gallery
88 Photos
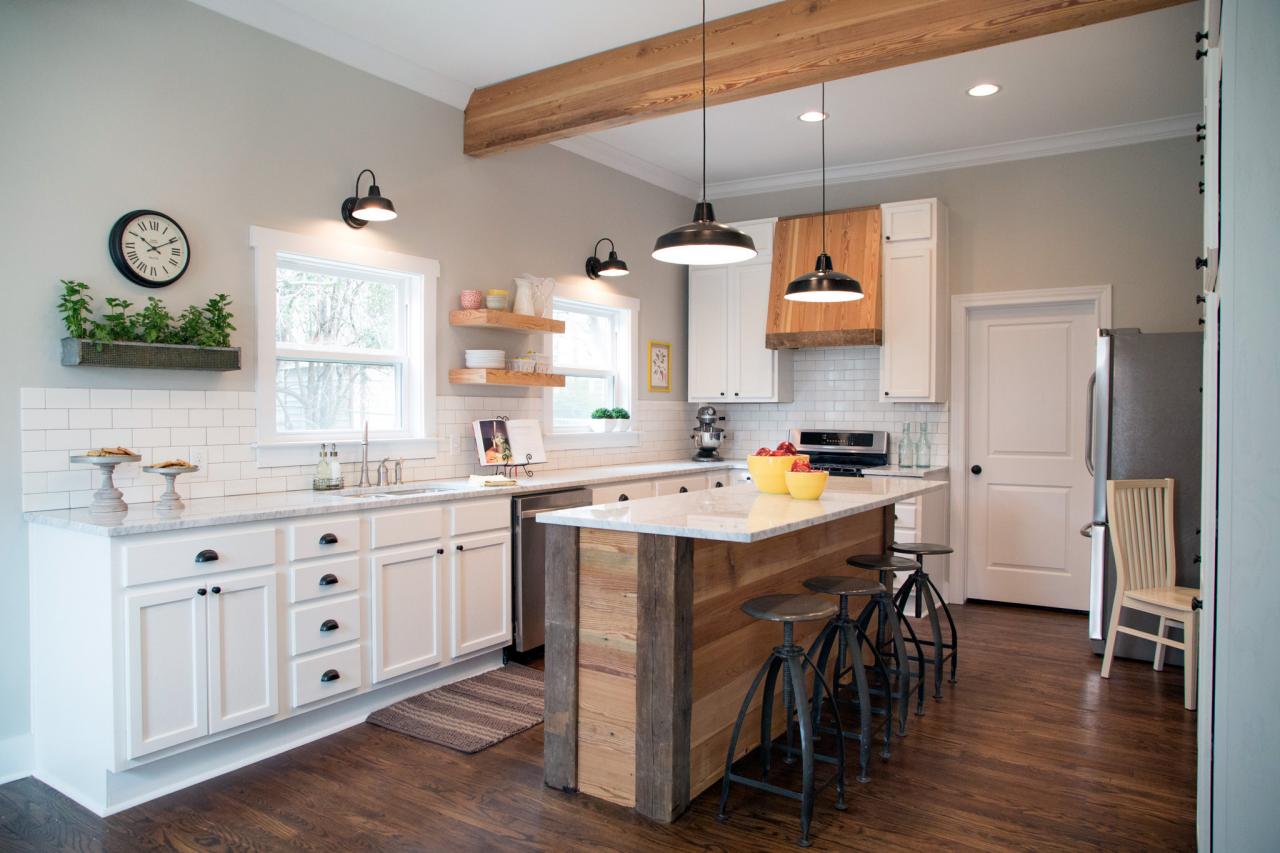
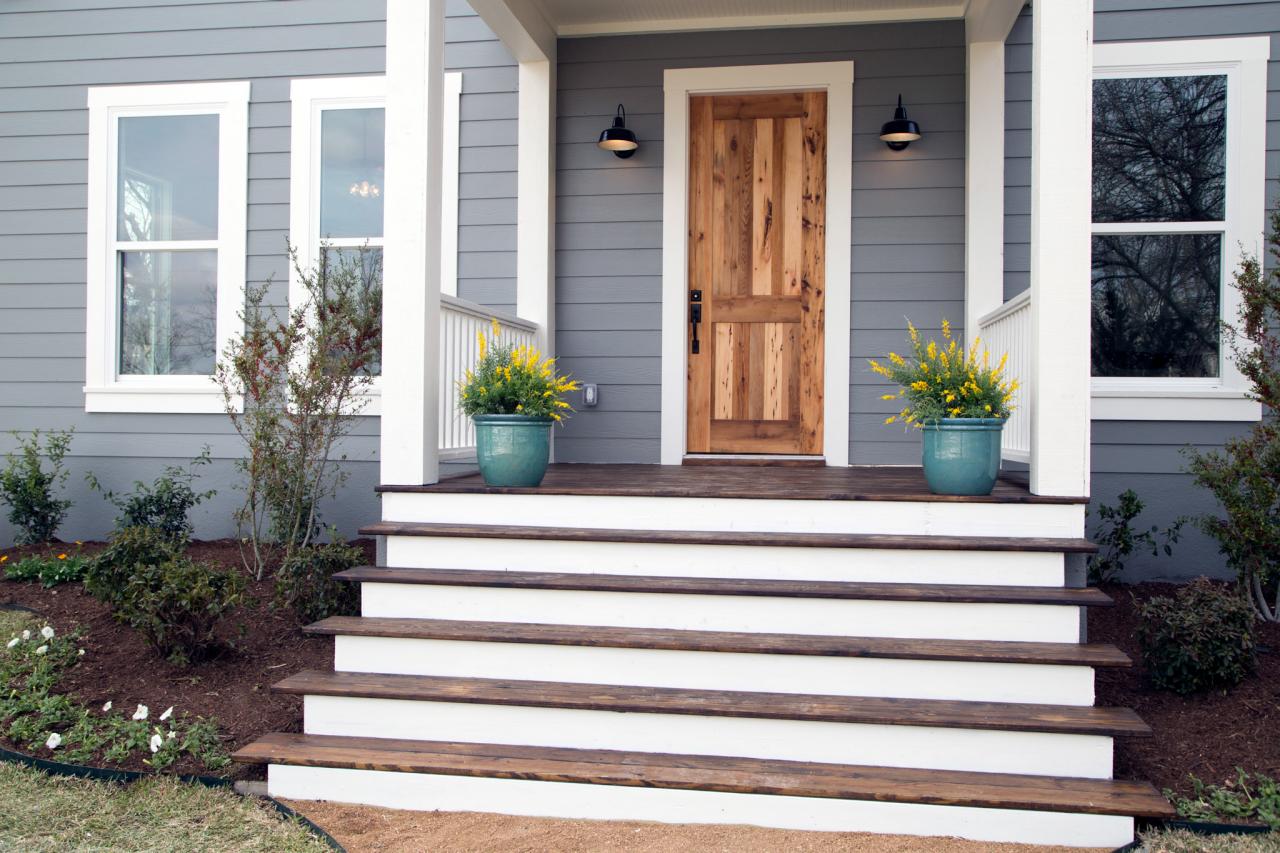
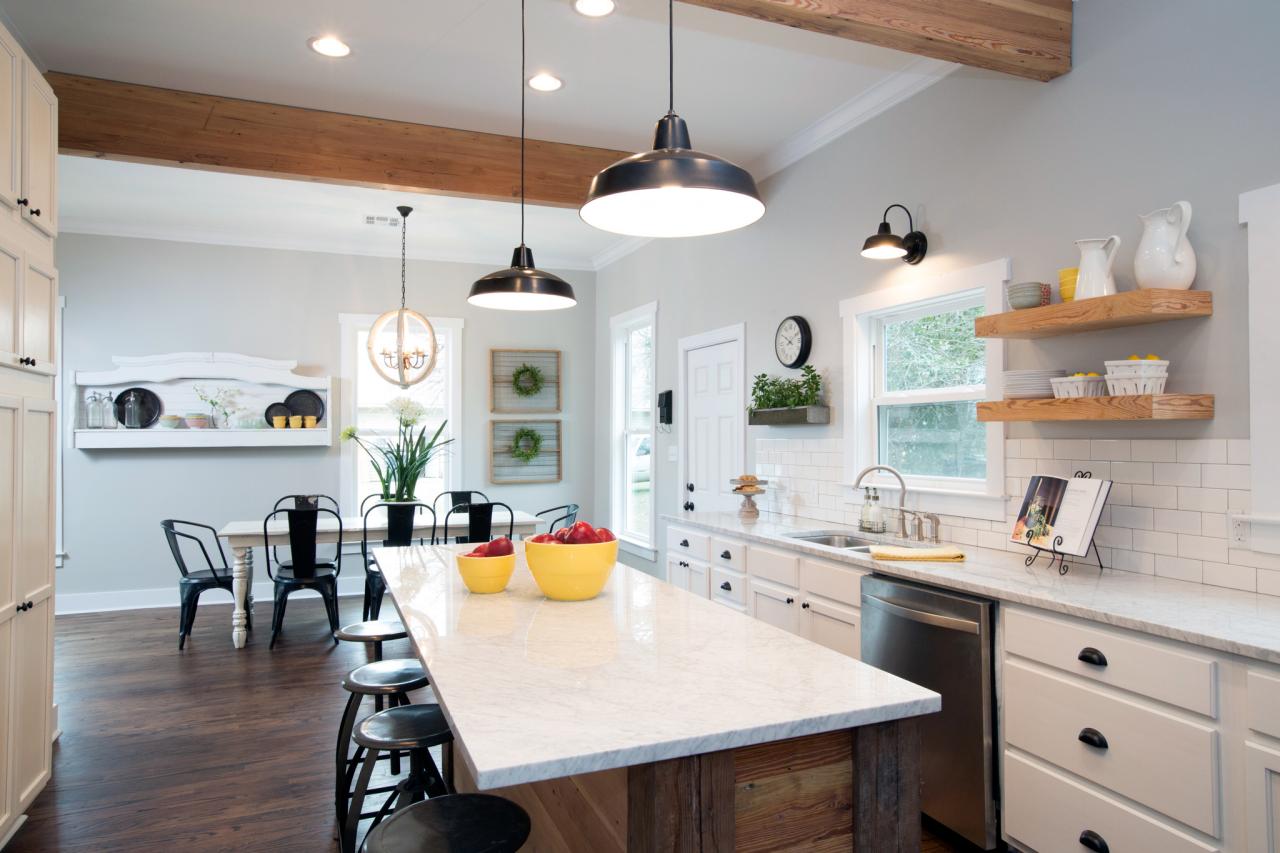
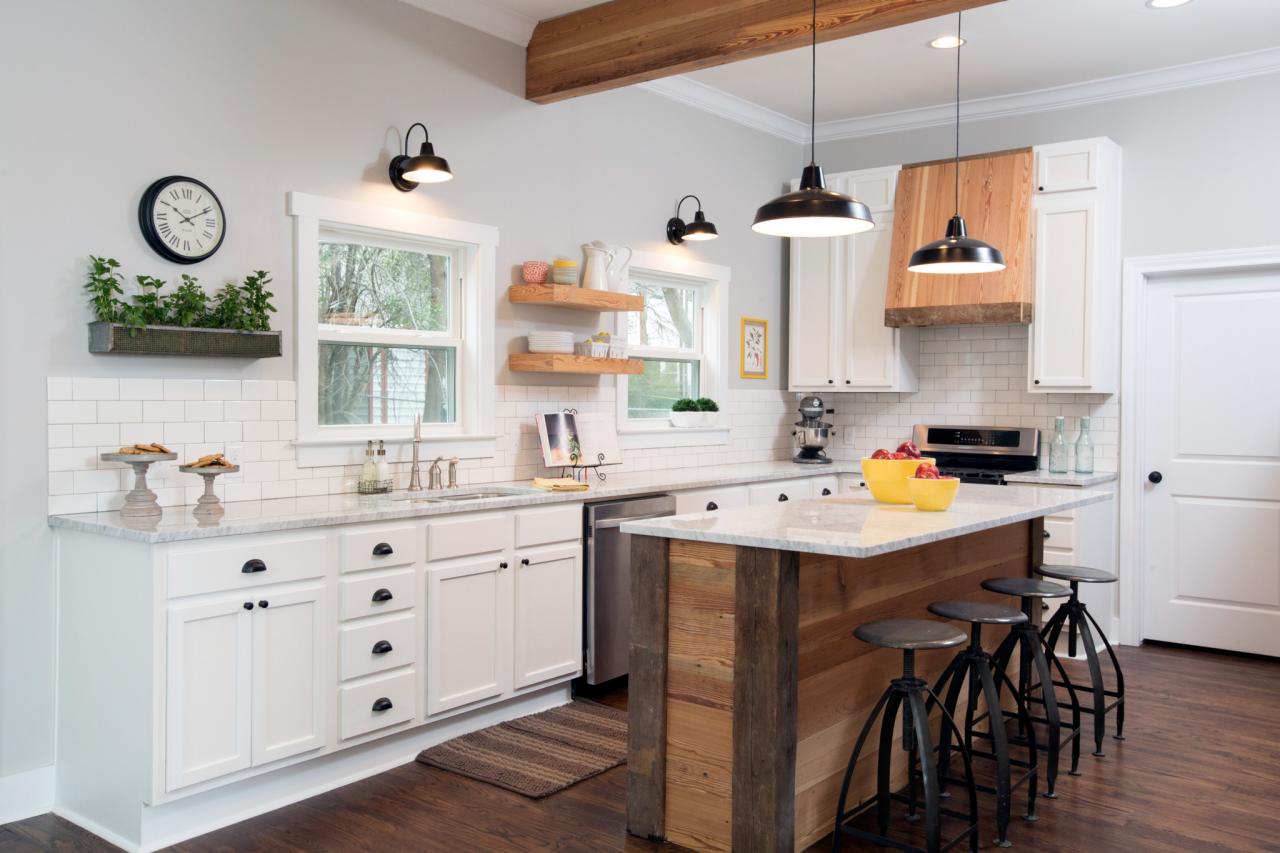
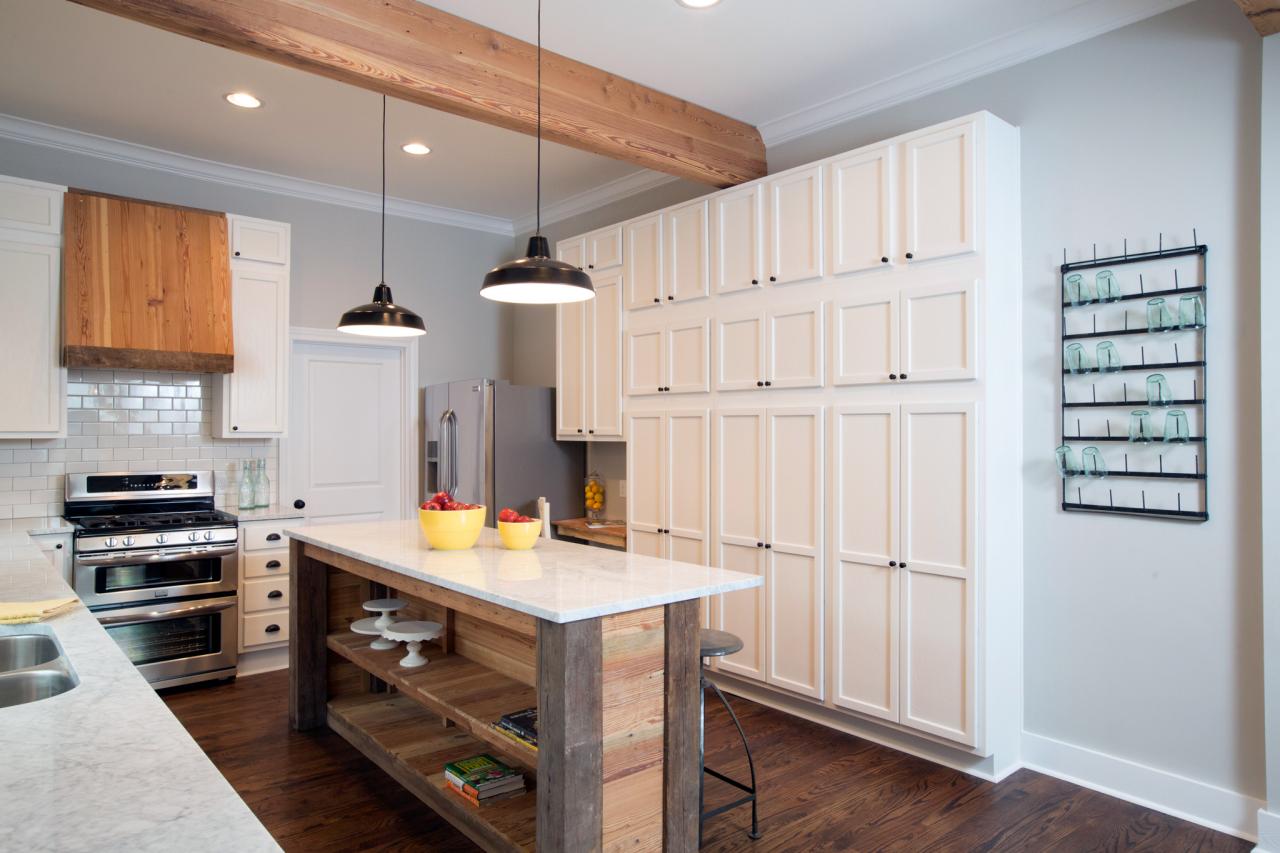
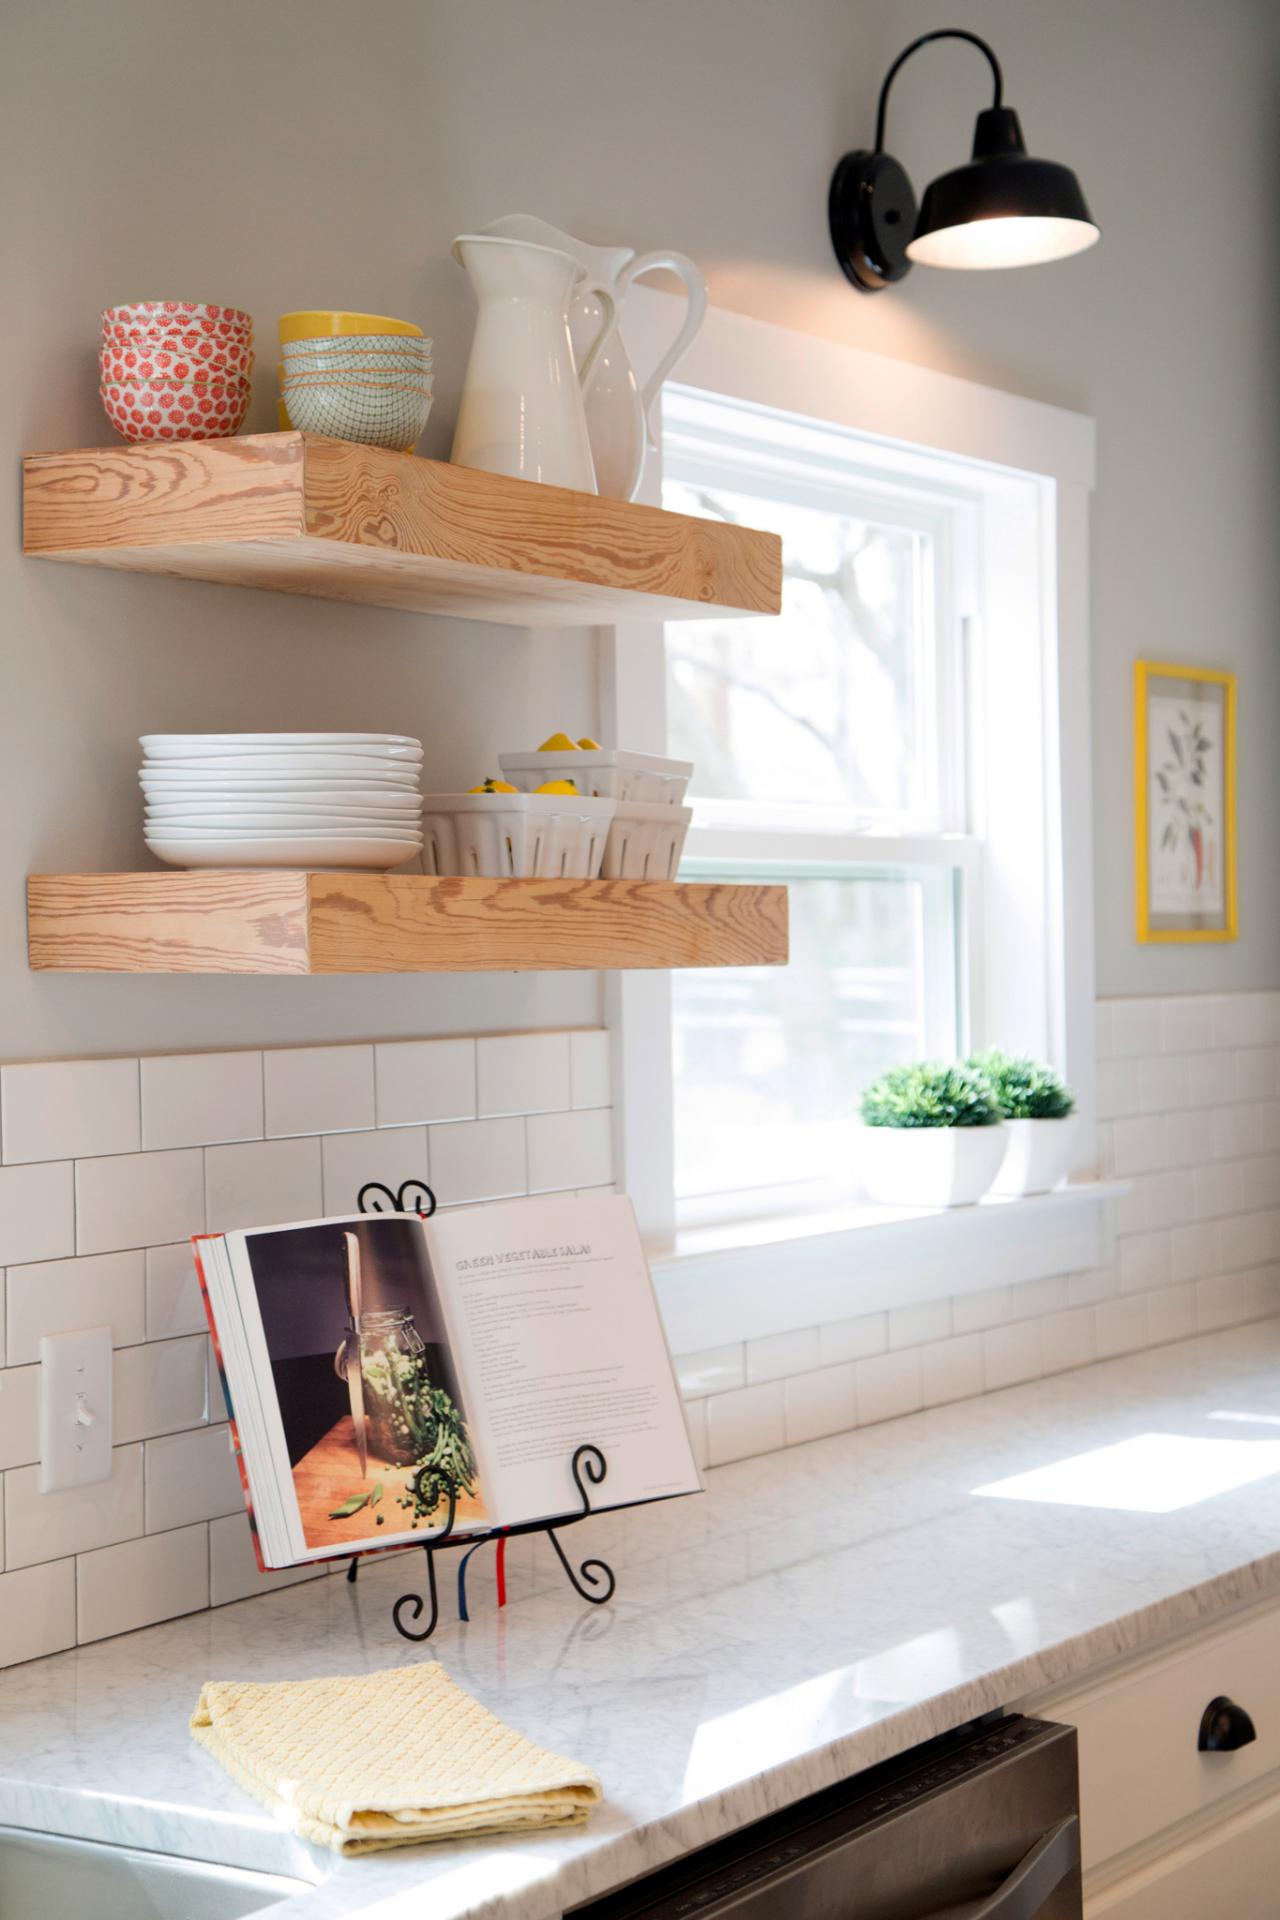
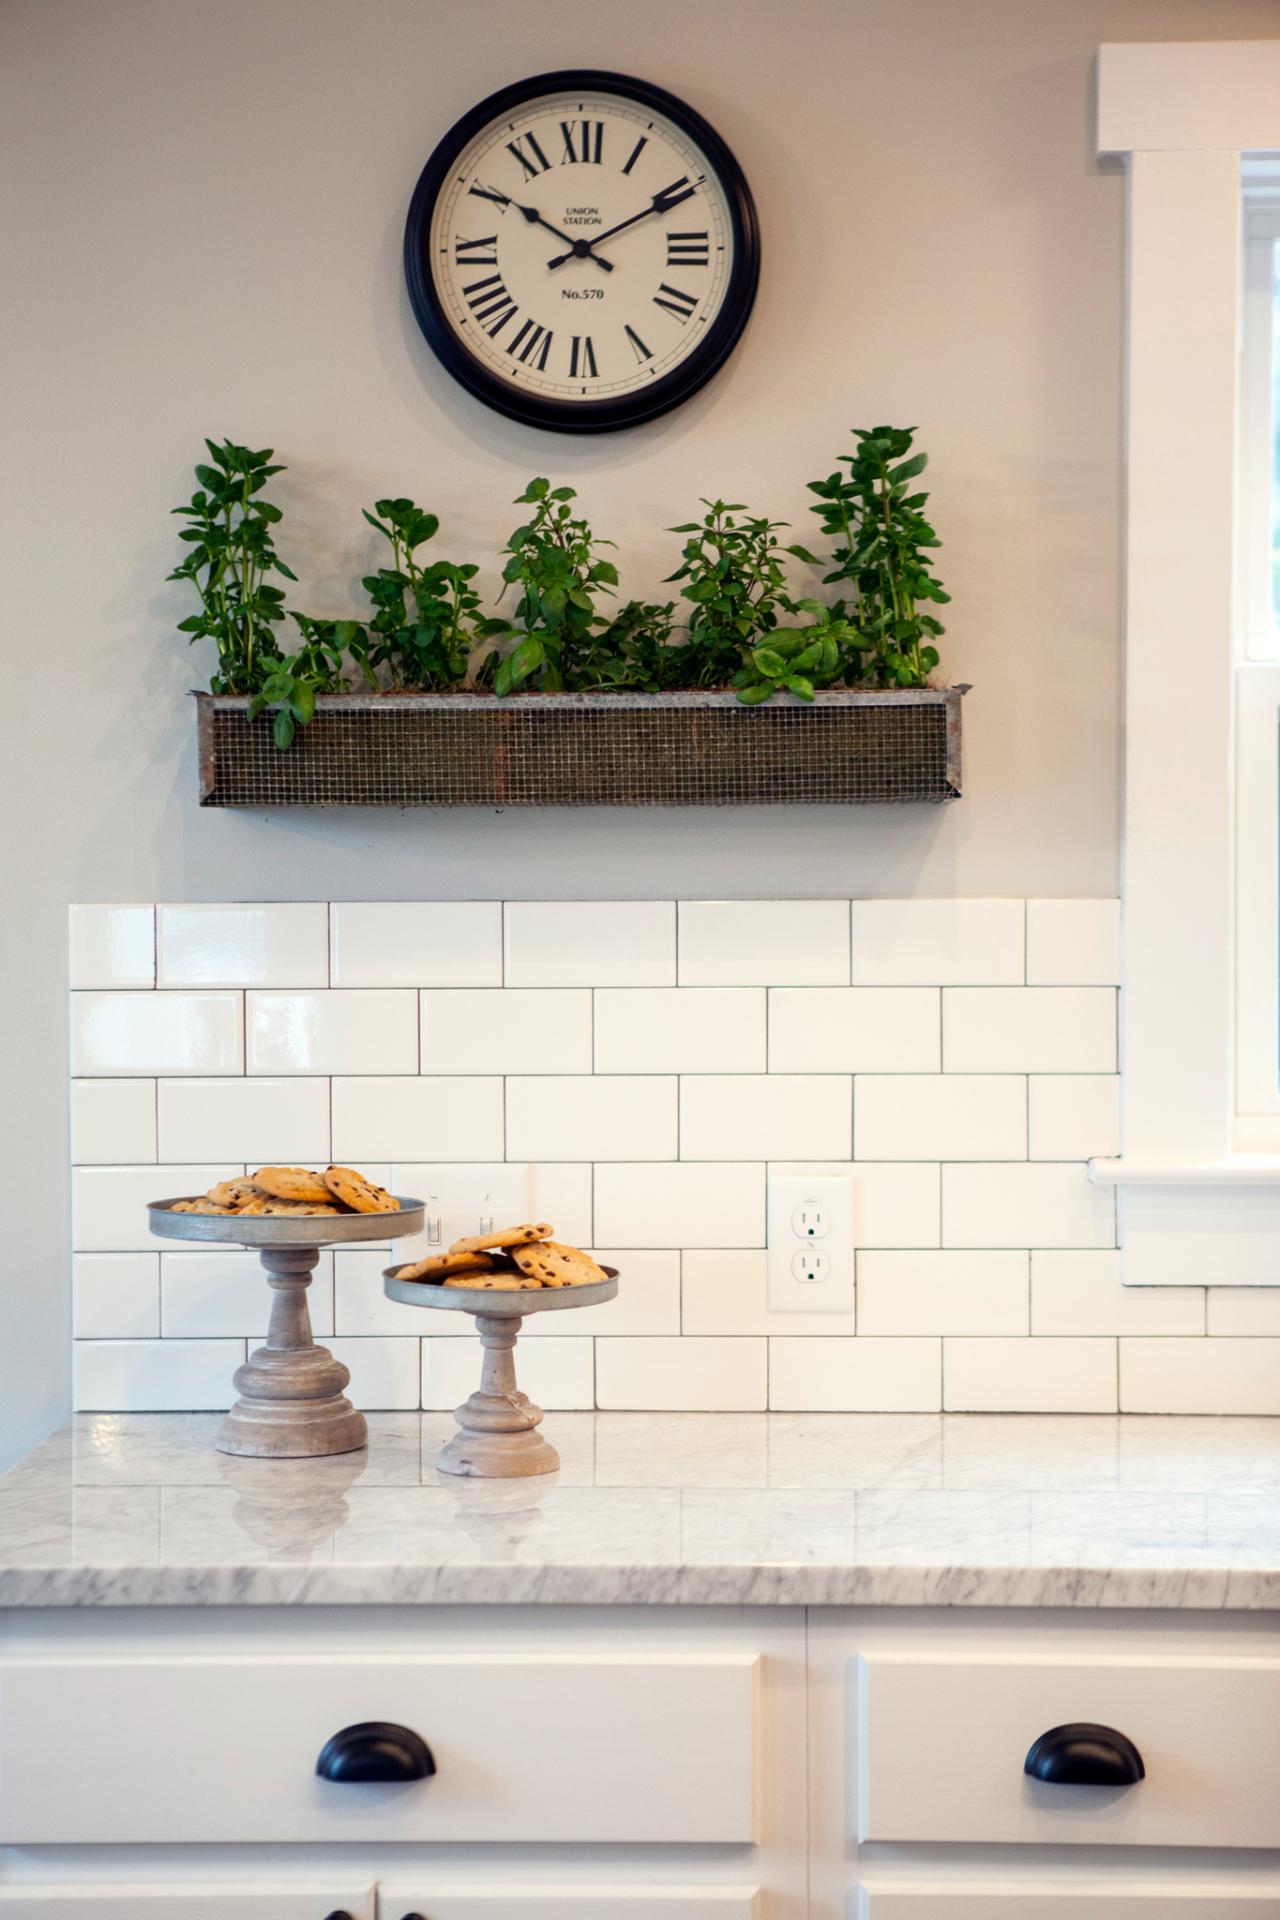
Kitchen, AFTER
The island provides additional seating and open shelving. White cabinets spanning one wall and extending almost to the ceiling provide generous kitchen storage.

From:
Chip Gaines
Photo By: Sarah Wilson/Getty Images