Naturally Dyed Easter Egg Vase
Use hassle-free all natural dyes this Easter and turn your beautiful eggs into a stunning Easter vase you can use again and again.

By:
Ruth Meharg
Easter Egg Vase
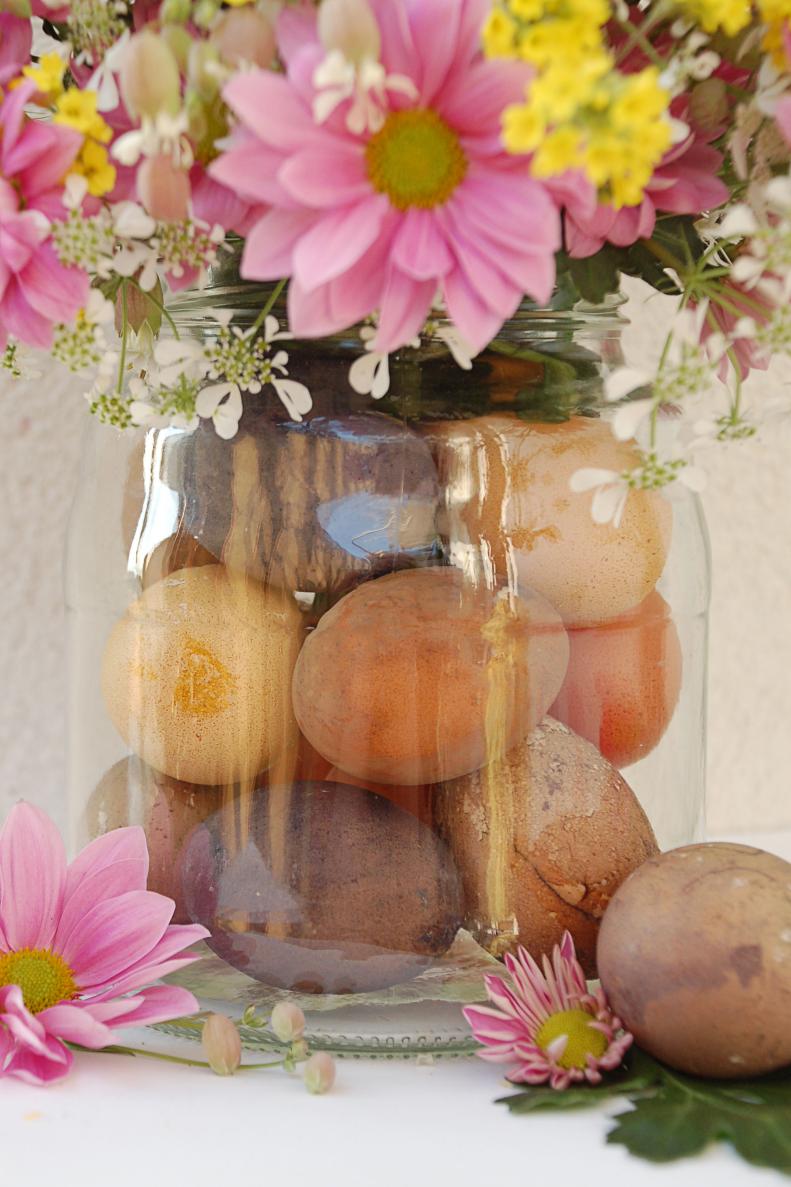
This beautiful Easter egg vase is made with recycled glass jars and naturally dyed Easter eggs. Each dye is quick and easy to make with fruits, fruit juice and spices you probably have around the house! And after Easter you can repurpose your beautiful vase to use all year round.
Blue Dye
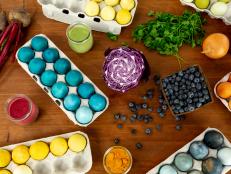
You can make a beautiful, rich blue dye using frozen blueberries. Mix one cup frozen berries with one cup of water and let it come to room temperature. Add a splash of vinegar and a pinch of salt and you have a beautiful blue dye.
Red Dye
You can create beautiful red and lavender dyes using fruit juices. Simply add a little vinegar and salt to a deeply colored juice like cranberry, pomegranate, cherry or even red wine. Cranberry will give you a light pink color with hints of shimmery blue while pomegranate and cherry will be deeper reds.
Tea Dye
You can use a variety of teas to create different colored dyes, from red to light yellow. Add 2-3 tea bags to a cup of boiling water and let the tea steep for up to half an hour. Add about a tablespoon of vinegar and a dash of salt and it's ready for dying. Black teas will create deep red browns and lighter teas like chamomile will create soft yellows.
Yellow Dye
Create a beautiful yellow dye by mixing 2 tablespoons of turmeric into a cup of boiling water. Add a tablespoon of vinegar and a dash of salt for a very rich yellow dye.
Preparing the Eggs
Although you can use hardboiled eggs for this project they will last much longer if you use hollow eggs. To empty your shells without breaking them you will need to create a hole at each end. Place a piece of tape on the narrow end of your egg to keep it from cracking and use a needle or tack to puncture the egg through the tape. Do the same with the wide end but use a small nail to make the hole slightly larger than the first. Twist it gently back and forth to slowly widen the hole without cracking the egg.
Cleaning the Egg
Stick a nail or needle into the larger hole and stir it around to break up the yolk and other membranes. Then use a small coffee straw to blow into the small hole, forcing the inside of the egg out of the larger hole. You can empty the egg into a bowl and use it for cooking later. Rinse the inside and outside with water and blow the water out of the shell. Once the egg is clean and empty it is ready to go into the dye. Be careful, the shells will be fragile at this point.
Blueberry Dye
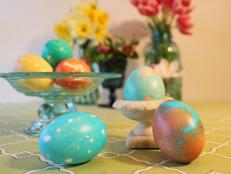
Blueberry dye creates beautiful, otherworldly stains on your eggs. You can strain the berries out of the dye before using them to get smoother shades of blue, or leave them in for beautiful patches. Eggs take blueberry dye quickly so don't leave them in too long if you want a pale blue.
Blue Polka Dots
If you decide not to strain your blueberries, try leaving a few of them stuck to the shell while the dye dries. Peel the berries off the dry egg shells to reveal deep blue polka dots.
Black Tea Dye
Tea dyes can also take time to reach their full color so leave the eggshells in the dye overnight. You can leave the tea bags in the dye to create interesting patterns on any eggshells they touch.
Mixing Dyes
Add a little bit of blueberry dye to your black tea dye to get a subtle green color. Try mixing other dyes together for different combinations. Sometimes the colors will surprise you!
Cranberry Juice
Juice dyes produce the best colors if you leave the eggs in overnight. If you want a very pale color check the egg every hour until you are happy with the shade. Remove the egg from the dye and place it in an egg carton to drain and dry.
Sealing the Eggs
Turmeric dye works best when left overnight, it creates a beautiful golden yellow color. When your eggshells are all dyed and completely dry you will want to seal them to strengthen the shells. Mix one part Mod Podge with one part water and coat the inside and outside of the eggshell. Use an eye dropper to get the mixture inside the shell if necessary. Put in enough to swirl around so the entire inside of the shell is coated and drain out any excess. Let the eggs air dry for at least a day and they will be strong enough to last for years.
Creating a Vase
To create your egg vase you will need two glass jars, one large one with a wide mouth and one smaller glass that fits in the center and leaves enough room around it to fit the eggs. If your large jar has a narrow mouth make sure that the smaller jar is shorter so that you have room to place the eggs in between the openings. Use a little bit of hot glue to secure the smaller jar inside the center of the larger jar. This will keep things from slipping and make it a little easier to work with.
Arrange your Eggs
Place your dyed eggshells into the jar, gently stacking them in the space in between the large and small jars. The number of eggs you'll need will depend on the size of your vase, but you will probably need at least 15.
Adding Flowers
Fill the inner jar with water and a flower arrangement to complete your Easter vase! When Easter is over you can remove and store the eggs for next year and replace them with your preferred seasonal decor. Try beach pebbles and sand dollars during the summer, pinecones in autumn and Christmas ornaments in the winter.