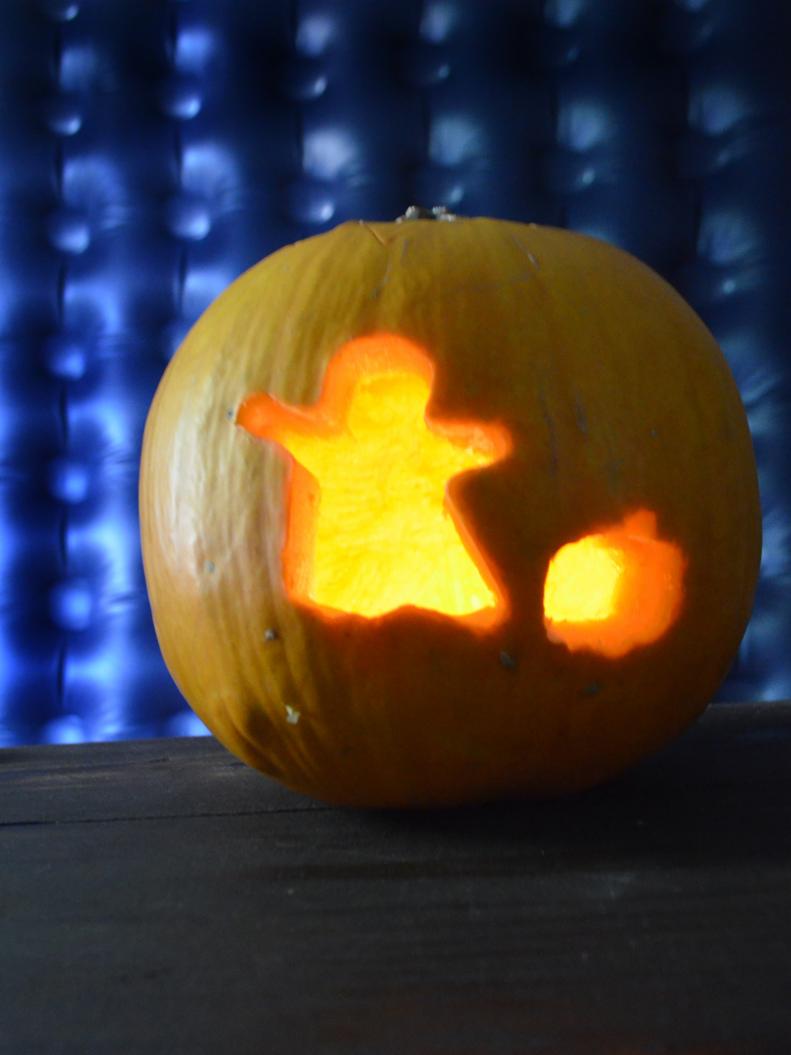
Cookie Cutter Pumpkin Carving
Move over, Jack-o'-lanterns: cookie cutters are the pumpkin carving tool of the future.
This Project Is Anything But Cookie Cutter
Take the fuss out of pumpkin carving with this easy trick. You will need: a pumpkin (the thinner the skin, the easier it will be to carve) / metal cookie cutters / rubber mallet / pumpkin scraper, scoop or a large spoon / knife / newspaper
Step 1: Cut Open the Pumpkin
Prepare to hollow out the pumpkin by cutting a hole around the stem.
Step 2: Scoop Out the Seeds
Using a pumpkin scoop, scraper or a large spoon, remove the pulp, flesh and seeds.
Step 3: Pick Your Cookie Cutters
The best part about carving with cookie cutters are the endless options! Make sure to choose metal cookie cutters, which are less likely to be damaged during the carving process.
Step 4: Place Your Cookie Cutter
Holding the pumpkin in your lap, place the first cookie cutter.
Step 5: Hammer in the Cookie Cutter
Use a rubber mallet to tap in the cookie cutter. Children can help with this step, but supervise carefully to avoid injury.
Step 6: Cut Out the Shape
Once the cookie cutter is all the way in, use a knife to cut out the shape.
Step 7: Remove, Then Repeat
Remove the cookie cutter and pumpkin skin, then repeat the steps for your other shapes.
Step 8: Light It Up
Put a candle inside of your pumpkin, wait for dark and then watch your shapes dance across the walls!

Photo By: Images courtesy of Jessica Yonker