Next Up

The Ultimate Household Cleaning Schedule: How + When to Clean Everything

Updated on March 19, 2026

Our step-by-step guide walks you through what to clean and how often you should clean it to keep your home in tip-top shape.

Price and stock could change after publish date, and we may make money off these affiliate links. Learn more.
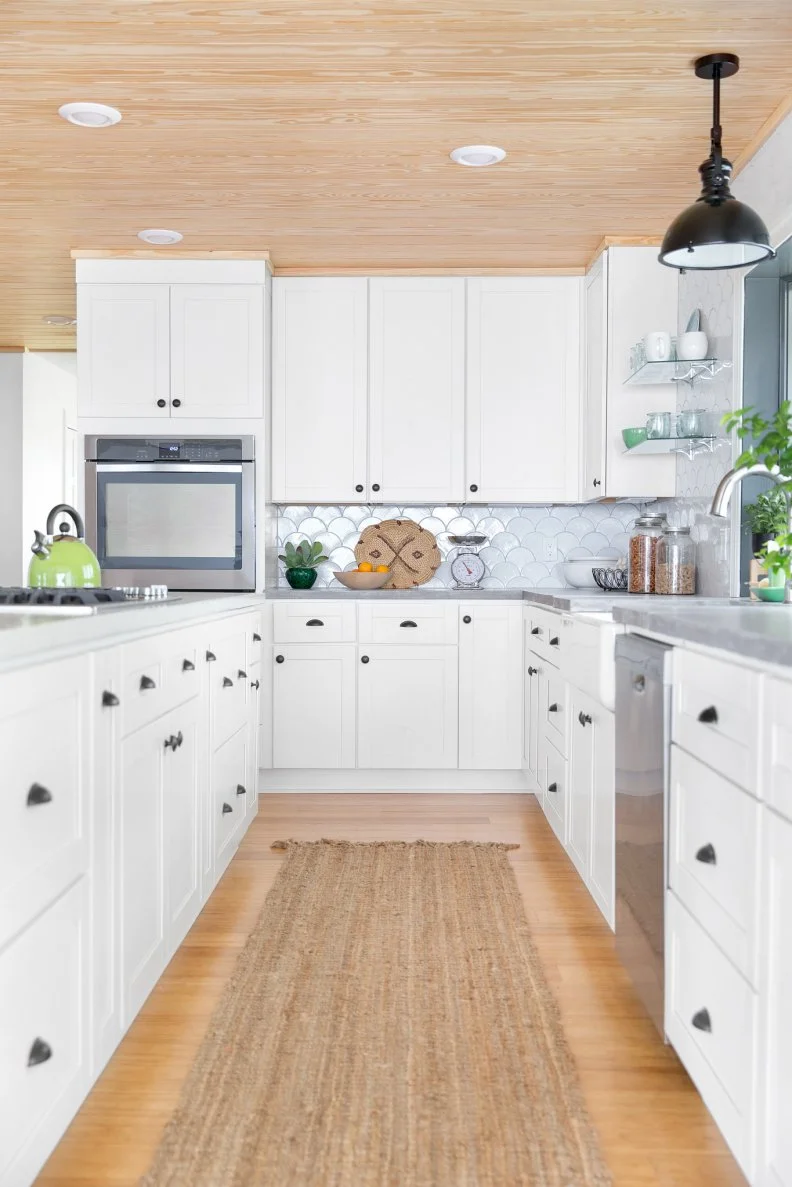
Photo: Amy Vischio. From: Moss Design
Scroll For More Photos
1 / 21

Keep Your Home Spotless With This Household Cleaning Schedule

Having a really clean home is the ultimate dream — but how can you achieve it? Between finding the best cleaning products and discovering the right cleaning techniques for all the different surfaces in your home, it can be tough to know where to start. If you need easy tips to keep your home feeling fresh, HGTV's cleaning experts are here to share the most important spots to shine up daily, weekly, monthly and beyond, so you can create a manageable household cleaning schedule that works for you.

More photos after this Ad

Photo: Christy Kosnic
2 / 21

Daily: Clean Up Clutter

Clutter is the number one enemy of a clean house since it quickly gets out of control. What could have been a 10-minute daily task turns into an hours-long chore during your weekend reset. Stay on top of the chaos by doing a quick walkthrough at the end of the day. Put any misplaced items back in their spots, organize shoes and coats by the door and sort through the mail.

The Ultimate Decluttering List

More photos after this Ad

Photo: Mary Costa. From: Caitlin Murray
3 / 21

Daily: Make the Bed

If you find it arduous to perfectly place decorative pillows on a completely made bed, we're going to give you a little out. (And if you don't, by all means, embrace the pillows!) Be your own turn-down service. When you get out of bed, straighten the sheets, comforter and blankets, plump your pillows and then turn down the covers. Coming home to a bed that's tidy and ready for sleep is a relaxing end to any day. Plus, you don't even have to remove the extra pillows.

More photos after this Ad

Photo: Tessa Neudstadt
4 / 21

Daily: Sweep Kitchen and Entry

No matter how neat you are at meal prep, the kitchen floor needs frequent sweeping to keep it crumb free. Be sure to also take a broom to the entryway since dirt and grass is easily tracked into the rest of the house from the outdoors.

More photos after this Ad

Photo: Eron Rauch. From: Caitlin Murray
5 / 21

Daily: Dishes

Our tried-and-true method: Empty the dishwasher in the morning so it's ready to take in all the dishes and cups used throughout the day. Before heading to bed, make sure all the dishes are loaded and press start.

More photos after this Ad

Photo: Troy Thies Photography. From: Andrea Swan
6 / 21

Daily: Wipe Down Countertops

After you've loaded the dirty dishes or finished your bedtime routine, do a quick wipe down of the kitchen and bathroom countertops. It'll keep water stains at bay, sweep away any crumbs and guarantee sparkling surfaces in the morning.

How to Clean Granite Counters

More photos after this Ad

Photo: House of Jade Interiors. From: House of Jade Interiors
7 / 21

Daily: Laundry

To keep your laundry piles manageable, we suggest throwing in at least one load a day, including the dreaded last step of putting the clean clothes away in drawers and closets.

The Best Eco-Friendly Detergents

More photos after this Ad

Photo: Jonathan Rachman. From: Jonathan Rachman
8 / 21

Weekly: Light Dusting

Grab a microfiber cloth and work from the top down, dusting wood furniture, televisions and other electronics in each room of the house.

More photos after this Ad

Photo: Photos: Christopher Shane/Styling: Elizabeth Demos
9 / 21

Weekly: Vacuum and Mop

Vacuum carpeting and rugs throughout the house, as well as hardwood and tile floors. Use attachments to get into dust-collecting corners and seams. Mop the hard surfaces, starting from the back corner of each room and working your way out.

More photos after this Ad

10 / 21

Weekly: Clean Bathrooms

Pour toilet cleaner in the bowl and spray all-purpose cleaner in the bathtub and on the shower walls, allowing them to work while you clean the rest of the bathroom. Clean the countertops, sinks and outer surface of the toilet, wipe down mirrors, and then finish up the shower, bathtub and toilet bowl. Change out hand and bath towels, and empty the trash.

Bathroom Spots You’re Not Cleaning Enough

More photos after this Ad

Photo: Jacob Snavely. From: Chango and Co.
11 / 21

Weekly: Change Sheets

Strip the beds and wash all the sheets once a week. Make the beds back up with fresh linens for a delightfully refreshing bedtime.

More photos after this Ad

Photo: Andy Vinson of Loch & Key Productions
12 / 21

Weekly: Kitchen Clean-Out

Go through your refrigerator, getting rid of anything that's expired. Also, wipe down grime and food from all appliances. Don't forget to clean inside your microwave. Pour a cup of water and white vinegar in a microwave-safe bowl, cook for 10 minutes and then wipe down the interior.

More photos after this Ad

13 / 21

Monthly: Deep Dusting

Once a month, tackle all those random dusty places: blinds, moldings, vents, ceiling fans, light fixtures and the top of the refrigerator. Look for pesky cobwebs and get rid of them, too.

How to Clean Major Dust Collectors

More photos after this Ad

Photo: Tessa Neudstadt
14 / 21

Monthly: Detail Furniture

Vacuum upholstery, making sure to remove cushions and get to all the hidden crumbs. Clean and condition leather and wooden furniture.

How to Clean and Condition Leather

More photos after this Ad

Photo: Rennai Hoefer. From: Blissful Design Studio
15 / 21

Monthly: Shower Curtain

Throw your shower liner in the washing machine to remove any dirt or mold. If doesn't come clean in the wash or is starting to look dingy, go ahead and replace it.

READ MORE

More photos after this Ad

Photo: Robert Peterson; Rustic White Photography. From: Tiffany Brooks
16 / 21

Seasonally: Deep Clean Appliances

Revive your hard-working appliances by giving them a thorough interior cleaning. Clean inside your refrigerator and freezer. Remove the racks from your oven and wash by hand, while you set the oven to self-clean.

More photos after this Ad

Photo: Jackson Design and Remodeling. From: Jackson Design and Remodeling
17 / 21

Seasonally: Windows

Wash windows inside and out. Your best bet is to use a squeegee. Whether you opt for store-bought glass cleaner or a homemade solution (equal parts white vinegar and hot water), wet the panes using a sponge or washcloth and then squeegee down from the top in straight strokes. Use a wet cloth to also wipe down the sill and in between the panes.

WATCH

More photos after this Ad

Photo: Michael Khait. From: Kendall Simmons
18 / 21

Seasonally: Pillows and Comforters

Wash your comforters and pillow covers. Follow your care label instructions, but most pillows are able to be washed in your washing machine. It's also smart to refresh your pillows by hanging them outside to air out in the sun.

More photos after this Ad

From: Leanne Ford and Restored by the Fords
19 / 21

Yearly: The Hidden Spots

Move heavy pieces of furniture and appliances so you're able to clean underneath and behind them. Clean out the dryer duct, which can be a major fire hazard.

How To Clean a Dryer Vent

More photos after this Ad

Photo: Marie Flanigan Interiors. From: Marie Flanigan Interiors
20 / 21

Yearly: Clean Curtains

Check the labels, as you may be able to put them in your washing machine for a quick at-home clean. If they require special care, drop them off at the dry cleaners.

More photos after this Ad

Photo: Jackson Design and Remodeling. From: Jackson Design and Remodeling
21 / 21

Yearly: Wipe Down Walls

Make your whole house sparkle by removing fingerprints, smudges and stains from your walls. Start by dusting the walls — the brush attachment on your vacuum should do the trick. Lay towels at the baseboards to catch excess liquid and wipe the walls down with water, starting at the top and working your way down. If you have stubborn stains, add a little dishwashing soap to your water. Once you're done, dry the wall with a towel to prevent streaking and water damage.

READ MORE