1 / 18
Photo: Cassidy Garcia
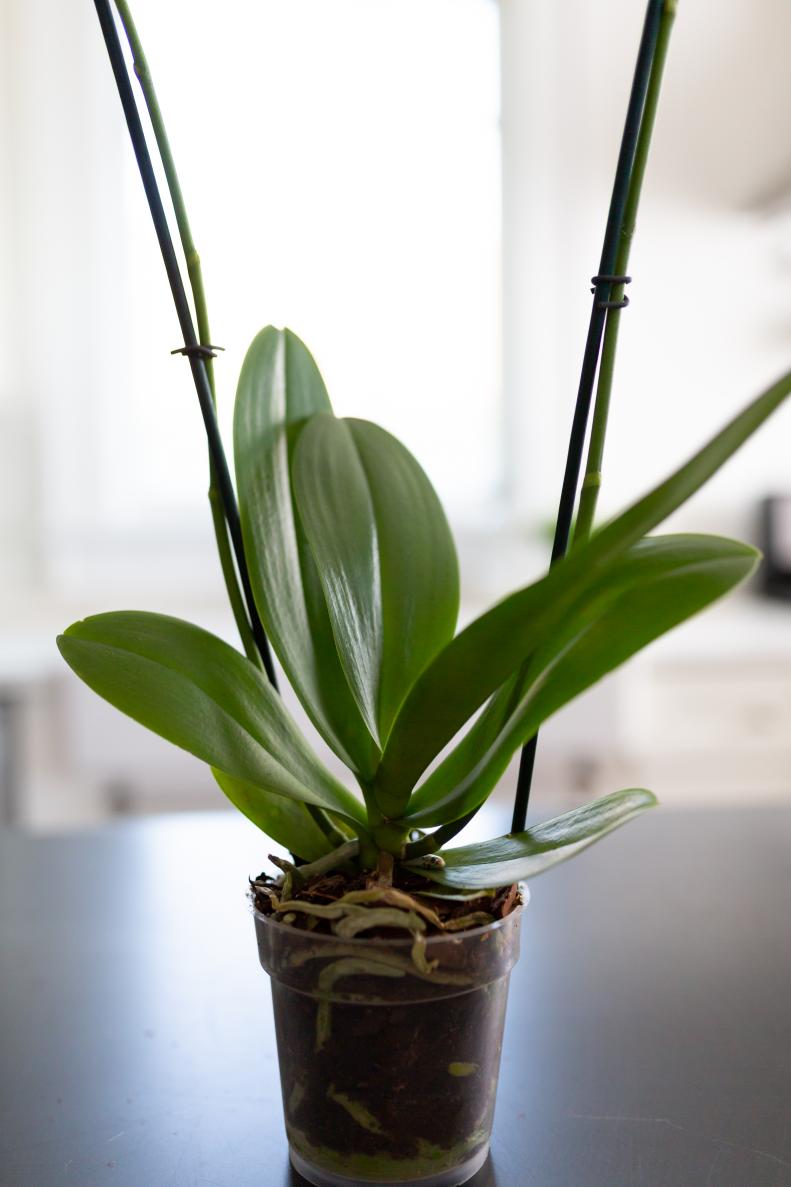
Be Your Own Florist
Yes, you could drop those impulse-purchased orchids into any old pot, or you can give them a pro-level makeover in minutes with our step-by-step tips. To pull off this look, you'll need phalaenopsis orchids (the kind you find in the grocery store), a planter, moss, decorative stems and one or two small, low-light houseplants. This arrangement makes a gorgeous dining table centerpiece or a stunning gift for Mother's Day, birthdays or any other flower-worthy occasion.