


Make This Handheld Halloween Photo Booth
All you need is a cardboard box, some inexpensive supplies and a few Halloween decorations. Bonus: You can make this photo booth for any holiday.

Caitlin Dabbs

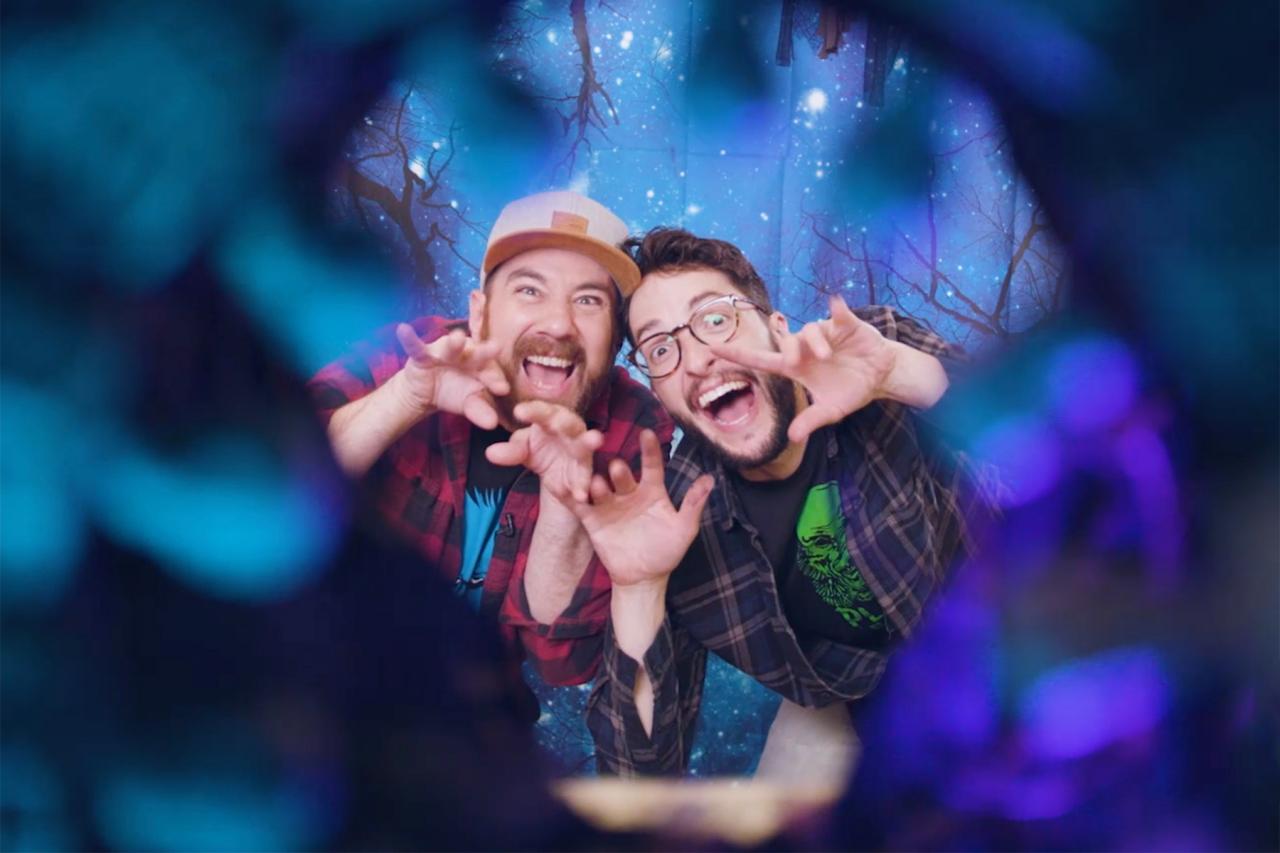
Amp up your Halloween with this portable photo booth that's perfect for sharing pictures on social media. HGTV Handmade's Crafty Lumberjacks share step-by-step tricks for a haunted photo booth you can whip up with plenty of time to spare for costume prep. Read on for the Halloween how-to.
- cardboard box
- extra cardboard piece
- craft knife
- jar lid
- low-temp hot glue gun
- black acrylic paint
- paintbrush
- double-sided tape
- faux branches
- faux moss
- miniature plastic skeletons
- miniature gravestones
- wrapping paper
- remote control LED lights
- cabinet handles with hardware
- pencil
- small nail
Prep Box + Cut Holes
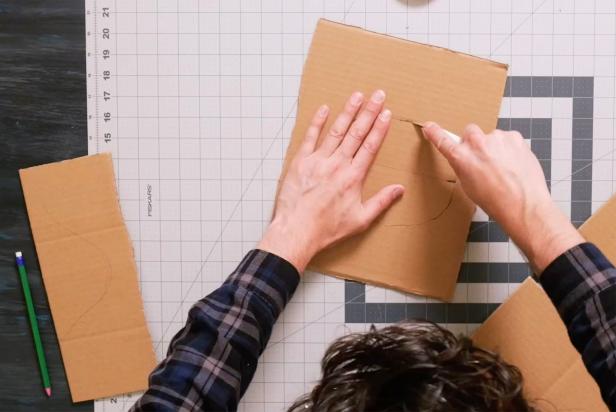
Open up a cardboard box and use a craft knife to slice the seal open so that it lays flat on the work area. Next, using a mason jar lid as a guide, trace a circle with a pencil on the upper part of the front side of the box to make a viewing hole (Image 1). Then, on the back side of the box, trace a larger skull shape to create a larger viewing hole (Image 2). Use a craft knife to cut out the marked pieces (Image 3).

Caitlin Dabbs

Caitlin Dabbs

Caitlin Dabbs
Make Panels + Paint
Set aside an extra piece of cardboard to decorate later. This extra piece will add more visual depth inside the box when complete. Now cut out one piece that will fit inside your box, parallel to the front and back. Then, trace and cut out a large oval in the middle of that piece (Image 1). To add more visual dimension, cut out another small piece of cardboard half the size of the middle panel and cut out a wavy shape (Image 2). Next, paint the inside of the box and the middle panel with black acrylic paint (Image 3). Let them dry completely.
Caitlin Dabbs

Caitlin Dabbs
Caitlin Dabbs
Make Eerie Panels
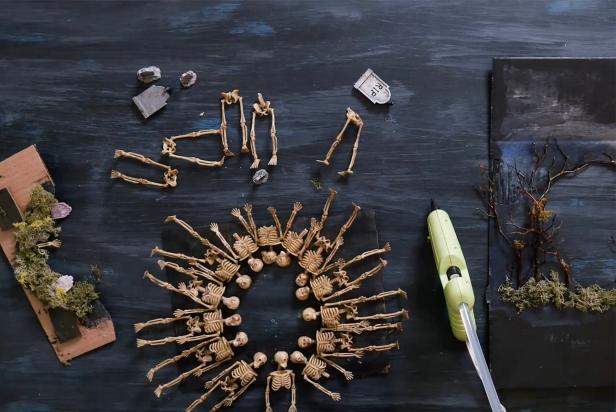
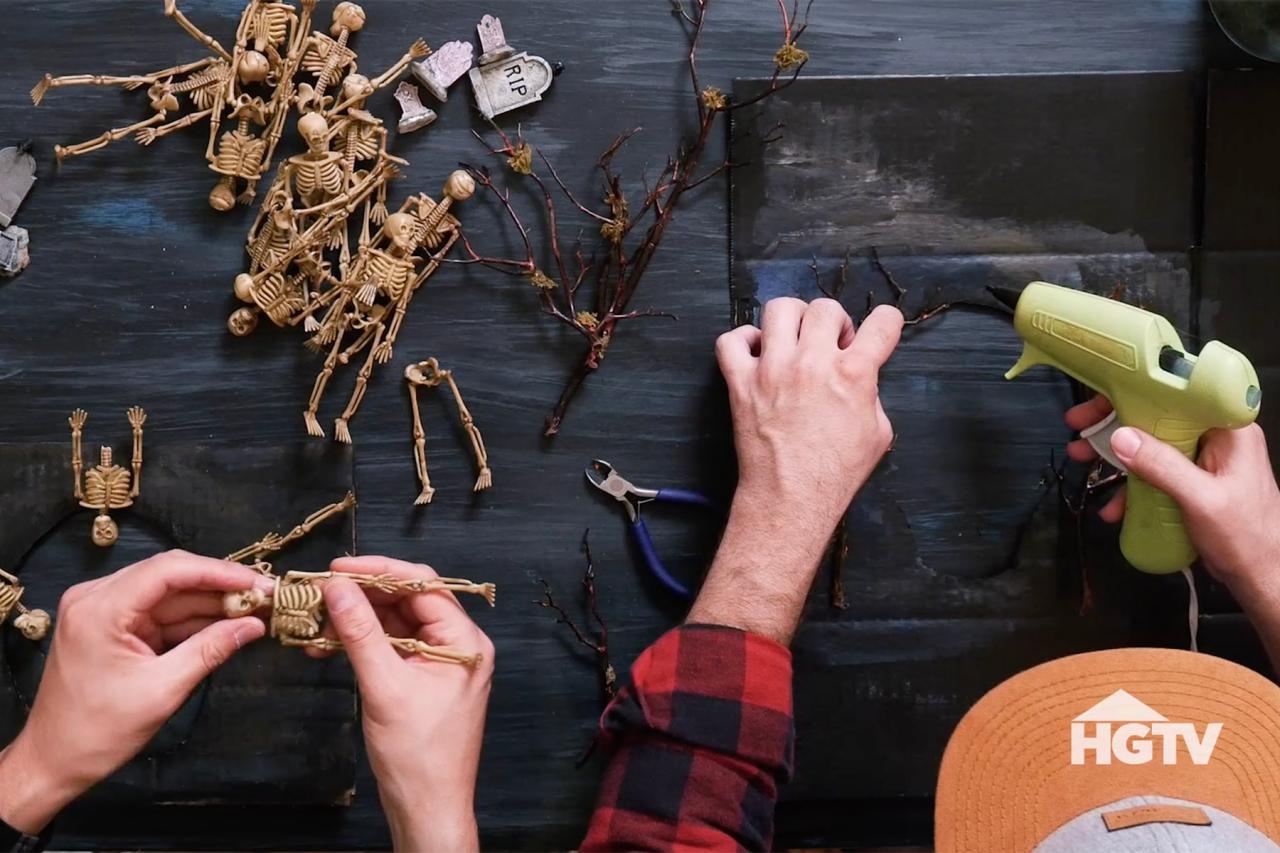
For the back panel with the large skull-shaped hole, use a low-temp hot glue gun to add faux tree branches and faux moss around the opening (Image 1). On the middle panel, use a low-temp hot glue gun to add plastic skeletons around the center hole (Image 2). Tip: Clip off any overhanging pieces from the toy skeletons so the panel fits easily back into the box. Embellish the smaller cardboard panel with some added faux moss and leftover skeleton pieces (Image 3).

Caitlin Dabbs
Caitlin Dabbs

Caitlin Dabbs
Reconstruct + Decorate Outer Box
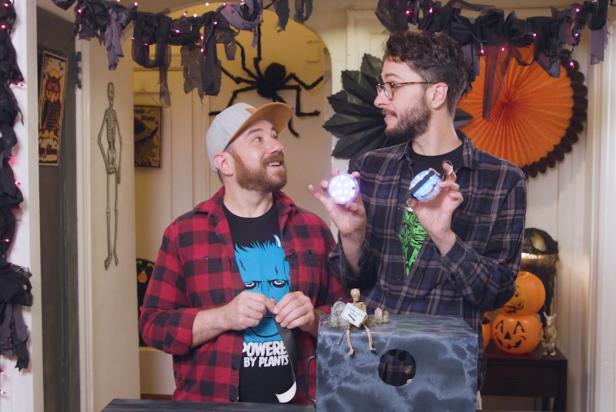
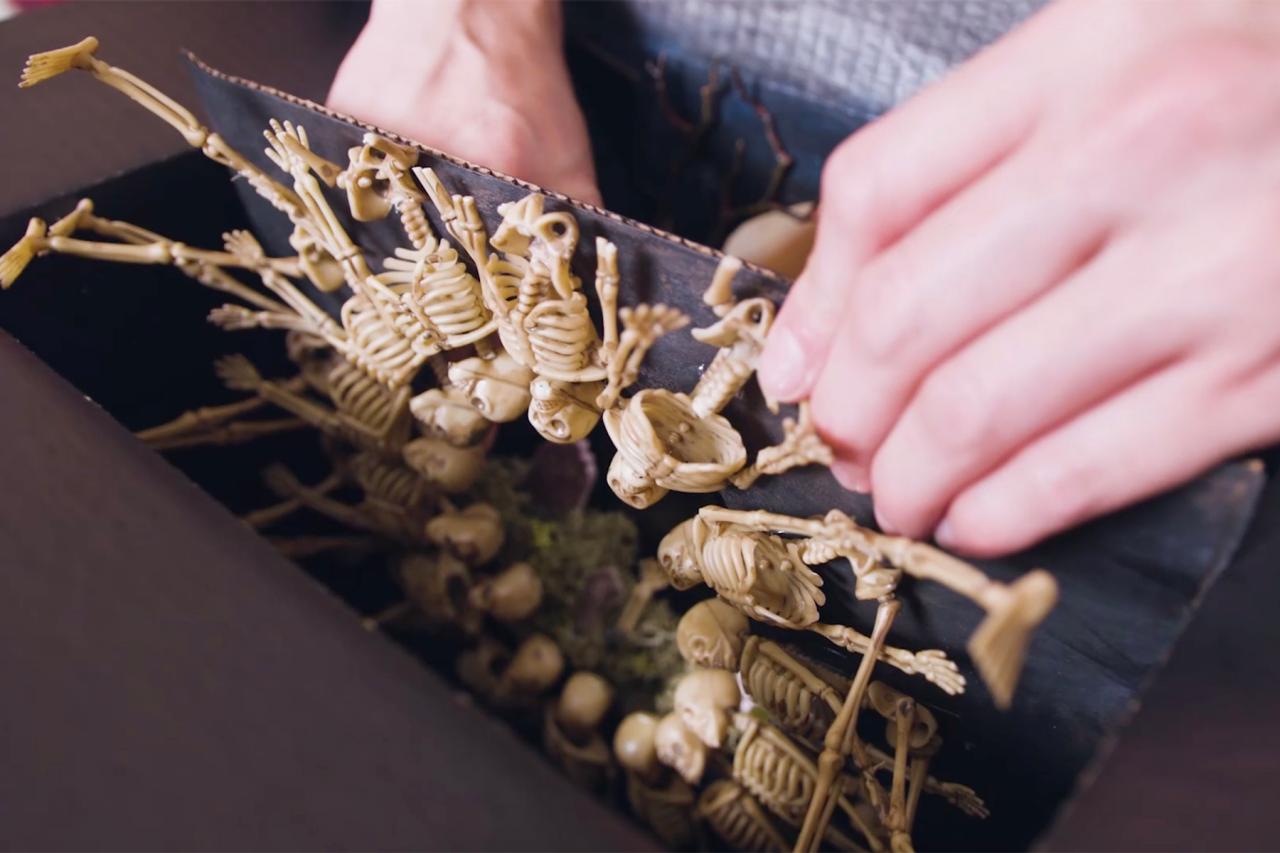
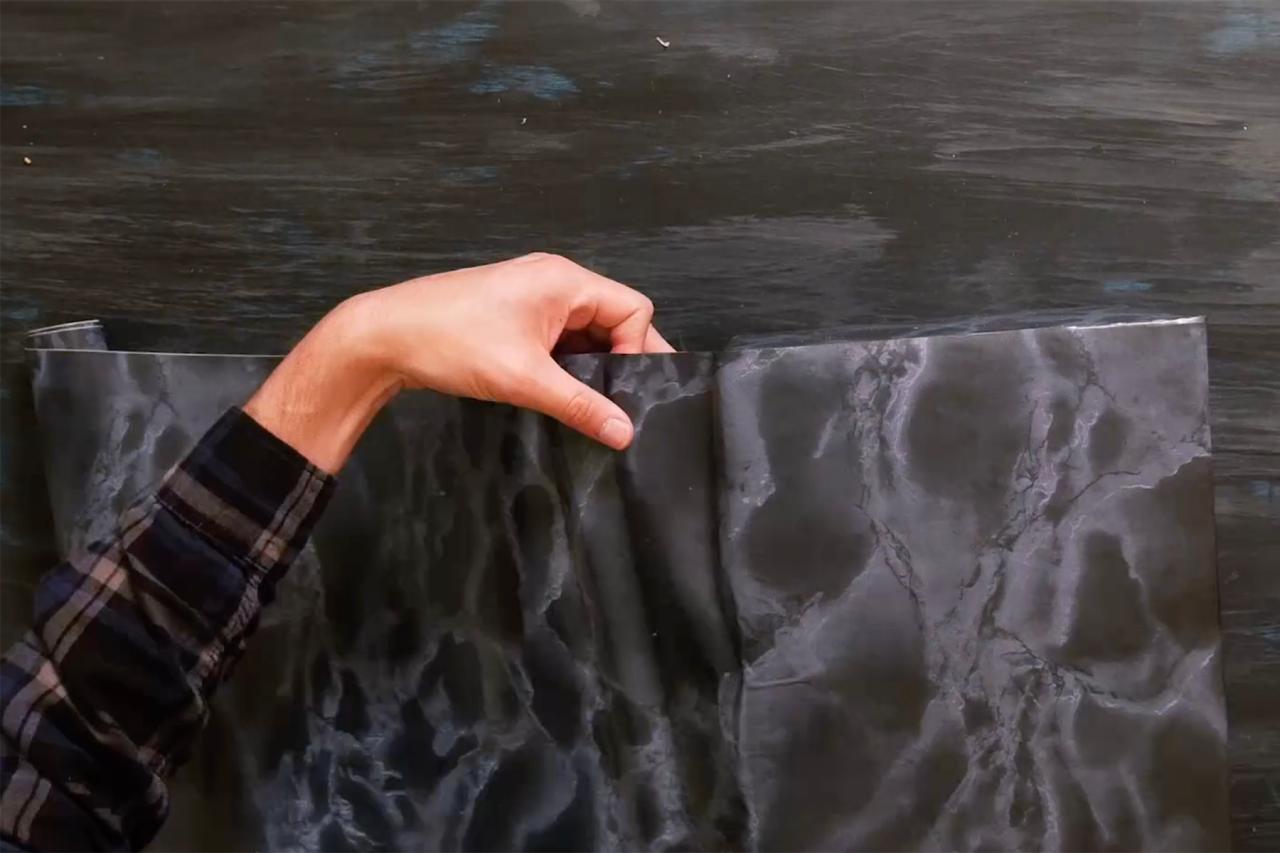
Put the box back together using a low-temp hot glue gun, leaving the top flaps open. Carefully slide the middle panel with the skeletons back into the box, skulls facing the front viewing hole (Image 1). Tip: Test that everything is securely aligned and in place inside the box by using your cell phone to take a test photo. Then, close the top lid and glue down with a low-temp hot glue gun. Once glued, carefully wrap the outside of the box like a present using black or Halloween wrapping paper and double-sided tape (Image 2). Using a craft knife, cut slits in the paper where the holes are and fold them into the box (Image 3). Next, decorate the top of the box with miniature gravestones, faux moss and a plastic skeleton to create the perfect Halloween scene (Image 4). Finish by placing remote-controlled LED lights inside the box and use double-sided tape to secure (Image 5).

Caitlin Dabbs

Caitlin Dabbs

Caitlin Dabbs

Caitlin Dabbs
Caitlin Dabbs
Complete With Handles
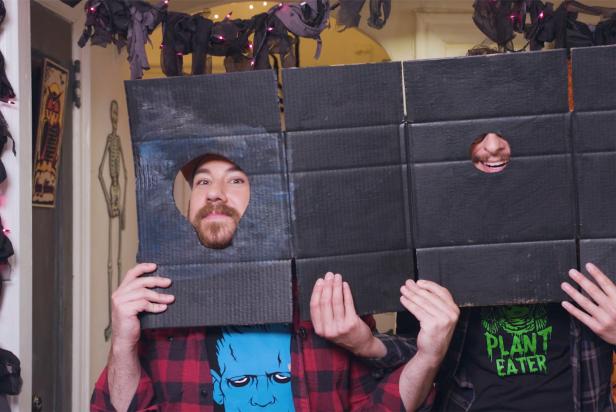
Center the cabinet handles on each side of the box, mark with a pencil and puncture holes using a small nail. Then, attach the handles using the provided hardware. Snap a pic through your new DIY photo booth and display for others to enjoy.

Caitlin Dabbs
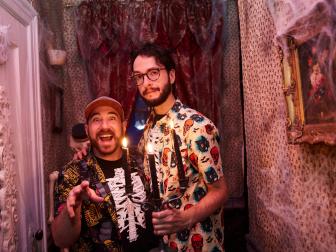
The Crafty Lumberjacks' NYC Apartment Is Spooky Perfection 24 Photos
Join Andrew and Dennis on a tour of their Queens, New York, apartment all decked out for Halloween.


