


How to Lay Tile Flooring
Tiling your floor can be a big job, but we’ve done all the dirty work to show you exactly what you’ll need to get the job done.

Cassidy Garcia

Updating your bathroom or kitchen floor with tile can make all the difference in the world for your home’s function and overall aesthetic. While this job can be daunting, it's not as hard as it seems. However, it’s important to know what you’re signing up for before you start the demolition process, and this guide has everything you need to know to lay floor tile like a pro.
Materials Needed
- floor tile
- cement board underlayment
- thin-set mortar
- trowel
- underlayment screws + bit
- tile nippers
- tile spacers
- grout float
- cement board joint tape
- buckets
- water
- pre-mixed grout
- grout sponges
- microfiber tile polishing cloth
- wet tile saw or snap cutter
- rags
- shop vacuum
- scraper
- grout removal tool
- drill
- paddle mixer
- oscillating multitool or jamb saw
- measuring tape
- drywall square
- utility knife
- grout sealer (optional)
Inspect Floor
Before you begin ripping out the old floor to make way for the new, do a visual inspection to make sure that tile is a viable option for your room. Is the floor system sound enough to support tile? If not, it's imperative that any structural failing, floor-leveling and other issues are addressed before moving forward. Often, if vinyl or laminate flooring is already installed, it’s because it was a budget-friendly option. However, it could have been chosen because the floor system was not suitable for a rigid material like tile. If the floor system moves or is not level, the tile and grout will eventually crack.

Kamron Sanders
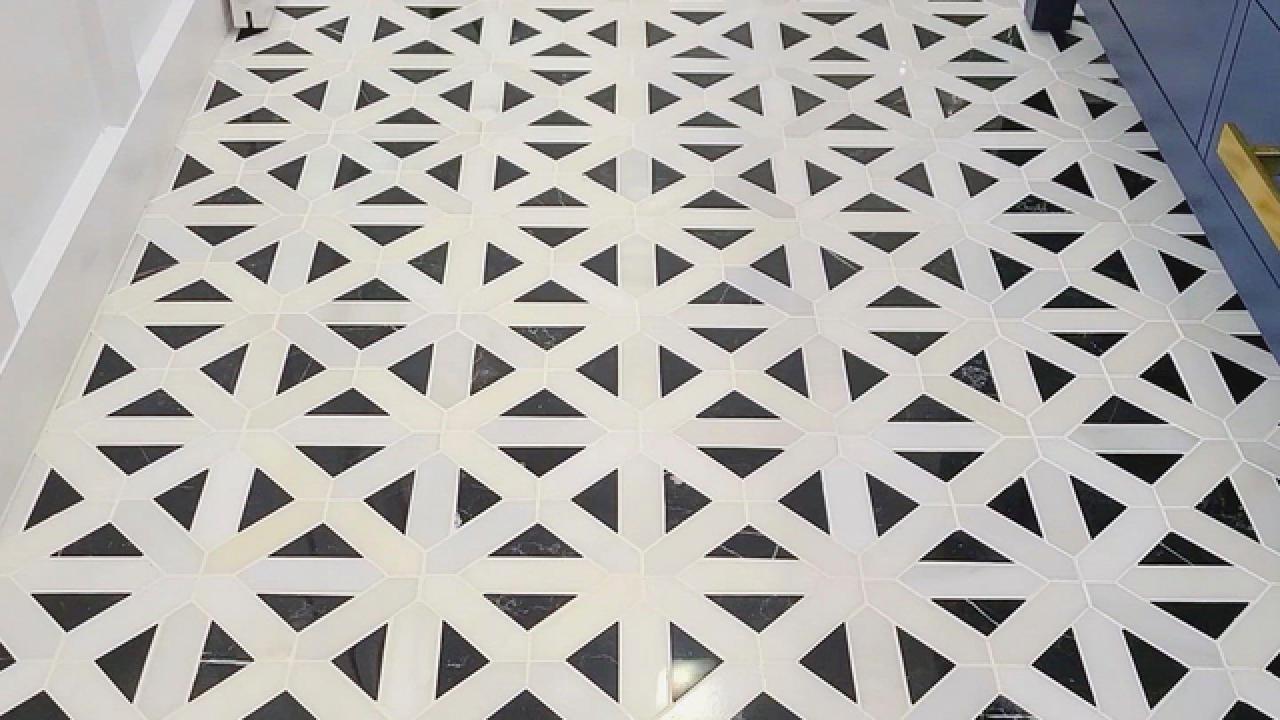
Buy Tile
When picking tile, always make sure it's appropriate for your specific room. Some tiles, though they claim to be floor tiles, become incredibly slick when wet and would be a nightmare in a bathroom or even a kitchen. Once you’ve found the perfect tile, we recommend buying 10-20% more than necessary to account for damaged pieces and mistakes. Most hardware stores will let you return the excess, but it's wise to keep some on hand to replace damaged tiles in the future.
Prep Floor and Room
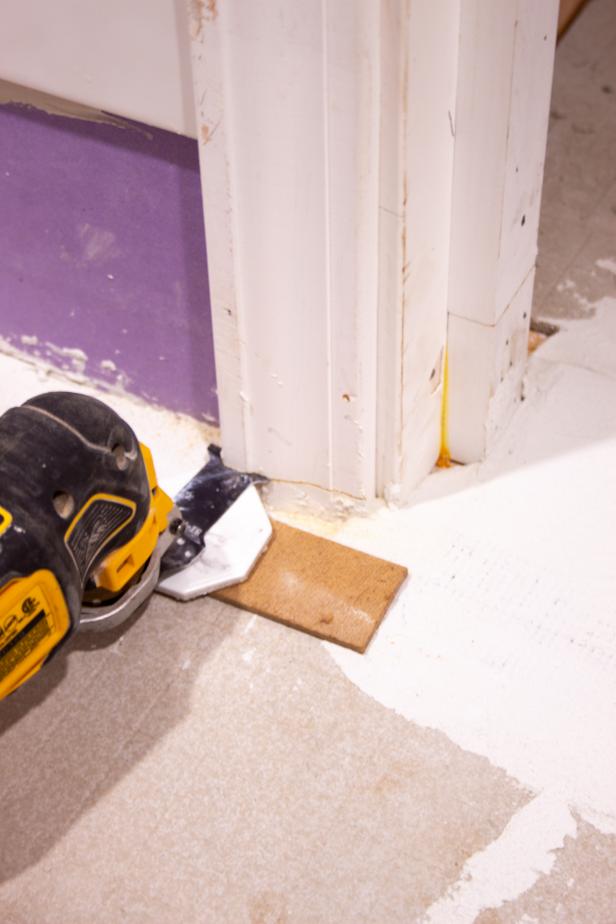
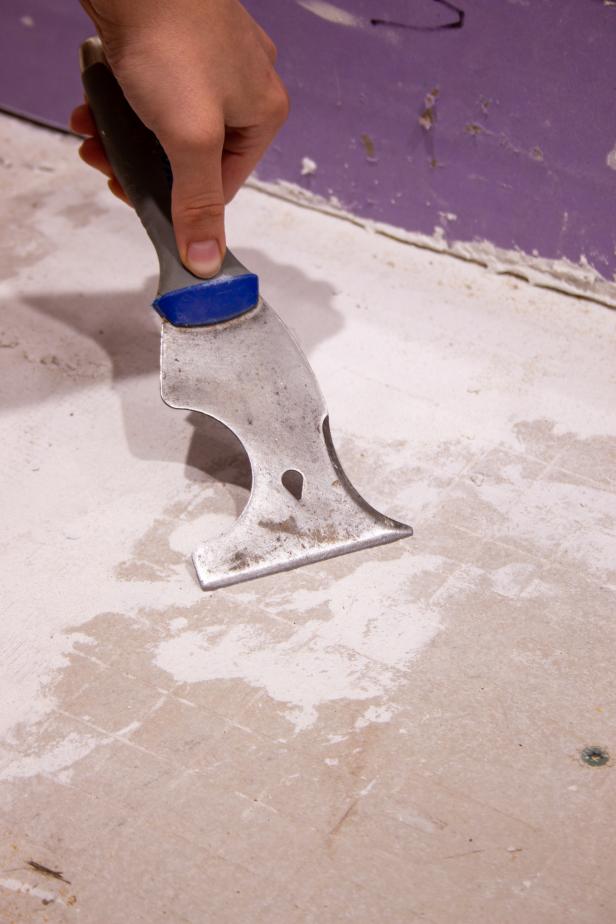
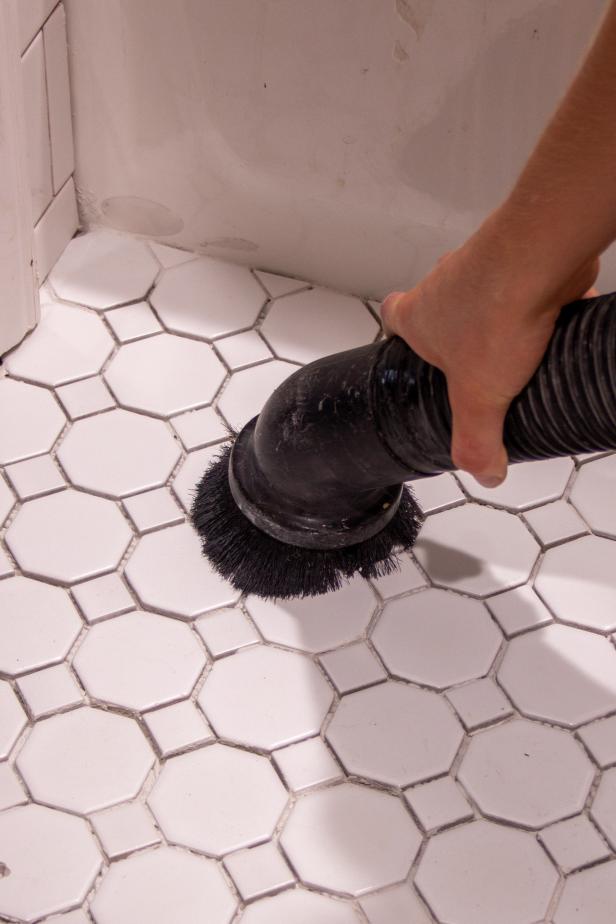
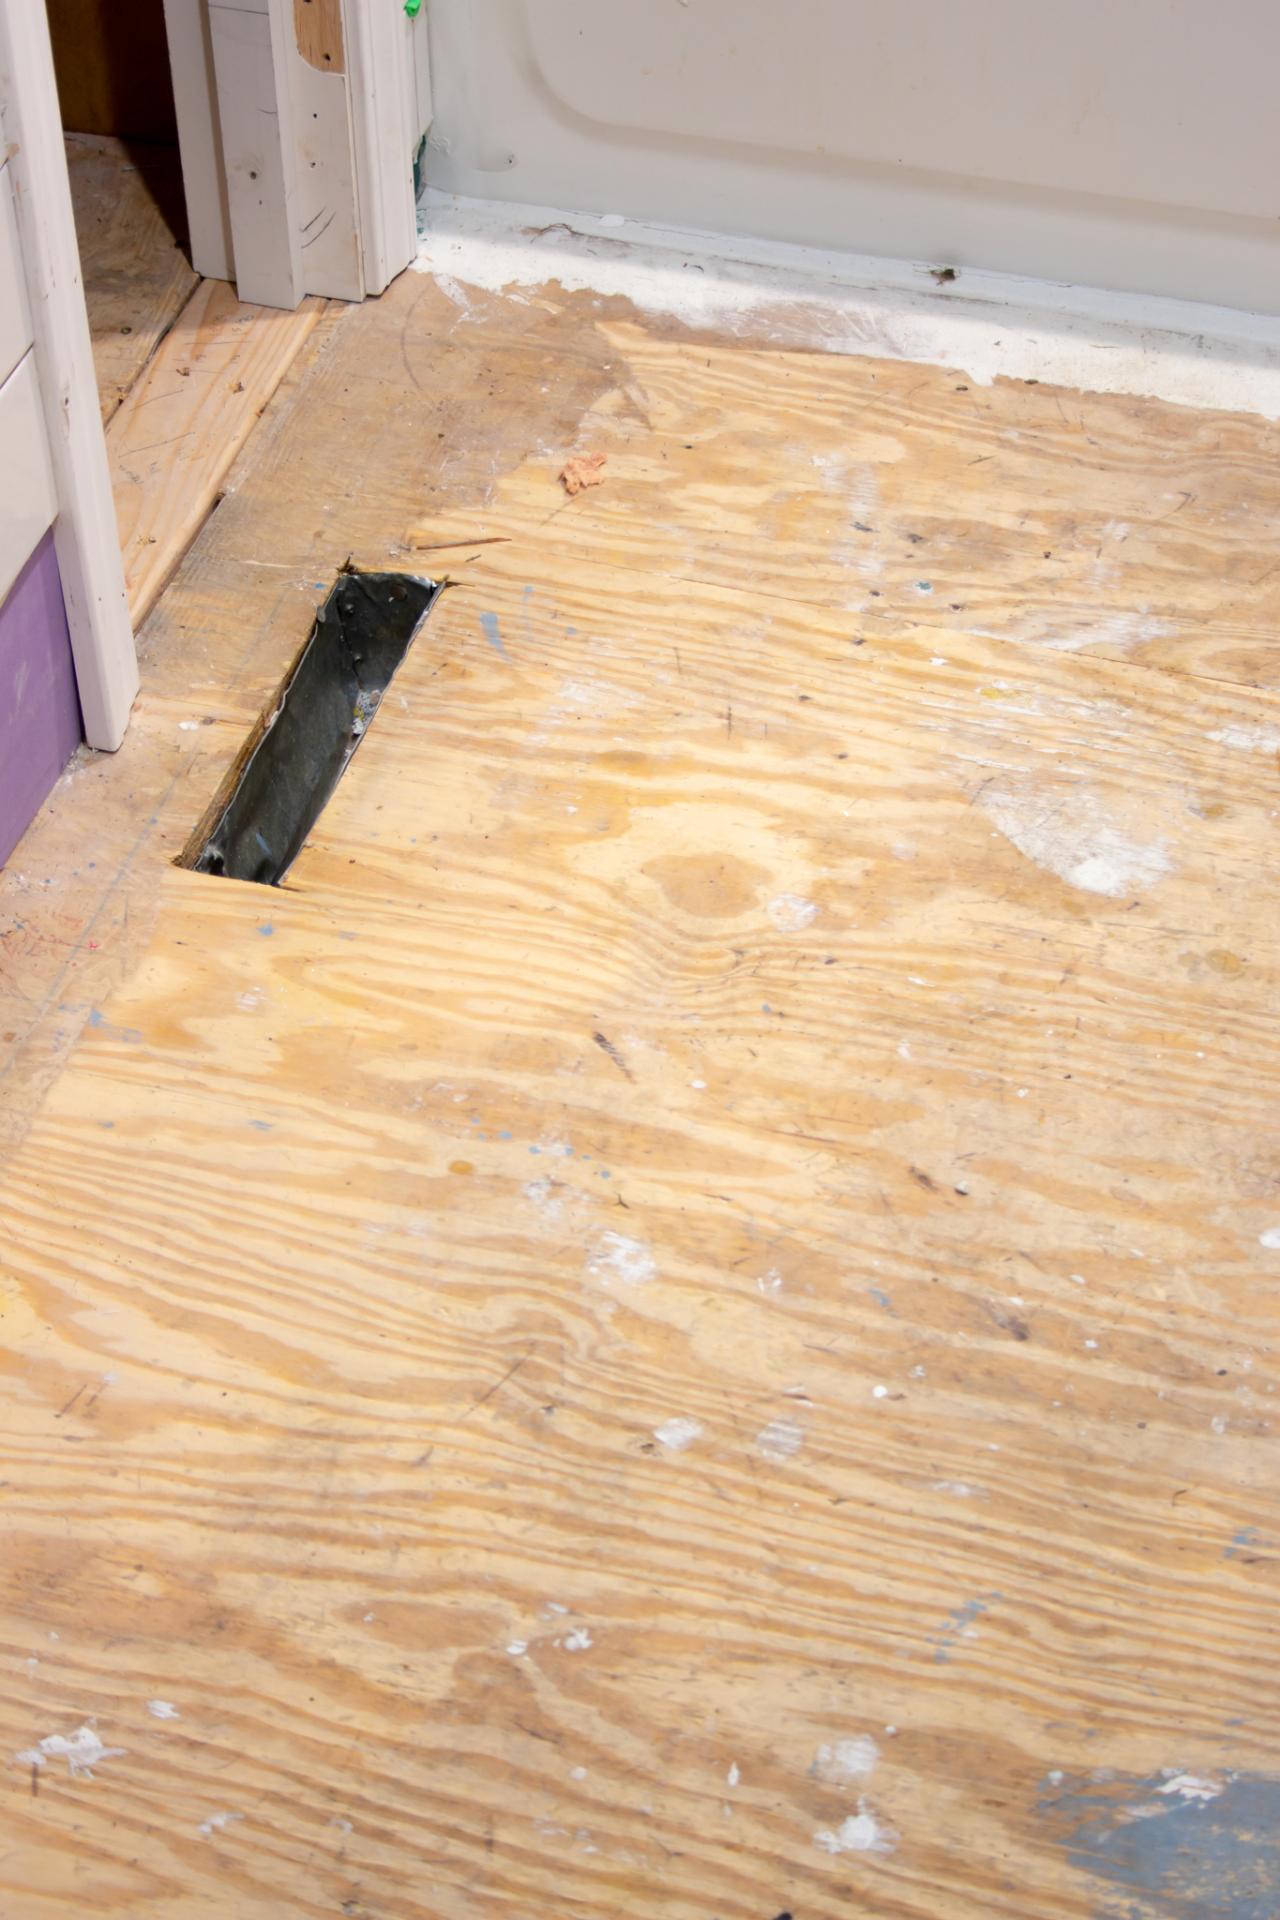
Assuming your floor system is sound, it's time to move forward with prepping the subfloor. Once you’ve removed all existing flooring, it's important to get the subfloor as clean as possible (Image 1). Remove any adhesives and vacuum up all dust (Image 2). For even better results, clean the floor with a damp towel and allow it to dry. If your room has door trim that cannot be removed, stack a scrap piece of tile on some underlayment and use an oscillating multitool or jamb saw to cut off the bottom of the jamb (Image 3).

Kamron Sanders

Kamron Sanders
Kamron Sanders
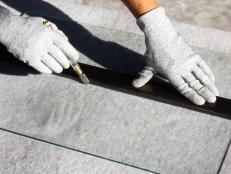
Measure and Cut Underlayment
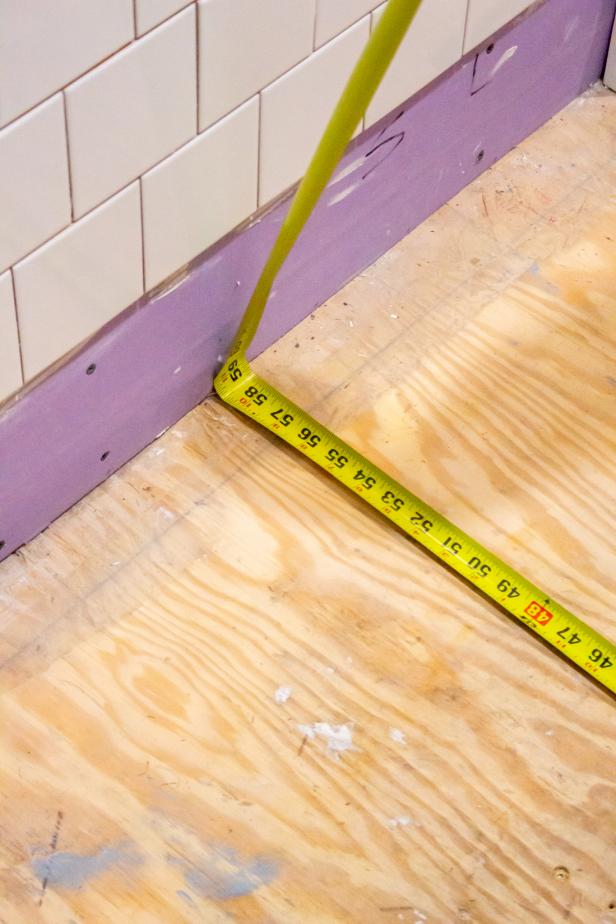
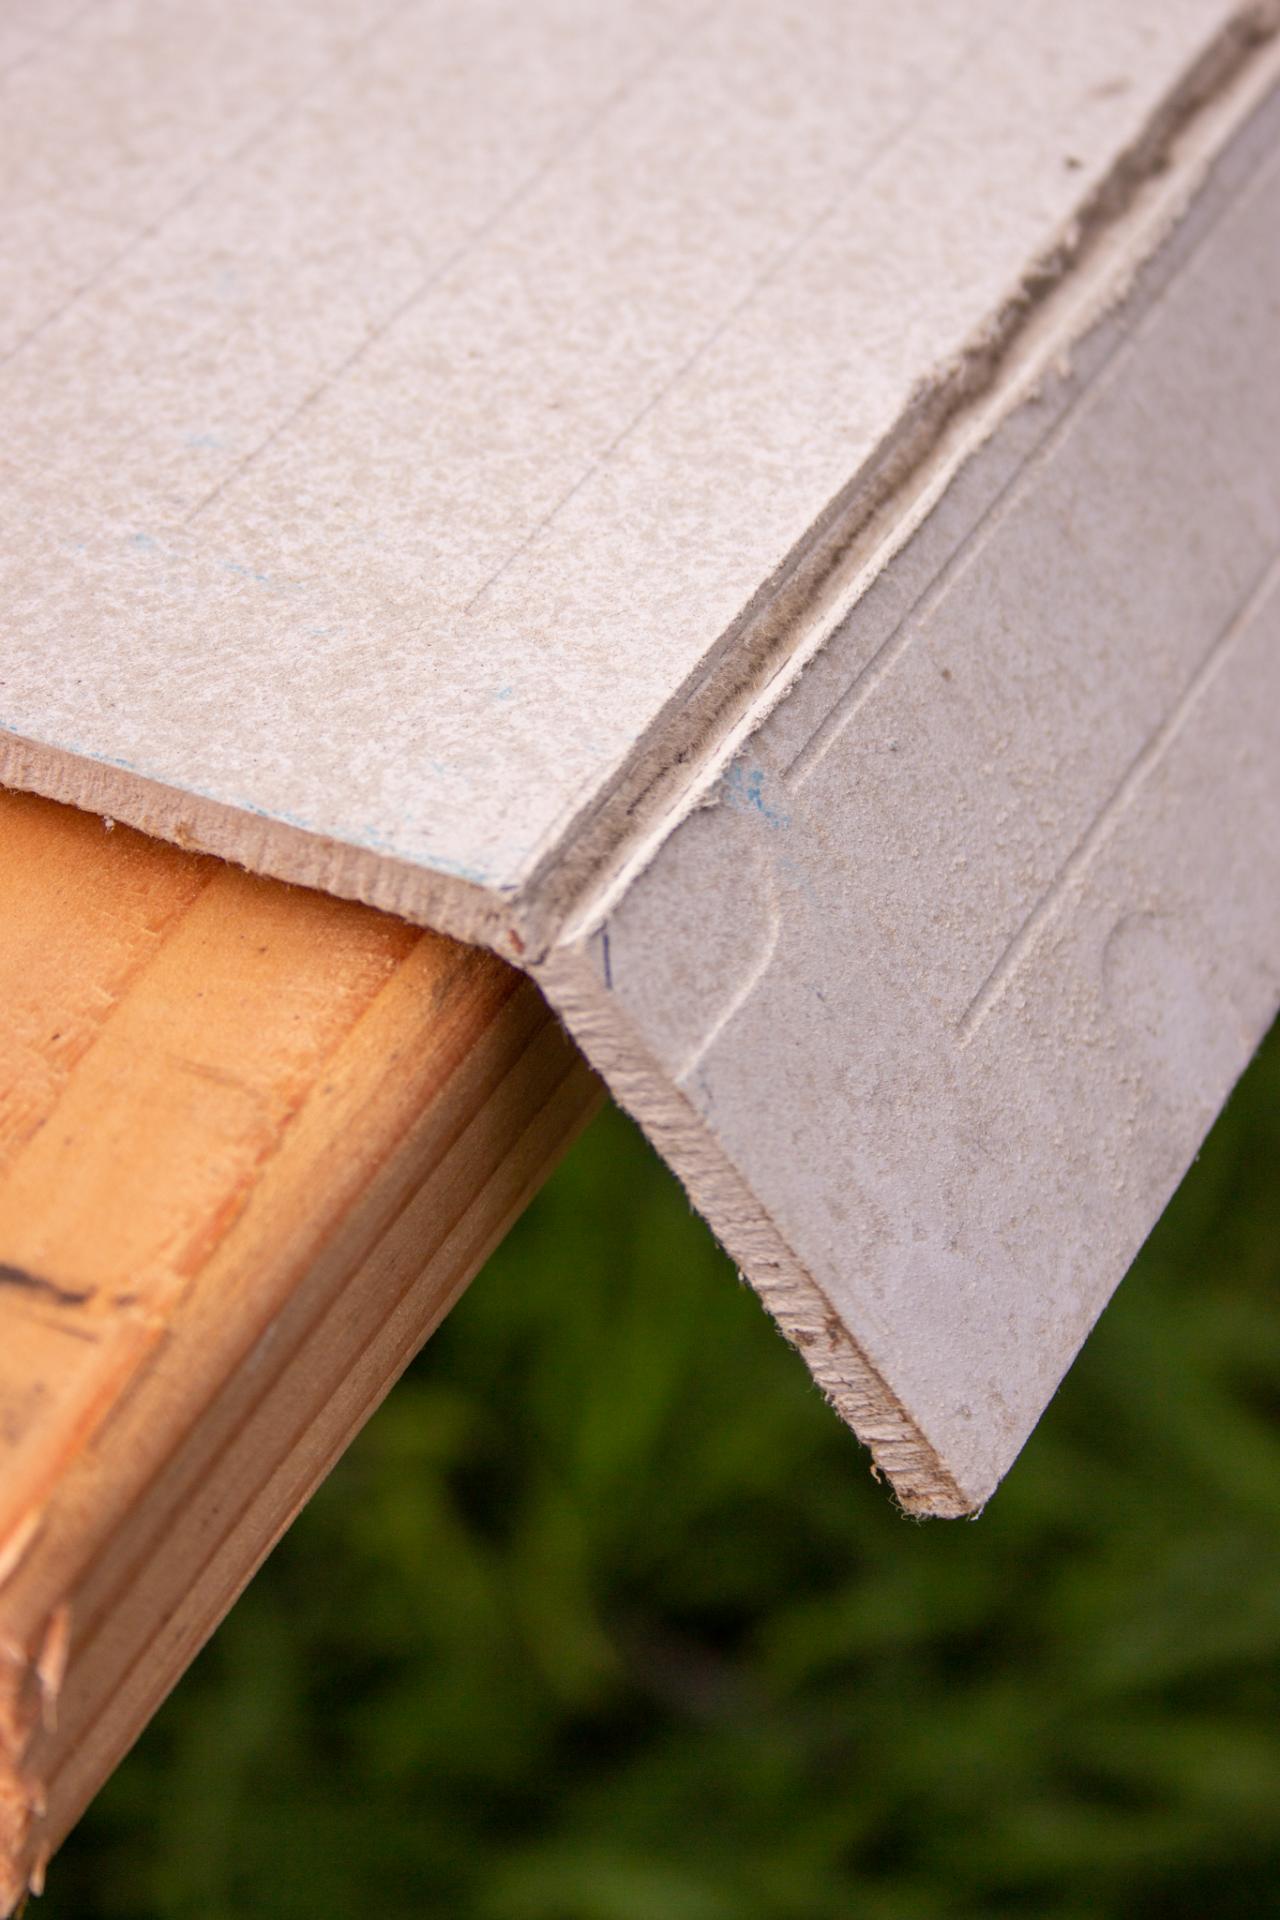
While some people tile directly to the subfloor, we recommend always using an underlayment. This greatly aids in tile adhesion, floor rigidity and overall stability. Before mixing mortar and installing, first measure and precut your underlayment pieces to fit (Image 1). This helps prevent the mortar from setting while you measure and cut your pieces. The proper way to cut cement boards is to score with a utility knife, then break — much like drywall (Images 2 & 3). Note: Power tools and saws are not recommended, as the dust produced is dangerous when inhaled.
Kamron Sanders

Kamron Sanders

Kamron Sanders
While there are different types of underlayment, our specific cement board manufacturer’s instructions recommended a 1/4-inch gap between the subfloor pieces and the wall. Follow your specific product’s instructions for the best results. After mocking up pieces, clean the subfloor once more.
Pro Tip: To cut the boards, score the lines multiple times, then place a long board under one side of your line and break off the other side. This will result in a clean break every time.
Install Underlayment
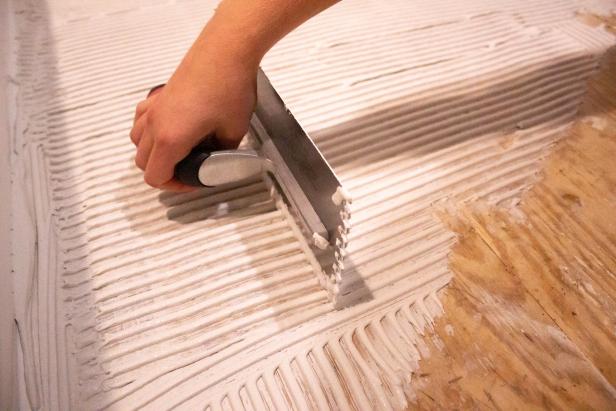
Once you’ve deemed your subfloor clean and ready for underlayment, mix your thin-set mortar according to the manufacturer’s instruction. Be sure to use a mortar intended for this application. Once mixed, apply the thin-set mortar to the floor in one direction (Image 1). Our specific products called for a 1/4-inch square-notch trowel, but this could vary depending on your manufacturer’s specifications. Once the mortar is down, install your underlayment and secure with underlayment screws (Images 2 & 3). The screw type as well as the recommended distance between screws is determined by your specific underlayment's requirements. Our underlayment called for 2-inch cement board screws every 8 inches.
Kamron Sanders

Kamron Sanders

Kamron Sanders
Tape Underlayment
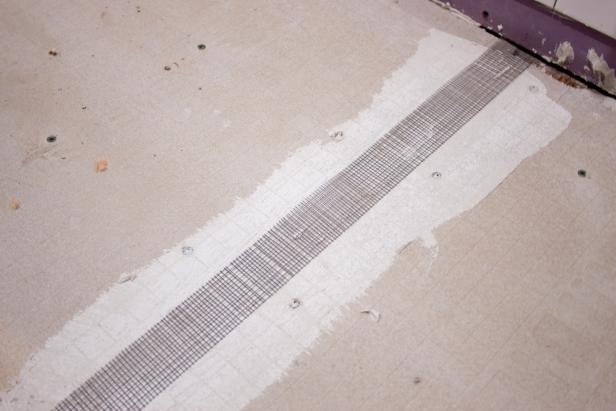
Once the underlayment has been installed, tape the joints using underlayment tape and mortar. The quickest and easiest way to do this is by cutting your tape to length with a utility knife, spreading a thin, flat layer of mortar down the length of the joint, then pressing your tape into the mortar (Image 1). Follow it up with another thin layer of mortar, scraping with a trowel to flatten and remove all excess (Image 2). Allow the mortar to set according to the manufacturer’s instruction.
Kamron Sanders

Kamron Sanders
Clean and Prep Underlayment
Now that the mortar has properly set, it is almost time to tile. Before doing so, use a scraper to remove any leftover chunks of mortar and thoroughly clean the entire floor with a vacuum. Much like the underlayment, it can be helpful to establish a starting layout for your tile before mixing your mortar.
Kamron Sanders
Pro Tip: It's likely that your room is not perfectly square, so we recommend establishing the layout in the most visible areas and letting the imperfections of the room show in the less visible areas. There is no need to precut the tile, as the chances of precut pieces fitting as you go are slim. The best approach is to stage your tile and cutting area to be efficient and accessible, and cut as you go.
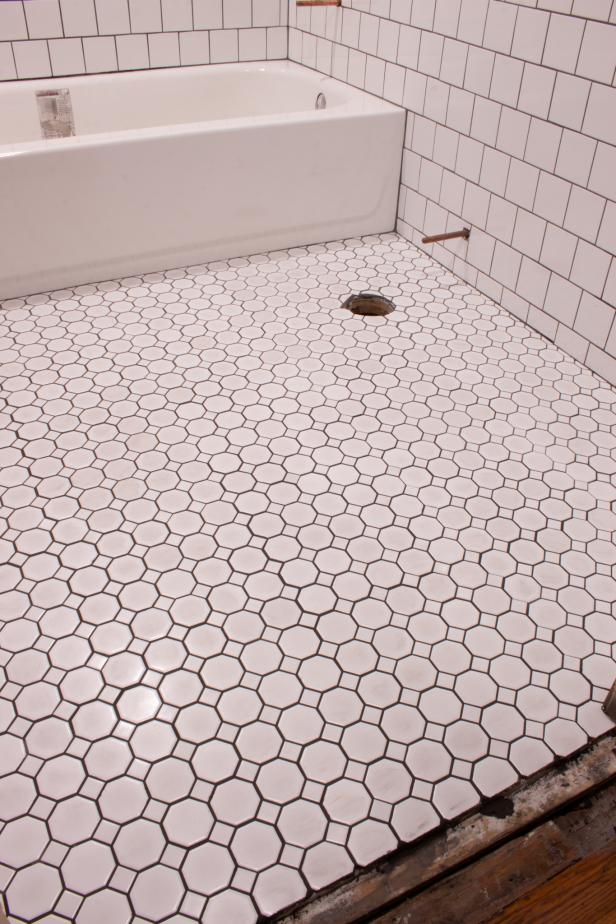
Install Tile
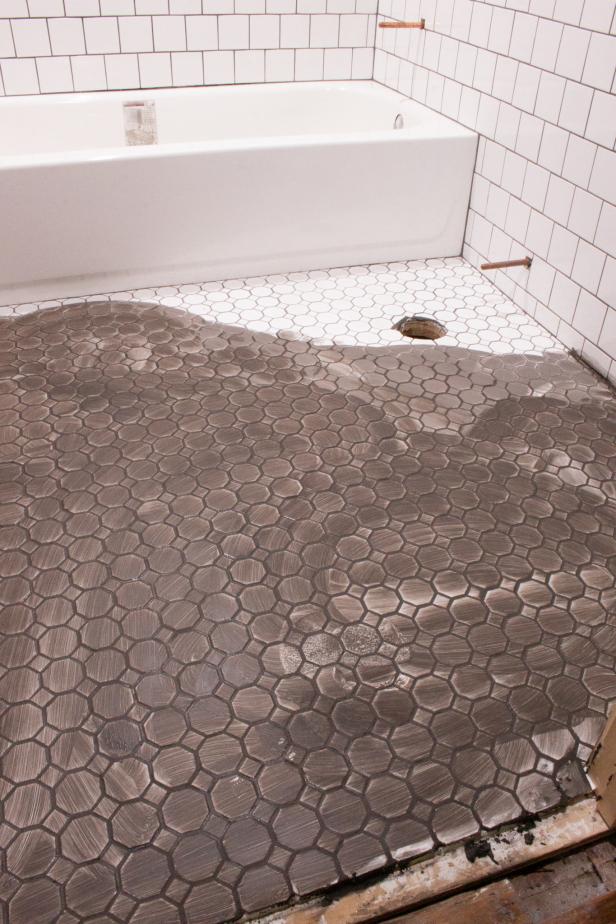
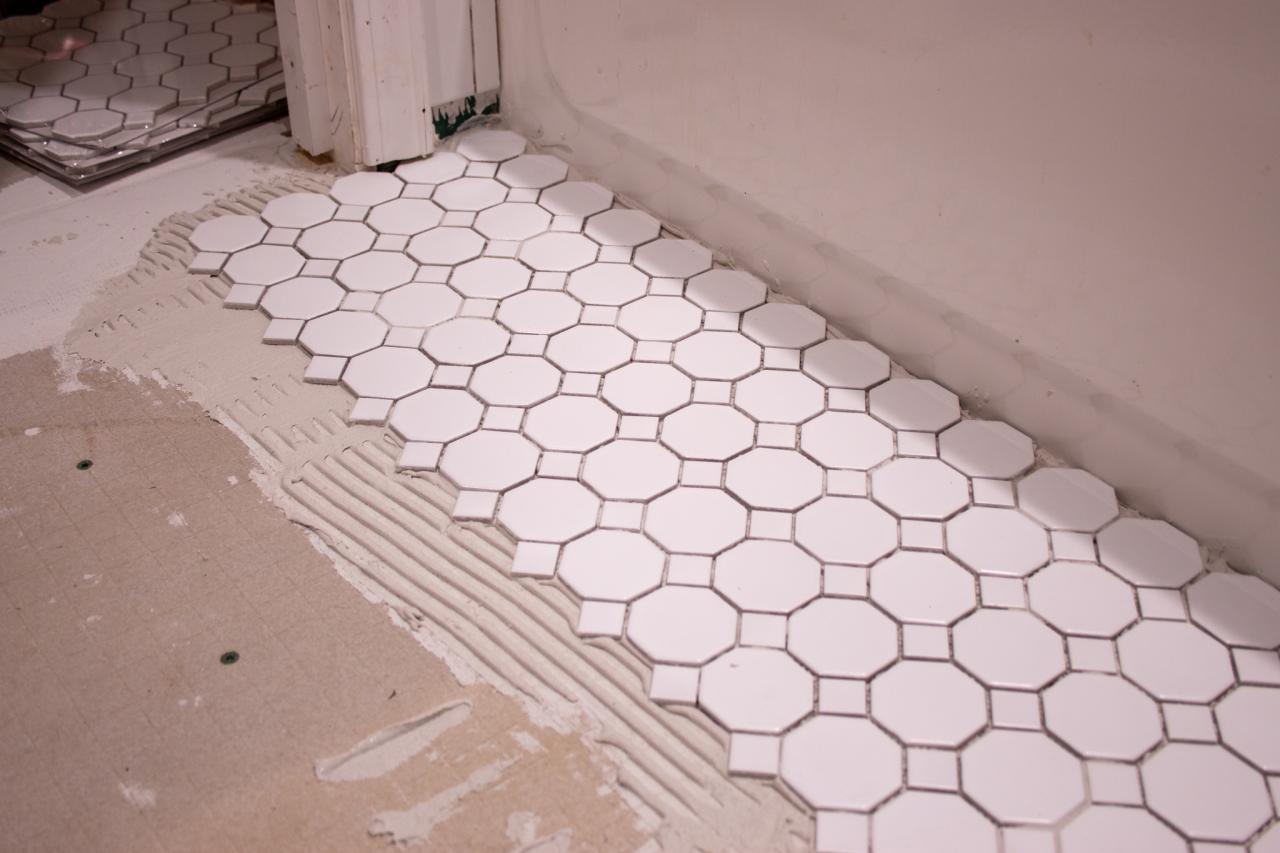
Once you’ve mixed the mortar and cleaned the floor once more, you can begin installing your tile. Rather than spreading the mortar over a large area, spread a little at your starting point and work your way out of the room. The process is much like the underlayment. Trowel the mortar onto the floor in one direction, lay the tile and compress the mortar ridges, cleaning off excess mortar as you go (Images 1 & 2).

Kamron Sanders

Kamron Sanders
When installing the tile, always use tile spacers between each tile to achieve the most uniform grout lines possible. As you approach the edge of the room, doorways or other objects, you will encounter tiles that need to be cut to fit. If you're less than confident with your tile-cutting skills, it can be easier to cut and install the more awkward pieces once your other tile has set.

Kamron Sanders
Prep for Grout
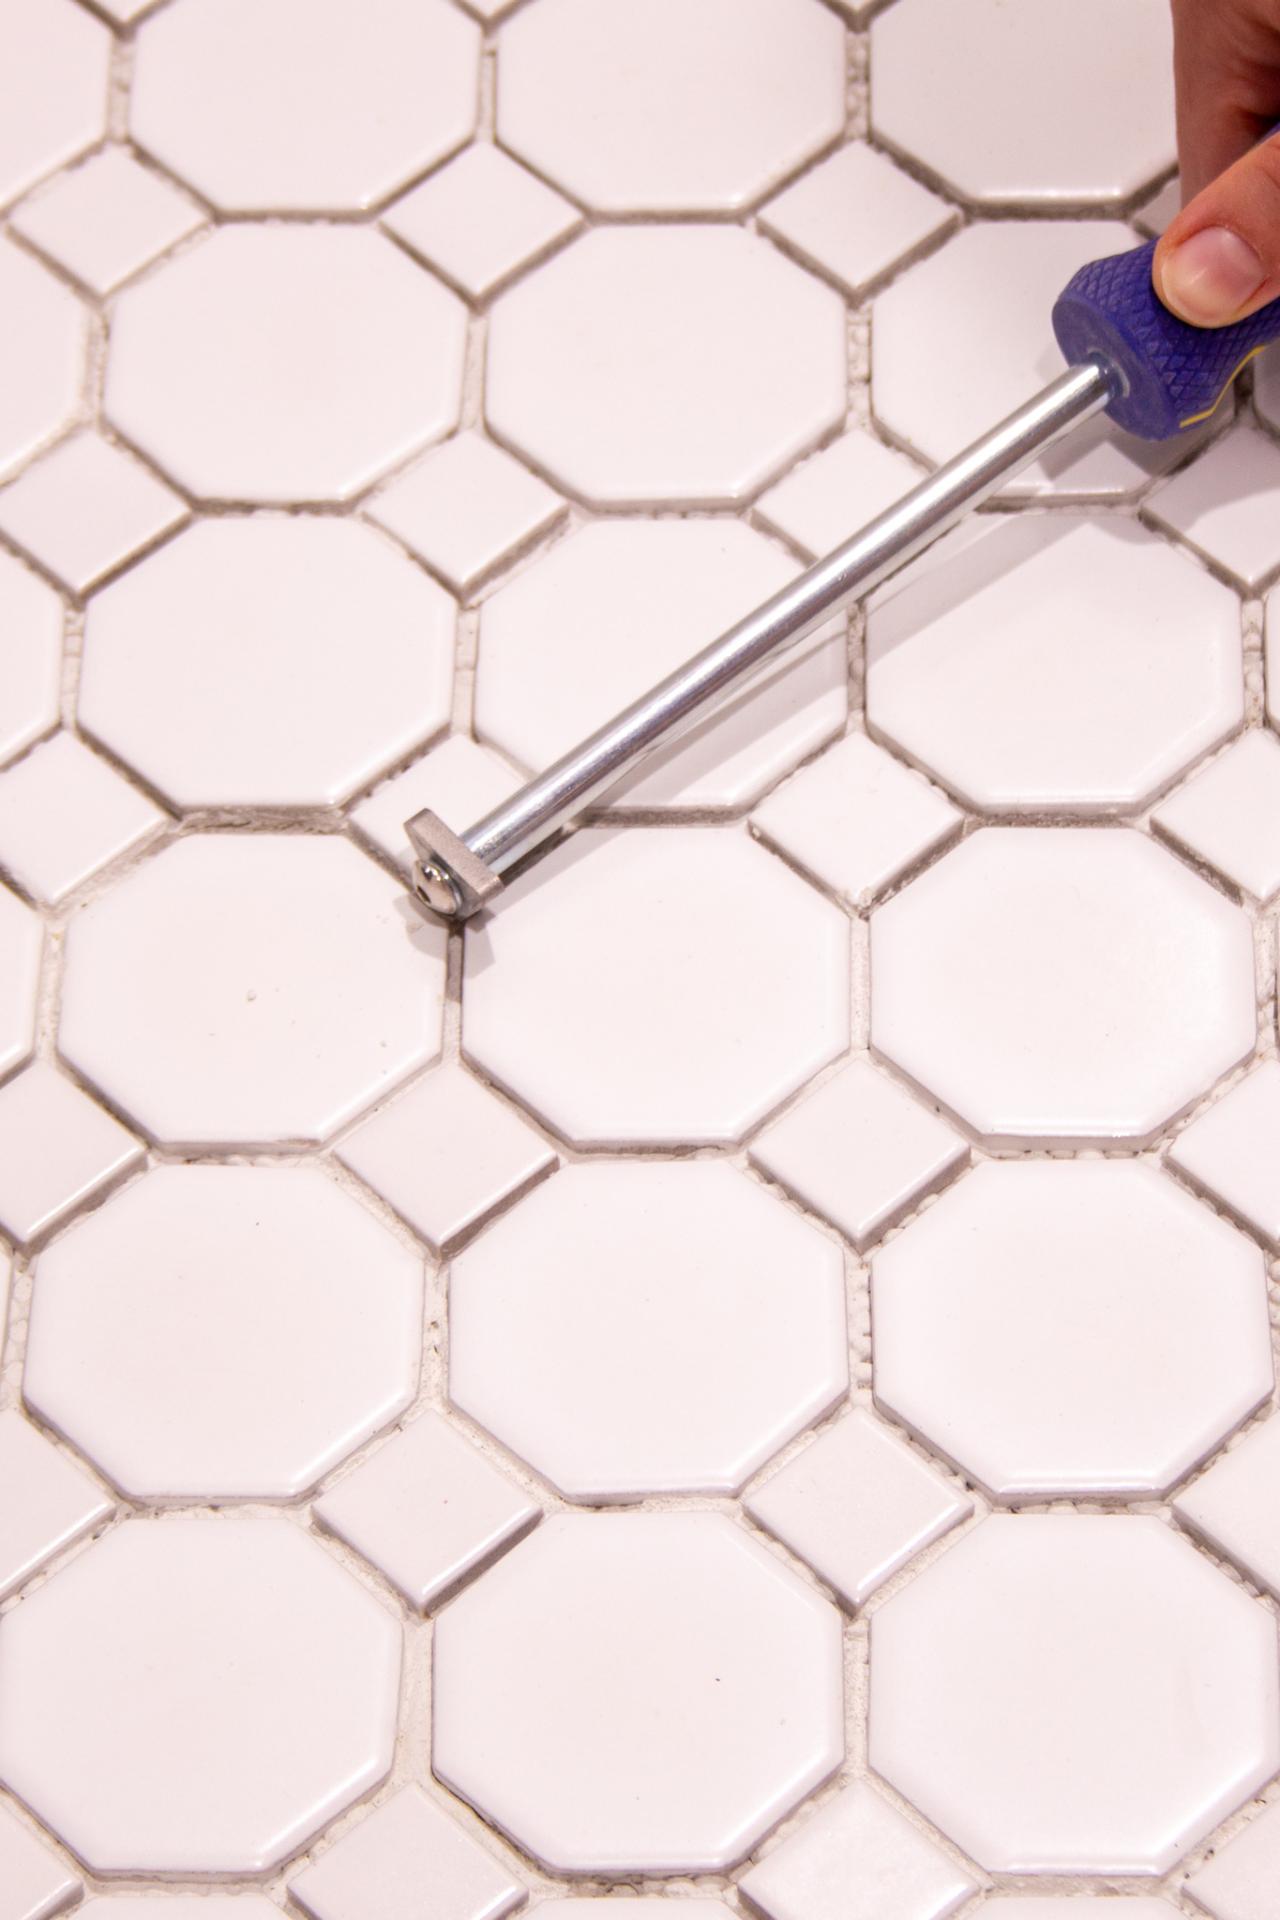
Once all tile has been installed and has had time to set according to the manufacturer’s instructions, it is time to prep for grout. Clean off any excess mortar with a grout removal tool and scraper, being careful not to scratch or chip the tile (Image 1). Thoroughly wipe down and vacuum the room, then gather your grouting supplies (Images 2 & 3). We recommend using premixed grout, as it makes it incredibly easy to achieve amazing results, but standard grout can be used as well. If using standard grout, be sure you are ready to grout before mixing, as there is typically a short working time. To grout, you’ll need a grout float to install the grout, sponges and buckets of water to clean the grout and a microfiber polishing cloth.

Kamron Sanders
Kamron Sanders

Kamron Sanders
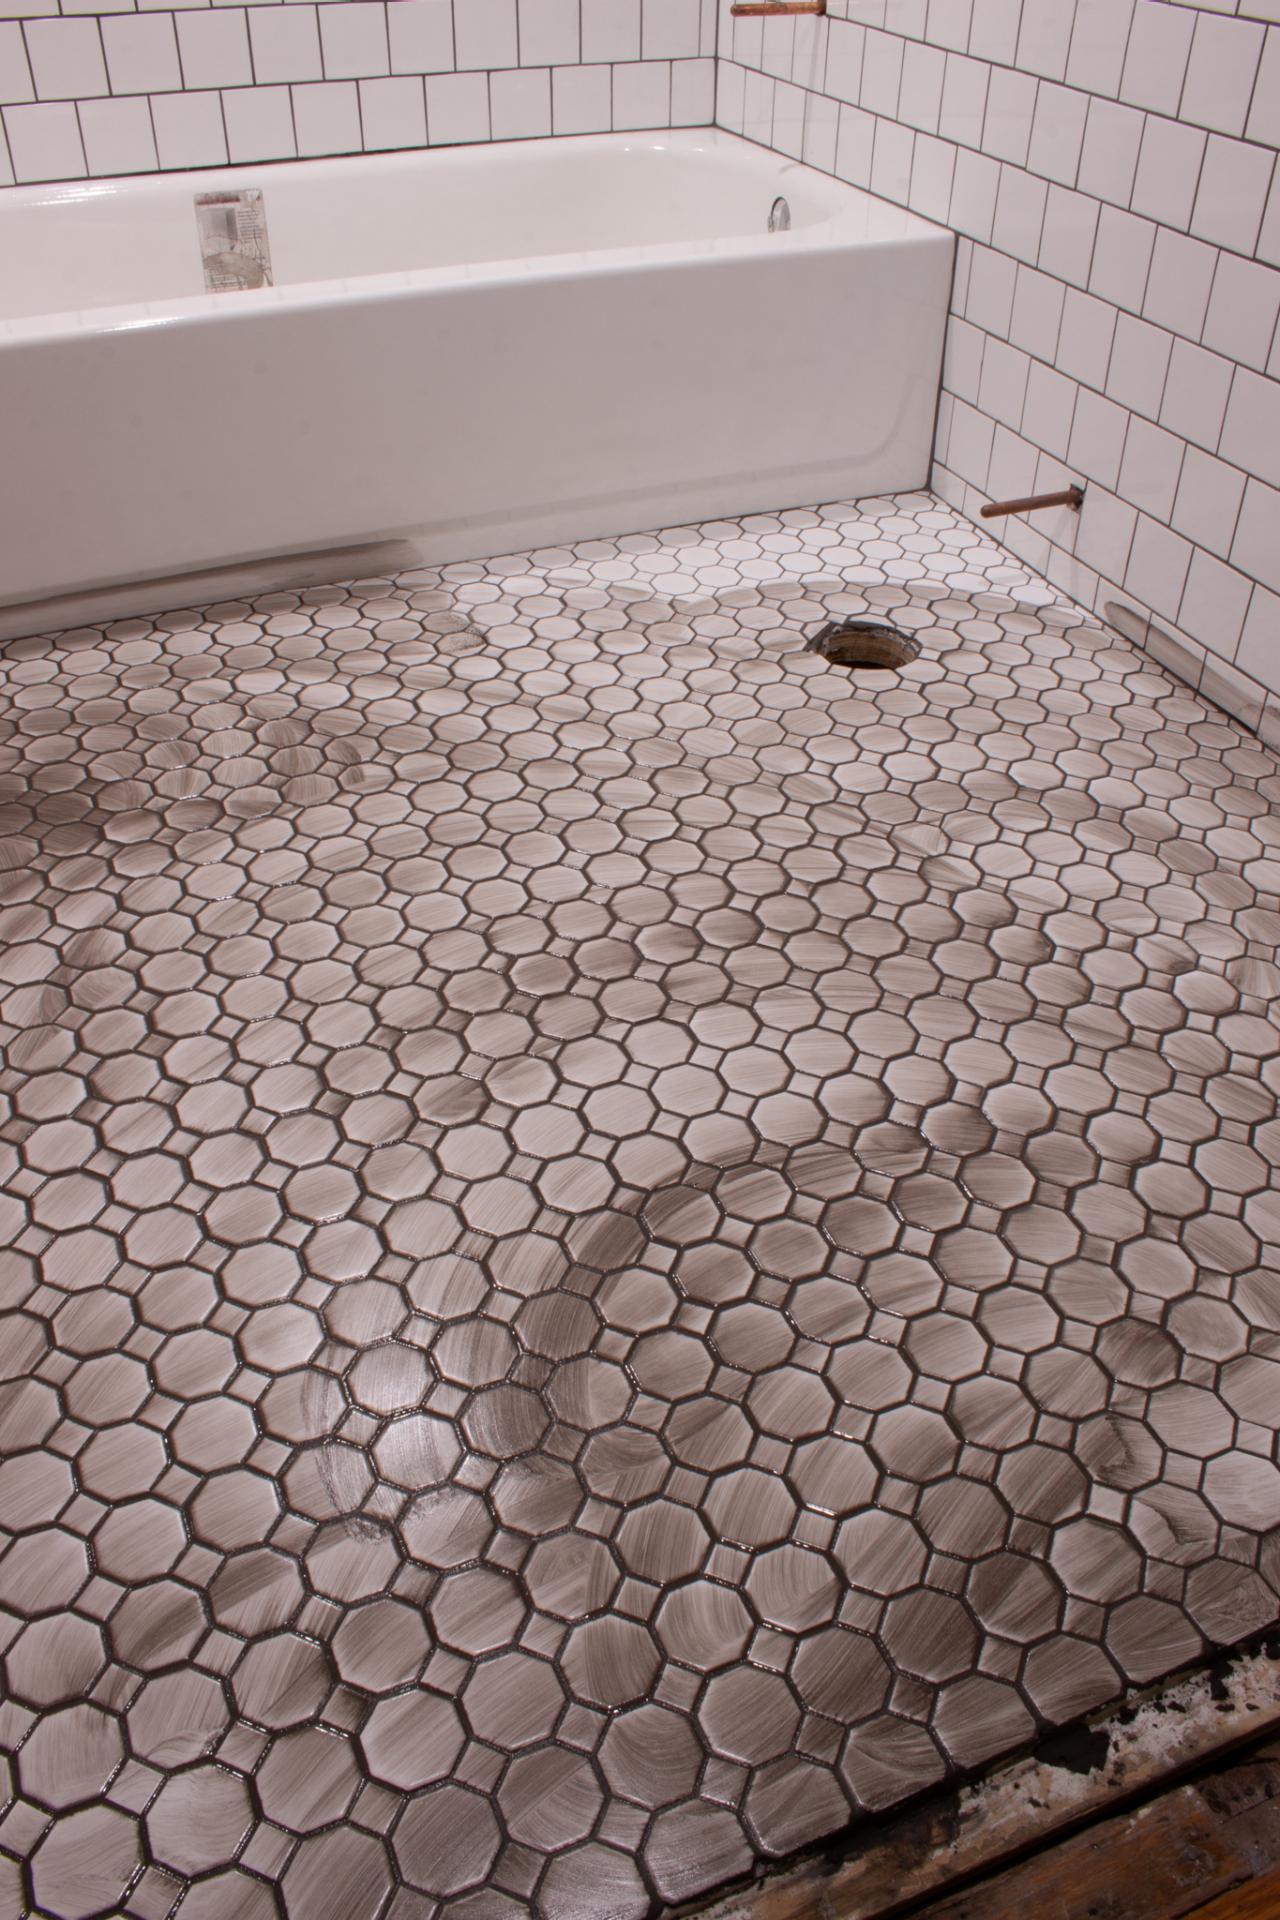
Grout Floor
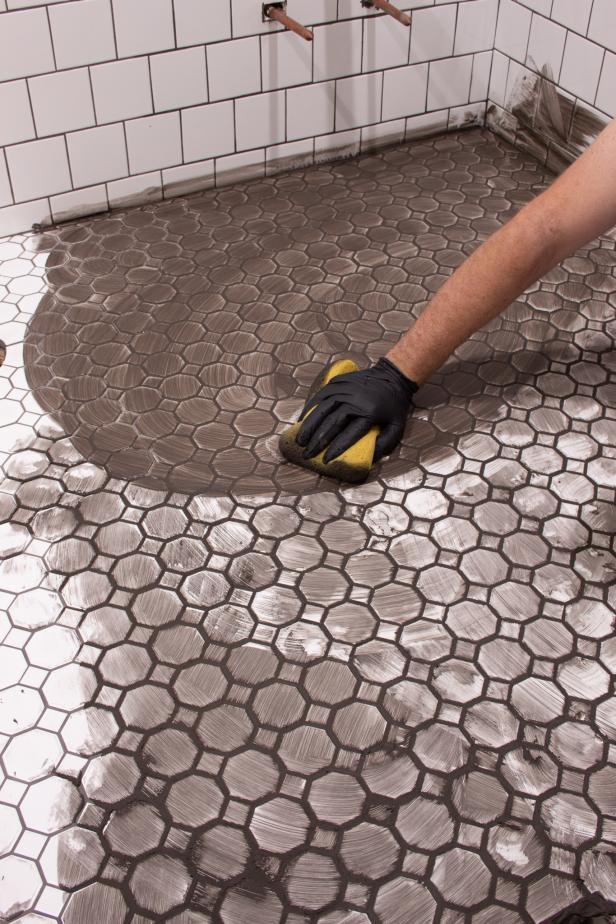
Apply your grout diagonally using a grout float (Image 1). This approach will help to press the grout into the lines evenly, without dragging it back out. Thoroughly fill all joints, then allow the grout to set up according to the manufacturer’s instructions (Image 2). When it begins to look slightly hazy, ring out a tile sponge as much as possible so that it feels dry to the touch and begin washing your grout (Images 3 & 4). Once one side of the sponge becomes too dirty, flip it over and wash with the clean side. Wash the sponge and repeat once both sides are dirty. Repeat the washing process until the lines begin looking smooth and clean, and the tile is left with only a slight grout haze (Image 5). At this point, begin cleaning with your dry microfiber cloth instead. This will help to remove the haze and excess grout without washing grout out of the joints. Allow the grout to set fully according to the manufacturer’s instructions before allowing foot traffic.

Kamron Sanders
Kamron Sanders
Kamron Sanders

Kamron Sanders
Kamron Sanders
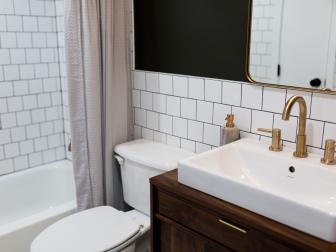
Final Steps
Once your grout has fully set up, your tile will likely still have a good amount of haze. Use a clean microfiber cloth to buff the tiles and remove the haze. If you have a stubborn haze, a gentle tile cleaner will do the trick. If you used a grout that is not self-sealing, use a grout sealer. Now just step back and admire your new floor.
Cassidy Garcia
See the Full Makeover 22 Photos
Find out exactly what it took to go from dark, dated and dingy to light, bright and airy in this small bathroom.


