


How to Make a Large Family Portrait


Materials Needed:
- family photos
- desktop or laptop computer
- basic photo editing software
- professional digital printing house
- professional or DIY framing
- heavy-duty picture hangers
- hammer
- level
- pencil
- measuring tape
- picture hanging wire
- picture hanging hooks
- drill
- ladder
- wire cutters
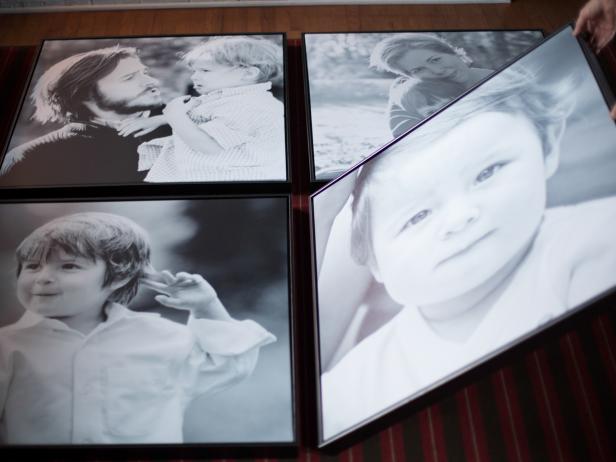
Select Proper Photos
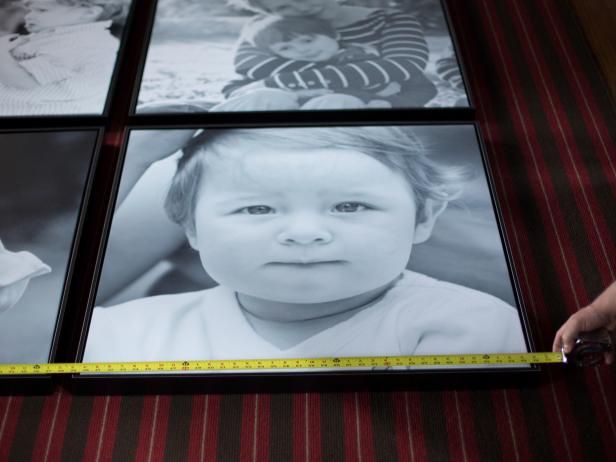
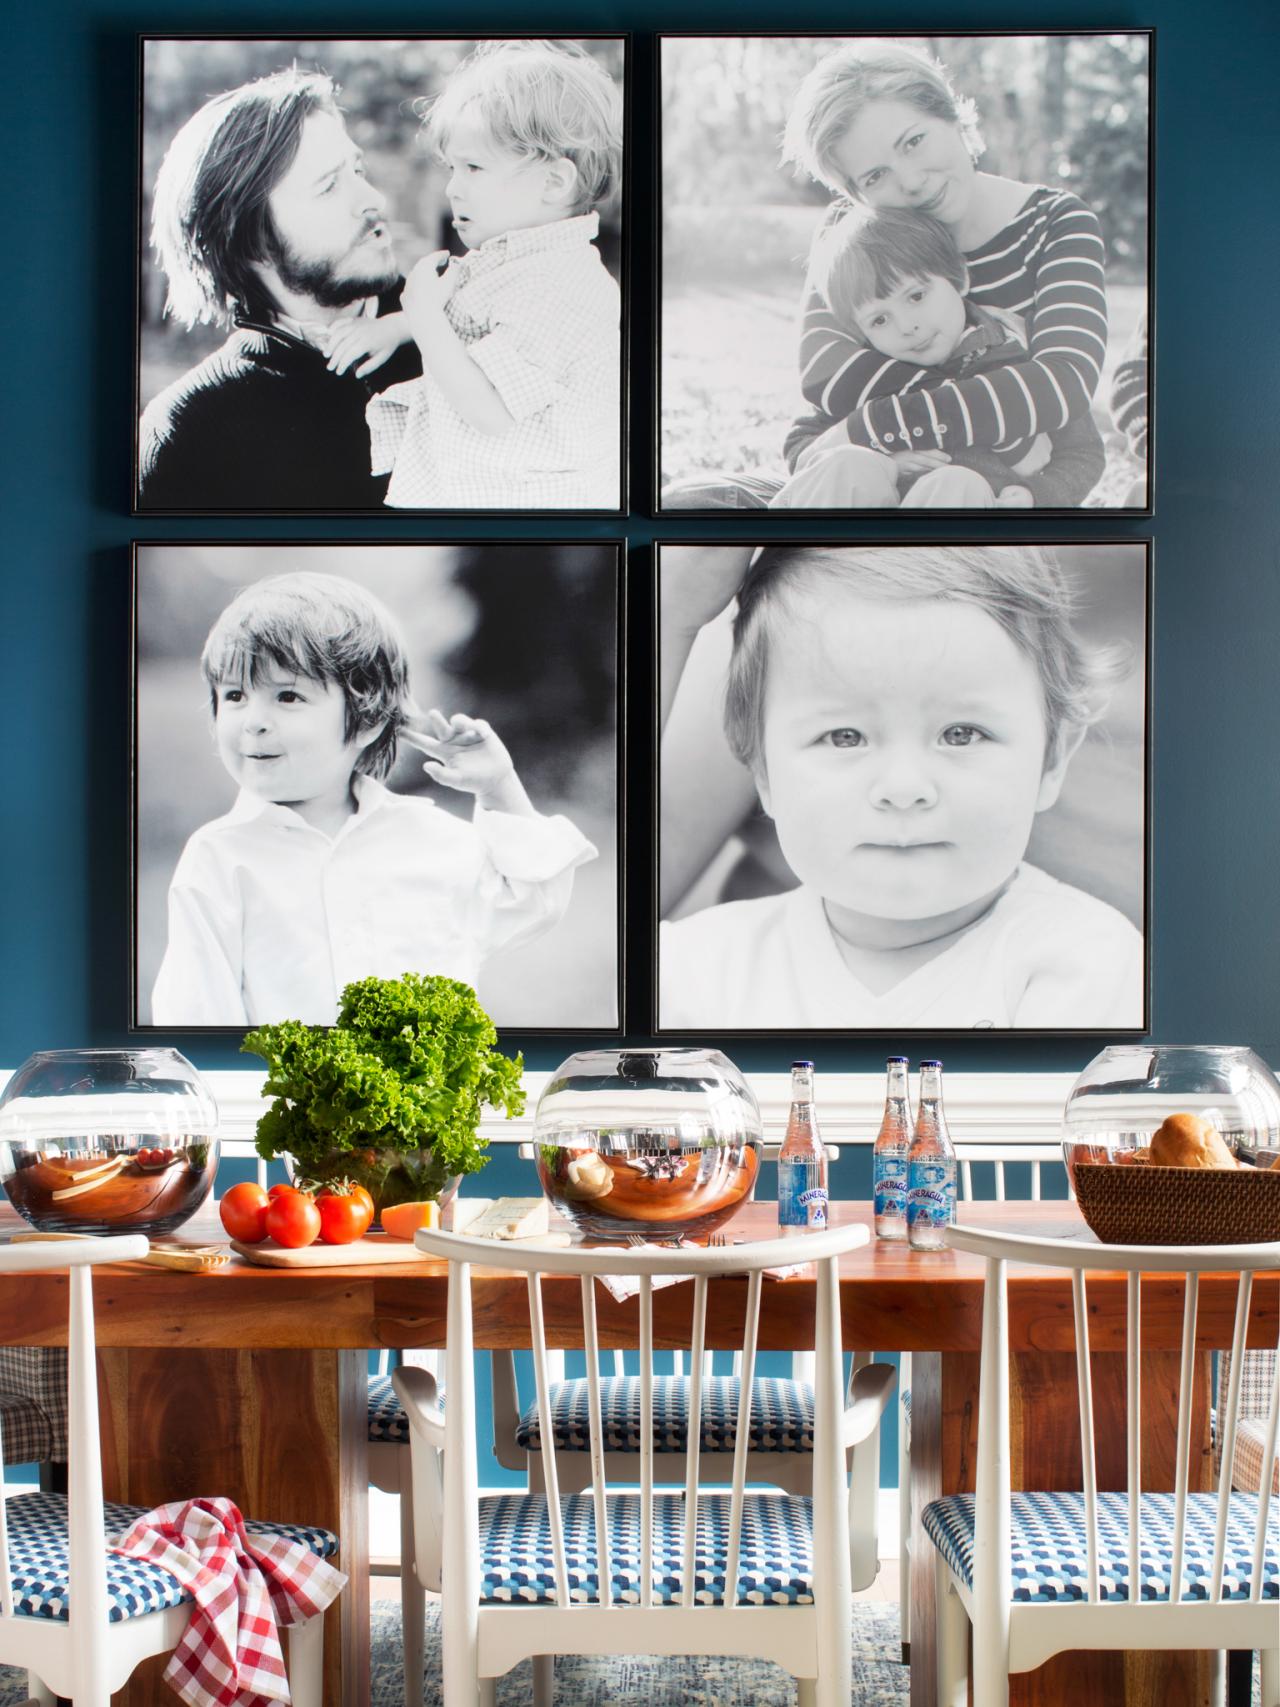
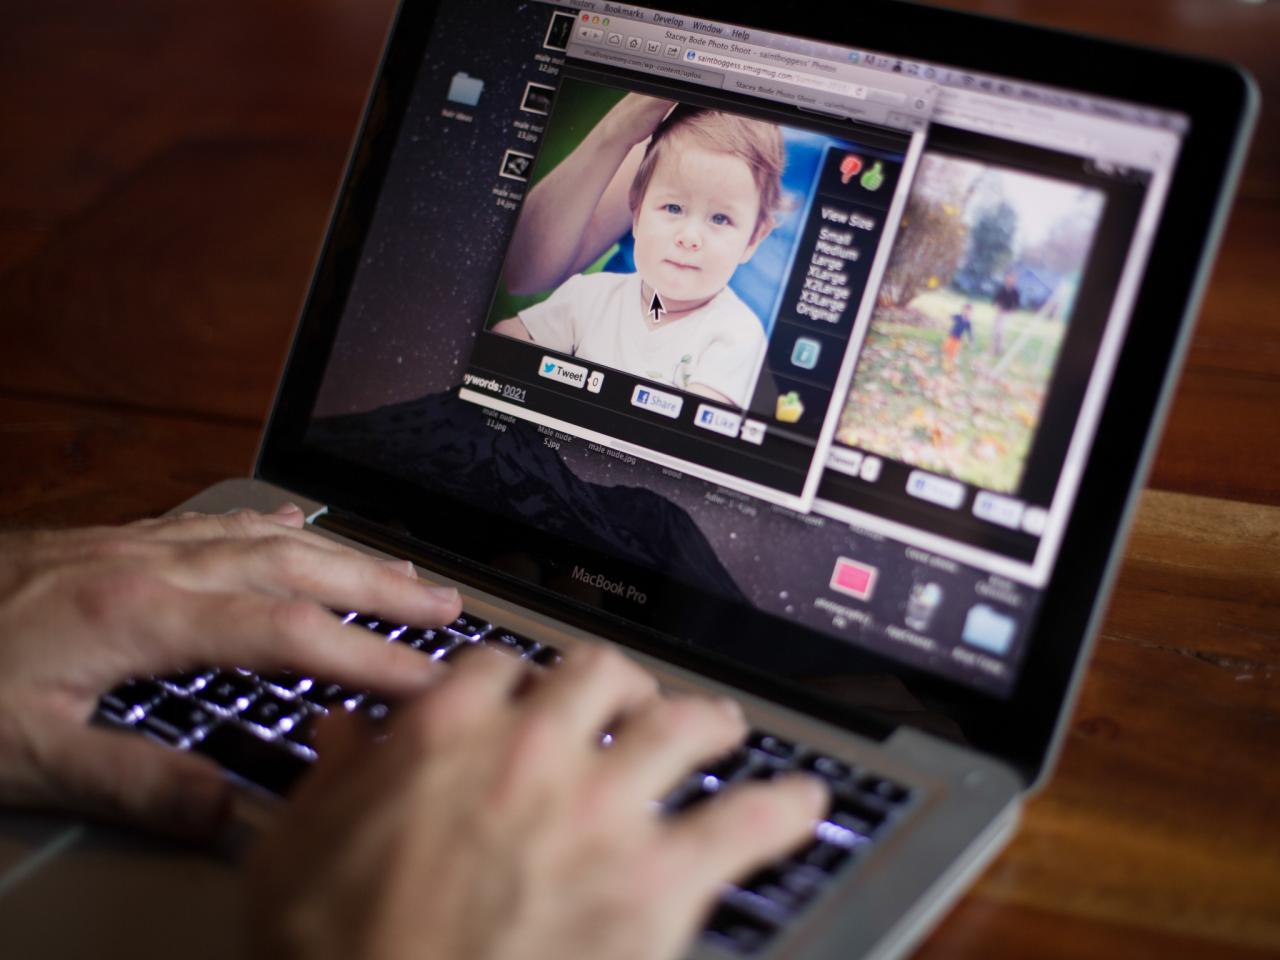
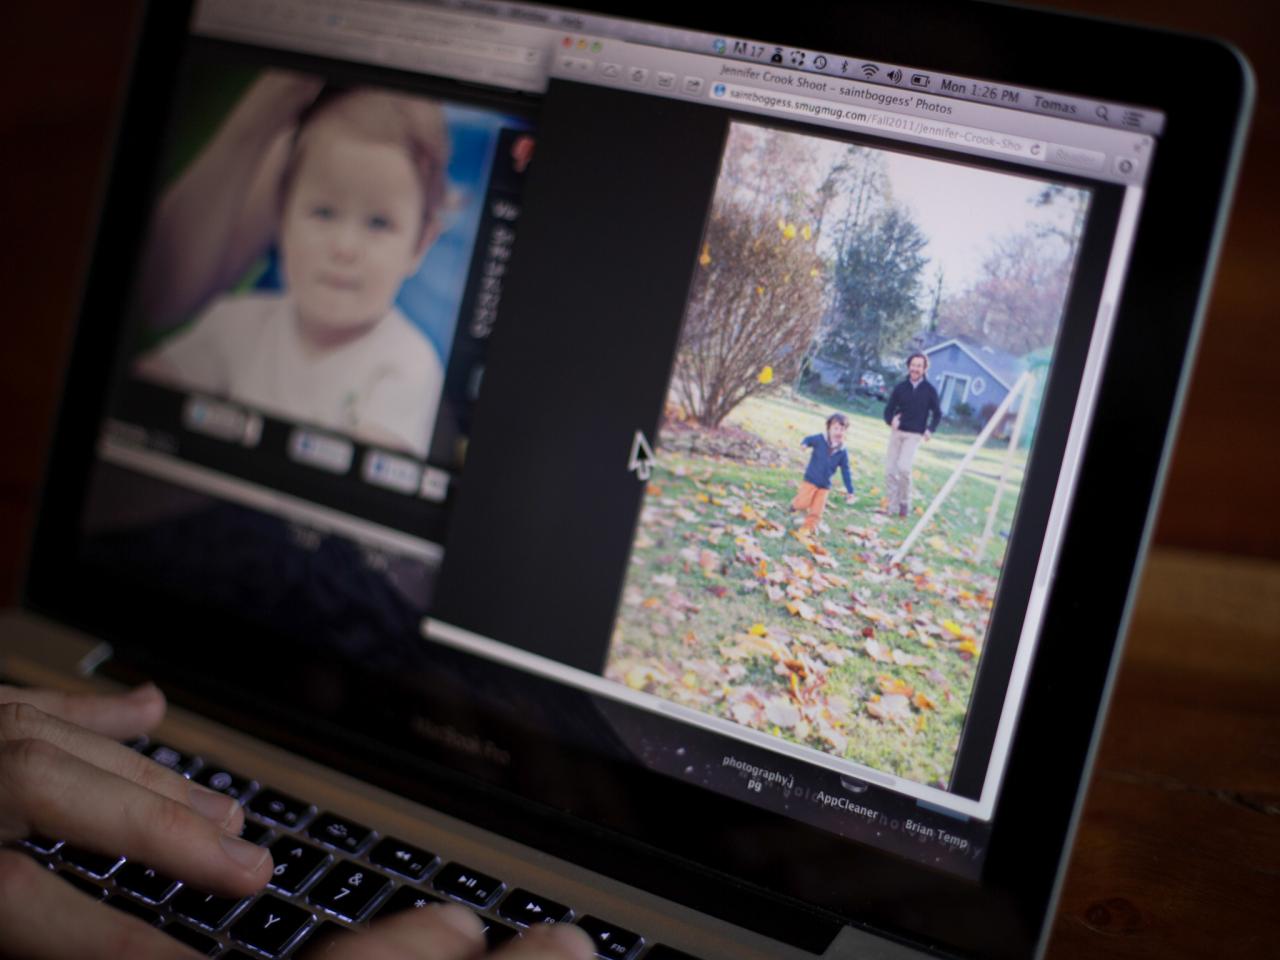
In order to achieve the proper effect, it's best to choose photos in which faces are positioned straight-on. Stick with close-up angles (Image 1) rather than full scenes in which faces are hard to determine (Image 2). Use the cropping tool of basic photo editing software to edit photos to the proper scale and shape that best fits where the printed images will hang.


Determine Usable Wall Space
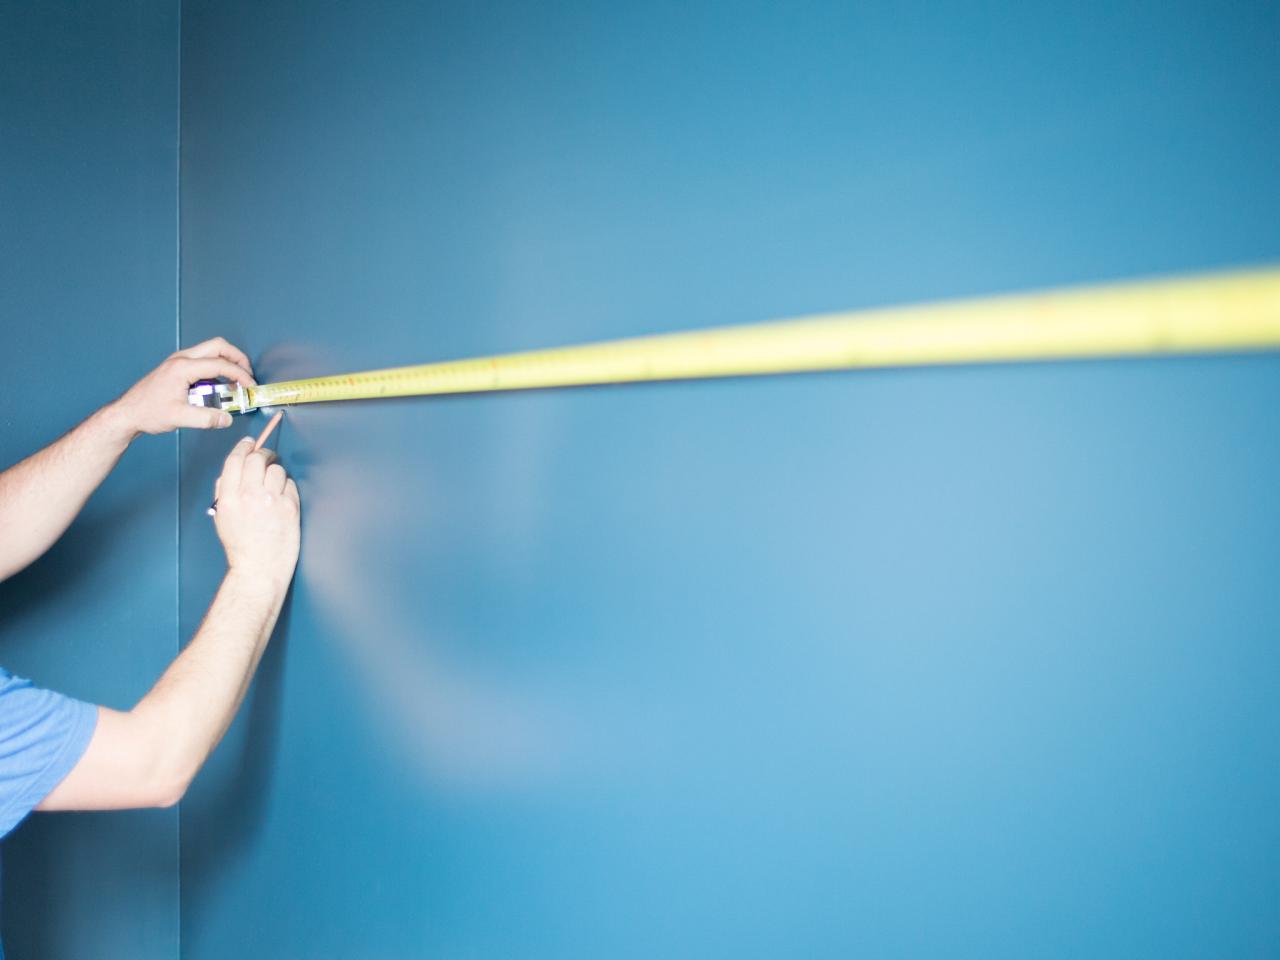
Before printing the images at a professional digital printing house, first take proper measurements of the wall along which the images will hang. Use measuring tape to determine the proper width and length, then divide that measurement by the number of images intended for hanging. This number will equal the maximum size for each individually printed image.

Print & Frame
Search local listings for a professional digital printing house, then set up images for large-scale printing on canvas or paper. Depending on your budget, have printed images professionally framed or take a DIY approach by placing paper prints in large ready-made frames or stretching canvas to a wood frame. Tip: Most digital printing houses and professional framing stores will discount pricing when pieces are ordered in volume. Although taking the DIY approach to stretch canvas to wood is a budget-saver, it's also complicated and the end result may end up crooked or unbalanced. A much more successful end result is guaranteed when money can be spent on professional printing and framing.
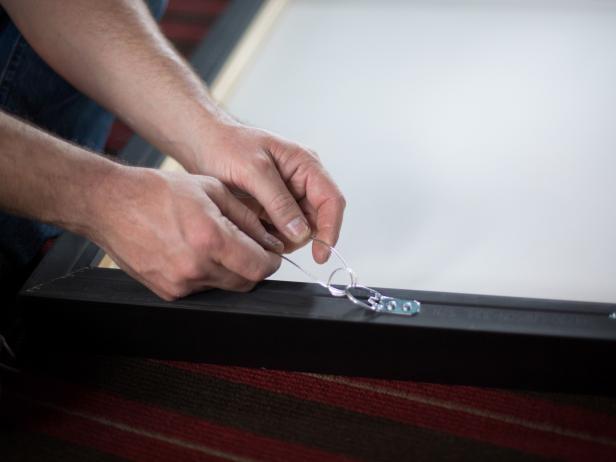
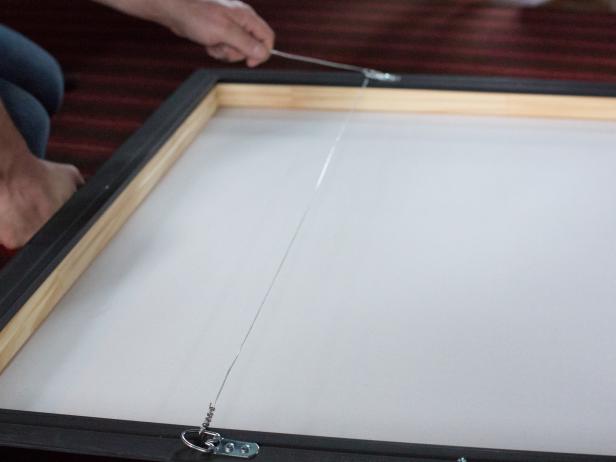
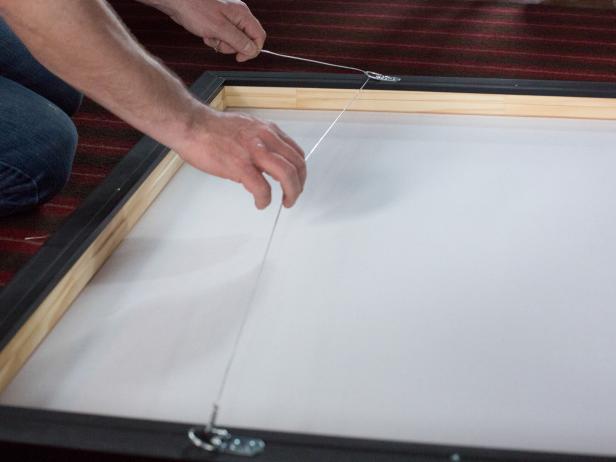
Attach Hooks and Wire
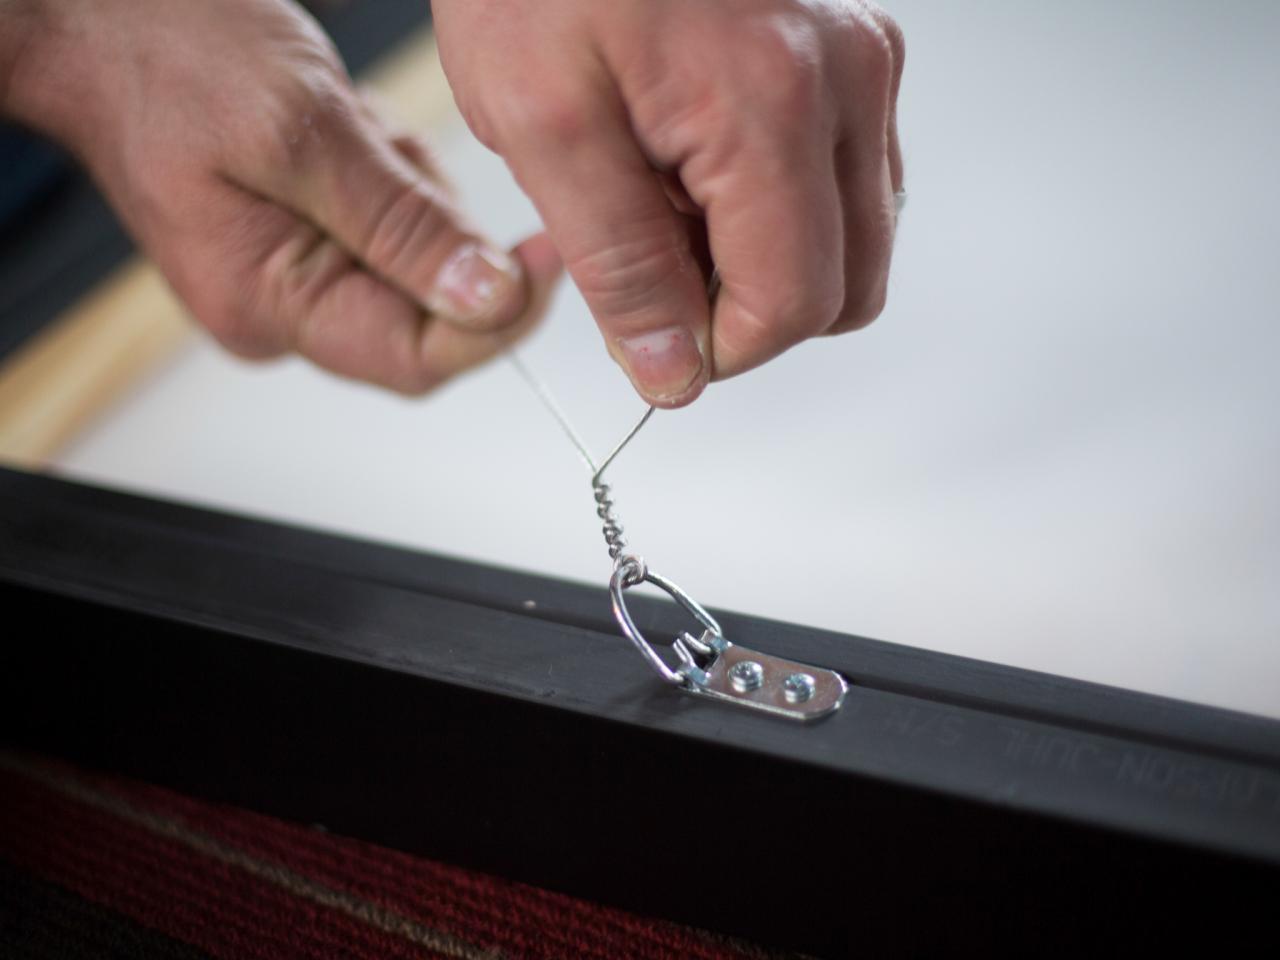
Depending on the size of the frame, mark the back side approximately 2/3 of the way up from the bottom. This is a great height for installing picture hanging hooks and wire to ensure a balanced installation. Next, use a drill to fasten hooks directly into the frame with attached screws. Unfurl picture wire to about double the width of the frame, thread the wire through the first hook (Image 1), looping it around, then twisting the wire around itself to keep it secure (Image 2). Once taut, stretch wire across back of frame (Image 3), then repeat the same process for second hook (Image 4), cutting excess wire with wire cutters.

Arrange Art on Floor
One of the most important steps in achieving the proper look is the arrangement of the framed images (Image 1). Lay the frames out along a flat, level surface, repositioning each piece until the proper layout is determined (Image 2).
Create a Wall Outline with Painter's Tape
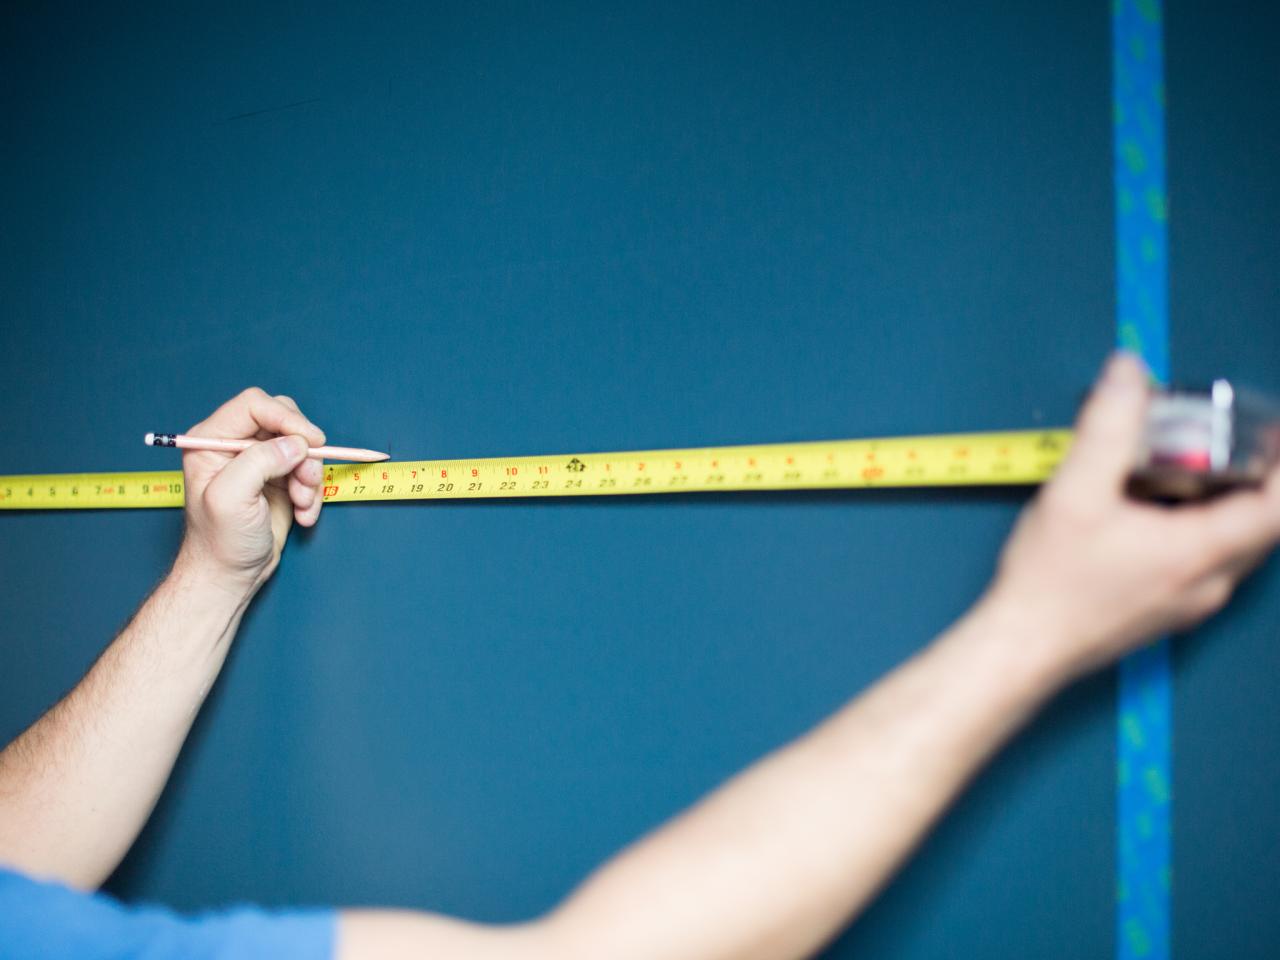
Use measuring tape to determine the exact width and height made by the properly spaced grouping of frames. Referring to these measurements, use painter's tape to mark the space along the wall where the frames will be hung.
Determine Spacing & Install Hangers
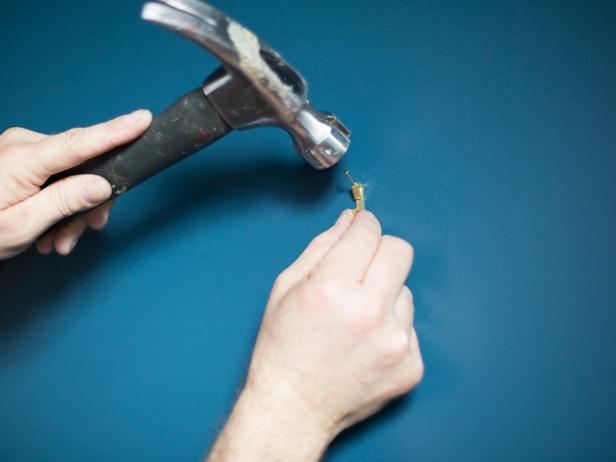
Determine the center point for each frame within the outline using a measuring tape. Mark with a pencil, then install picture hangers with a hammer (Image 2). Tip: To ensure a perfect fit, consider adding two picture hangers for framed pieces 36 inches or wider.

Hang Frames
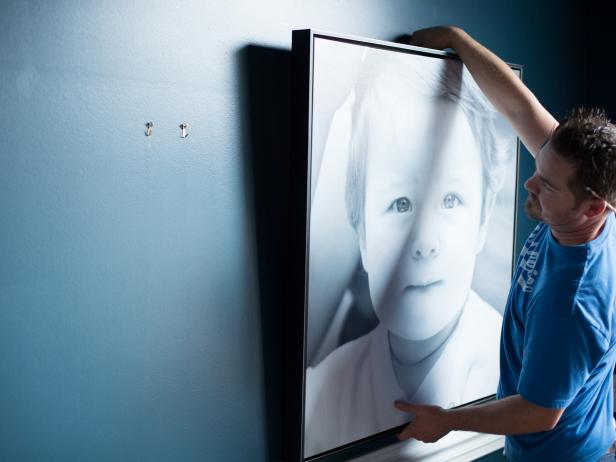
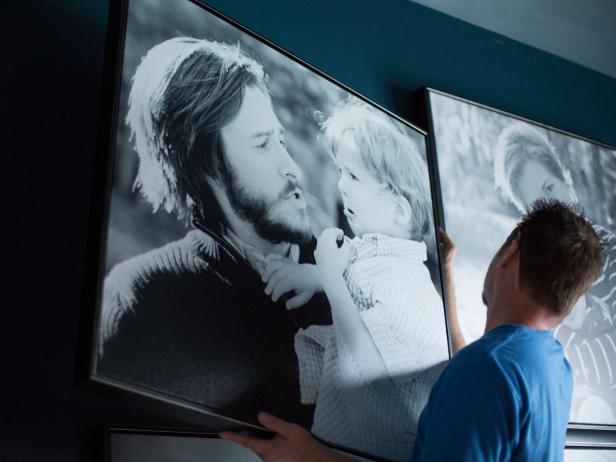
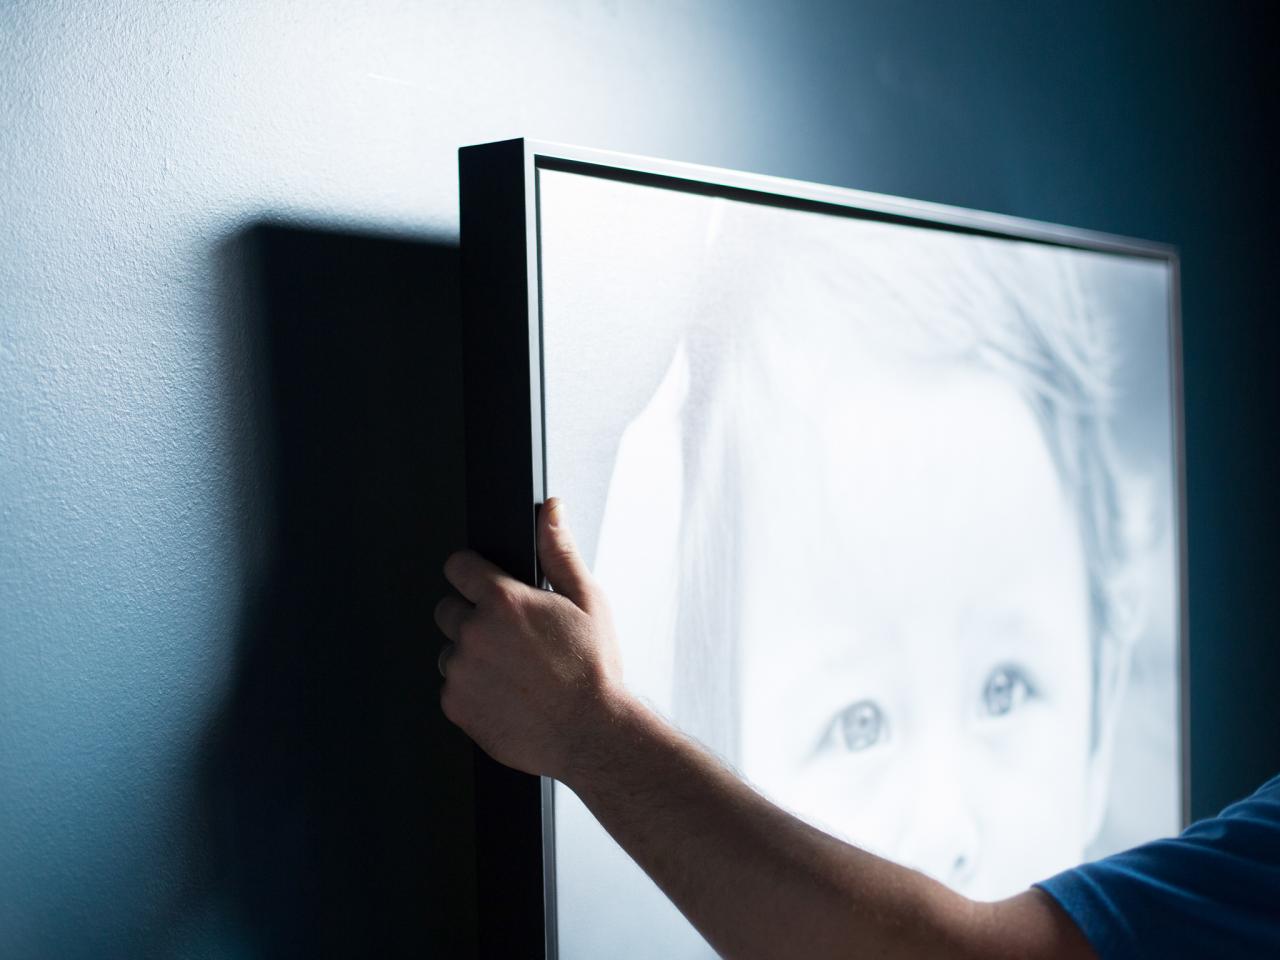
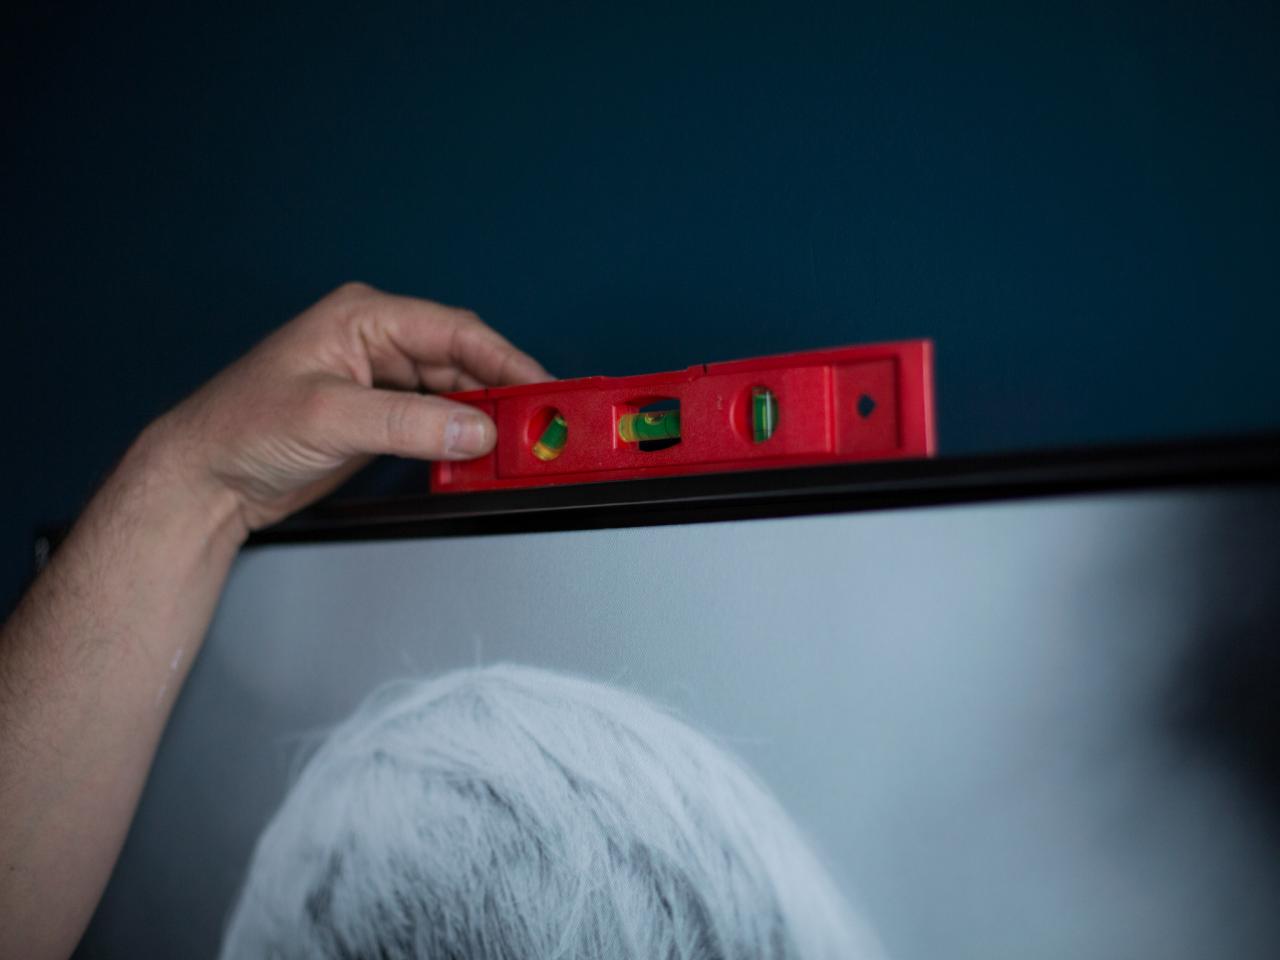
Hang frames in position one at a time (Image 1). First, make sure the picture wires catch the hangers, then adjust each frame until straight (Image 2). Next, place level on top of each frame until perfectly aligned (Image 3). Repeat this process until all frames are successfully hung (Image 4).


