


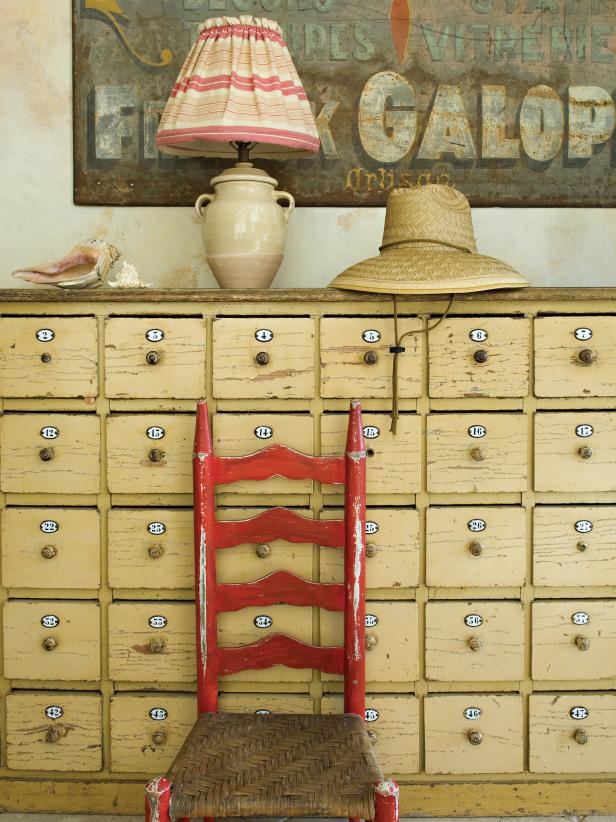
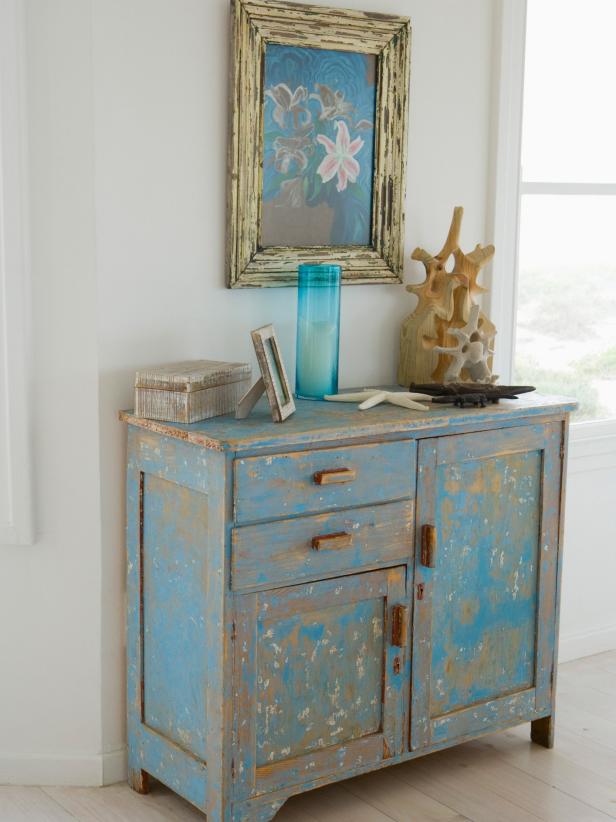
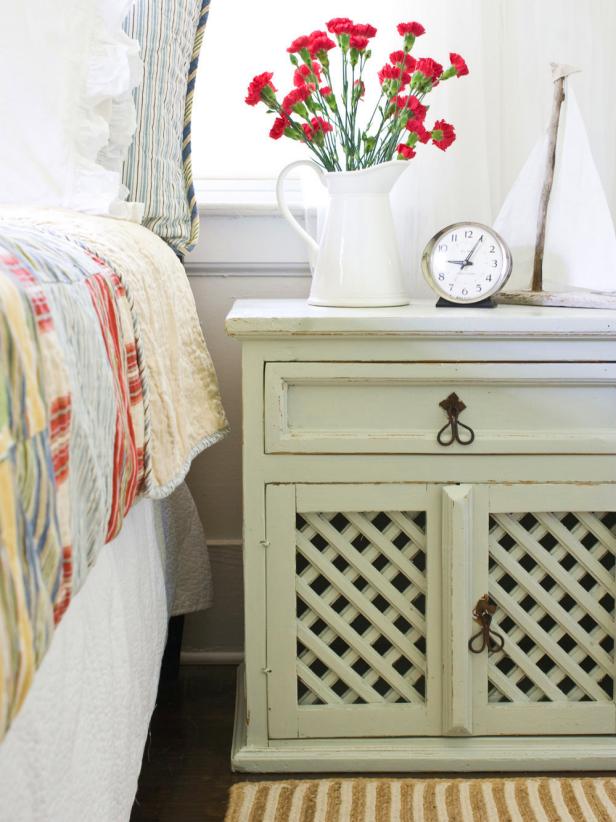
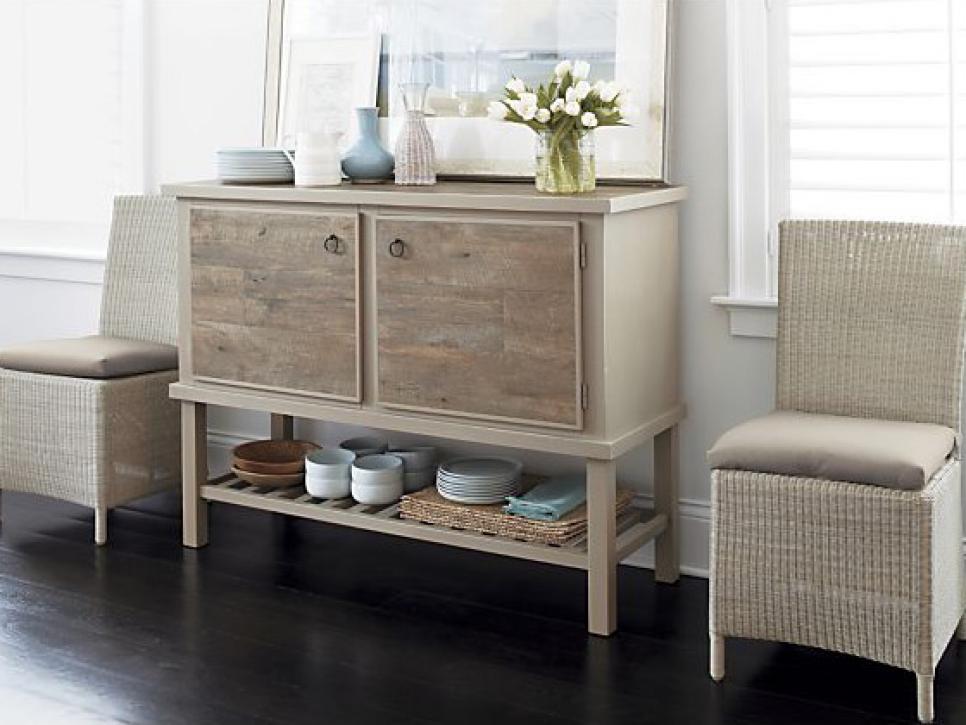
How to Distress Furniture

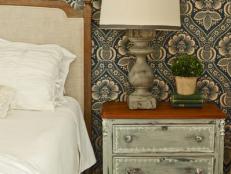
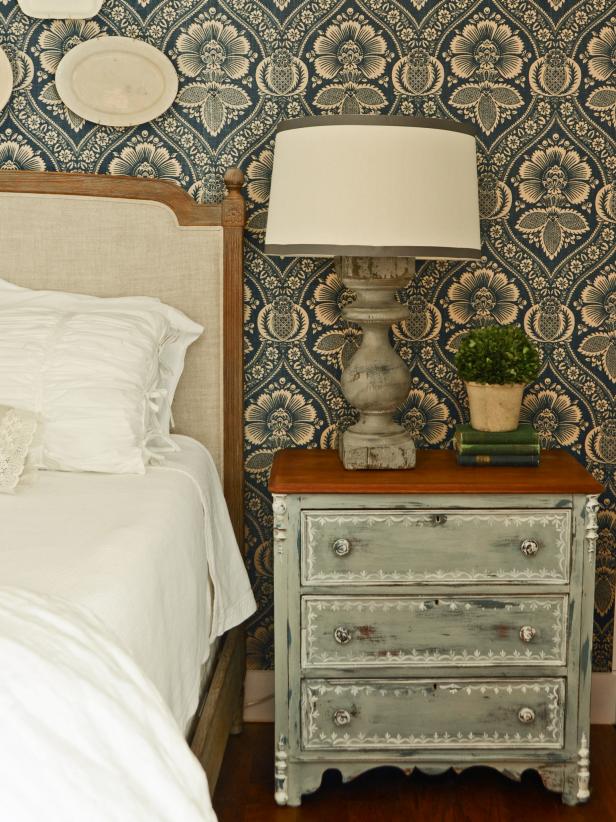
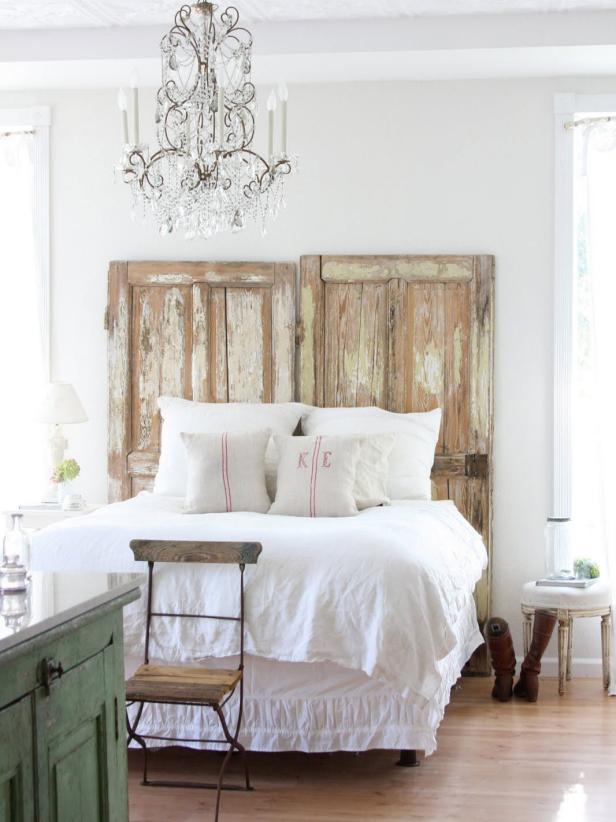
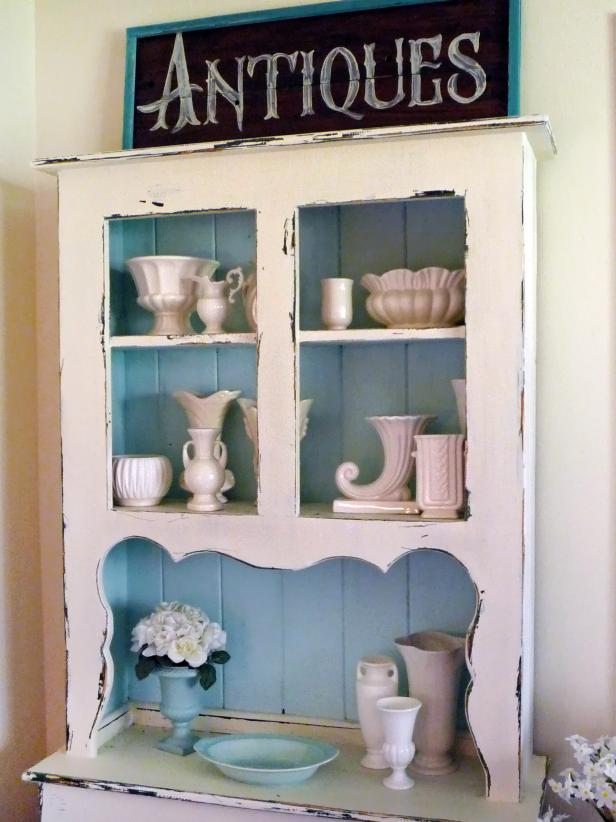
In our grandmothers' day, if a piece of furniture or a picture frame was distressed, it meant it had been around for generations and most of the paint had worn off in areas that had been rubbed by hands or nicked by being moved too many times. Today, the distressed look is sought-after, and it can add character and style to many types of decor.
Popular Videos on Distressing Furniture
Surprisingly, the process is relatively simple. The first step is to determine what you'd like the finished piece to look like. If below the distressed areas you'd like to see an old paint color, as if the piece has been painted many times over, you'll need to paint two colors. Consider a brighter color for the base coat so it shows up well as it peeks through the top coat. If you want the rubbed-off areas to reveal bare wood, the technique requires only one coat.
You also need to decide whether to add a stain to it afterward, which will mute or age the color(s) you've selected. To retain the integrity of your color choice, you may just want to paint clear polyurethane over the finished project. A water-based polyurethane that won't yellow over time is a good choice.
Ready to distress for success? Here's what to do:
Materials and Tools:
object to be distressed (wooden frame, piece of furniture, etc.)
satin latex paint for the base coat
satin latex paint or a wood stain for the top coat
painting tools
candle
medium-grade steel wool
sandpaper
tack cloth
polyurethane to finish (optional)
Steps:
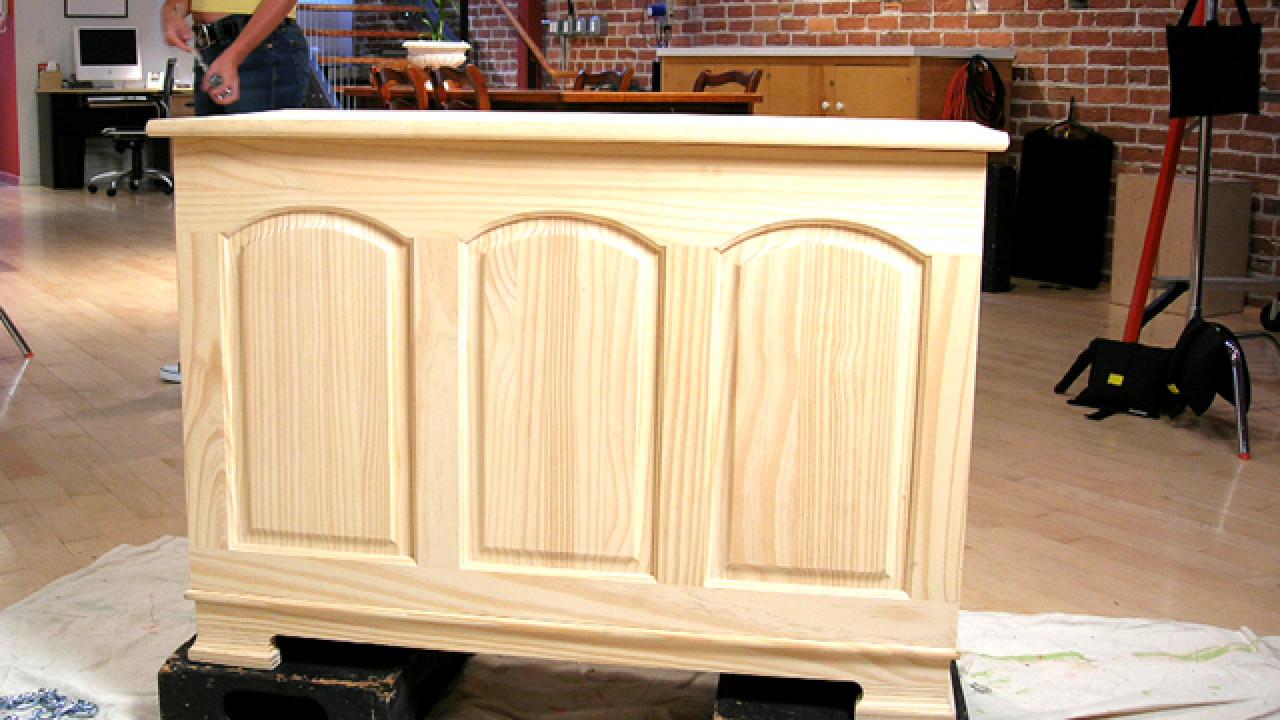
1. Lightly sand the object you want to distress. If the object already has a finish (previously painted or varnished), sand all surfaces well. After the sanding, wipe the piece with a tack cloth.
2. Paint the entire piece in the base coat color you've selected.
3. For the bare-wood look: When the base coat is dry, start sanding off areas that would naturally end up distressed — places where hands would have held it, or corners that could easily get nicked. For the color look: Rub candle wax on the areas where you'd like to see color show through. Don't forget to do the sides and back; you want the entire piece to be finished. Then apply the top coat.
4. For the bare-wood look: Be sure to stop before you go too crazy with the sanding, and then wipe the entire piece with the tack cloth. For the color look: Paint over the base coat and the wax. Cover everything well. After the paint dries, rub the steel wool over the areas you've waxed. (The steel wool won't harm the rest of the paint enough to worry about — remember, the piece is meant to be distressed, so use it to find the waxed areas.) Wipe off the piece with the tack cloth.
5. Apply a finish if desired.
(Distributed by Scripps Howard News Service, www.shns.com.)


