


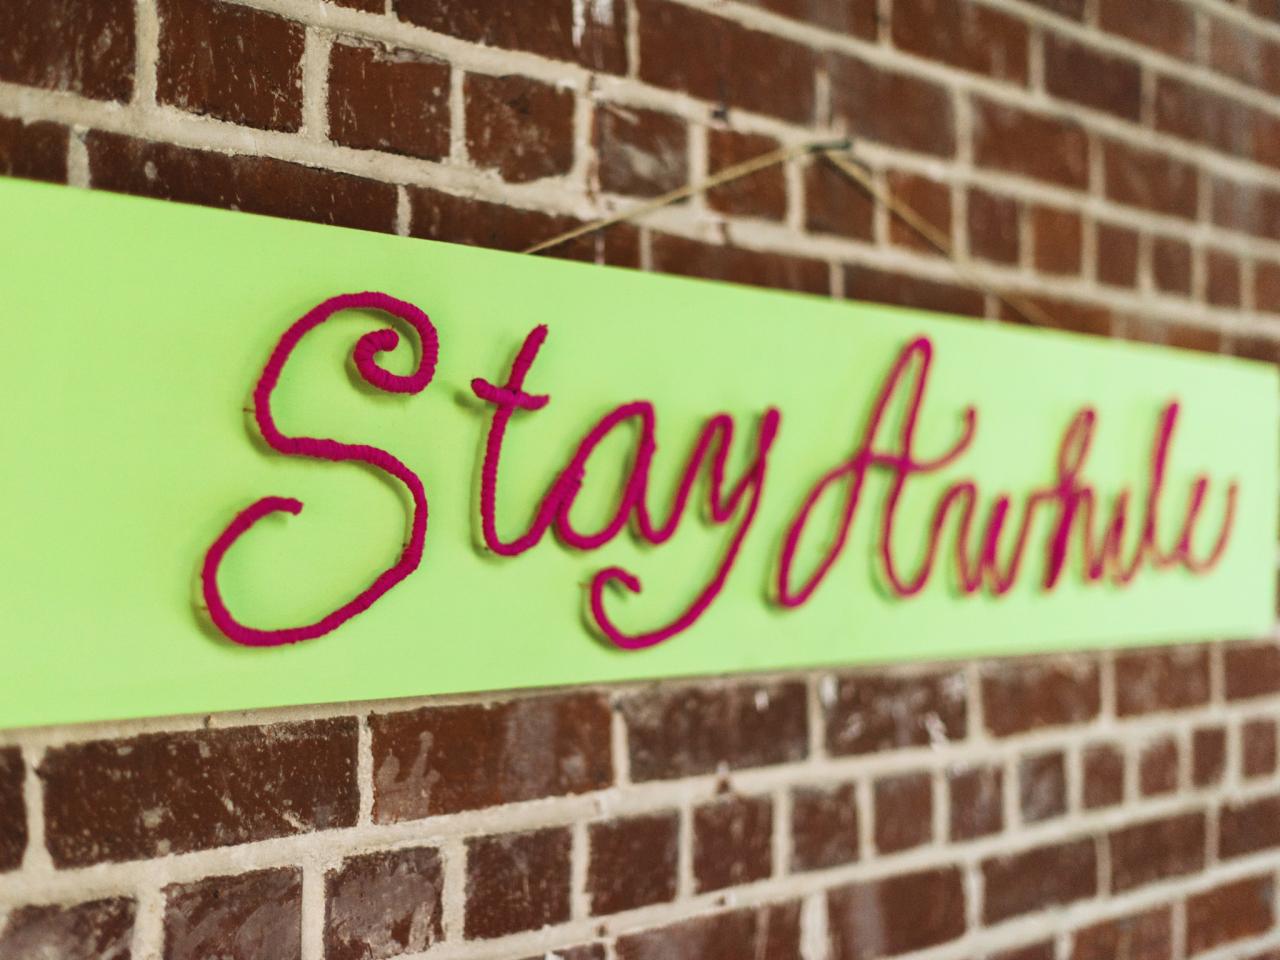
Make Yarn-Wrapped Wire Word Art

How to Make Yarn and Wire Word Art
Bring personality to your walls with original signage made from floral wire, yarn and wood.

Photo by: Flynnside Out Productions
Flynnside Out Productions
Materials Needed:
1x10' board, length cut to fit your wall
water-based paint, in desired color
2" paintbrush
kraft paper
pen
raffia-wrapped floral wire
wire cutters
scissors
skein of thick yarn, in desired color
3/4" weather-strip nails
hammer
hot glue gun
glue sticks
Paint Board
Place the wood board on a flat, level surface. Use a paintbrush to coat the board with two even coats of paint. Let dry.
Write Phrase
Unfurl the kraft paper, then scribe your phrase — to scale — using a pen.
Shape Letters
Unfurl the floral wire using the traced words as a guide and shape them accordingly. Use wire cutters to create separate letters, or form your floral wire into a seamless un-cut word.

Shape Wire into Traced Words
Unfurl the raffia-wrapped floral wire using the traced words as a guide, then shape them accordingly.
Photo by: Flynnside Out Productions
Flynnside Out Productions
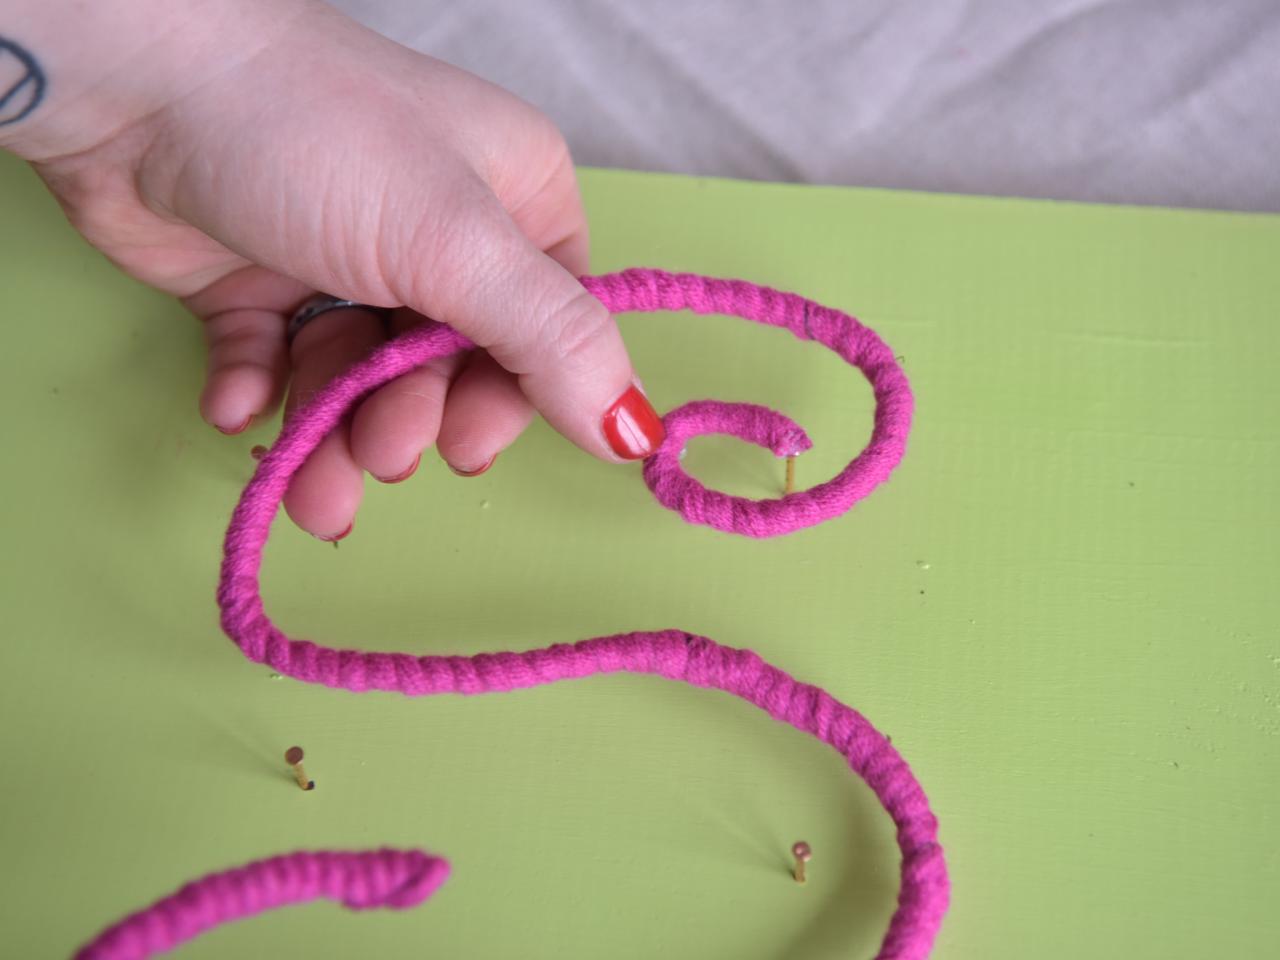
Wrap Yarn Around Letters
Unwrap the yarn and tightly wrap it around the floral wire letters. When you reach the end of each letter or phrase, use your glue gun to secure the yarn in place.

Wrap Yarn Around Shaped Wire
Unfurl the skein of bulky yarn, then tightly wrap it around the shaped raffia-wrapped floral wire.
Photo by: Flynnside Out Productions
Flynnside Out Productions
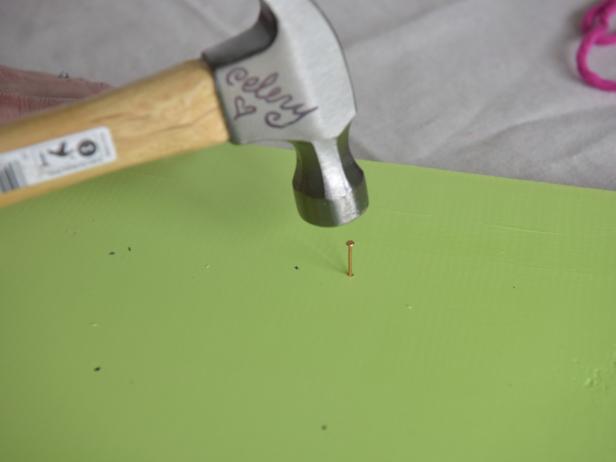
Add Nails to Board
Lay the yarn-wrapped words onto the board, then use a pen to mark points for adding nails. These nails will work as spacers to keep the letters elevated above the wood and securely held in place. Then, add a bead of glue to the head of each nail.
Flynnside Out Productions
Flynnside Out Productions
Mark Points and Add Nails
Lay the shaped, yarn-wrapped words onto the board, then use pen or marker to mark points for adding weather strip nails. These nails will work as spacers to keep the word art elevated above the wood and securely held in place.
Photo By: Flynnside Out Productions
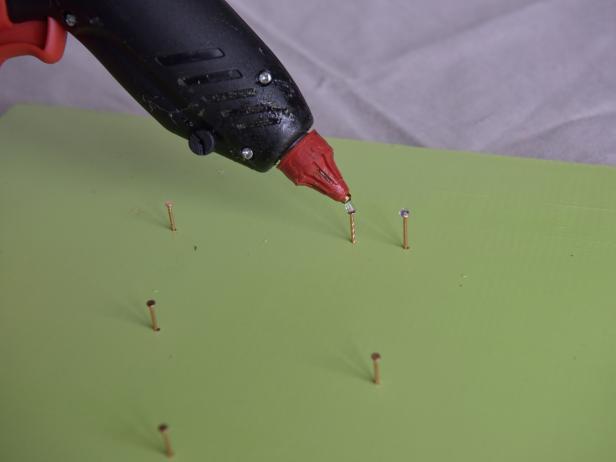
Add Hot Glue to Head of Nails
Add a small bead of glue to the head of each weather strip nail.
Photo By: Flynnside Out Productions
Attach Letters to Nails
Secure each letter or phrase to the nails by setting them on top, then lightly pressing them until the glue dries.

Secure Letters onto Hot-Glue-Covered Nails
Secure each letter or phrase to the hot-glue-covered nails by setting them on top, then lightly pressing them until glue dries. Once all letters are in place, add picture-hanging wire to the back of the board and hang.
Photo by: Flynnside Out Productions
Flynnside Out Productions


