


How to Make a Rectangular Rustic Fall Wreath

Make a Rectangular Rustic Wreath
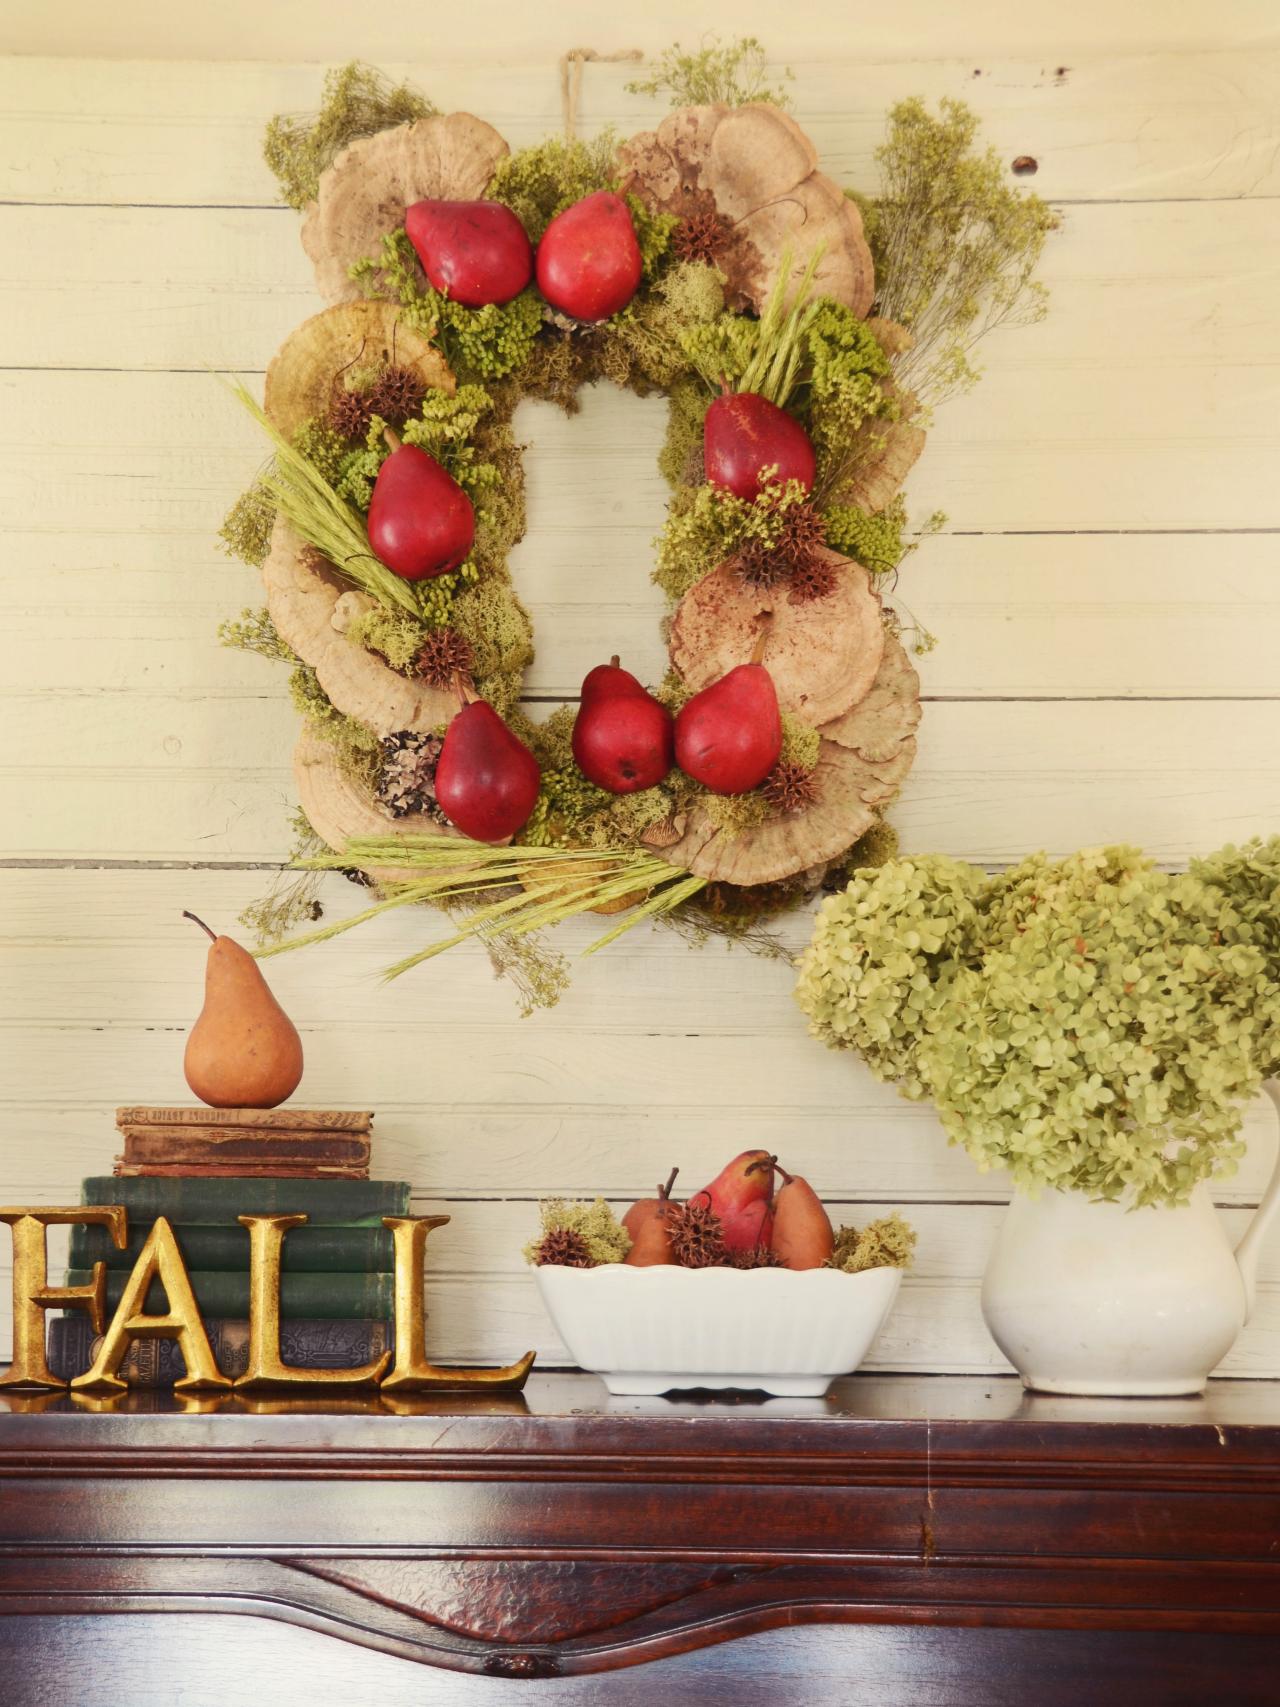
Add an earthy touch indoors or out with this twist on a traditional round fall wreath. Dried mushrooms, moss, seed pods and grasses form the base while russet fresh or faux pears add a pop of fall color. Learn how to make your own.

Materials Needed:
- rectangular-shaped floral foam
- ruler
- marker
- serrated knife
- one bag light reindeer moss
- one bag mixed moss
- hot glue gun and glue sticks
- dried mushrooms and flowers
- fresh or artificial pears, apples or gourds
- pinecones and/or seed pods
- florist wire
- florist spikes
- hemp twine
- wire cutters
- scissors
Measure and Cut Foam
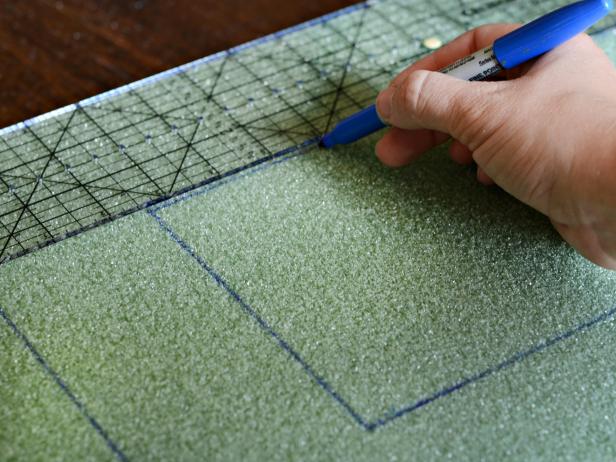
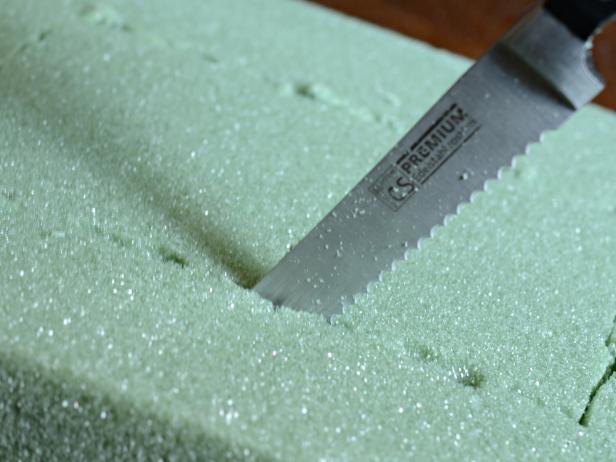
Use ruler to measure foam to desired size and mark with permanent marker (Image 1). This wreath measures 18 inches by 12 inches with each side measuring 3 inches wide. Use large serrated knife to cut floral foam on marked lines (Image 2). Tip: This is a messy process that is best done outside.
Measure and Cut Foam
Use ruler to measure foam to desired size and mark with permanent marker. This wreath measures 18 inches by 12 inches with each side measuring 3 inches wide
Measure and Cut Foam
Use large serrated knife to cut floral foam on marked lines. Tip: This is a messy process that is best done outside.
Insert Dried Mushrooms
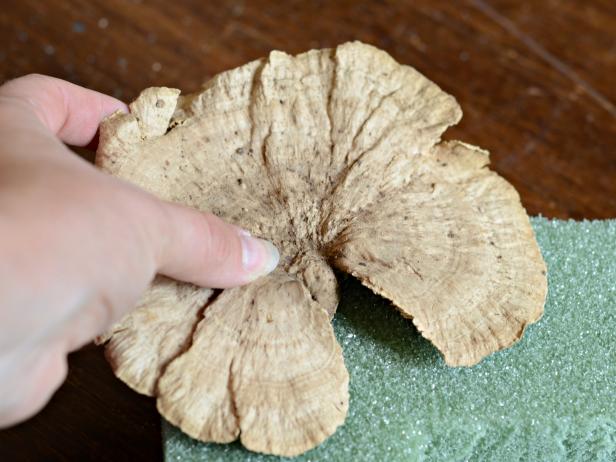
Use wire cutters to clip dried mushroom wire stems to approximately three inches long (Image 1). Insert stems into floral foam to secure into place (Image 2). Tip: If dried mushrooms aren't available, any large, flat dried floral can be used.

Insert Dried Mushrooms
Use wire cutters to clip dried mushroom wire stems to approximately three inches long
Insert Dried Mushrooms
Insert stems into floral foam to secure into place. Tip: If dried mushrooms aren't available, any large, flat dried floral can be used.
Add Dried Flowers
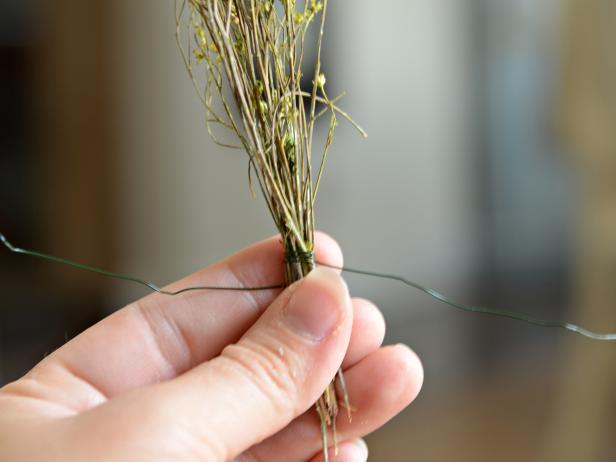
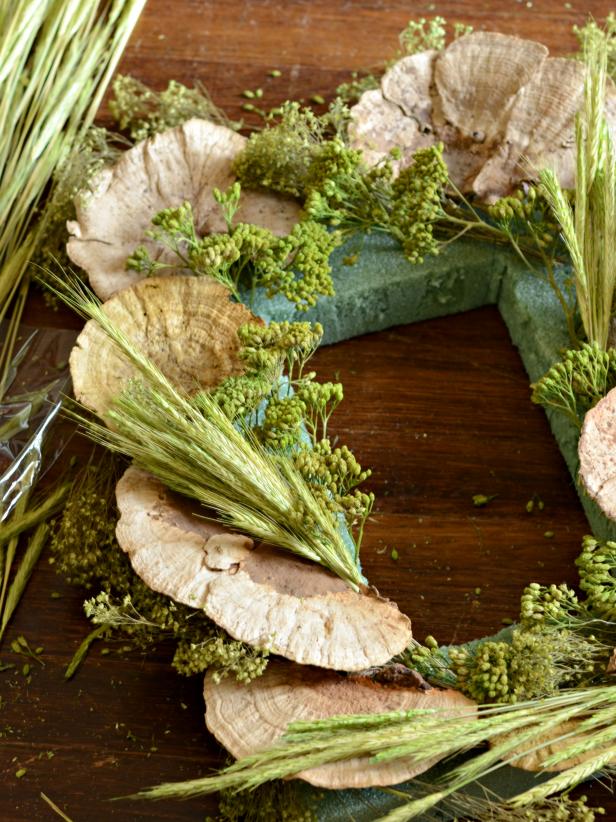
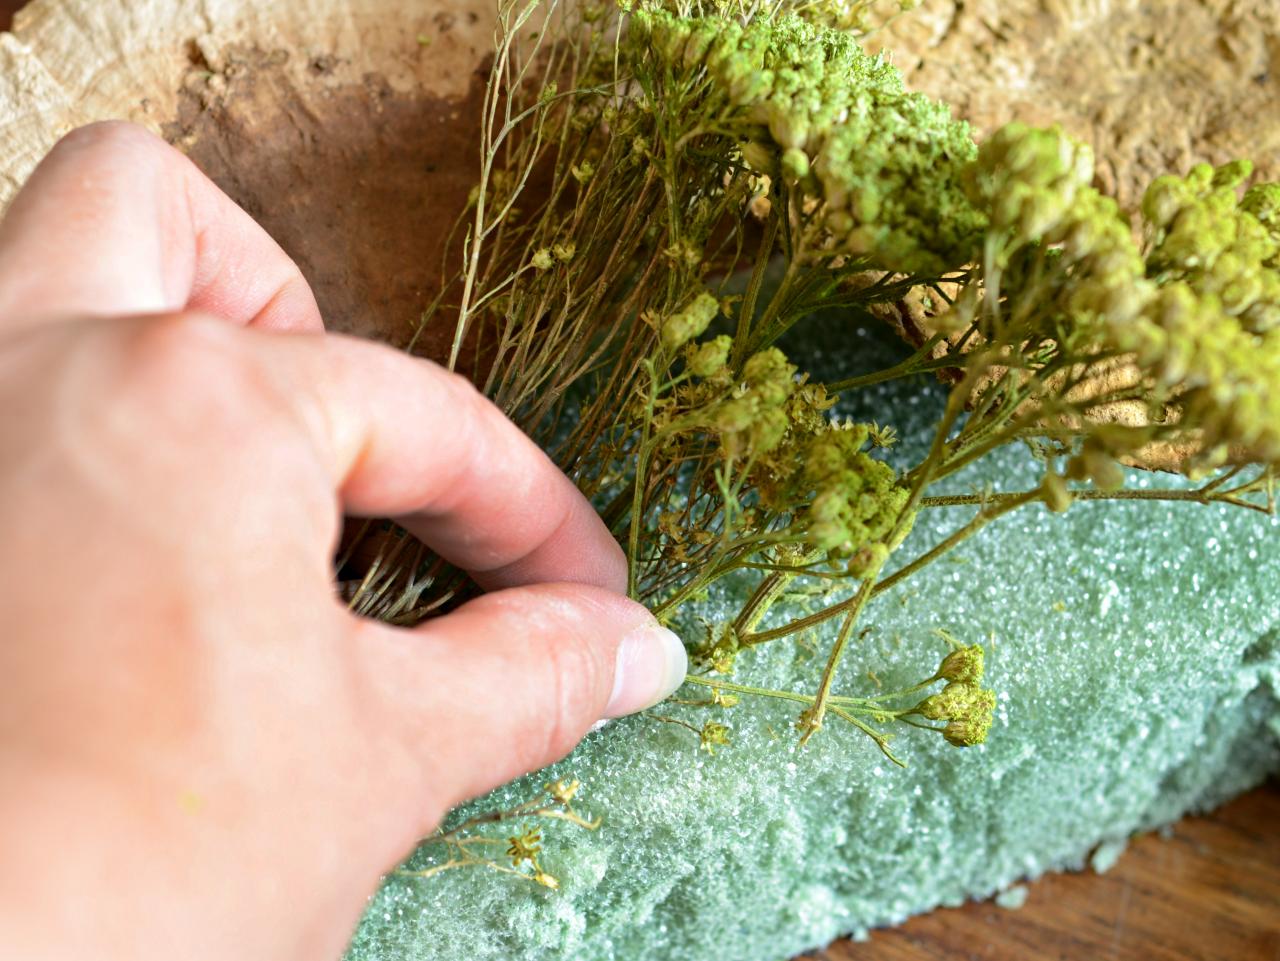
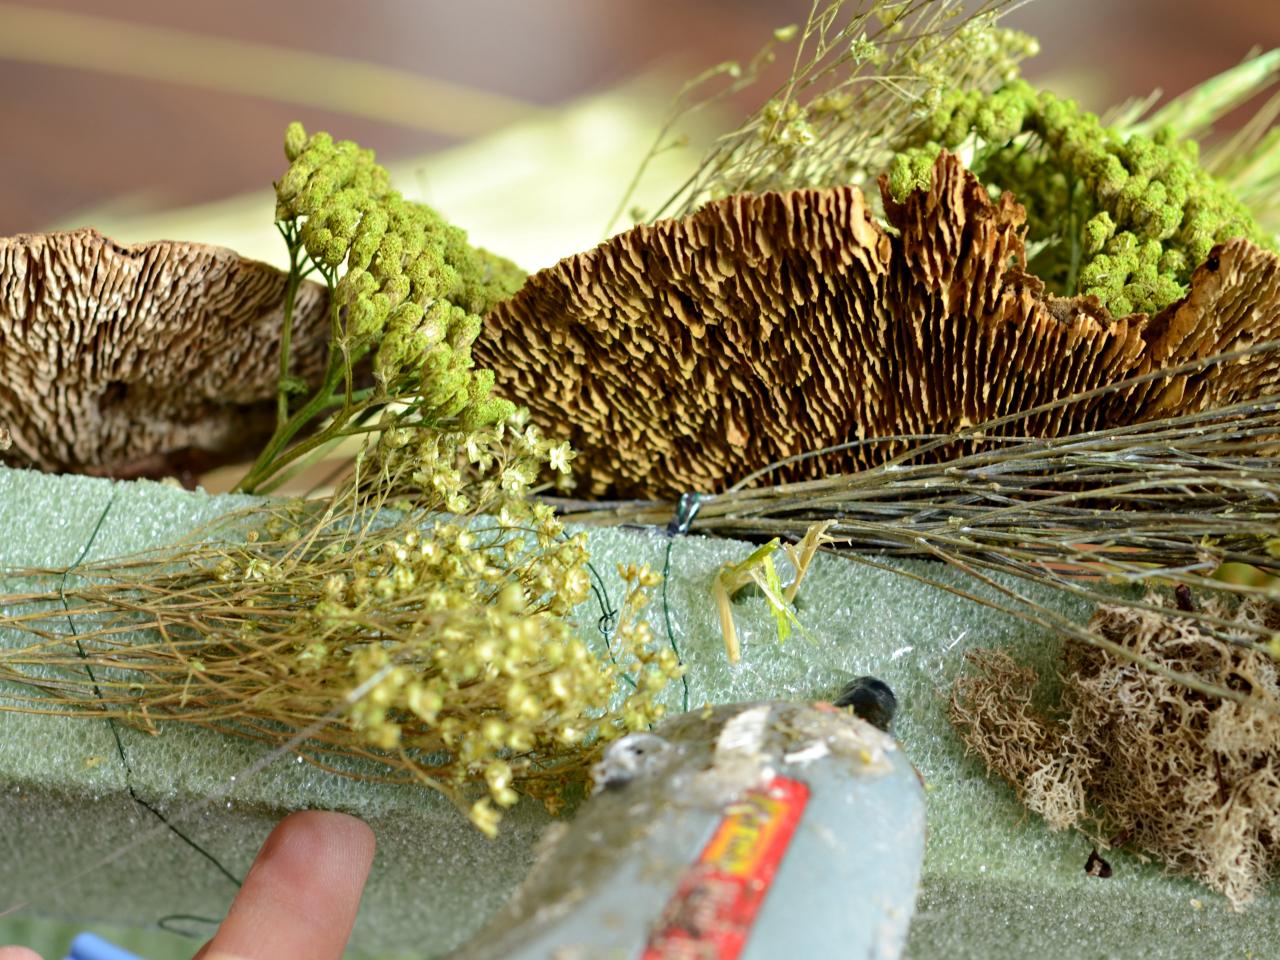
Trim dried flowers to desired length (approximately 5 to 7 inches is ideal) and bundle by wrapping stems with 15-inch length of florist wire (Image 1). Tuck flower in desired location, wrap florist wire around wreath form and twist ends together to secure in place (Image 2). Some flowers may have strong enough stems to stick directly into foam. Tuck flowers all around mushrooms until wreath looks full. Foam on sides and under flowers will be visible at this point (Image 3). Tip: Use three varieties of dried flowers, all in the same color family, to provide texture and prevent the wreath from looking too busy.

Add Dried Flowers
Trim dried flowers to desired length (approximately 5 to 7 inches is ideal) and bundle by wrapping stems with 15-inch length of florist wire.
Add Dried Flowers
Tuck flower in desired location, wrap florist wire around wreath form and twist ends together to secure in place. Some flowers may have strong enough stems to stick directly into foam.
Add Dried Flowers
Tuck flowers all around mushrooms until wreath looks full. Foam on sides and under flowers will be visible at this point. Tip: Use three varieties of dried flowers, all in the same color family, to provide texture and prevent the wreath from looking too busy.
Glue Moss
Apply hot glue with glue gun to sections of bare foam and immediately place bunches of moss onto still-hot glue. Repeat this process anywhere foam or wire is visible. Mix reindeer moss with other varieties for added texture and visual interest.

Glue Moss
Apply hot glue with glue gun to sections of bare foam and immediately place bunches of moss onto still-hot glue. Repeat this process anywhere foam or wire is visible. Mix reindeer moss with other varieties for added texture and visual interest.
Insert Fruit
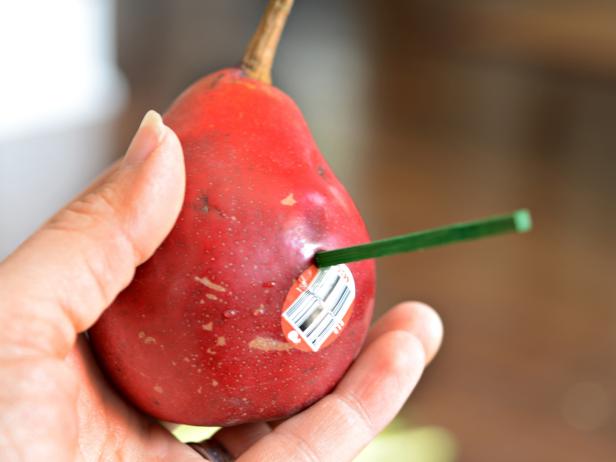
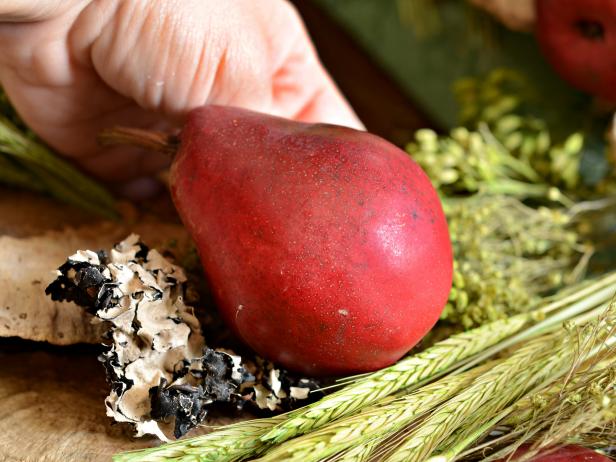
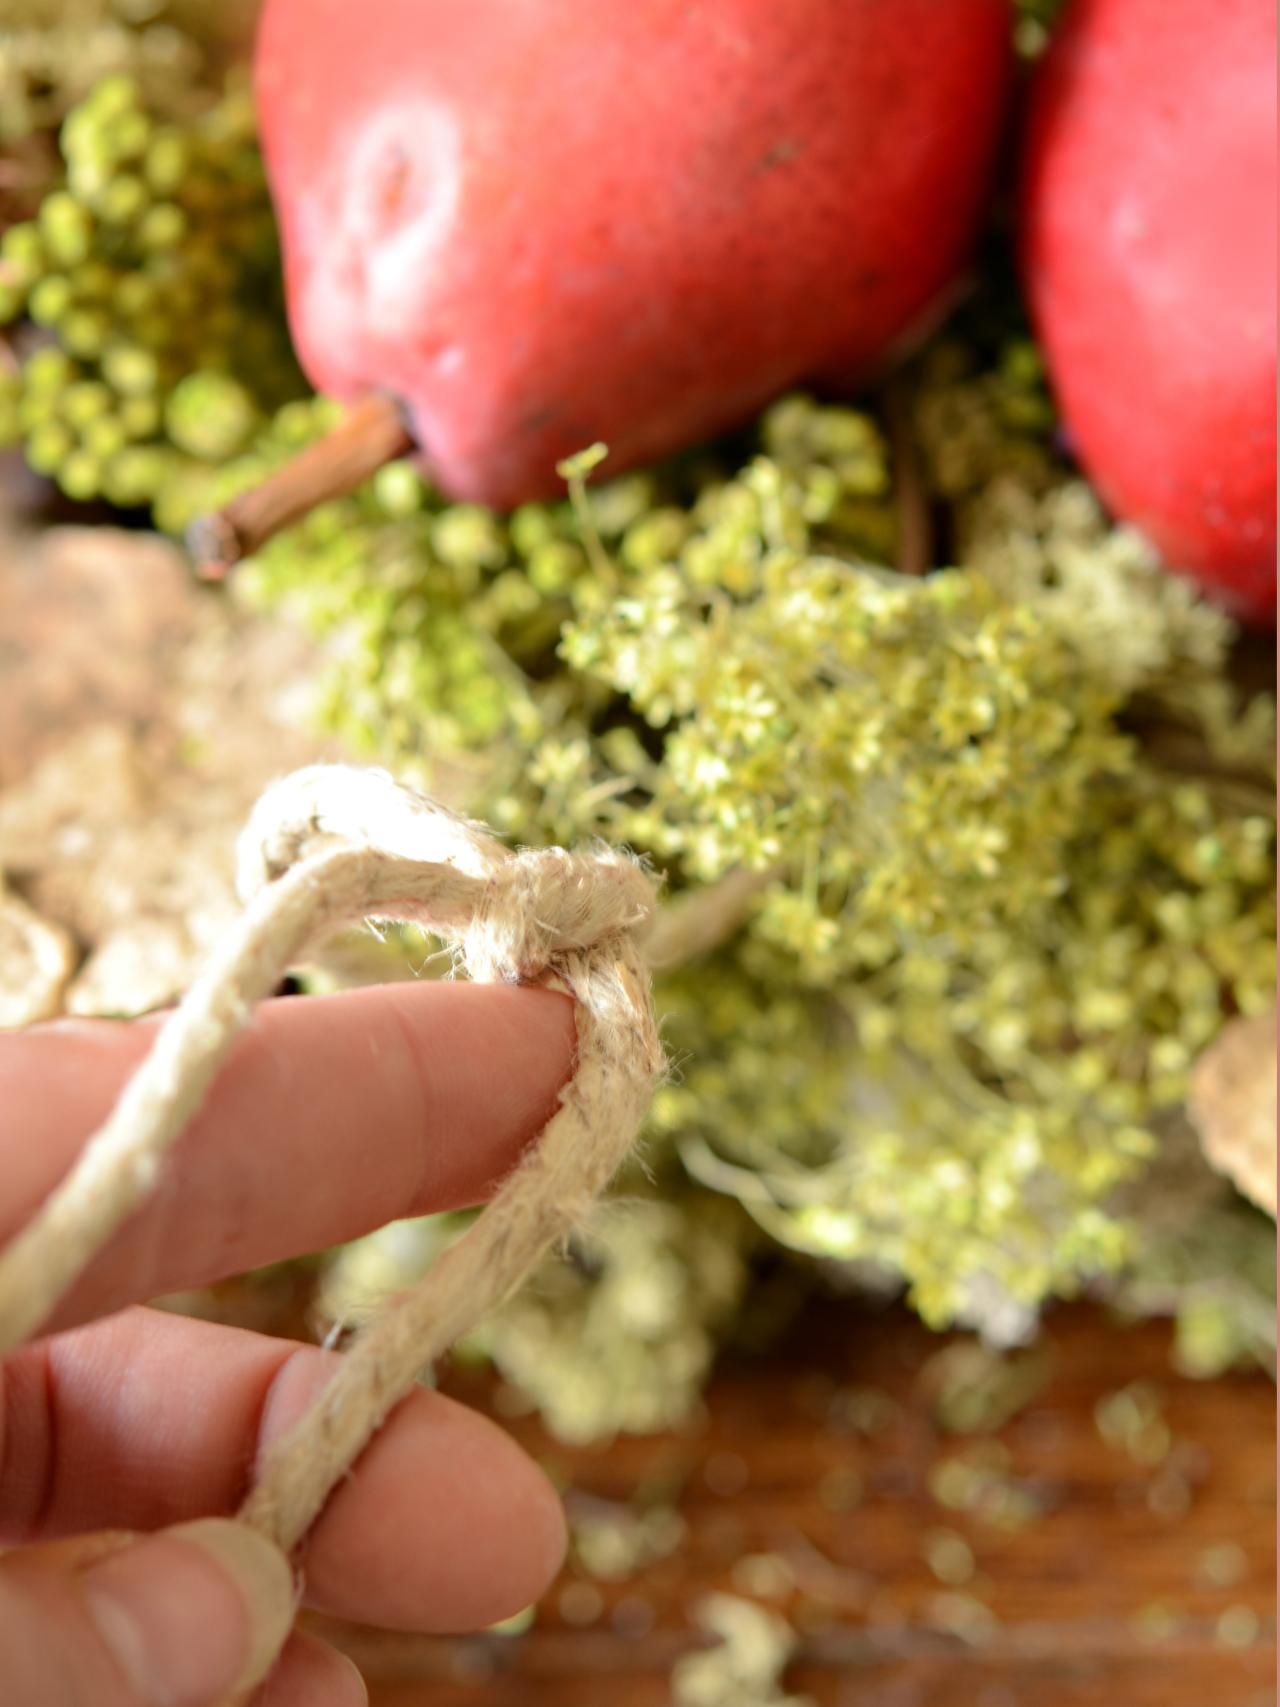
Push floral skewer into fruit and insert into wreath where desired (Images 1 and 2). It is best to use very firm fruit and replace as they ripen. Work in odd numbers when incorporating large elements into wreath. Tip: Since fresh fruit will make the wreath heavy, it is best to use this wreath in a stationary place. For use on a front door, use artificial fruit.
Insert Fruit
Push floral skewer into fruit and insert into wreath where desired. It is best to use very firm fruit and replace as they ripen. Work in odd numbers when incorporating large elements into wreath. Tip: Since fresh fruit will make the wreath heavy, it is best to use this wreath in a stationary place. For use on a front door, use artificial fruit.
Add Finishing Touches
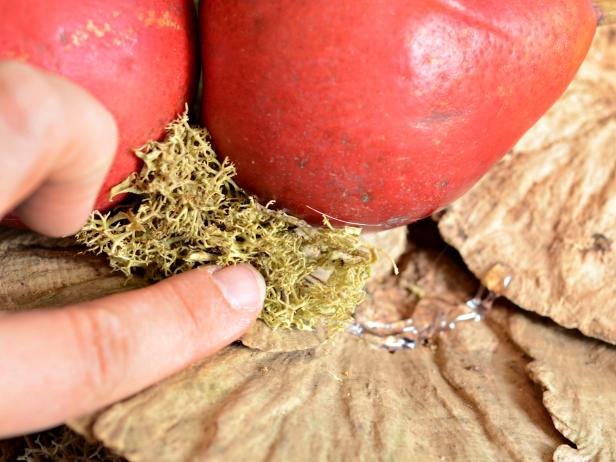
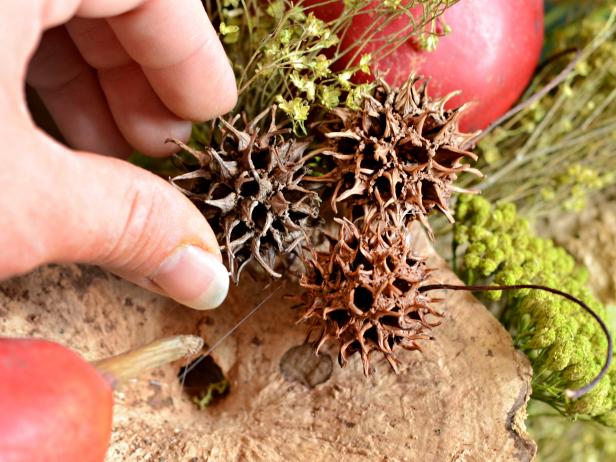
Once main elements of wreath are affixed, use hot glue to fill in sparse areas with clumps of moss, small pinecones or seed pods (Images 1-3).
Add Finishing Touches
Once main elements of wreath are affixed, use hot glue to fill in sparse areas with clumps of moss, small pinecones or seed pods.
Applying Moss to Fill in a Wreath
Once main elements of wreath are affixed, use hot glue to fill in sparse areas with clumps of moss, small pinecones or seed pods
Add Finishing Touches
Once main elements of wreath are affixed, use hot glue to fill in sparse areas with clumps of moss, small pinecones or seed pods
Tie On Twine
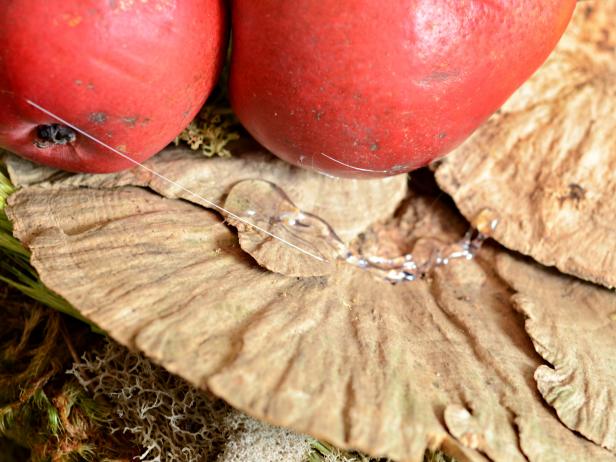
Cut a length of twine approximately 20 inches long. Thread twine underneath large elements of wreath and knot where both halves meet. Make sure twine is centered, so wreath will hang straight. Use twine to hang wreath. Tip: Using neutral colors and natural elements makes this wreath versatile. Add oranges, pomegranate and silver bells during winter; eggs, small artificial birds and pastel ribbon in spring; and use seashells in summer.

Tie On Twine
Cut a length of twine approximately 20 inches long. Thread twine underneath large elements of wreath and knot where both halves meet. Make sure twine is centered, so wreath will hang straight. Use twine to hang wreath. Tip: Using neutral colors and natural elements makes this wreath versatile. Add oranges, pomegranate and silver bells during winter; eggs, small artificial birds and pastel ribbon in spring; and use seashells in summer.


