


How to Make a Hypertufa Pot
Get easy steps to create these beautiful and inexpensive containers in any size and shape you like.

Image courtesy of Ben Rollins
Hypertufa planters are a lighter-weight pot than a concrete container and are formed using a mix of perlite, portland cement and peat moss.

You'll just need a little time, the right materials and some patience to make this lovely DIY hypertufa planter.
What Is Hypertufa?
Our simple hypertufa planter recipe will consist of an equal-parts combination of perlite, peat moss and portland cement. Other hypertufa recipes might also use sand. Making a DIY hypertufa pot is an easy task for a beginner, and the result is a quality pot that looks like a high-quality concrete planter, but costs much less and is much lighter.
Tools + Supplies
- large plastic bucket to measure ingredients
- plastic bin for mixing ingredients
- 12"-x-12" plastic pot
- 8" plastic pot
- hoe or shovel for mixing
- dust mask
- gloves
- trowel
- lubricant such as cooking spray
- plastic bag for wrapping mold
- 2 gallons perlite
- 2 gallons peat moss
- 2 gallons portland cement
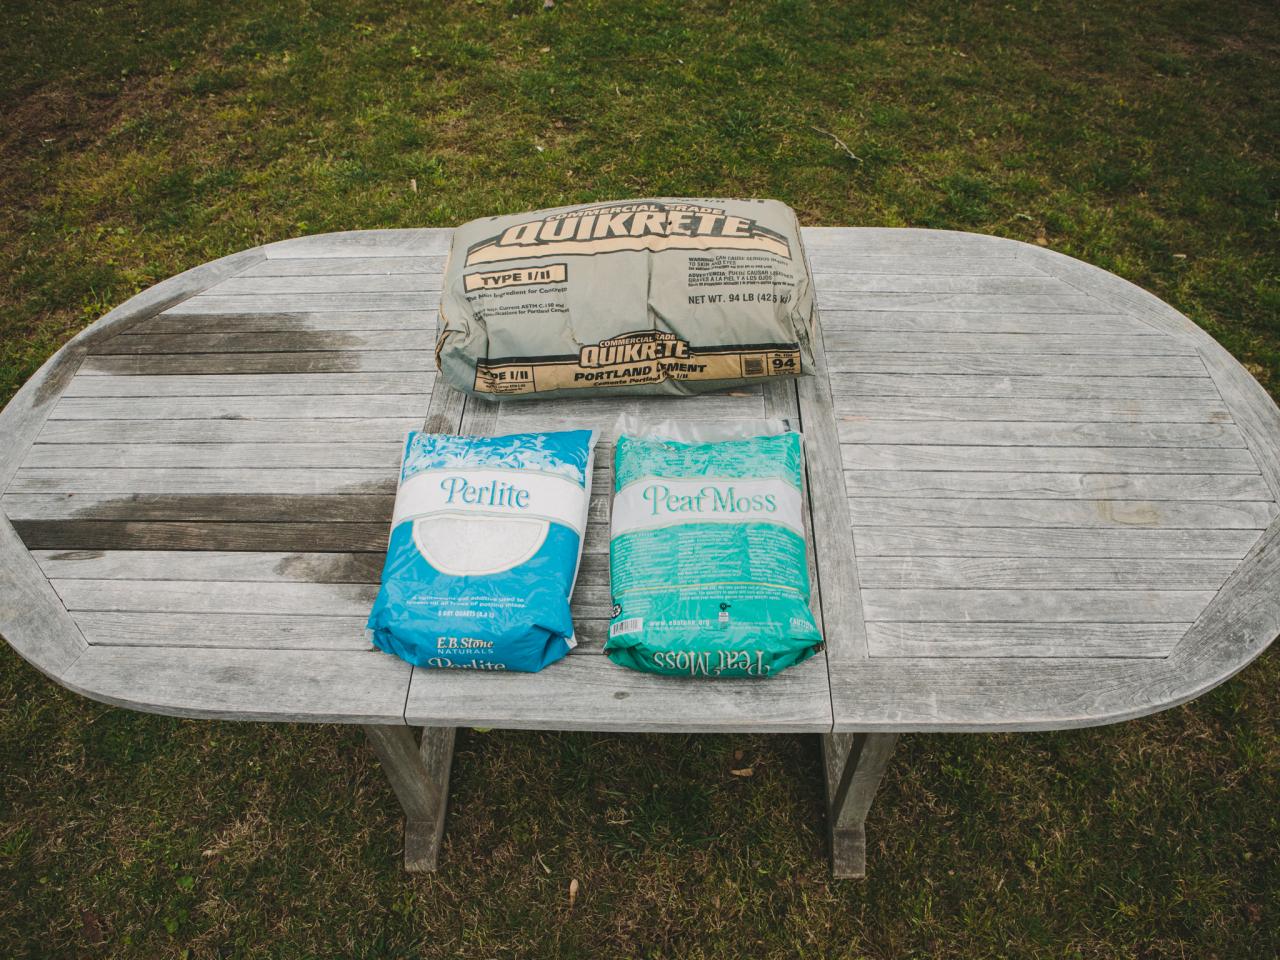
For this project, we will create two hypertufa containers — a large, square 12"x12" pot and a small, round 8-inch pot — using old garden-store plastic pots as our molds. We used two gallons each of perlite, peat moss and portland cement.

Image courtesy of Ben Rollins
We used 2 gallons each of perlite, peat moss and Quikrete-brand portland cement for this project.
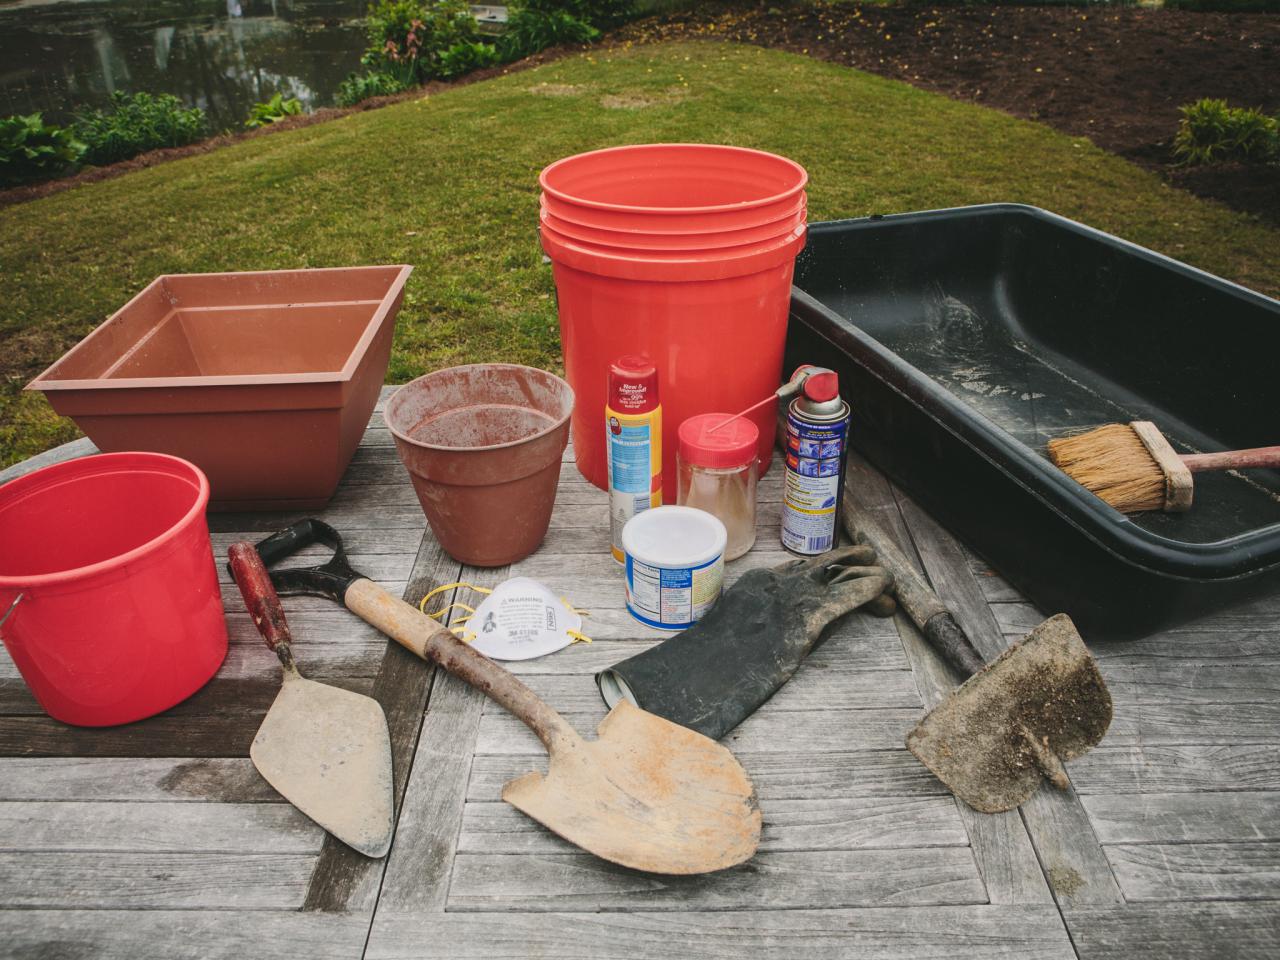
You will need: a large plastic bucket to measure ingredients; a large plastic bin for mixing your perlite, peat moss and portland cement; plastic pots for the hypertufa molds (we used 12"x12" and 8" plastic pots from the garden shop); a shovel or hoe for mixing; a dust mask; gloves to protect your hands; and a trowel to press the hypertufa mixture against your hypertufa molds. You will also need a lubricant (cooking spray, bacon grease or a spray lubricant) to allow your finished hypertufa pot to release from your plastic molds and a plastic bag to wrap your mold while it cures.

Image courtesy of Ben Rollins
The tools and materials list is short for making DIY hypertufa planters. It's key to use something to release the hypertufa mold, such as cooking spray, bacon grease or a spray lubricant.
We'll also share how to finish off your DIY hypertufa pot with some plants.
1. Add Peat Moss
Add one part peat moss to a large, watertight plastic bin.
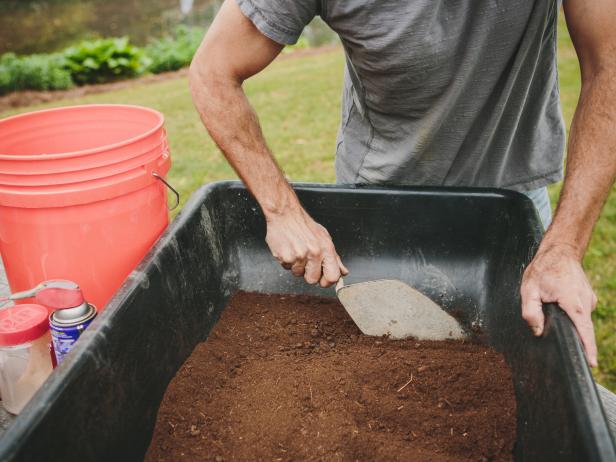
2. Add & Mix Portland Cement
Add one part portland cement to the bin (Slide 1). When working with portland cement, use a dust mask and stay upwind. Wear gloves when mixing the materials together. Then mix in the portland cement.

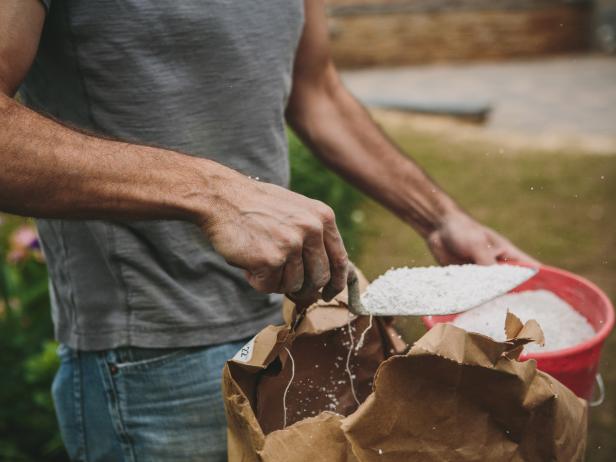
3. Measure and Blend in Perlite
Add one part perlite to your mixing bin (Slide 1). Using a hoe or other long tool, blend the perlite, peat moss and portland cement together (Slide 2). To make sure all three materials are well incorporated, you may want to use your hands to ensure all of the lumps are out of the peat moss (Slide 3). You're looking for a consistent gray color to ensure all elements are mixed properly (Slide 4).
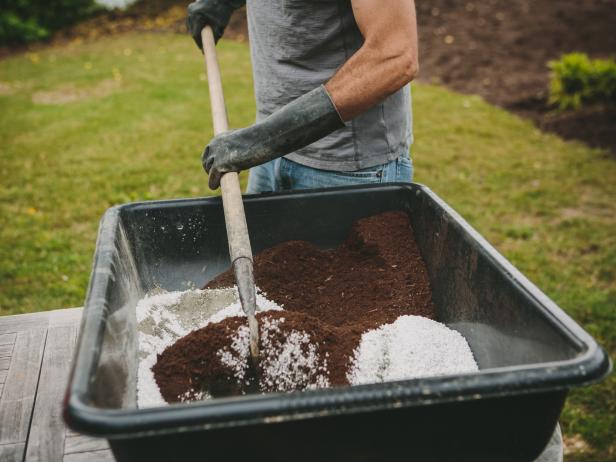

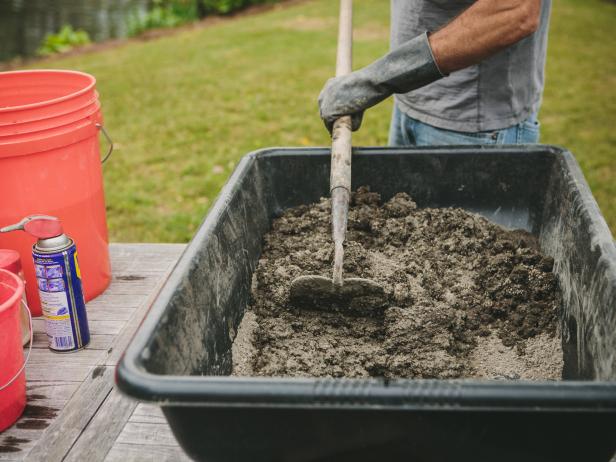
4. Add Water & Mix
Take this step very slowly and add just a little bit of water at a time. If you add too much water, the hypertufa mix will not properly mold. The goal is to combine approximately equal parts water to equal parts dry materials, but you may need more or less water. Add a little bit of water at a time until you reach the desired consistency, which will be the consistency of cottage cheese (Slide 1).
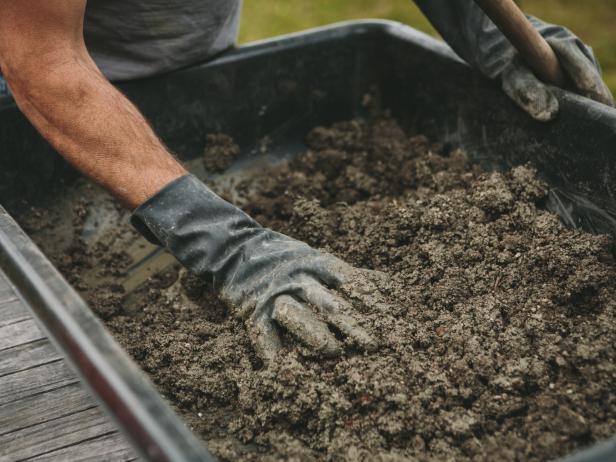
Use a shovel or hoe to gradually mix in the water, testing the consistency along the way (Slide 2). You may want to use your hands to make sure the water and dry materials are thoroughly mixed. Wear gloves to protect your hands from caustic materials in the mix (Slide 3).
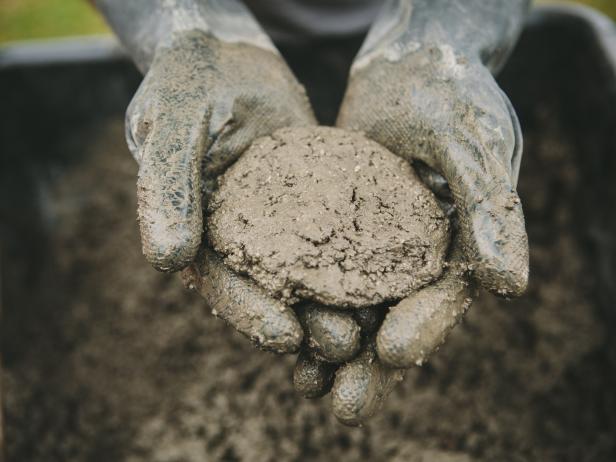
When the proper consistency is reached, you should be able to form the hypertufa mix into a hamburger-like patty and it should hold together (Slide 4).

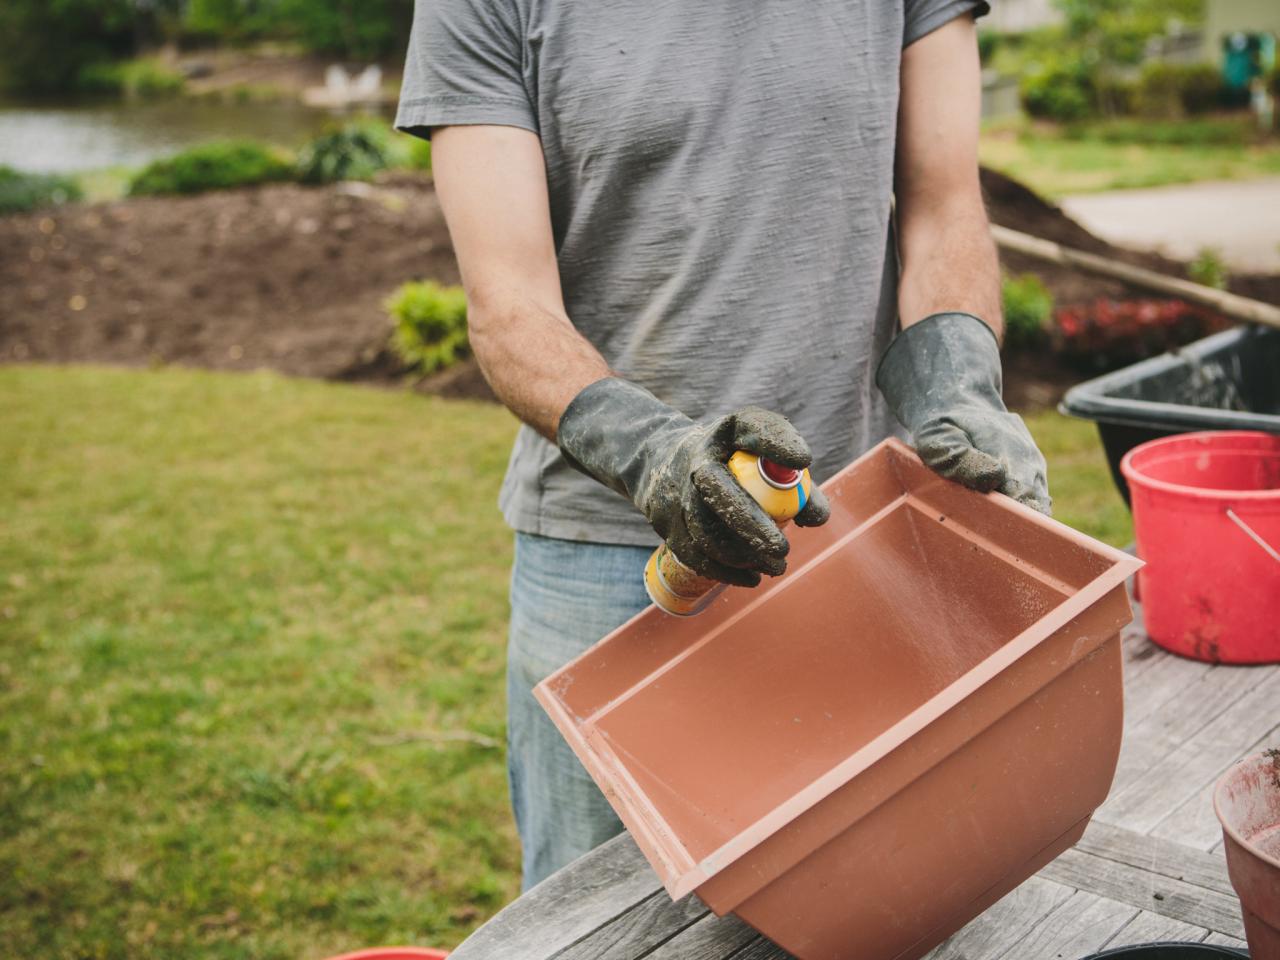
5. Spray Your Container
Use your preferred mold-release spray or material (we used cooking spray) to coat the mold in which you will be creating the hypertufa. This will allow the hypertufa to easily slide out of the mold once it has fully cured.

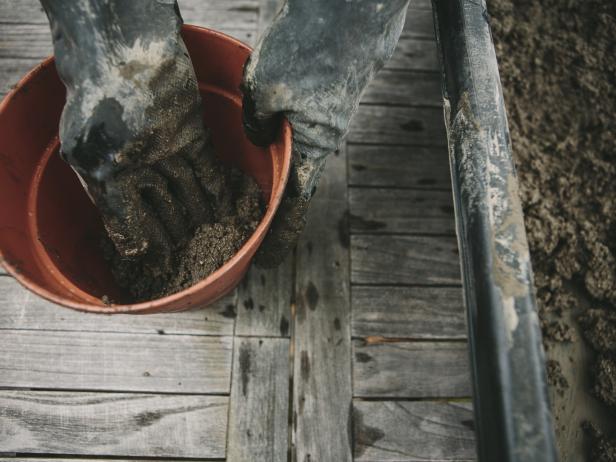
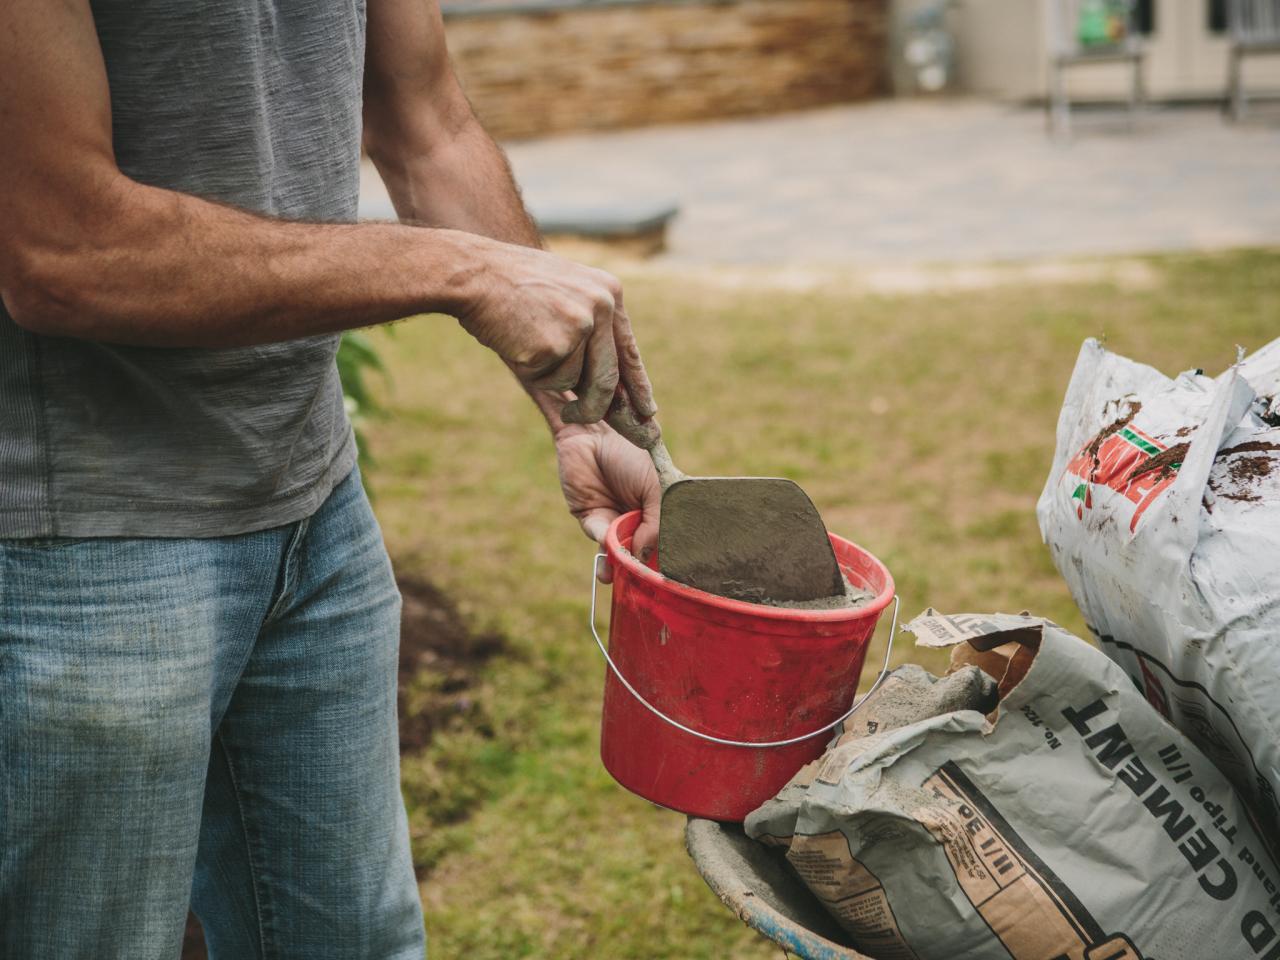
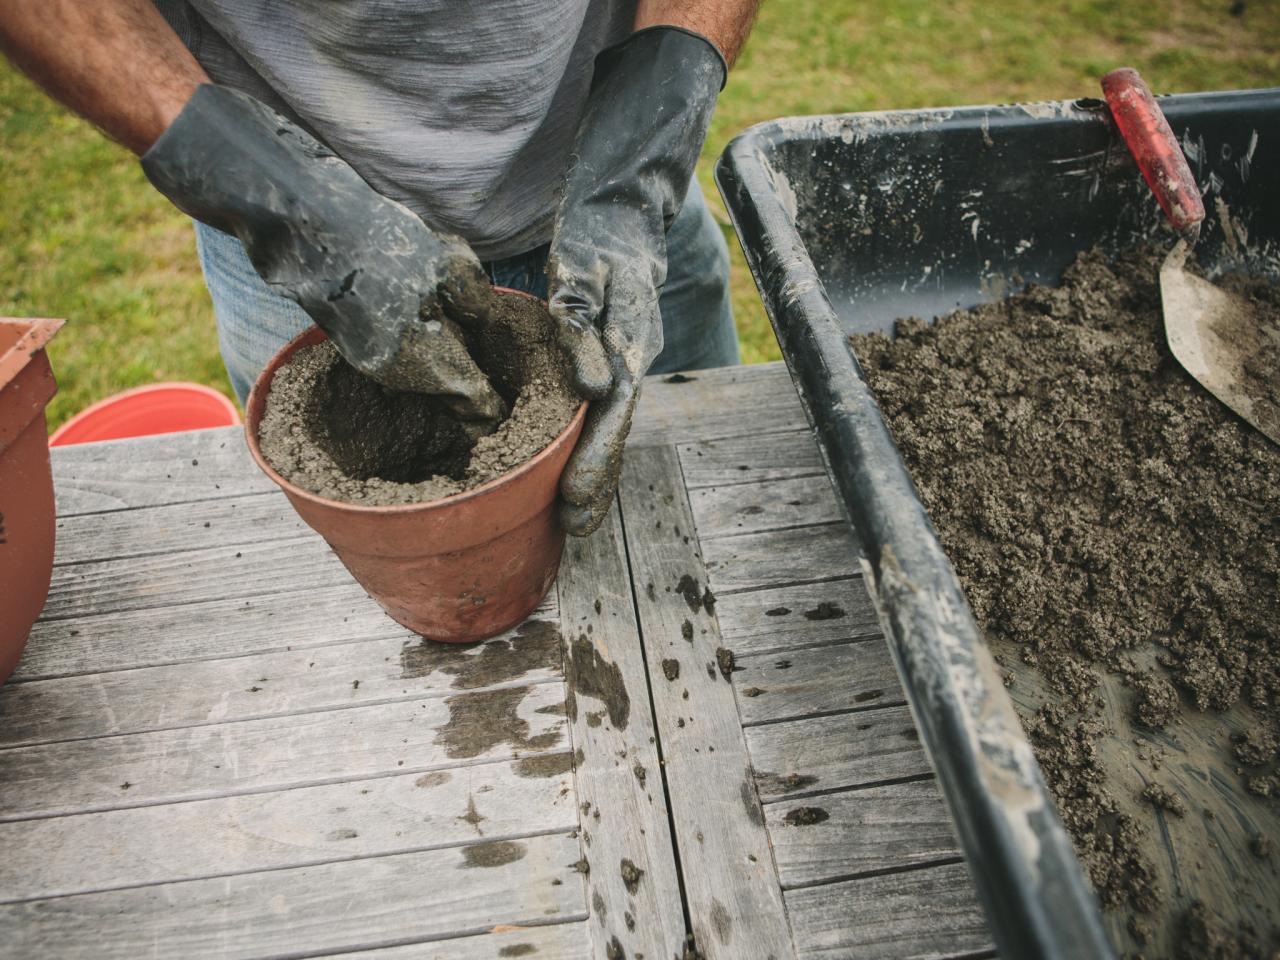
6. Press in Mixture
Starting from the base, press about 3/4" to 1" thickness of your hypertufa mixture into your desired hypertufa mold (Slide 1). Make sure the desired thickness of hypertufa mix covers the mold (Slide 2). Don't worry if there is any roughness; these containers look great when they are imperfect. But be sure to get all of the air bubbles out by pressing the hypertufa mix against the mold form.

7. Level & Make Drain Hole
Use your trowel to level off the top (Slide 1). Stick your finger all the way to the bottom of the mold to give your hypertufa container a drain hole (Slide 2).
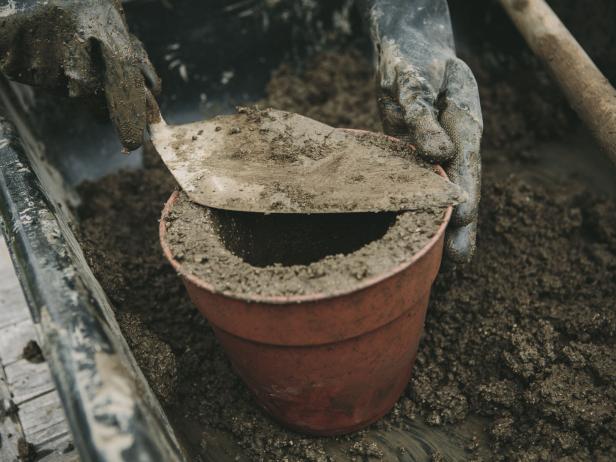
Image courtesy of Ben Rollins
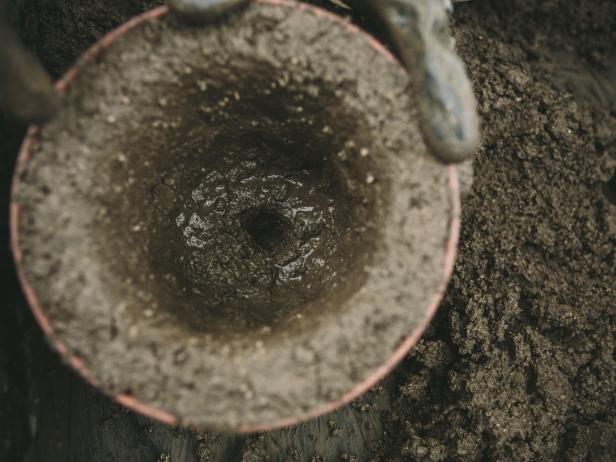
Image courtesy of Ben Rollins
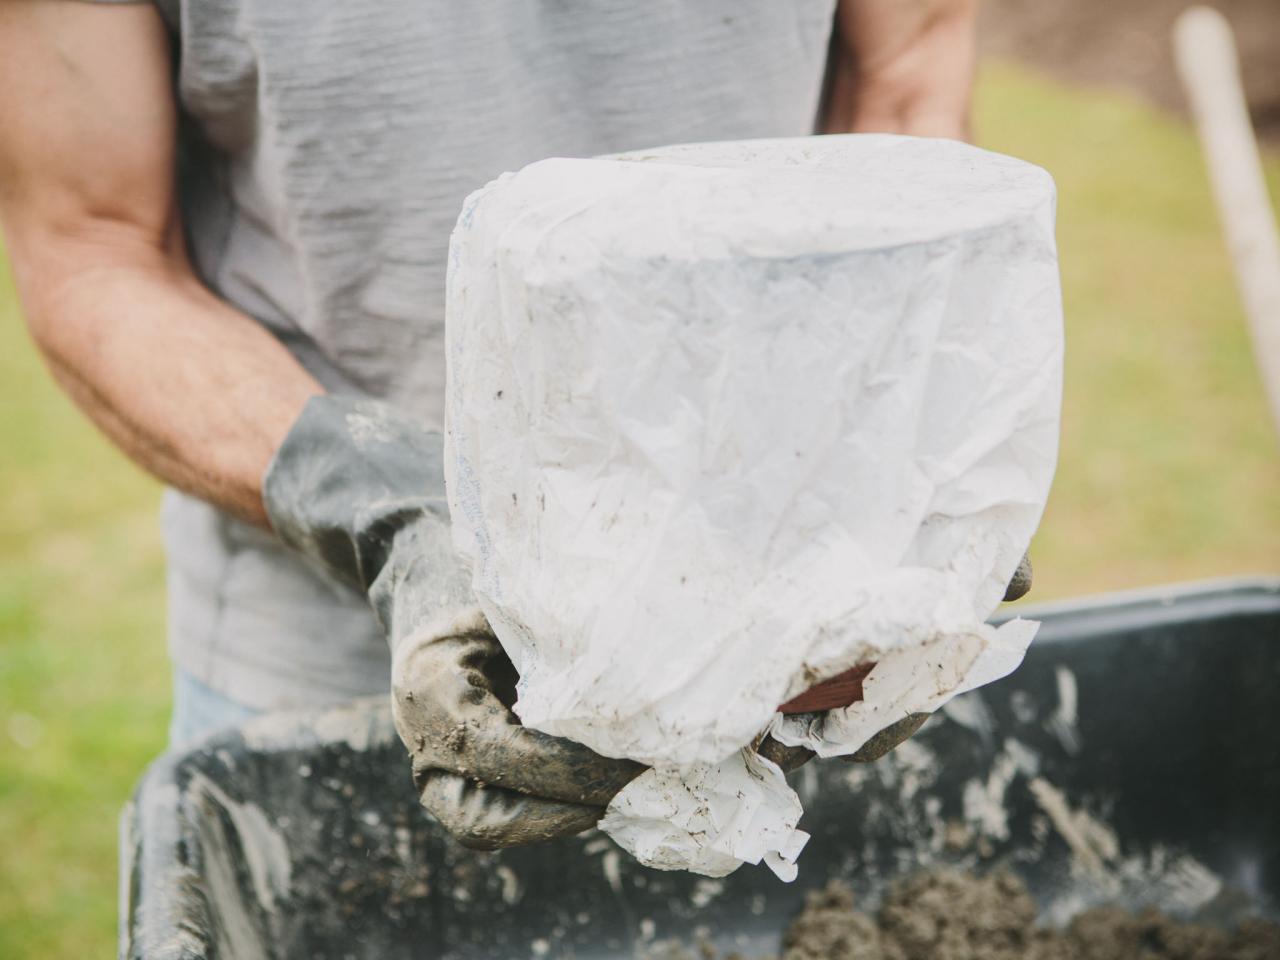
8. Cover in Plastic
Cover the hypertufa mold completely in a plastic bag and place in a cool place out of the sunlight to cure. After 24-36 hours, take the hypertufa pot out of the mold and put it back in the plastic bag. Allow the pot to cure another two weeks. Repeat the process for the second pot.

Image courtesy of Ben Rollins
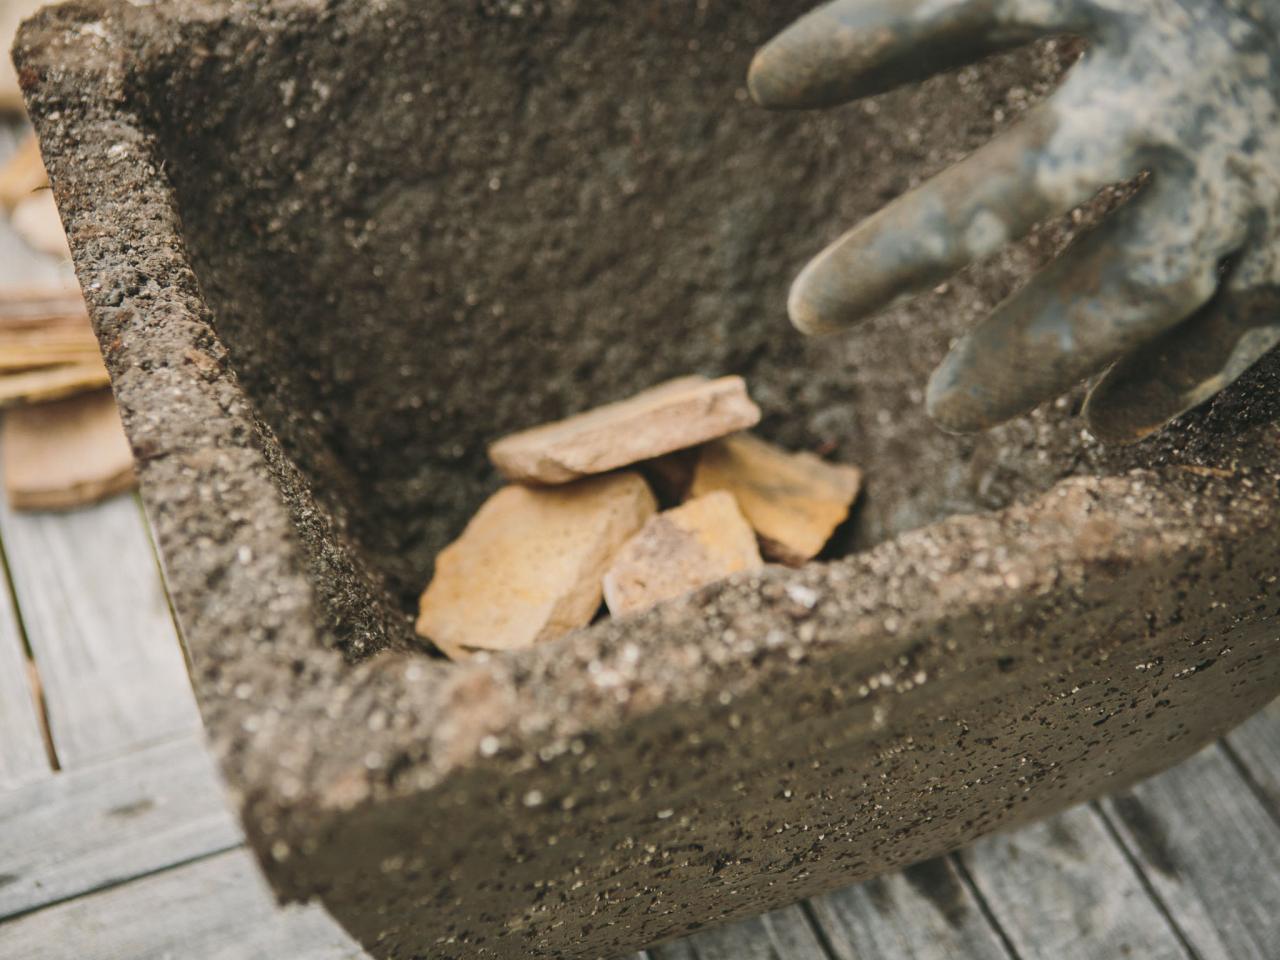
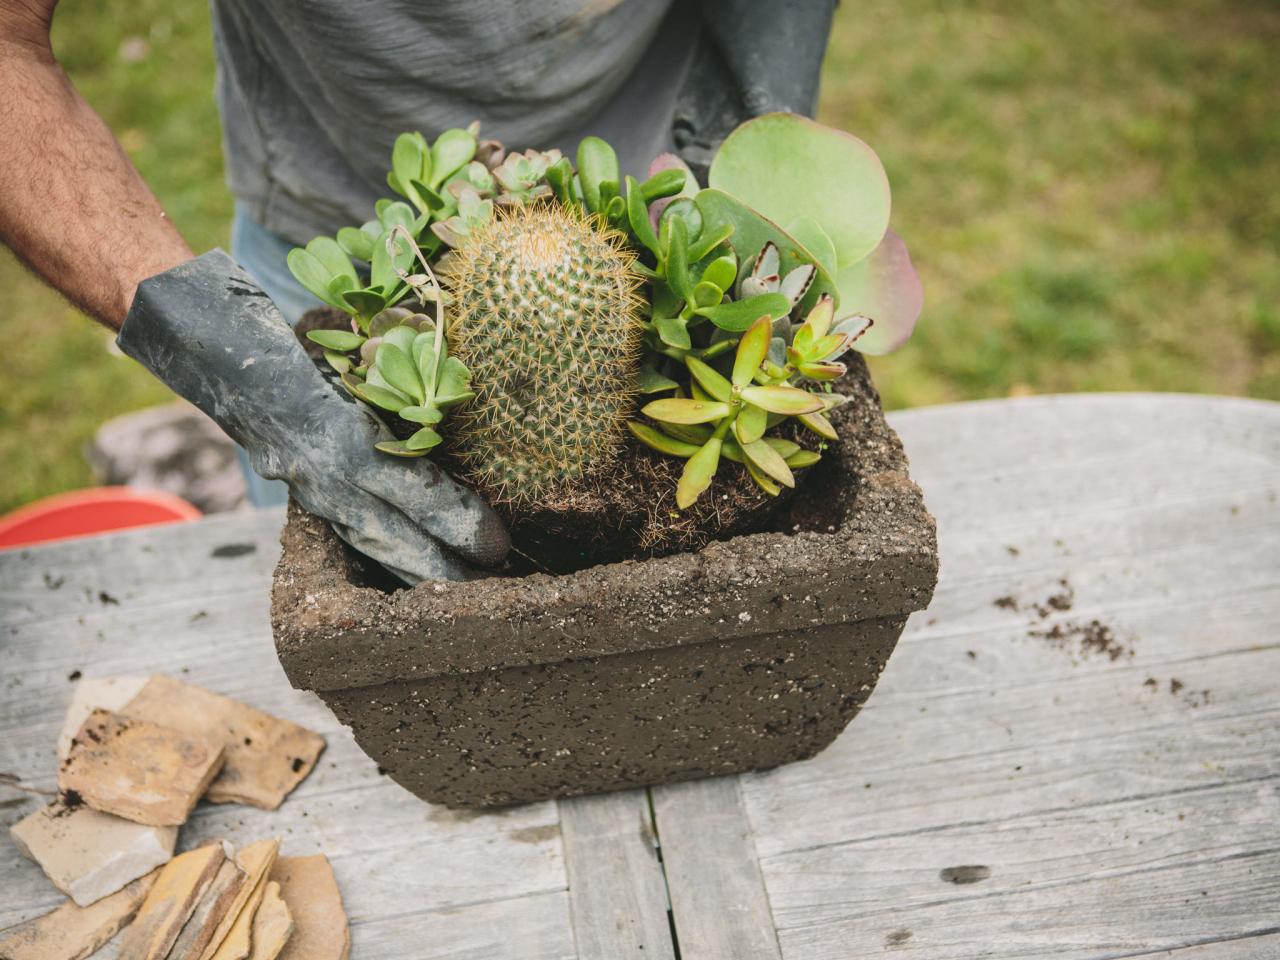
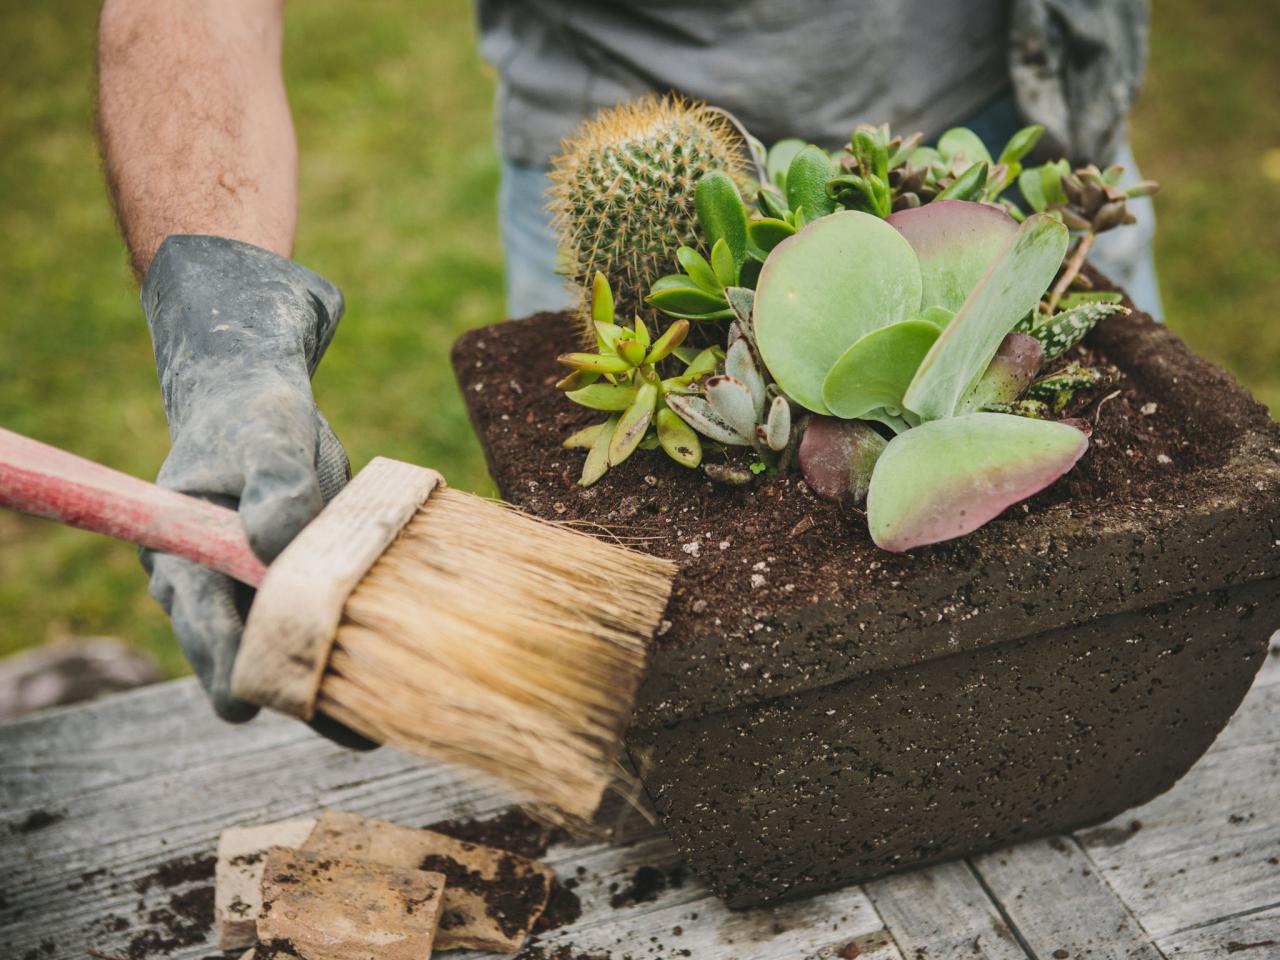
9. Add Your Plants to Finished Pot
Once your pot has cured, place rocks or broken pots/slate in the bottom of your hypertufa pot (Slide 1). Add a mix of potting soil and compost. Or, if you plan on planting succulents, add a cactus mix to the pot (Slide 2). Dramatically shaped succulents make for a beautiful contrast to the textured look of your hypertufa pot (Slide 3). Finally, clean off any stray potting soil and neaten up your freshly potted plants. A concrete brush is a nifty tool for that (Slide 4).

Image courtesy of Ben Rollins
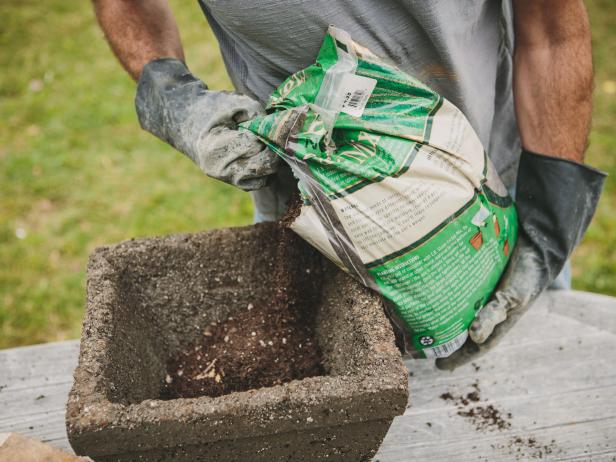
Image courtesy of Ben Rollins

Image courtesy of Ben Rollins

Image courtesy of Ben Rollins


")


