Picnic Prep: How to Dress Up Your Cooler

Make your next picnic pop with this colorful and customized cooler.

Make your next picnic pop with this super stylish, customized cooler.

DIY Cooler Upgrade

Make your next picnic pop with this super stylish, customized cooler.

Photo by: Tomas Espinoza

Tomas Espinoza

Related To:

Materials Needed

  • 9 qt. personal cooler (made of PE and PP)
  • origami paper in desired colors
  • scissors
  • decoupage glue
  • water-based polyurethane
  • foam paintbrush
  • 1" chip paintbrush

Choose Your Cooler

Big or small, just make sure the cooler is clean and dry before you start. We chose a nine-quart personal cooler with a flat top and swing-up handle made of high-density polyethylene and polypropylene for durability.

Cut Paper

Using scissors, cut out bits of colored paper. Word to the wise, straight edges makes for easier application later.
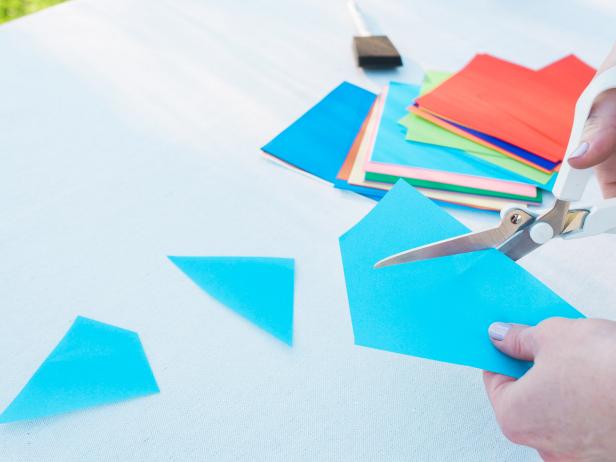
Step 2- Cut Paper
Using scissors, cut out bits of colored paper and stay with straight edges for easier application later.

DIY Cooler Upgrade

Step 2- Cut Paper Using scissors, cut out bits of colored paper and stay with straight edges for easier application later.

Photo by: Tomas Espinoza

Tomas Espinoza

Paint on Glue

Using a foam paintbrush, apply a layer of decoupage glue.

Step 3- Paint on Glue
Using a foam brush, paint on a layer of decoupage glue.

DIY Cooler Upgrade

Step 3- Paint on Glue Using a foam brush, paint on a layer of decoupage glue.

Photo by: Tomas Espinoza

Tomas Espinoza

Add Paper

Quickly place papers onto the surface of the cooler, starting at the corners. Brush each piece to smooth out any bumps.

Step 4- Add Paper
Quickly place papers onto the surface, starting at the corners. Brush each piece to smooth out any bumps.

DIY Cooler Upgrade

Step 4- Add Paper Quickly place papers onto the surface, starting at the corners. Brush each piece to smooth out any bumps.

Photo by: Tomas Espinoza

Tomas Espinoza

Layer It Up 

Add more shapes into the mix, using the same technique. Continue adding layers of paper until the top of the cooler is covered.

Step 5- Layer It Up
Add more shapes into the mix, using the same technique. Layer it up until the top is covered in tissue or origami papers.

DIY Cooler Upgrade

Step 5- Layer It Up Add more shapes into the mix, using the same technique. Layer it up until the top is covered in tissue or origami papers.

Photo by: Tomas Espinoza

Tomas Espinoza

Coat With Sealer

Allow the papers and decoupage glue to dry a few hours, then add a clear coat of polyurethane to protect your work. Allow this to dry for a couple of days before you put your trendy-topped cooler to use.

Step 6- Coat with Polyurethane
Allow the papers and decoupage glue to dry a few hours, then add a clear coat of polyurethane to protect your work! Allow this to dry for a couple of days before you put it into use!

DIY Cooler Upgrade

Step 6- Coat with Polyurethane Allow the papers and decoupage glue to dry a few hours, then add a clear coat of polyurethane to protect your work! Allow this to dry for a couple of days before you put it into use!

Photo by: Tomas Espinoza

Tomas Espinoza

Next Up

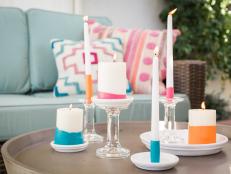
How to Make Colorful, Crayon-Dipped Citronella Candles

These stylish citronella candles are a triple threat — they’re pretty; they're functional; and they'll keep the mosquitoes away.

Make an Easy + Welcoming Spring Doormat

With this simple DIY doormat, you can shower guests with compliments all season long.

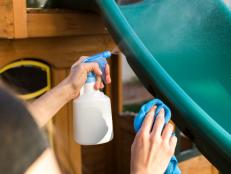
How to Create an All-Natural Toy + Playset Cleaner

Keep outdoor playsets and toys in tip-top shape after harsh weather with this easy, all-natural cleaning method.

How to Make a Chic, Outdoor Pillow Cover (No Sewing Required!)

Transform an old, faded pillow into an outdoor accessory with this quick, no-sew project.

The Best Picnic Blankets and Beach Mats for Every Need

Gear up for fun in the sun with these top-rated buys, from sand-free mats to foldable blankets that turn into a bag.

Turn Basic Tissue Paper Into a Party-Worthy Flower Cake Topper

You won't believe how easy and affordable it is to create these party or wedding-worthy blooms.

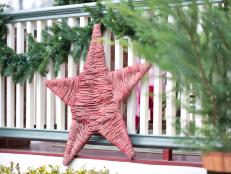
Make a Rustic Holiday Star From Paint Sticks and Jute

This inexpensive holiday star made from paint sticks and jute adds rustic charm to any holiday decor.

How to Make Your Own Movie Screen

Make this DIY outdoor projector screen in less than an hour, and turn your next outdoor gathering into a neighborhood movie night.

Christmas Craft: Rustic Wood Slice Banner

Permanent markers and transfer paper make it easy to add a customized holiday greeting to rustic wood slices.

DIY Outdoor Kids' Play Gym

Summer's on its way! Encourage little ones to play, climb and use their imaginations on this versatile wood playset.

More from:

HGTV Spring House

What's New in Handmade

On TV

Follow Us Everywhere

Join the party! Don't miss HGTV in your favorite social media feeds.