


How to Create a Light-Up Shadowbox Picture Frame
Showcase your favorite Instagram photos with this remote-controlled light-up shadowbox you can make in less than 10 minutes.

Flynnside Out Production

Materials Needed
- 12" x 12" mat with 4" x 4" openings
- shadowbox frame (at least 1" deep)
- 4 1/2" square photos
- scissors or paper trimmer
- clear tape
- thin duct tape
- battery-operated LED lights with remote
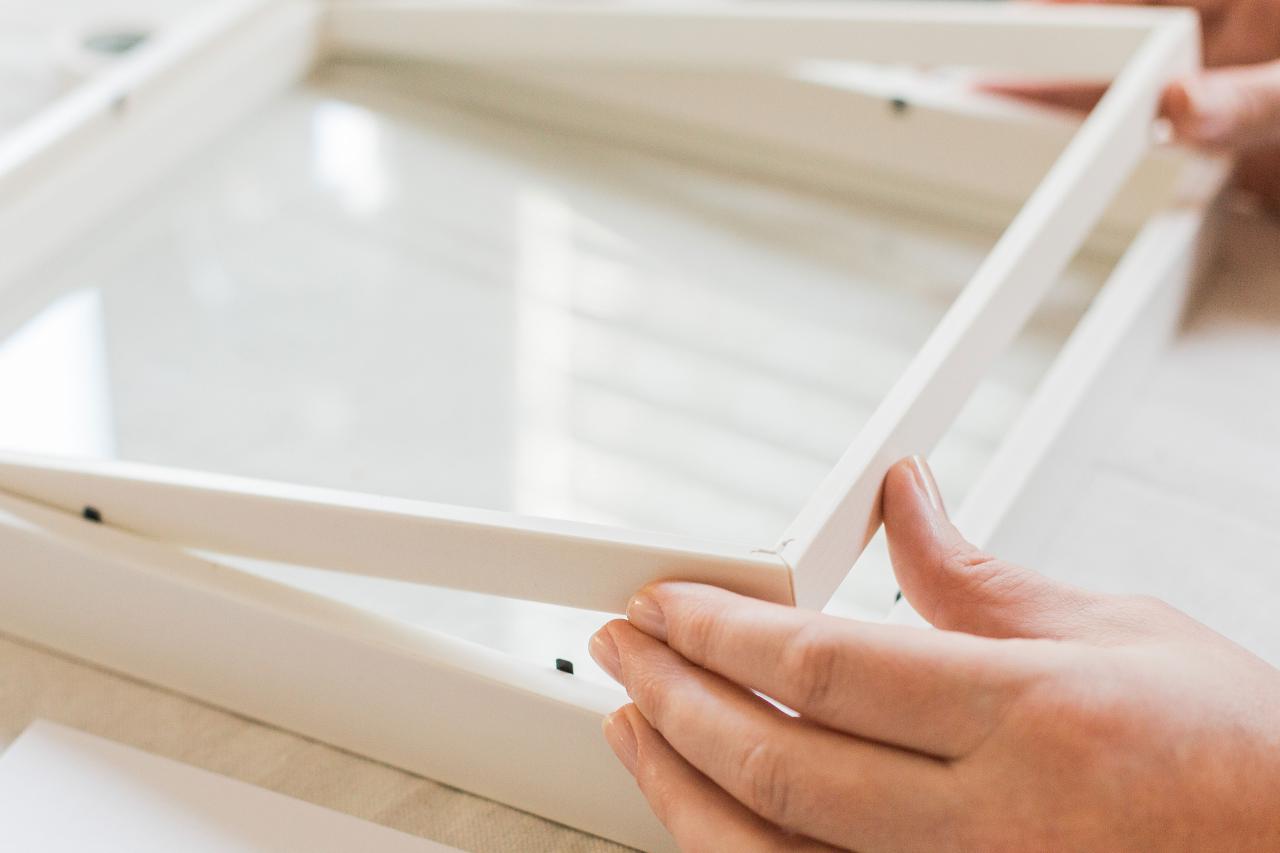
Prep Frame
Remove the back, shadowbox liner and any other materials besides the glass. Set aside.

Flynnside Out Productions
Print and Trim Photos
Print photos to 4 1/2-inch square, a bit larger than the mat opening. Trim excess paper from images as necessary.

Flynnside Out Productions
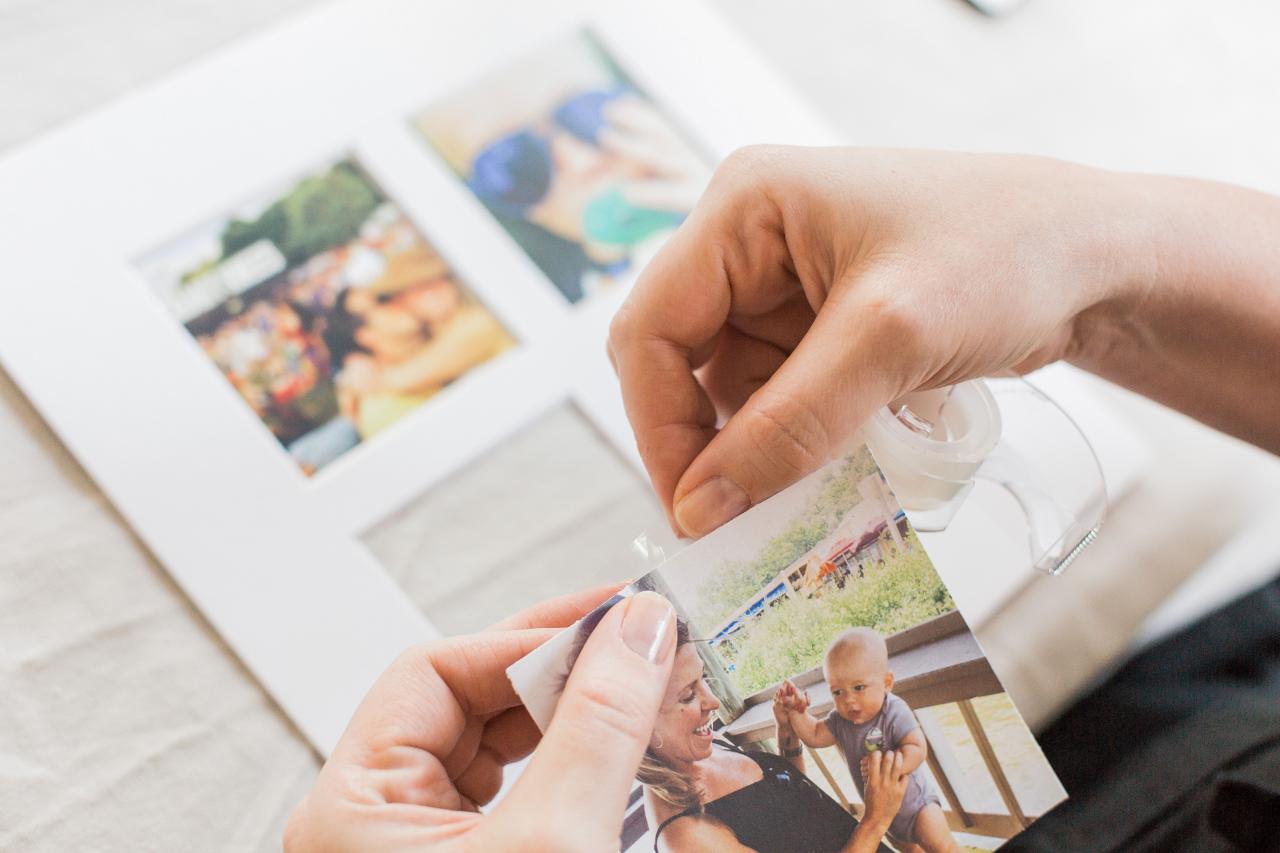
Secure Photos
Apply a piece of tape to the back of the image, with the sticky side and image both facing you (Image A). Place the mat over the image, then center and press down on the taped area. Flip the mat over, and tape the other three sides of the image. Repeat for all the images. Place the mat with photos into the frame (Image B).

Flynnside Out Productions
Image A

Flynnside Out Production
Image B
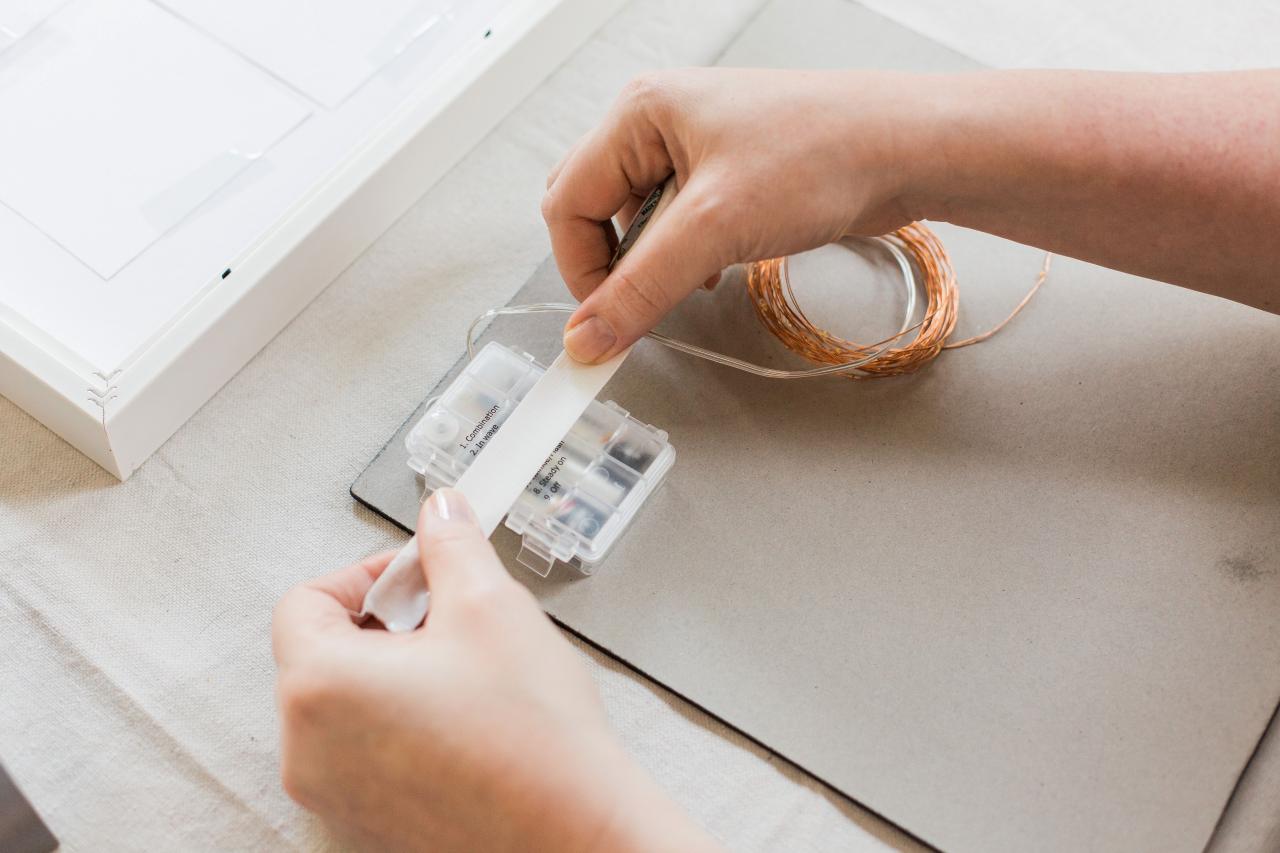
Secure LED Battery Pack
On the inside of the frame back, tape down the LED battery pack with strong tape. Make sure to leave approximately 1/4 inch around the edges, depending on the frame.

Flynnside Out Productions
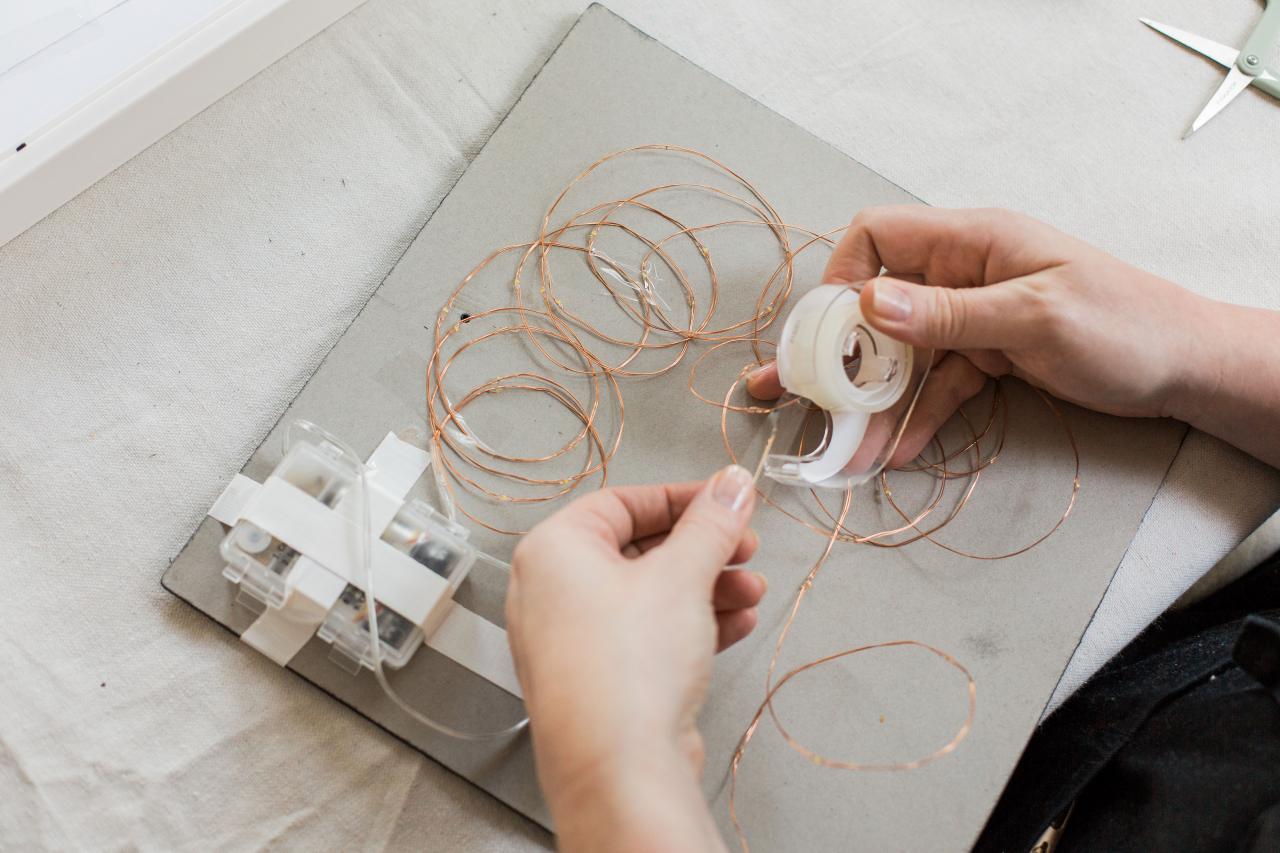
Spread and Secure Lights
Using clear tape, tape the LED lights down so there's an even amount of lights where each image will be.

Flynnside Out Productions
Reassemble Box or Frame
Place the mat with images inside the frame (facing the glass), reinsert the shadowbox liner and attach the back.

Flynnside Out Productions


