


How to Make a DIY Terra-Cotta Pumpkin Jack-O'-Lantern
Terra-cotta pumpkins make for pretty autumn decor, but they also cost a pretty penny to buy. Luckily, we’ve got you covered with this easy and inexpensive Pottery Barn DIY dupe.

Terra-cotta jack o' lanterns are a stylish, modern twist on classic Halloween decor. The natural, organic vibes of terra cotta lend a subdued tone to a traditionally garish holiday. This handcrafted look is easy to replicate with just a few materials for a fraction of the price.

Jennie Andrews
Tools and Materials:
- plastic pumpkin
- sandpaper
- spackle
- spackle knife
- spray paint
- craft paint
- sponge brushes
- paintbrush
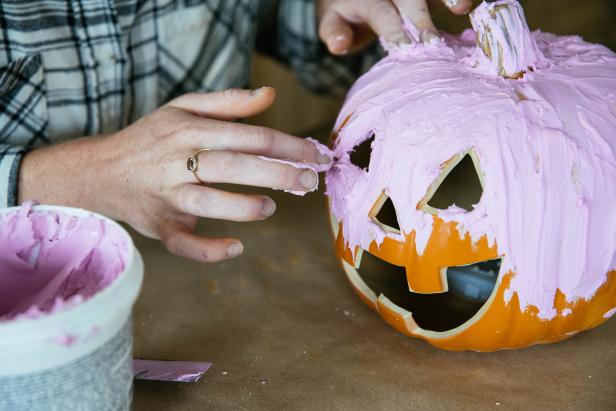
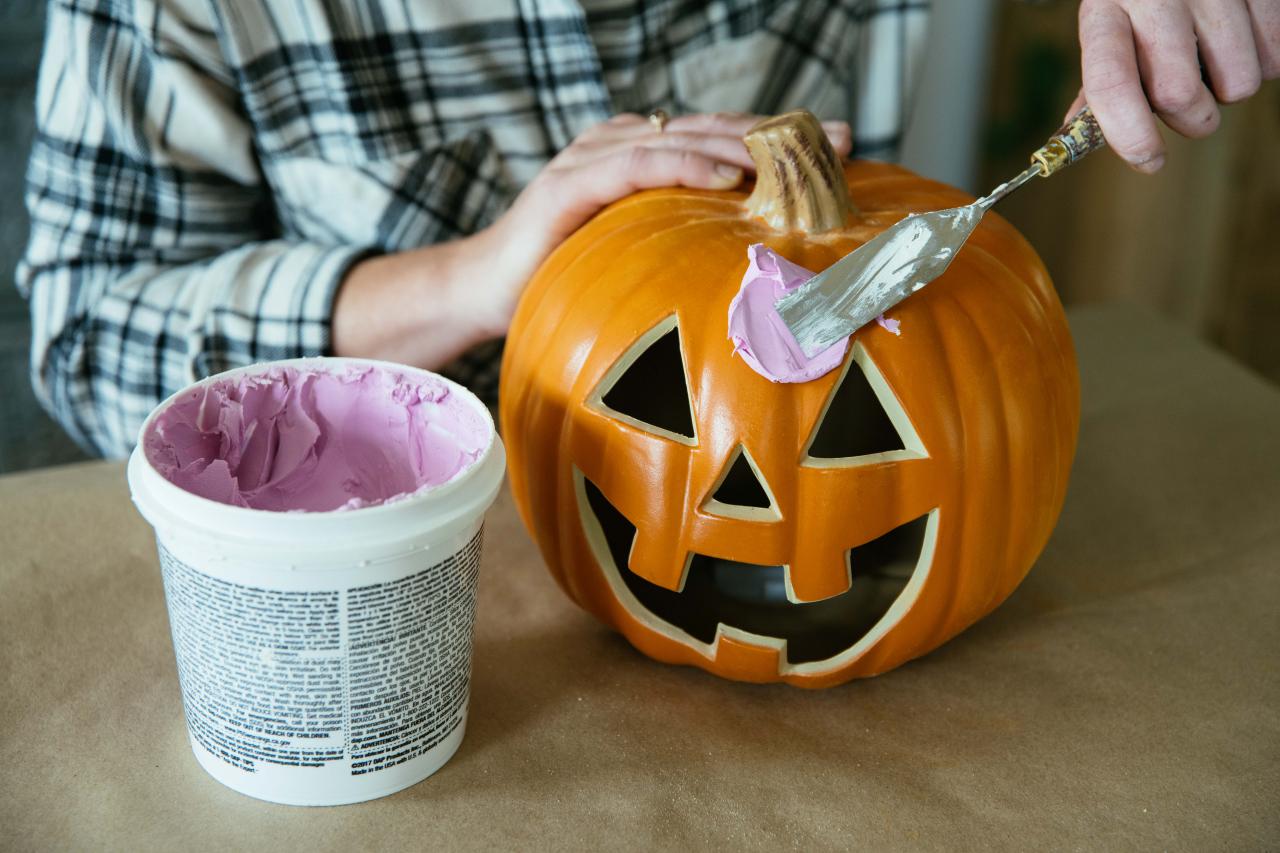
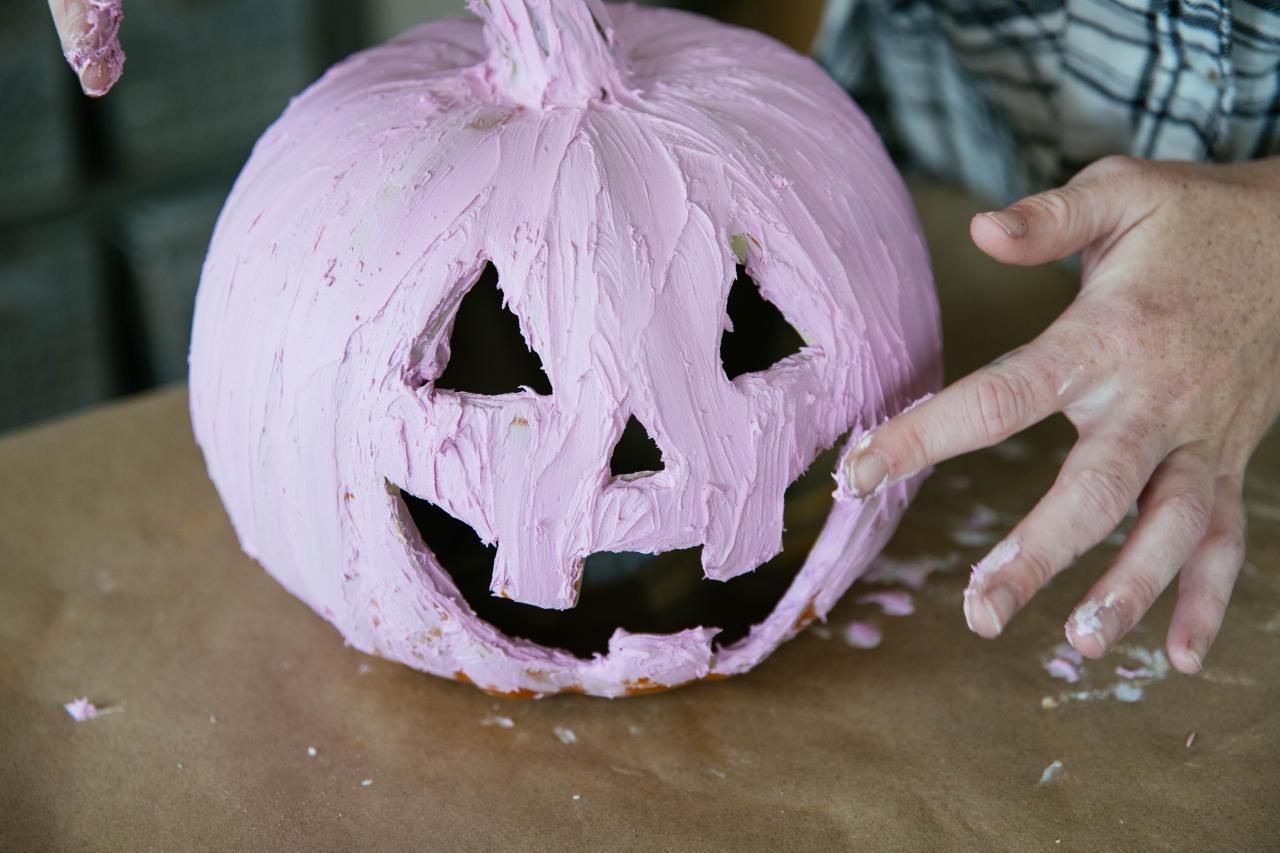
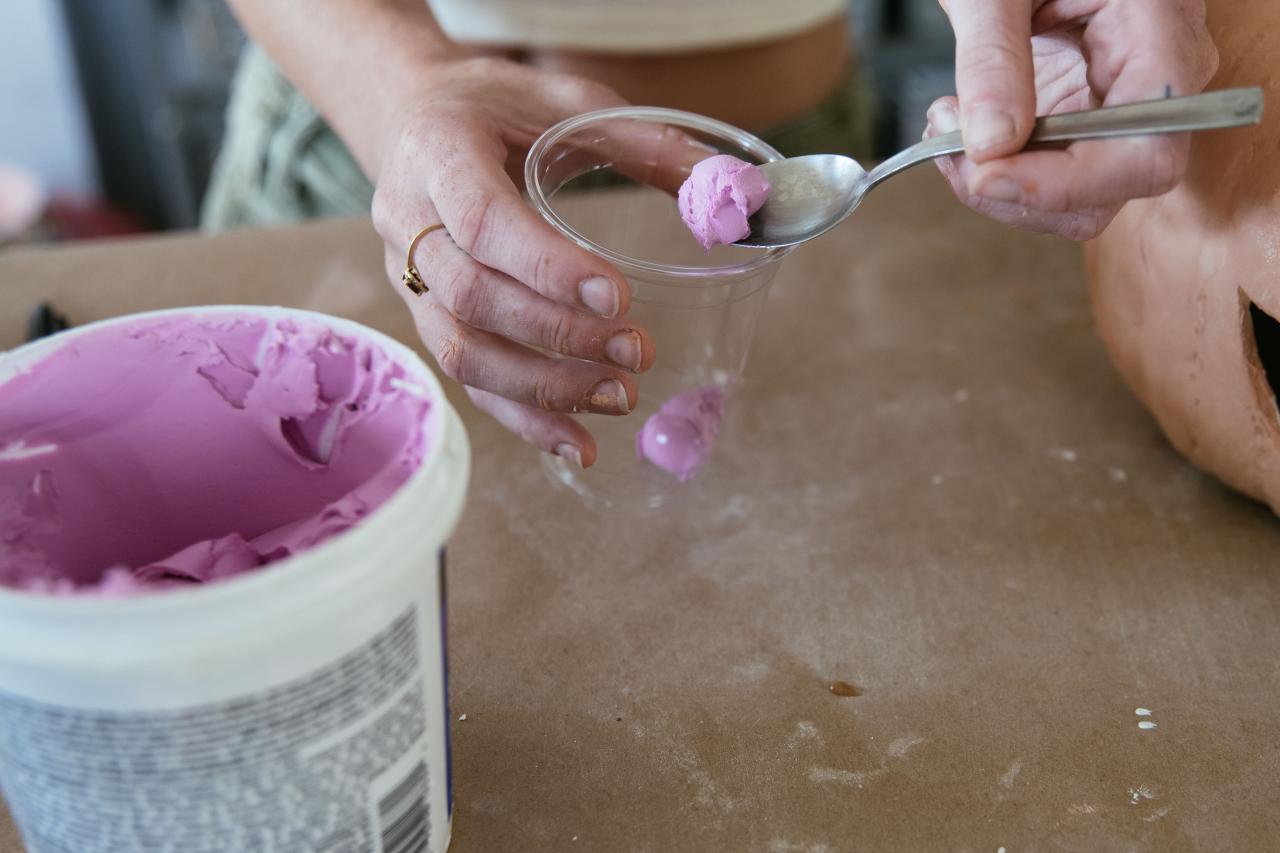
1. Spackle
While this tutorial uses a plastic pumpkin, the same technique can also be used on other materials, such as ceramic or even glass. First, rough up the surface of your pumpkin with a sanding block or piece of sandpaper. If the plastic is shiny, aim to remove all of the shine. This step is important because it will help the spackle and paint adhere. Using a spackle knife, scoop spackle (we prefer the kind that starts purple and dries white) out of the tub and onto the pumpkin. Use the knife or your fingers to smear the spackle all over the pumpkin. The pumpkin doesn’t need to be totally covered. The goal is to create a less perfect and slightly textured surface that mimics the look of terra cotta. The sharp edges around the nose and mouth especially benefit from the spackle. Use it to slightly alter the shape of the edges so the openings aren’t entirely uniform. Let the spackle dry completely overnight.

Jennie Andrews

Jennie Andrews

Jennie Andrews
Jennie Andrews

Jennie Andrews
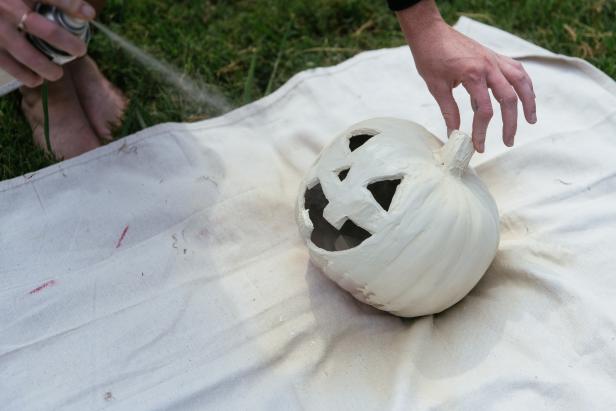
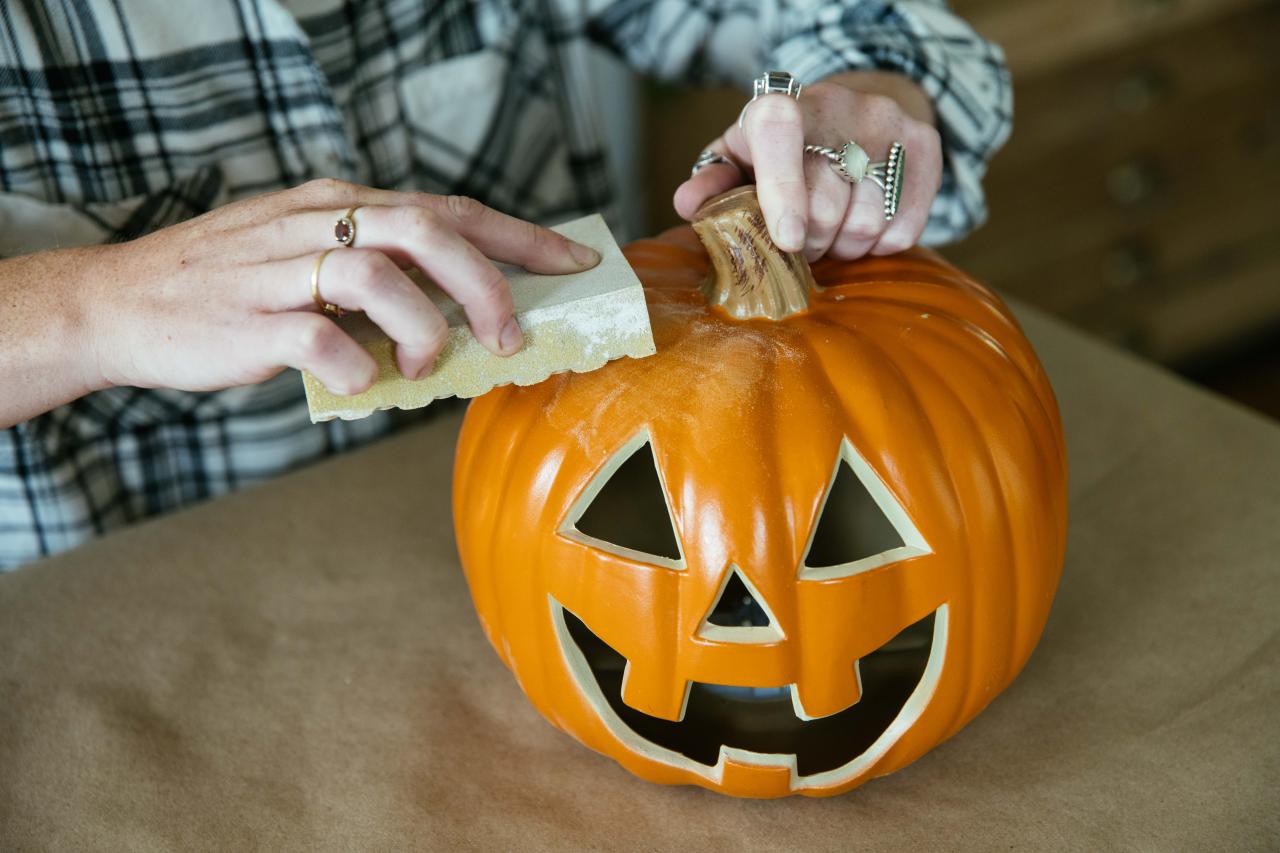
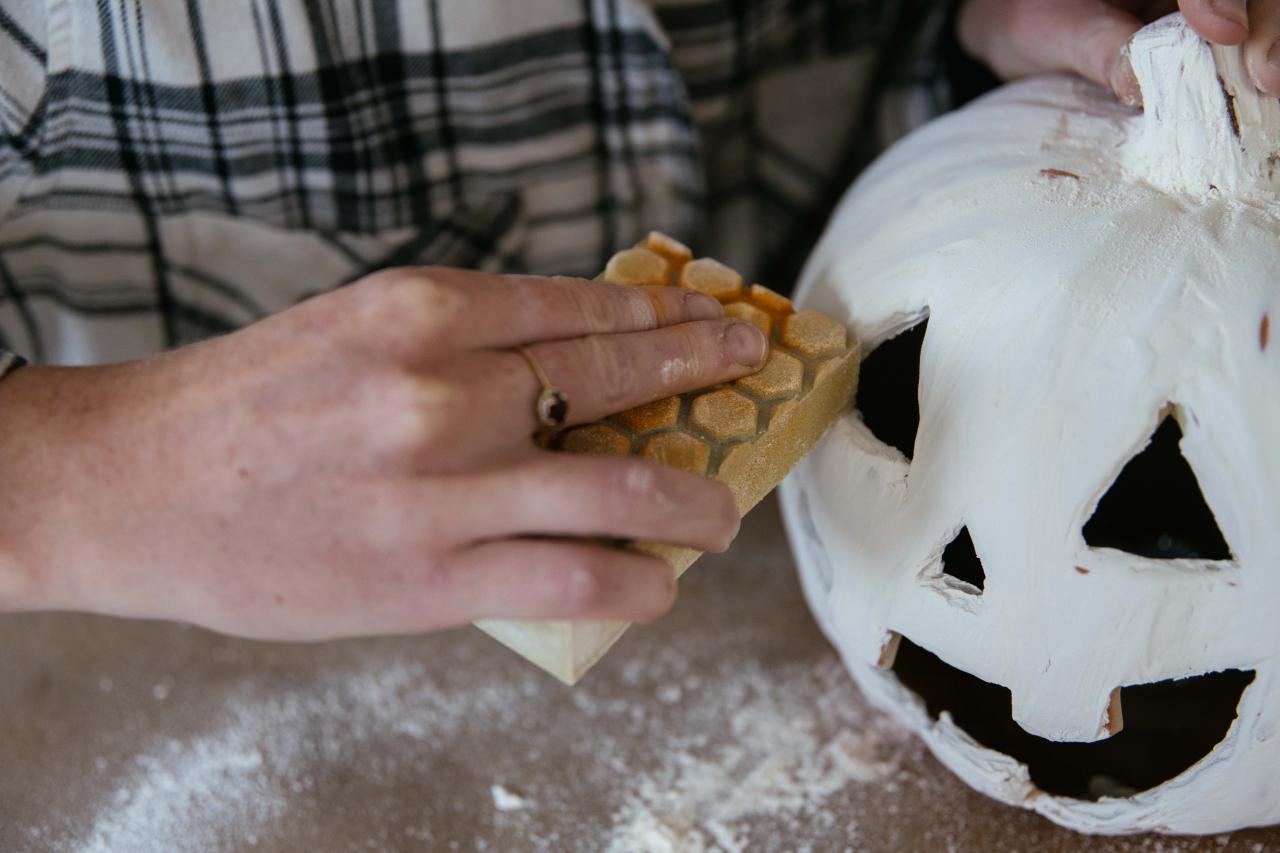
2. Sand and Seal
Use a sanding block with a very fine grit (220 is best) to gently sand the spackle. Remove any rough spots or ridges. The surface should be smooth to the touch and the eye but with some variation in dimension. Be very gentle around the openings, taking caution not to knock off any of the spackle. Brush all spackle dust from the surface, then spray the entire surface with an almond- or ivory-colored flat spray paint. This seals in the spackle and acts as a primer for paint.

Jennie Andrews

Jennie Andrews
Jennie Andrews
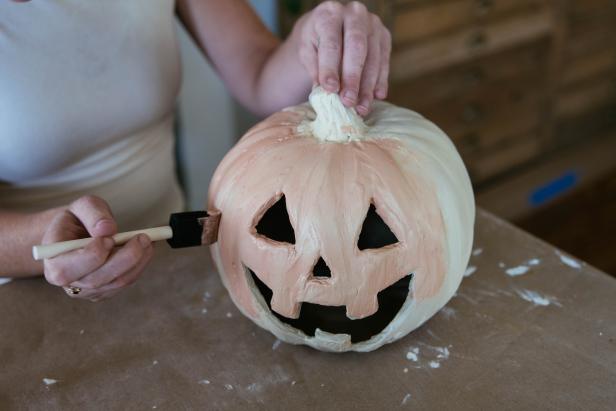
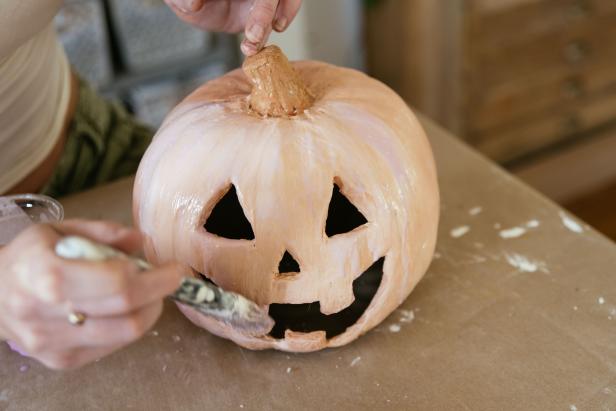
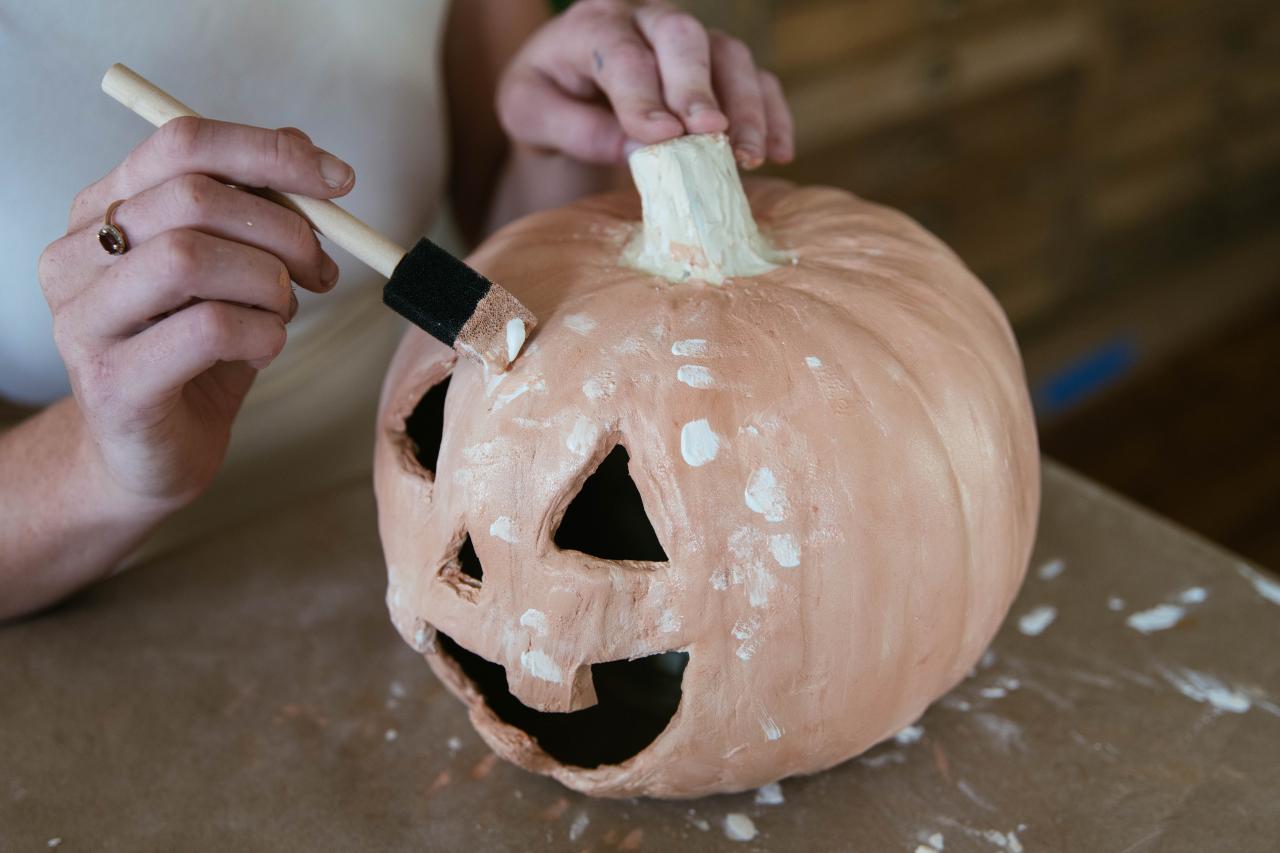
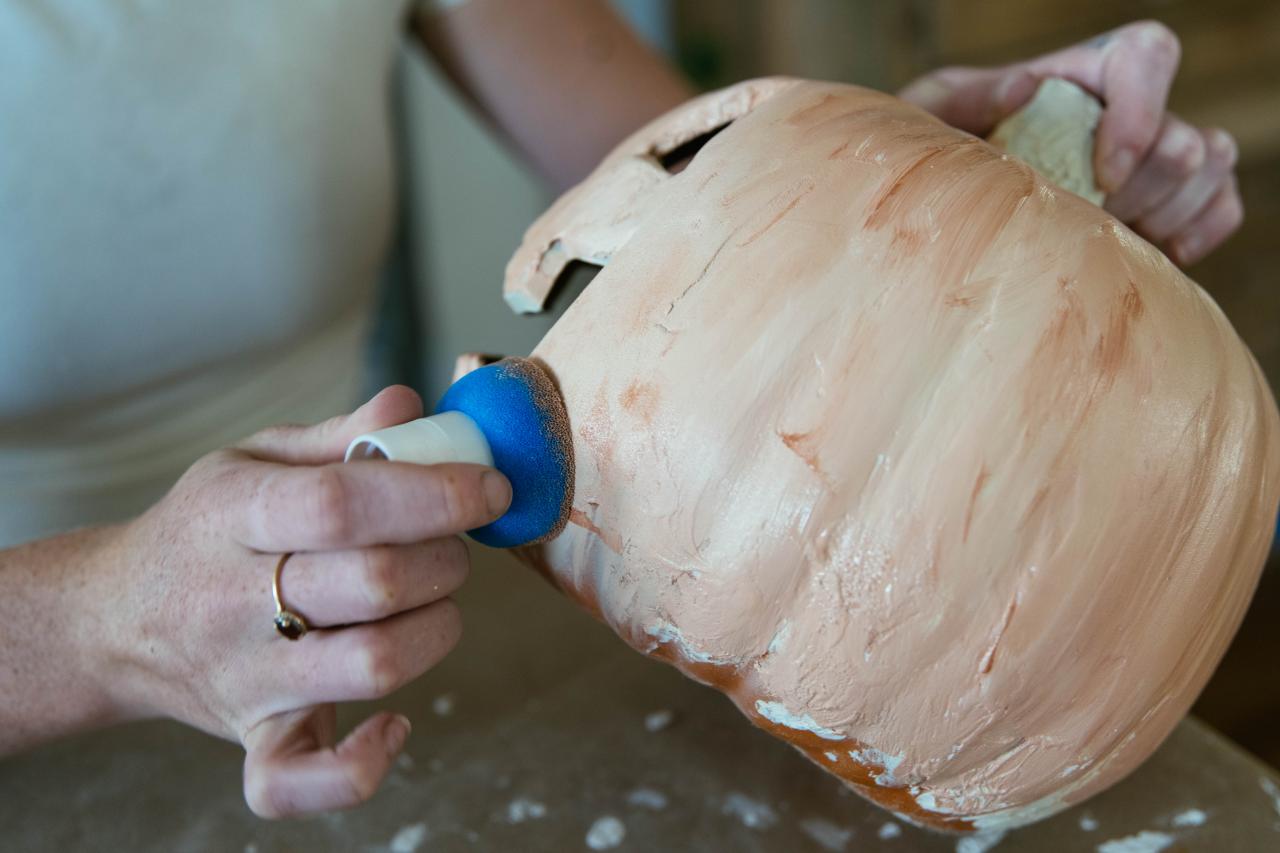
3. Paint
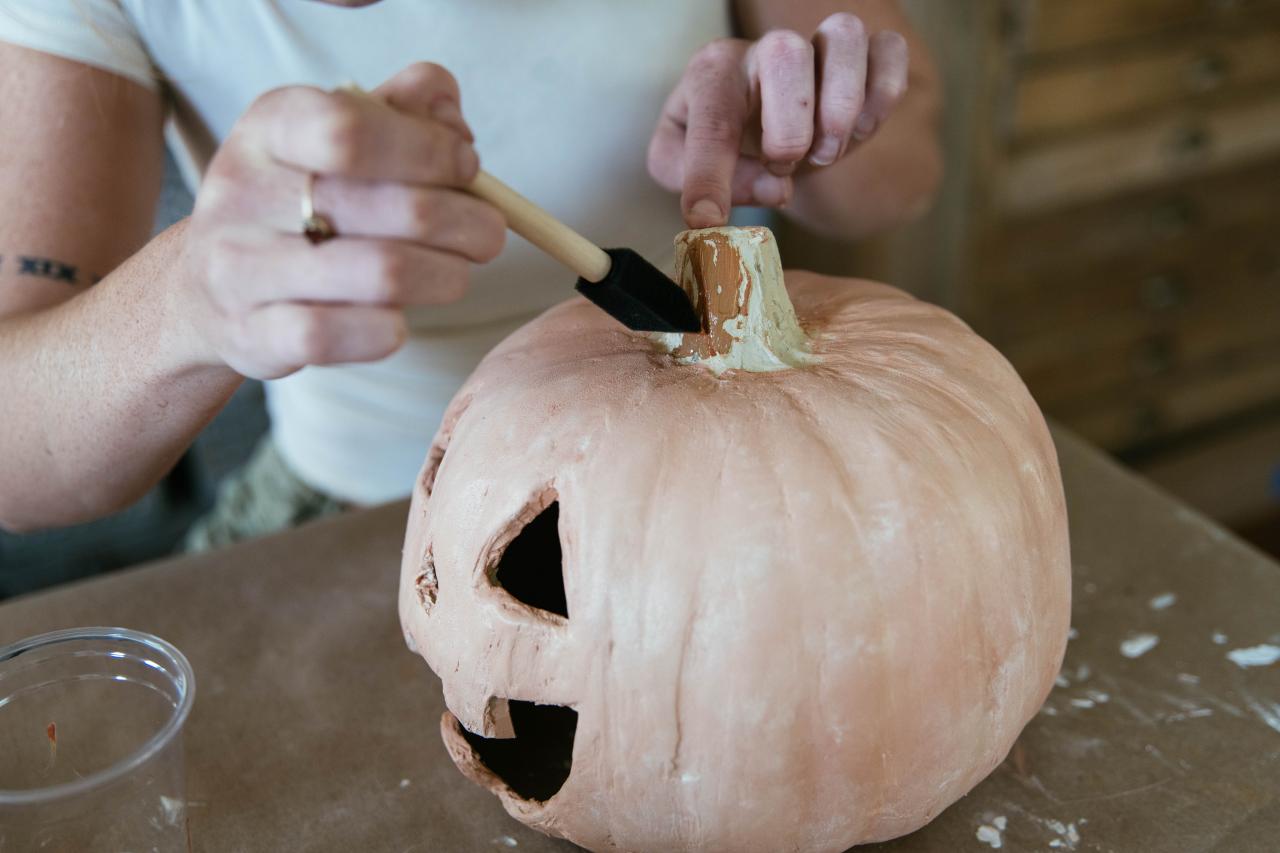
Use a mix of light orange, terra cotta, ivory and white craft paints. Mix the colors together as you paint. First, apply the paint with a brush and then blend thoroughly by dabbing with a sponge brush made primarily for stenciling. Continue brushing and blending until you don’t see individual colors, just slight variations in shade. Paint the stem in the same manner, but with mostly light-brown paint. Allow the paint to dry completely.

Jennie Andrews
Jennie Andrews

Jennie Andrews

Jennie Andrews

Jennie Andrews
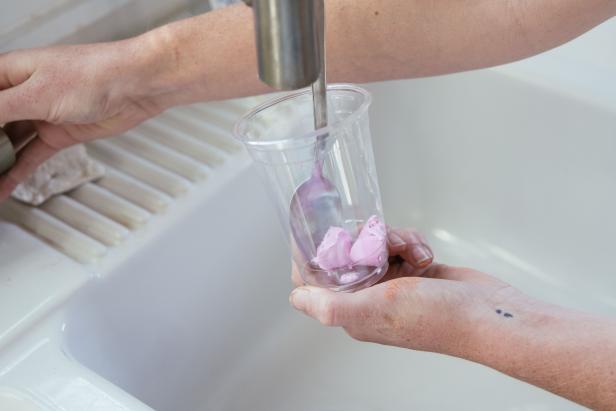
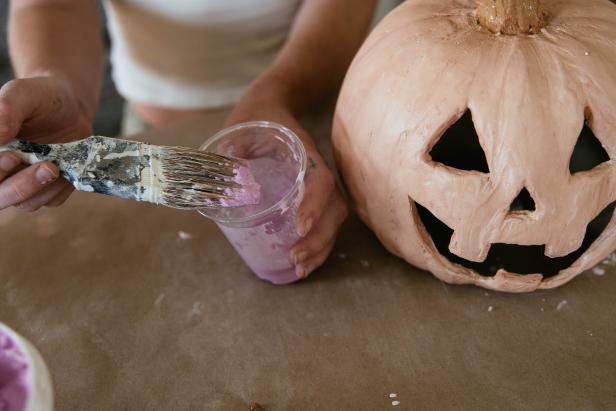
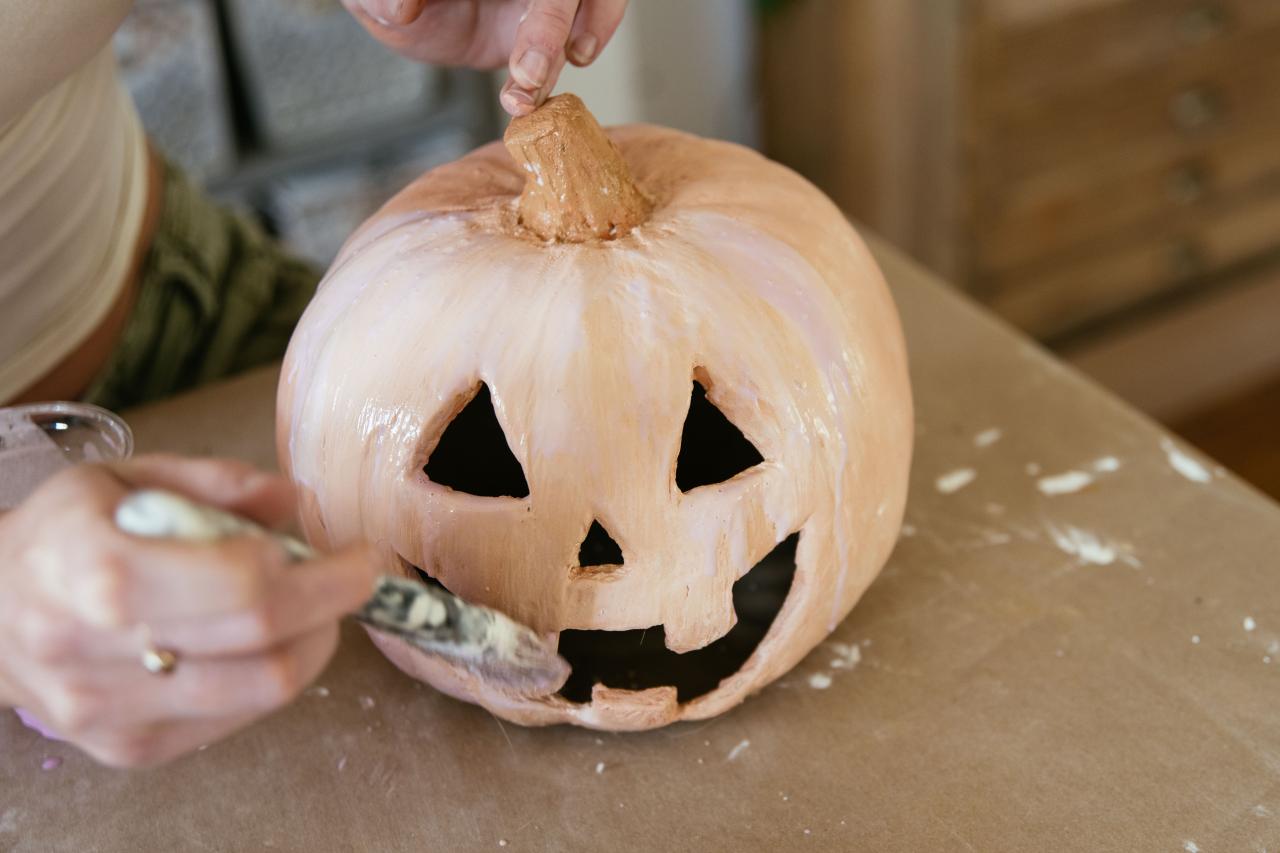
4. Spackle Wash
In a cup, mix a small amount of water and spackle at about a 1:1 ratio. Paint the mixture lightly onto the pumpkin. Allow it to fully dry and your pumpkin will be left with a light, matte haze. If you applied a bit too much in places, you can sand it away gently.

Jennie Andrews
Jennie Andrews
Jennie Andrews
Jennie Andrews
5. Make a Full Patch
These terra-cotta pumpkins are so easy, fun to make AND affordable, you’ll surely want to make enough for a whole pumpkin patch. Small ones look great adorning a mantel or entry table (pumpkins without faces would even make a beautiful Thanksgiving centerpiece), while large ones are a perfect addition to a festive autumn porch.

Jennie Andrews


