


Have a Beach Day at Home With This DIY Moldable Sand
If your kids love building sandcastles at the beach, this shapeable sand will keep them entertained for hours. Find out how to make it.

Debbie Wolfe

Moldable sand is just one of those substances that's oddly satisfying. Store-bought Kinetic Sand is made from fine sand and polydimethylsiloxane (also called dimethicone). It's an unusual substance in that its viscosity increases under stress. You can form it into fun shapes and slice it. However, it's not the cheapest thing to buy. No worries—I've got a DIY version that's just as good as the real stuff.
Making homemade moldable sand is a two-step process. First, you'll need to make a loose DIY slime. The slime will help the sand "flow" and keep it from drying out. One cup of slime will be more than enough to make several cups of moldable sand.
What You'll Need
- 1 cup fine play sand
- 1/2 cup corn starch, divided (have extra on hand, just in case)
- 1 tablespoon dish soap
- 3/4 cup water
- 1 cup clear school glue
- 1/2 cup liquid starch
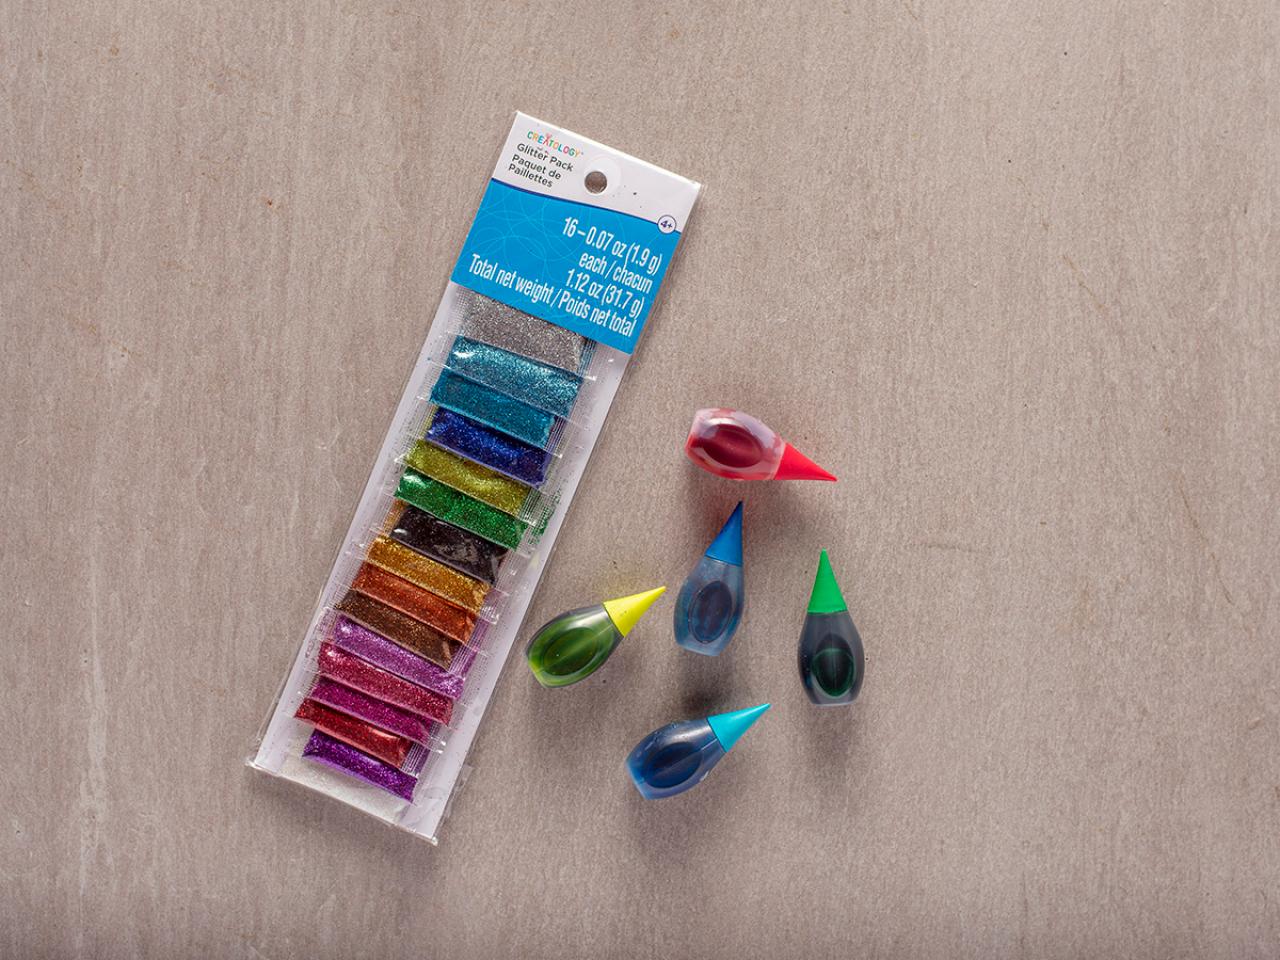
- fine glitter (optional)
- food coloring (optional)

Debbie Wolfe
Glitter and food coloring are optional—we went with a mermaid-inspired color palette of green, blue and purple. Warning: Using food coloring will cause stains on the skin and clothing. It does easily wash off of the skin but may permanently stain lighter clothing. An alternative is to use colored sand, but it is significantly more expensive than plain, play sand.

Debbie Wolfe
Make the Slime
Mix one cup of clear school glue with 1/2 cup of water. Slowly add the 1/2 cup of liquid starch. Stir until the slime starts to thicken. It should have a thick, mucus-like consistency.

Debbie Wolfe
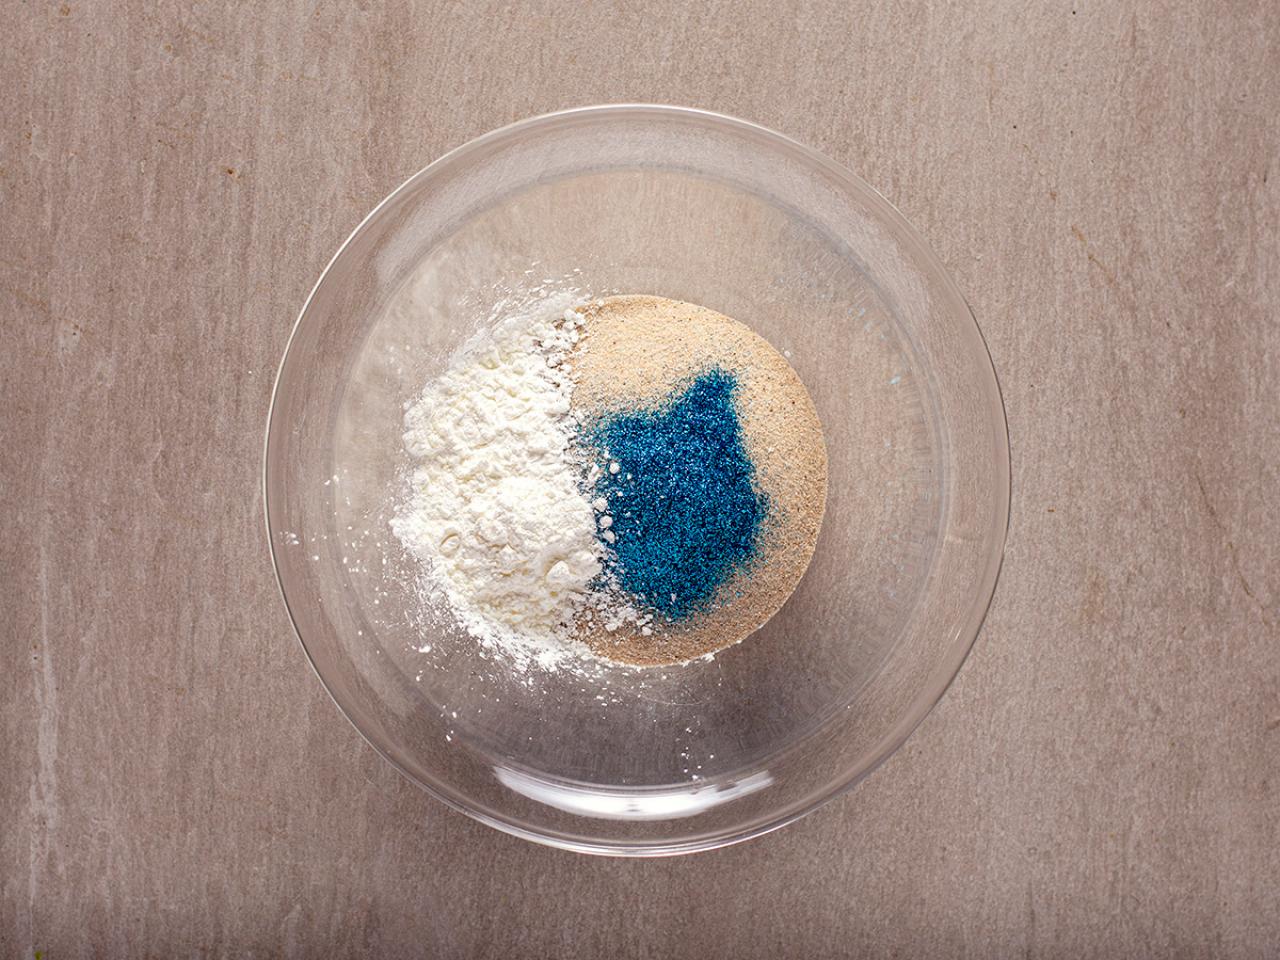
Make the Sand Mixture
Mix together the cup of sand, 1/4 cup of cornstarch and the fine glitter.

Debbie Wolfe
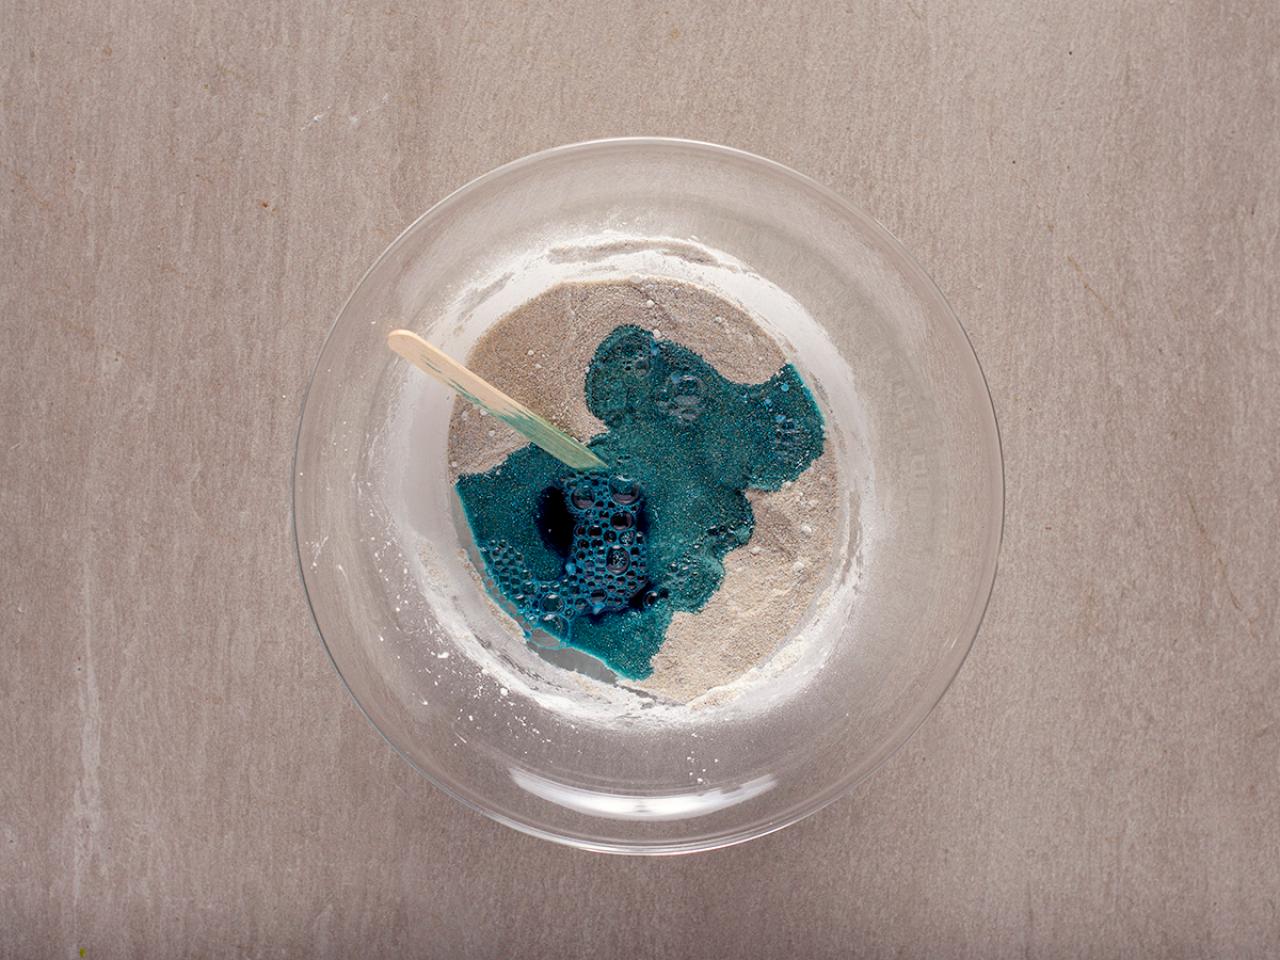
Add the soap, 1/4 cup of water and food coloring.

Debbie Wolfe
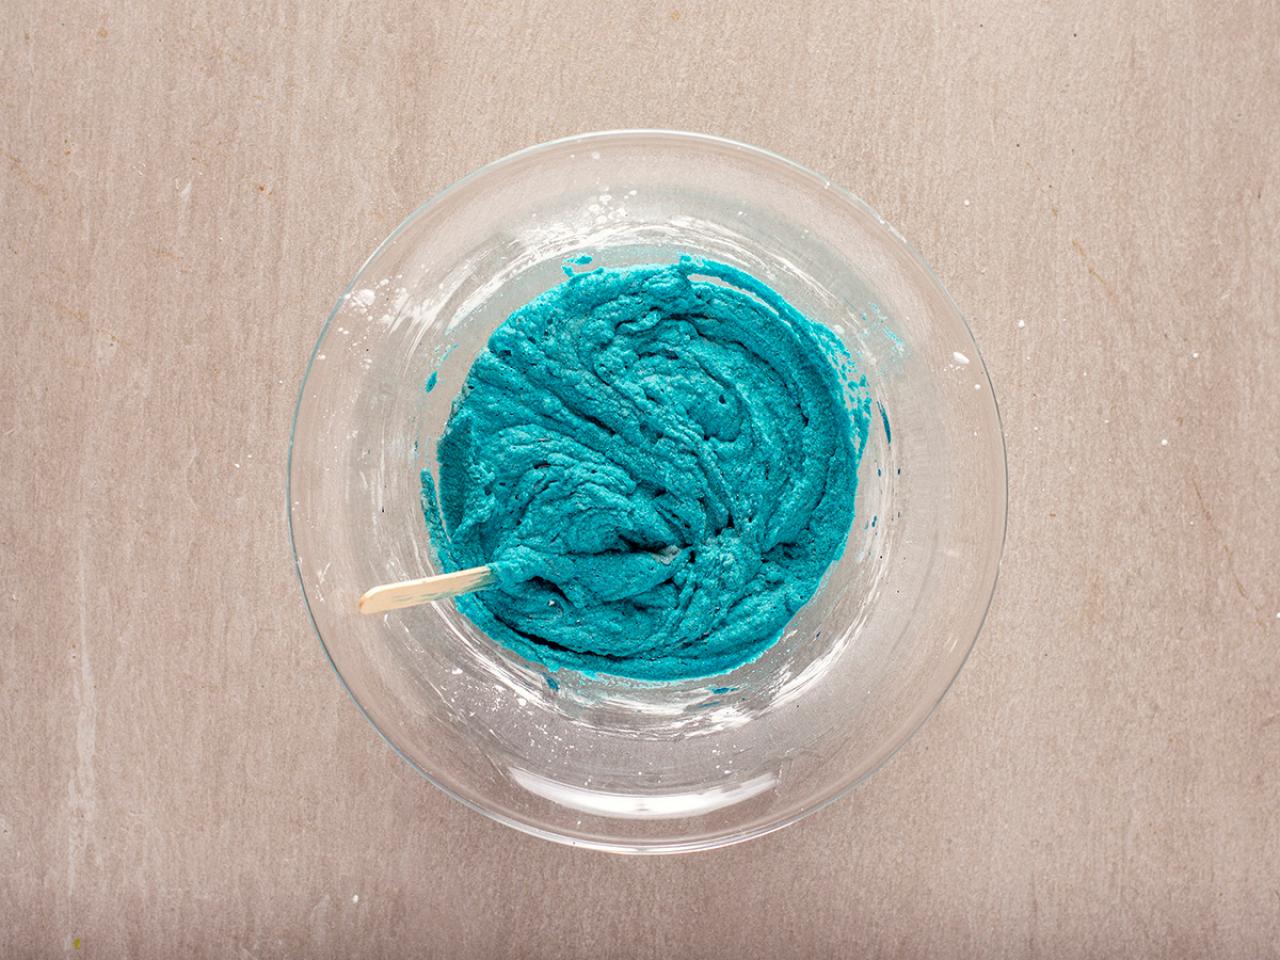
Mix until it forms a thick, sandy paste.

Debbie Wolfe
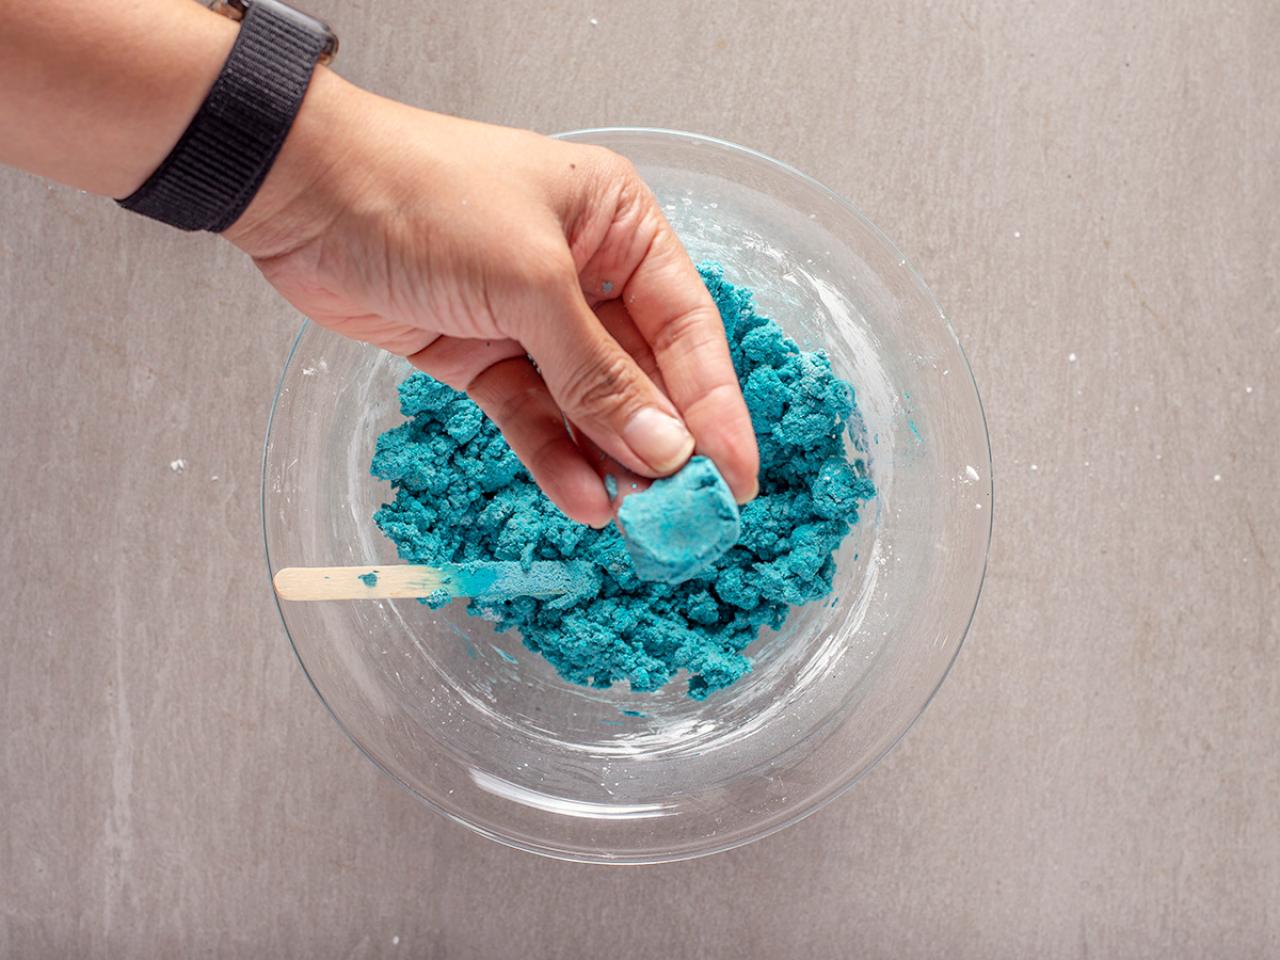
Add the additional 1/4 cup of cornstarch and mix. The texture of the mixture should be somewhat crumbly. Grab a tablespoon of the mixture and compress it—if it holds together, it's good. If the mixture seems too dry, add a teaspoon of water at a time until you get the right texture. If it seems too wet, add a tablespoon of cornstarch at a time until you get the right texture.

Debbie Wolfe
Combine Sand and Slime
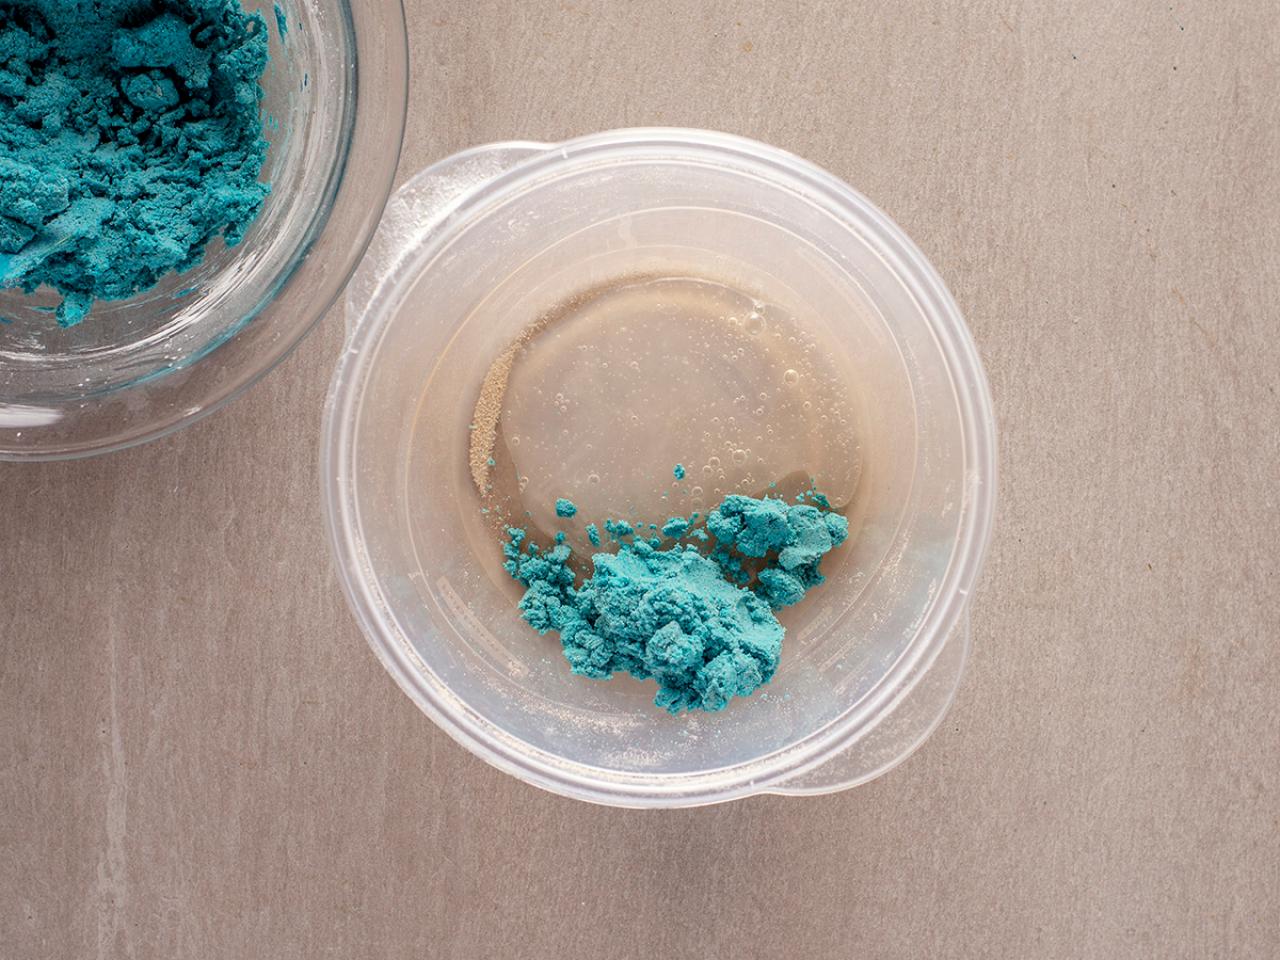
Place a tablespoon of the slime into a bowl. You don't need much—a little slime goes a long way. Add about 1/4 cup of the sand mixture to the bowl.

Debbie Wolfe
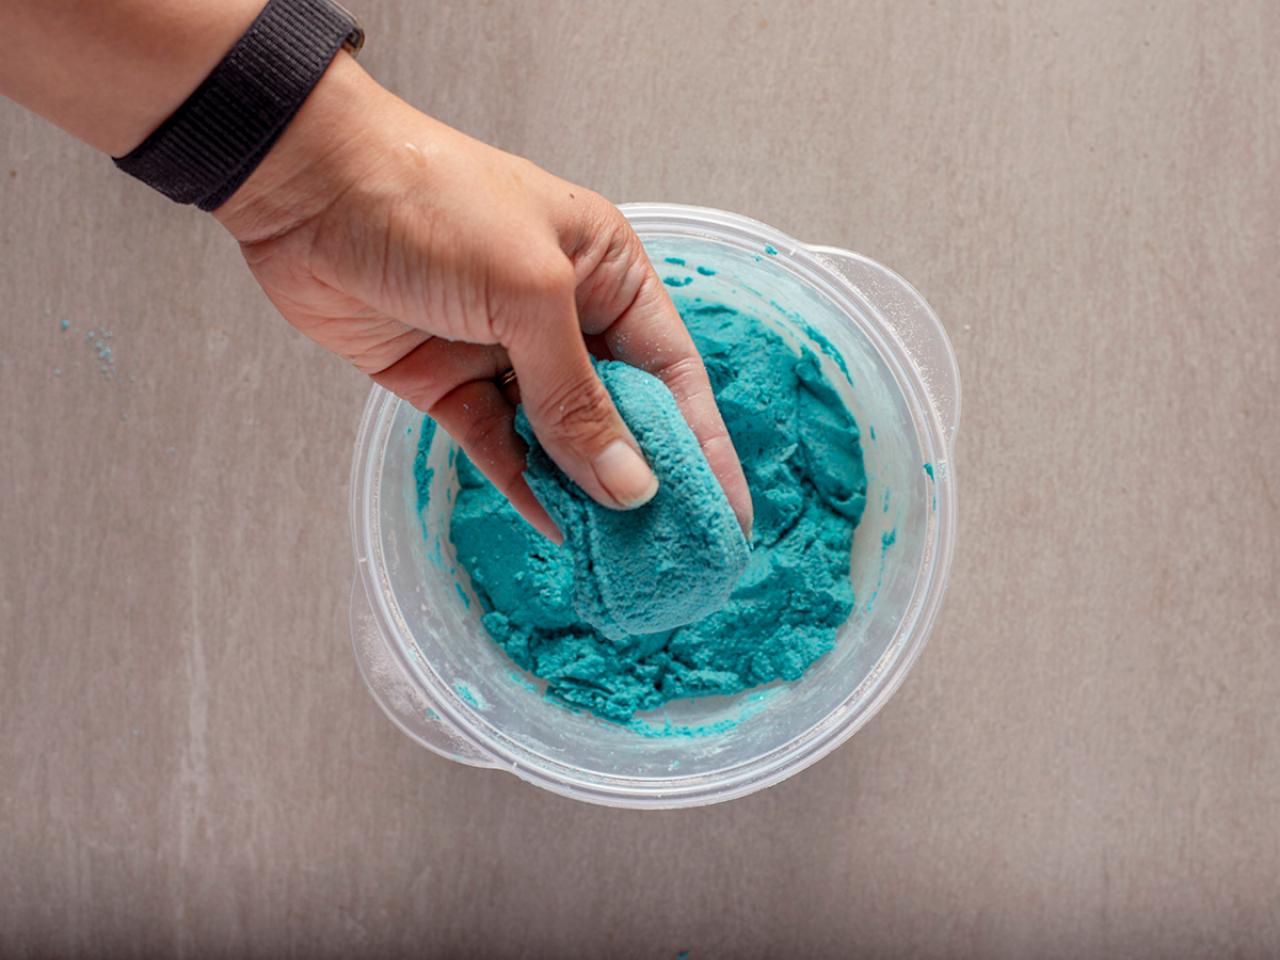
It's best to use your hands for this part, gently combining the sand mixture and the slime. Keep adding the sand to the slime until you've incorporated the entire sand mixture.

Debbie Wolfe
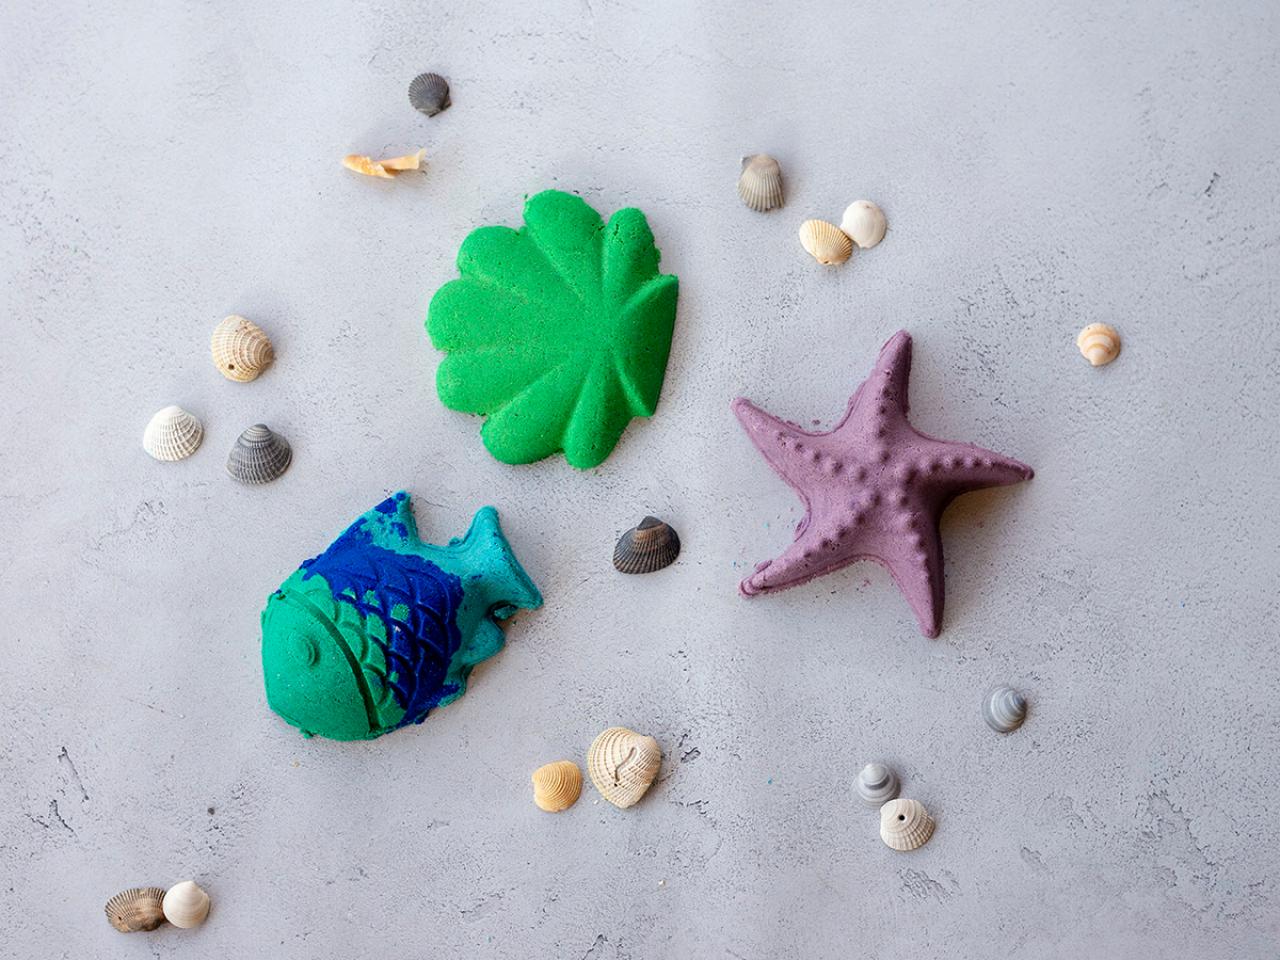
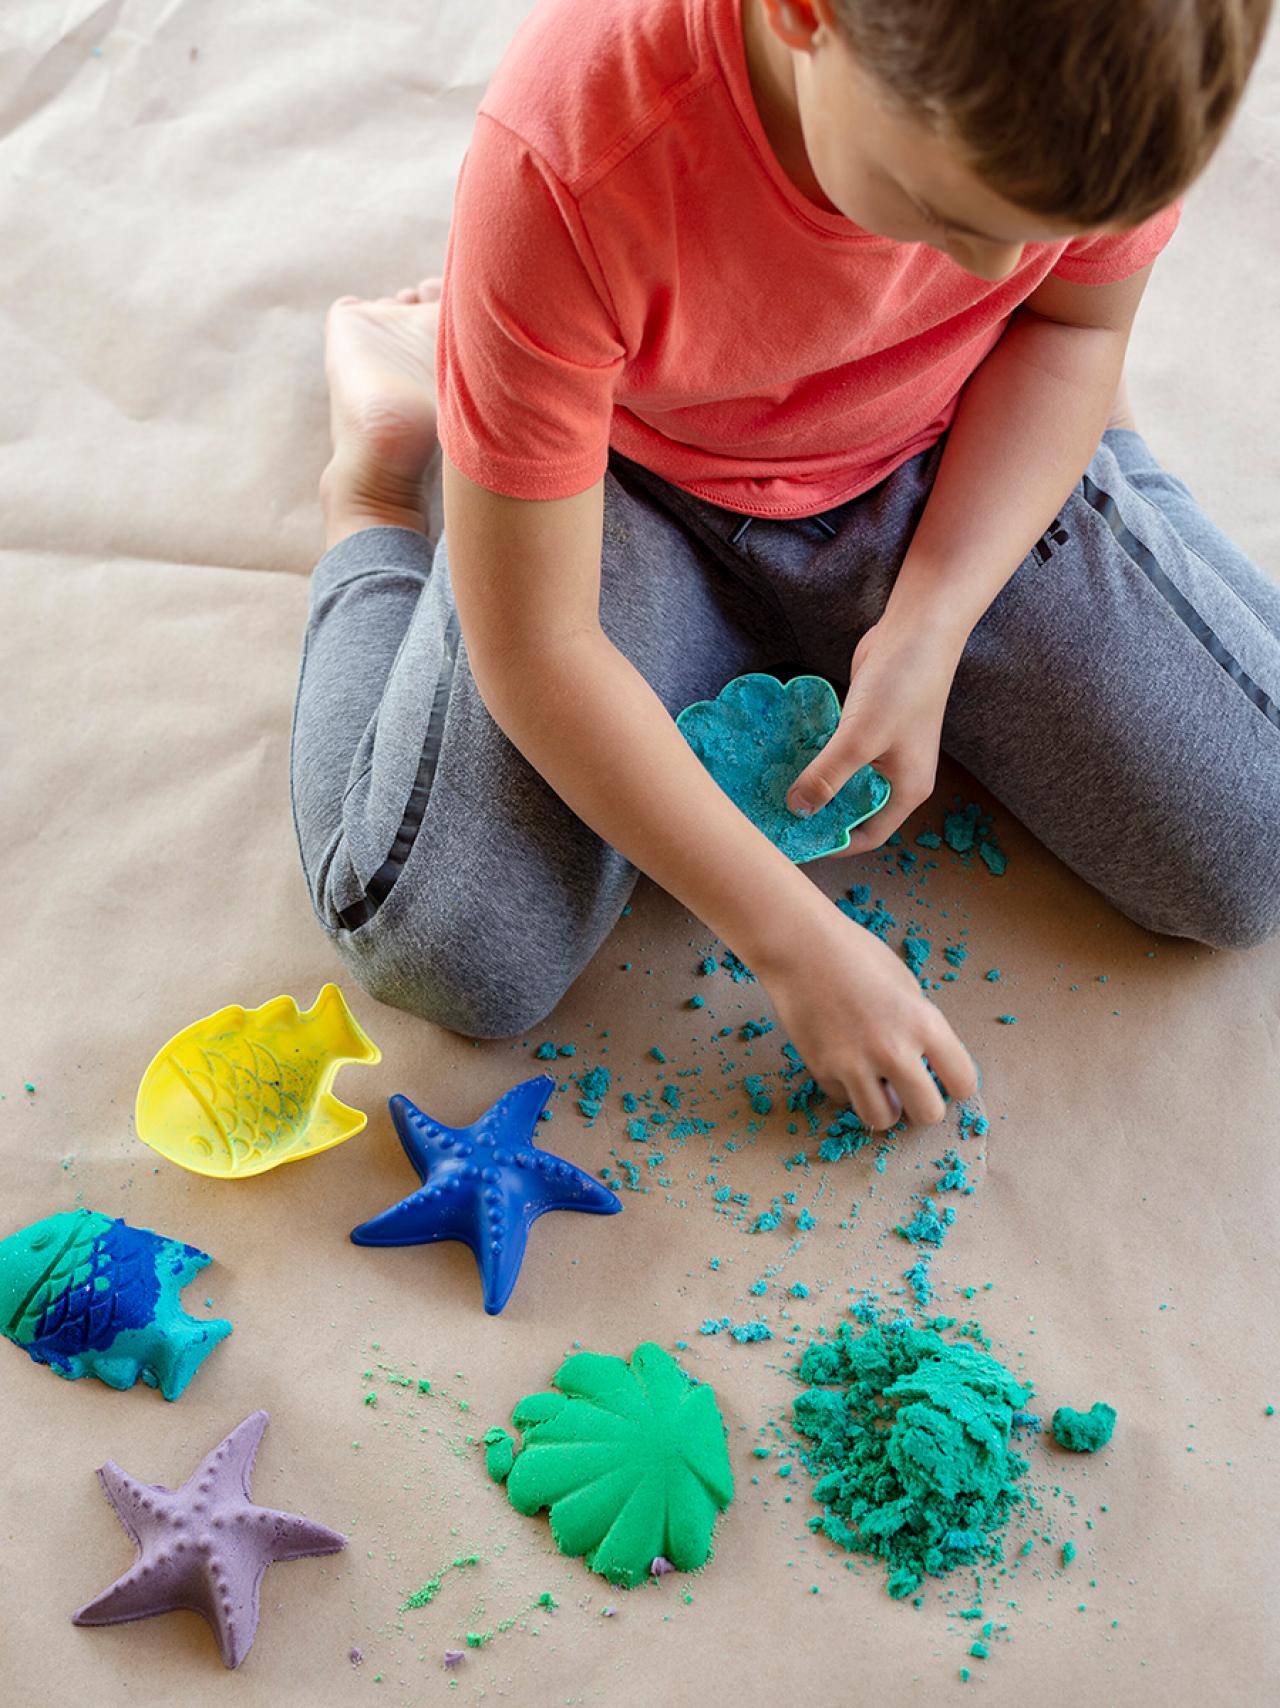
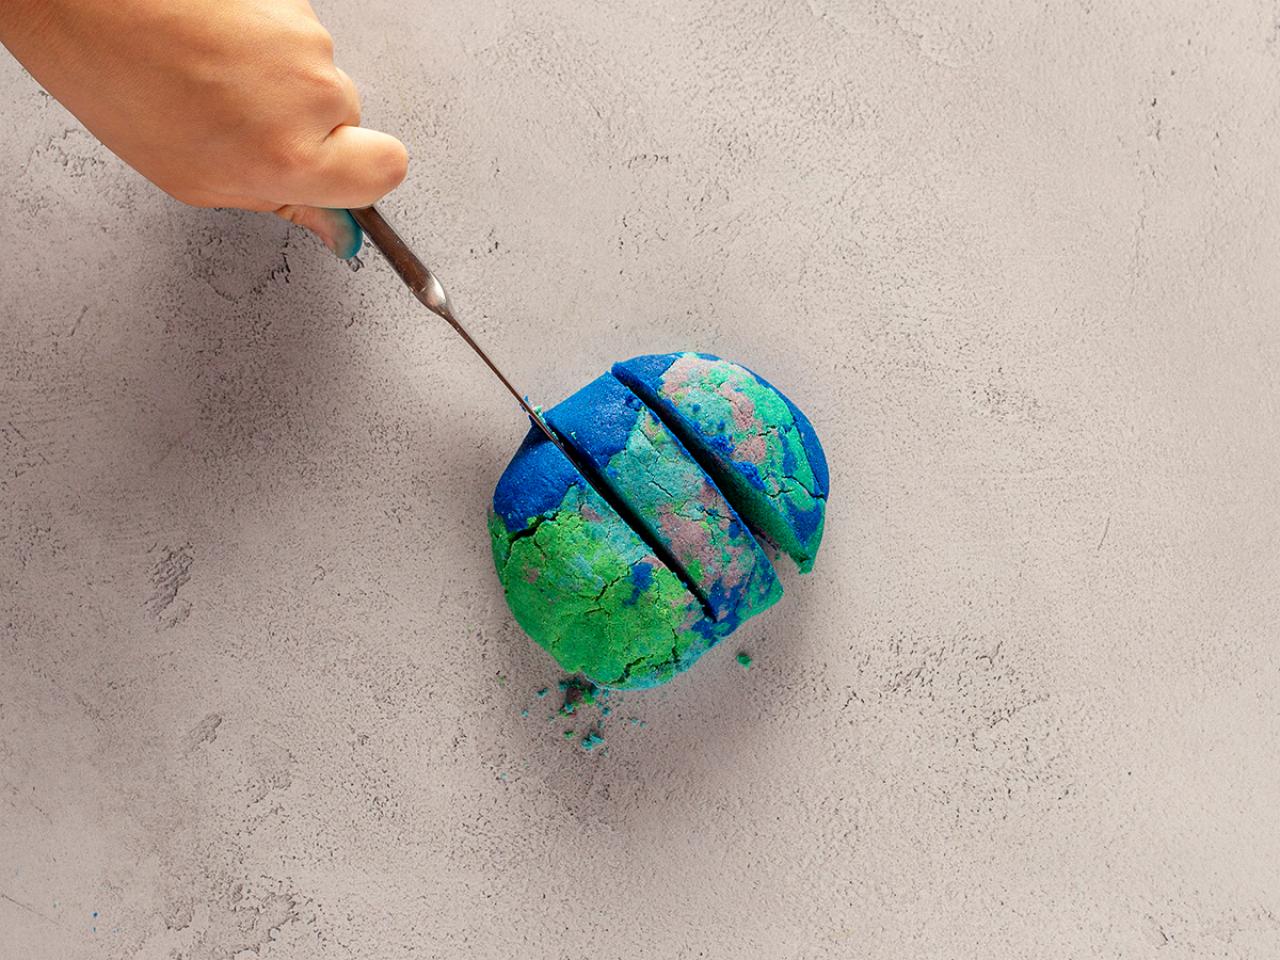
Shape and Slice
The result: It works almost as good as the real stuff. You can mold it...

Debbie Wolfe
...or slice it, and it'll hold its shape like a pro.

Debbie Wolfe

Debbie Wolfe
I will admit that it doesn't flow and stretch 100 percent as well as commercial Kinetic Sand. But, my kids love playing with it just the same. Store your moldable sand in an airtight container. (Keep the extra slime in an airtight container, too. You can add the slime to the sand to rehydrate it if needed.)


