


Install Tongue-and-Groove Wood Floors on a Ceiling


Materials Needed:
- lightweight engineered flooring (such as bamboo)
- 1-3/4", 18-gauge straight pneumatic nails
- measuring tape
- pencil
- chalk line
- stud finder
- pneumatic angled flooring 18-gauge finish nailer
- air compressor with capacity to accommodate nailer
- screwdrivers (Phillips #2 and flathead)
- electrical wire pliers
- protective gloves
- 10" power compound mitre saw
- protective eyewear
- protective ear wear
- engineered flooring strike block
- rubber mallet
- power jigsaw with fine-tooth blade
- wing nuts
- molding or 1/4” round trim
- strike block
- rubber mallet
- spray paint
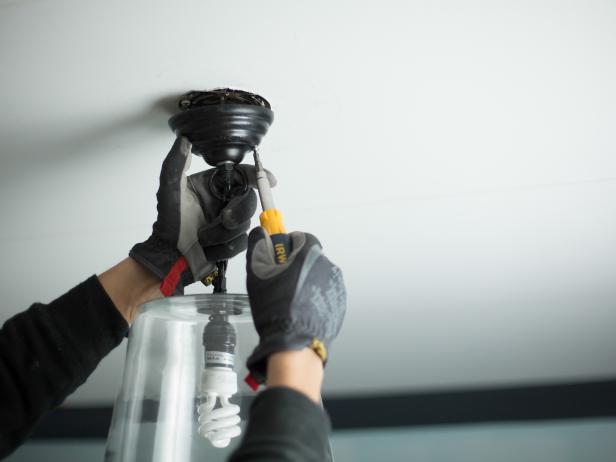
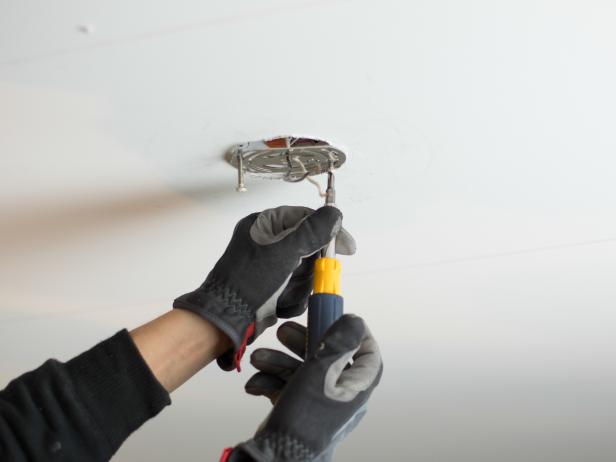
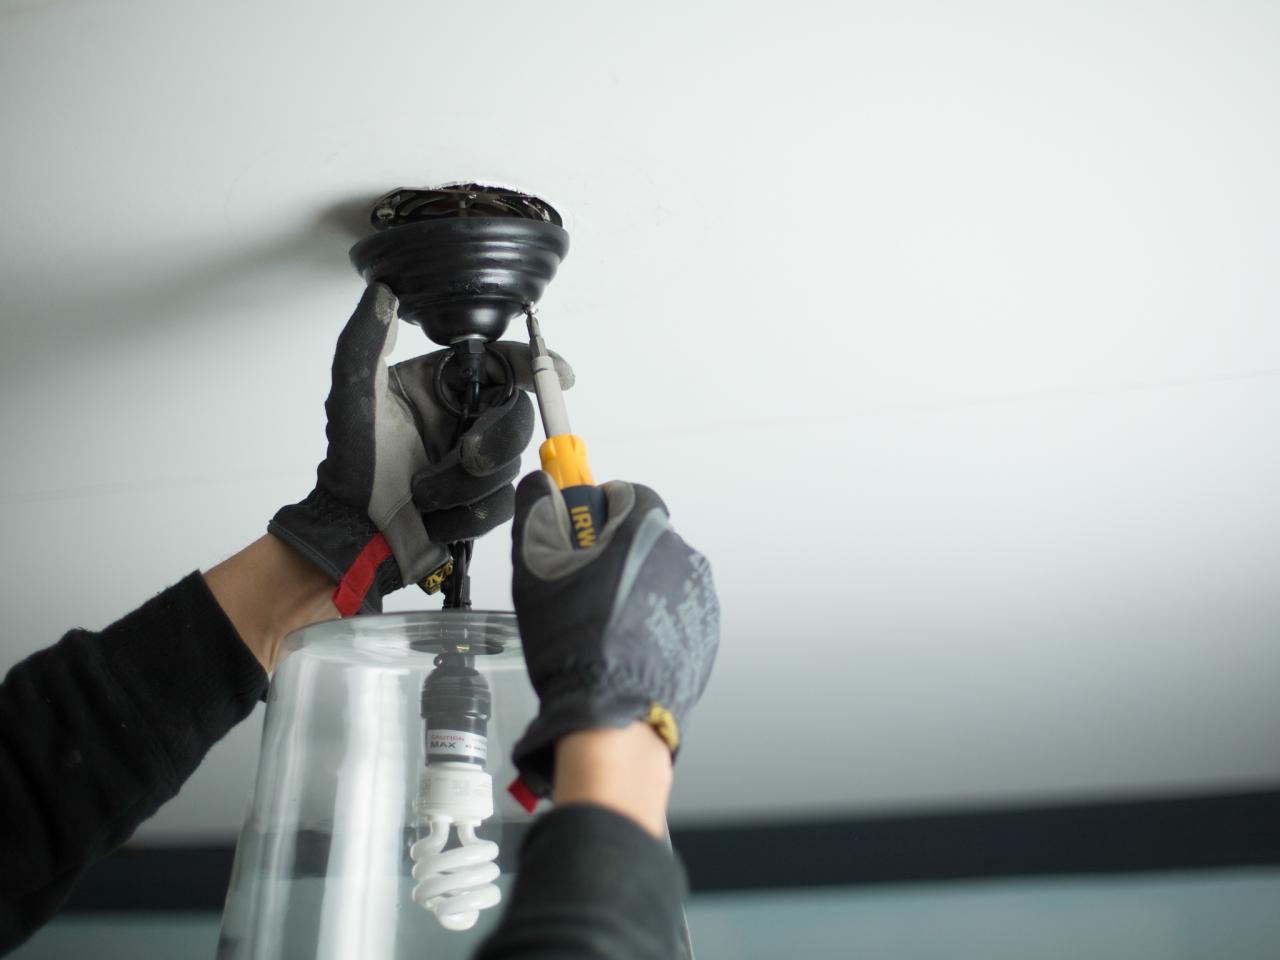
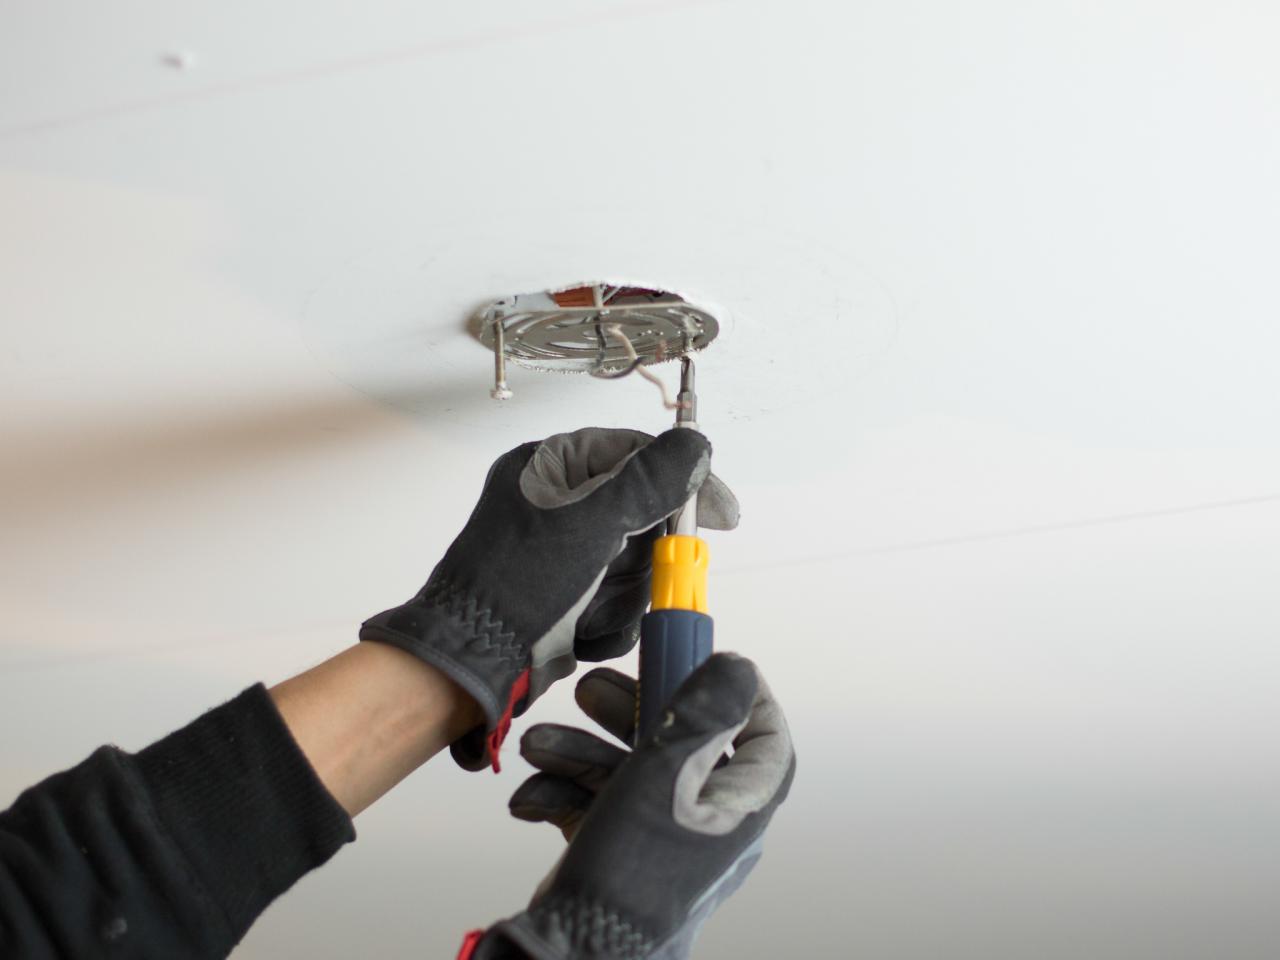
Remove Light Fixtures and Air Vents
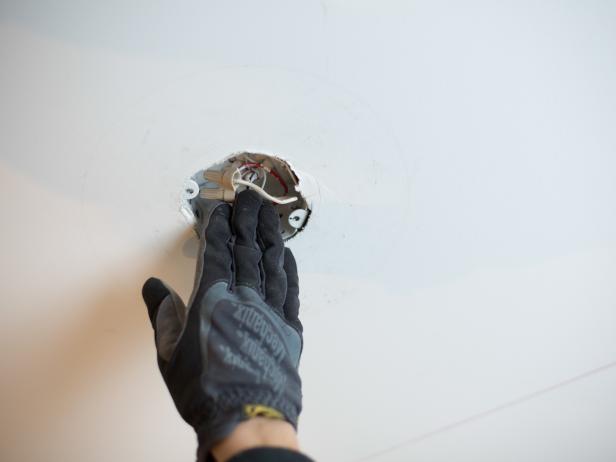
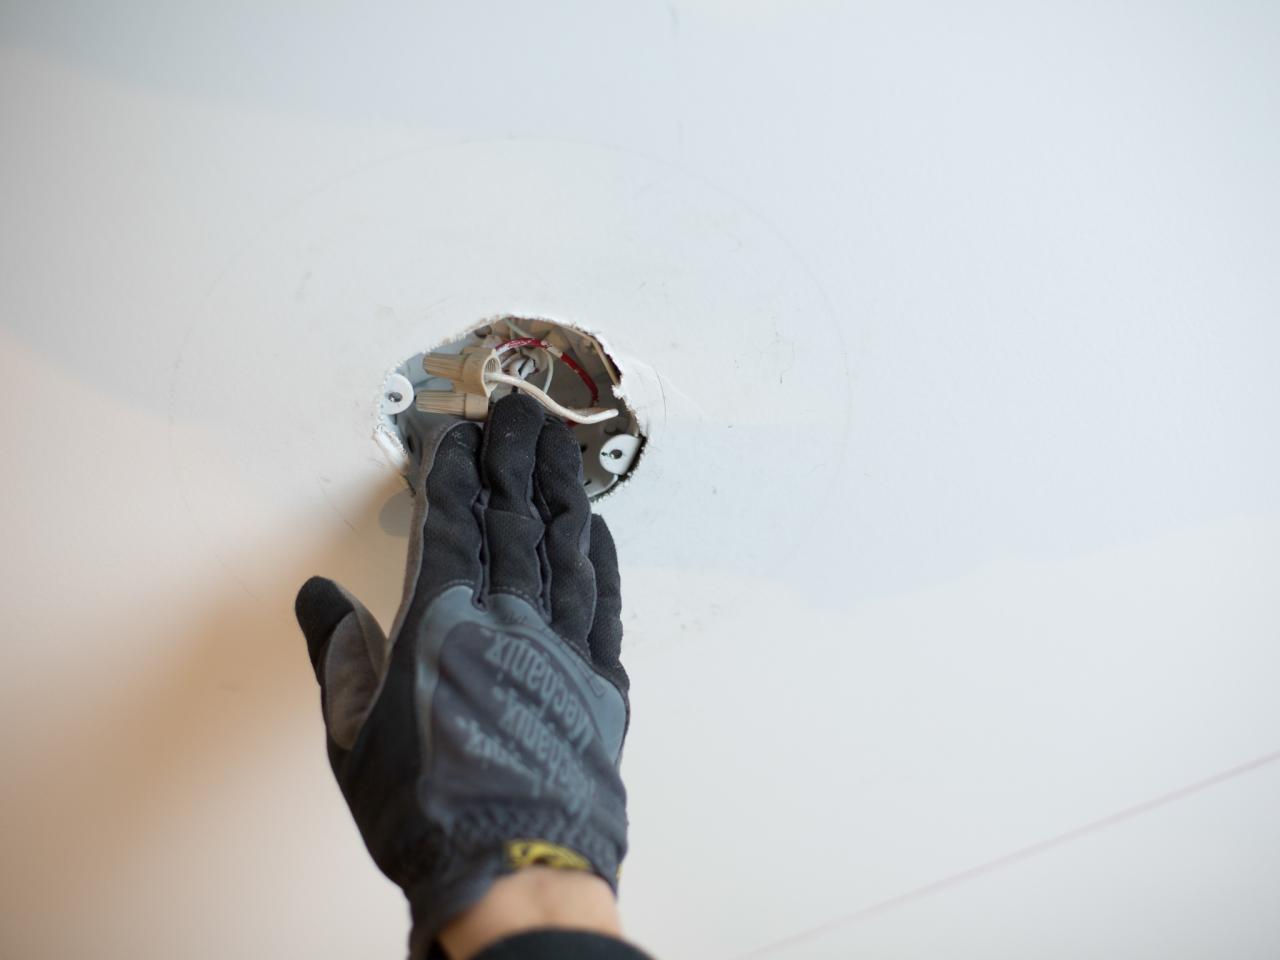
Using drill or screwdriver, loosen light fixtures from ceiling. Unscrew ceiling canopy, then unscrew mounting bracket. Add wing nuts to exposed wires, then tuck them up into junction box. Remove any air vents by loosening screws with drill or screwdriver, then taking air vents down, exposing the open HVAC duct.

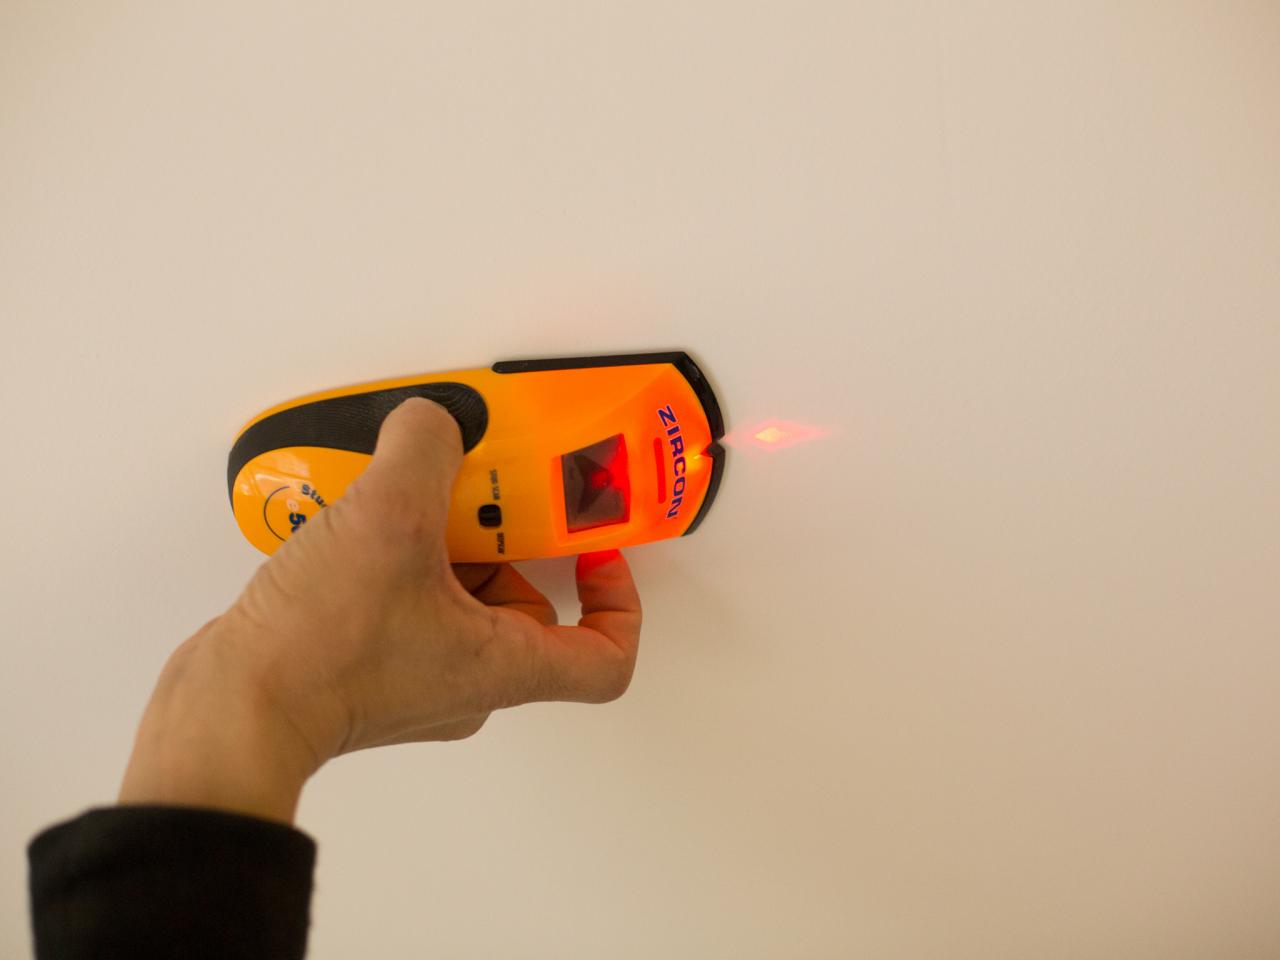
Locate Ceiling Joists
Place stud finder up to ceiling, then move around to locate ceiling joists. Typically, joists should be spaced 24” apart. Once a joist is located, mark ceiling with pencil.

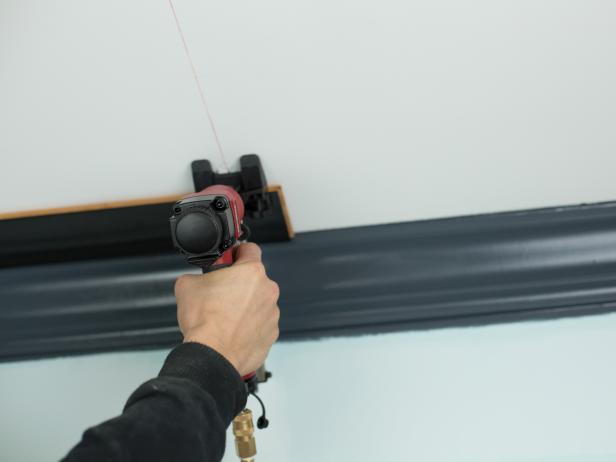
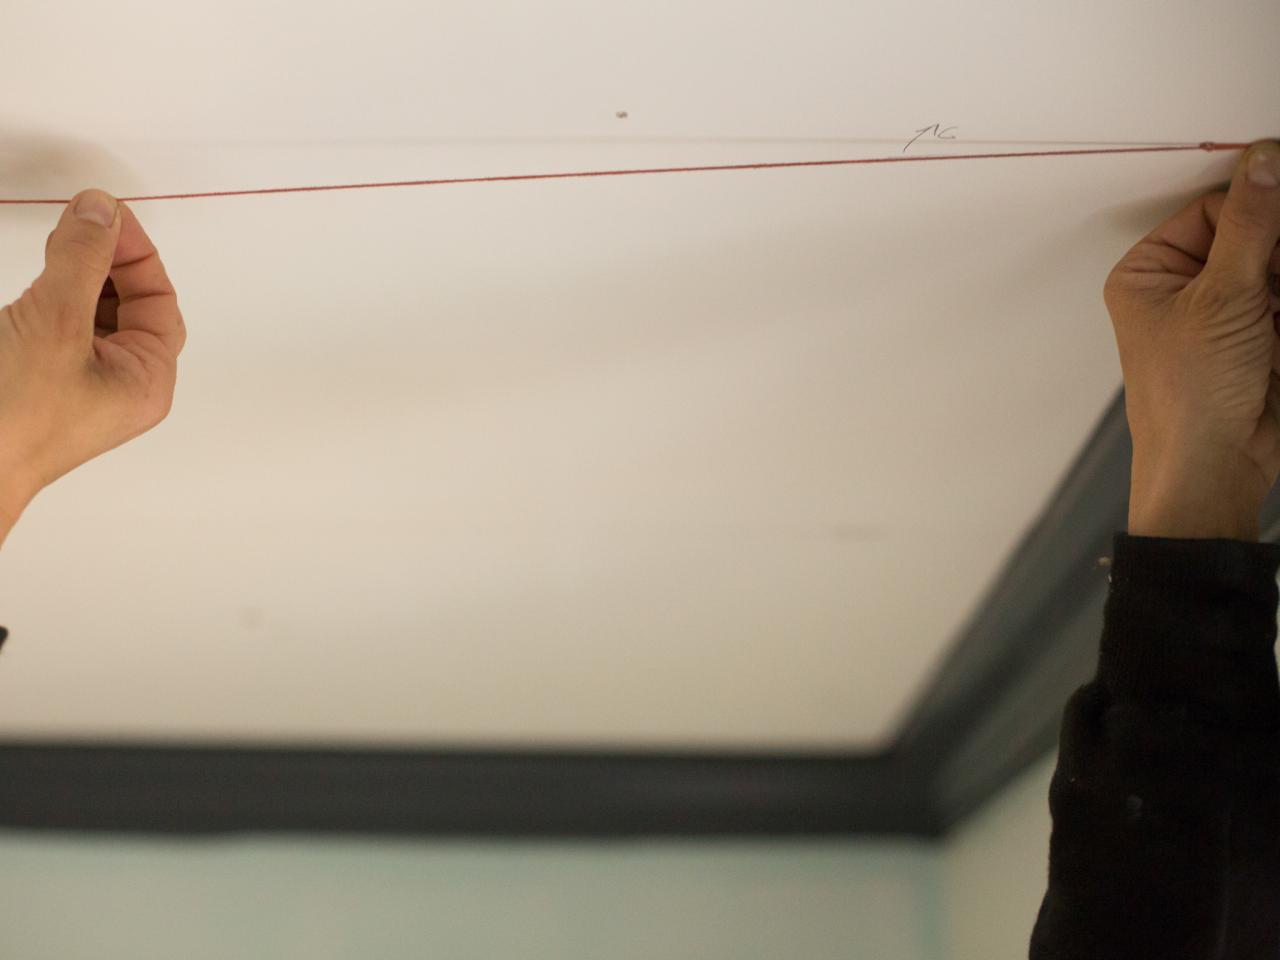
Snap Chalk Line to Identify Joists
Suspend chalk line across width of ceiling, then snap. When installing planks, it’s important to ensure nails or brads are shot into the joists to keep tongue-and-groove planks securely fastened.
Tip: Planks will be installed perpendicular to joists.

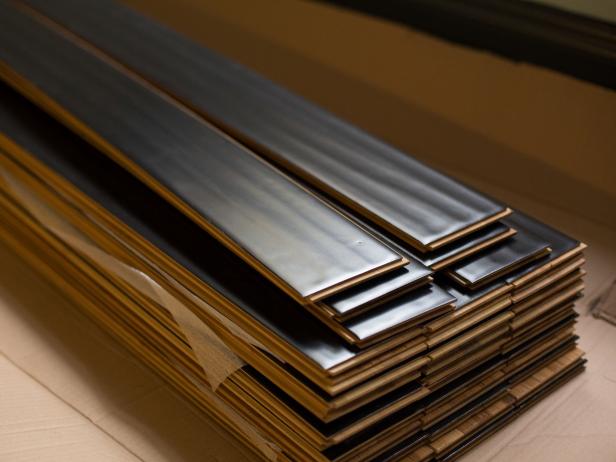
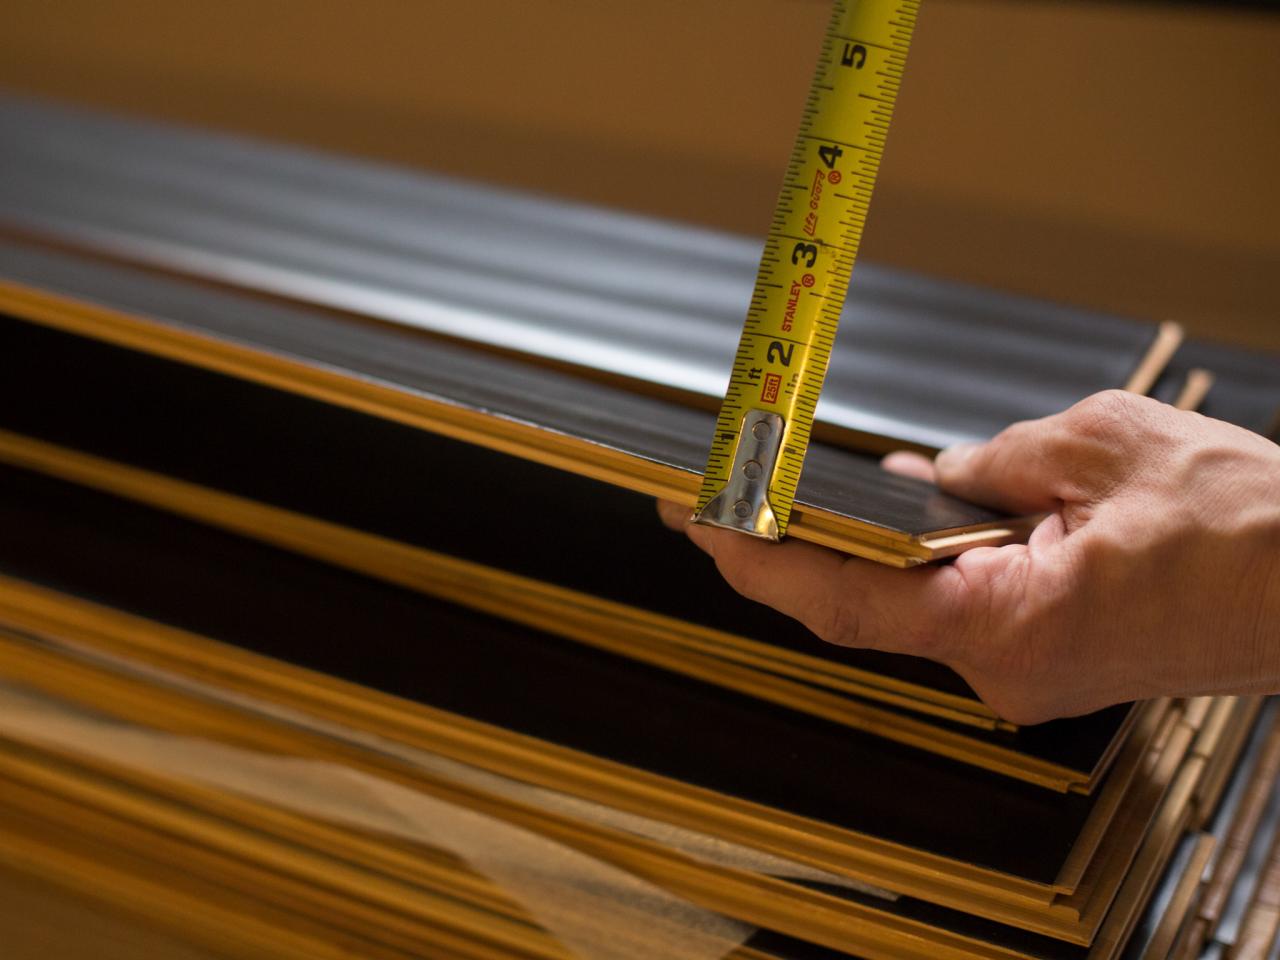
Check Boxes of Flooring and Measure Thickness
Open boxes of wood flooring, then use a measuring tape to determine the thickness of each plank. Although planks 1/2” and smaller should sit nicely against molding, planks thicker than 1/2” may leave a gap that will require installing small decorative trim such as molding or 1/4” round.
Tip: Do not use flooring that is coated with rubber or padding due to heaviness and added thickness.

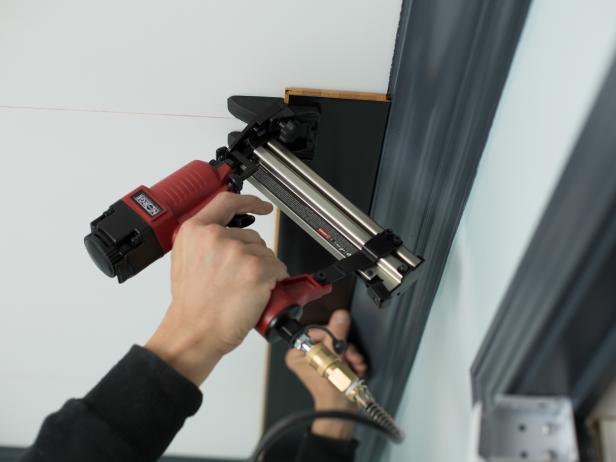
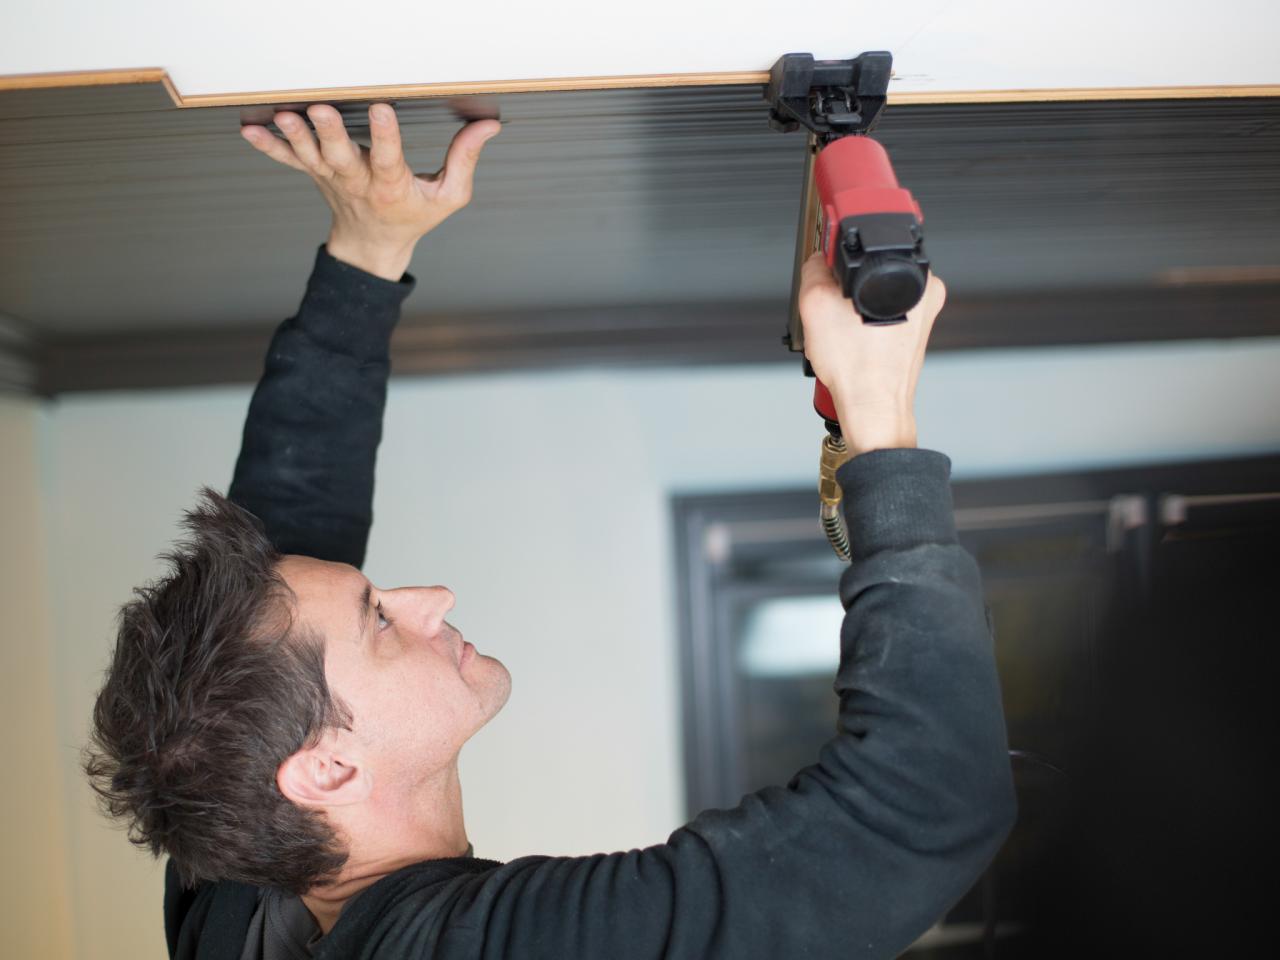
Begin Installation
Begin installation of wood flooring by starting in corner and paying attention as to which side of each plank is the "installation" side. Also know that each plank will have two different ends. One of the ends is the side that is installed first, and the other end is the side that locks into the "installed" side. Determine the correct side and using a full plank, attach with angled flooring nailer properly placed against the edge of each plank.
Tip: Nailer will have a depth guide attached to the "foot" side of it, which properly angles the gun. Squeeze trigger and nail should go into the flooring inside the joining groove and not through the finished side of the floor.
Use the strike block and rubber mallet to maneuver the pieces together for a snug fit. Be certain the pieces are lined up with each other and not crooked; otherwise the next length of flooring that is attached will have gaps and fit improperly, resulting in misalignment throughout the entire project.
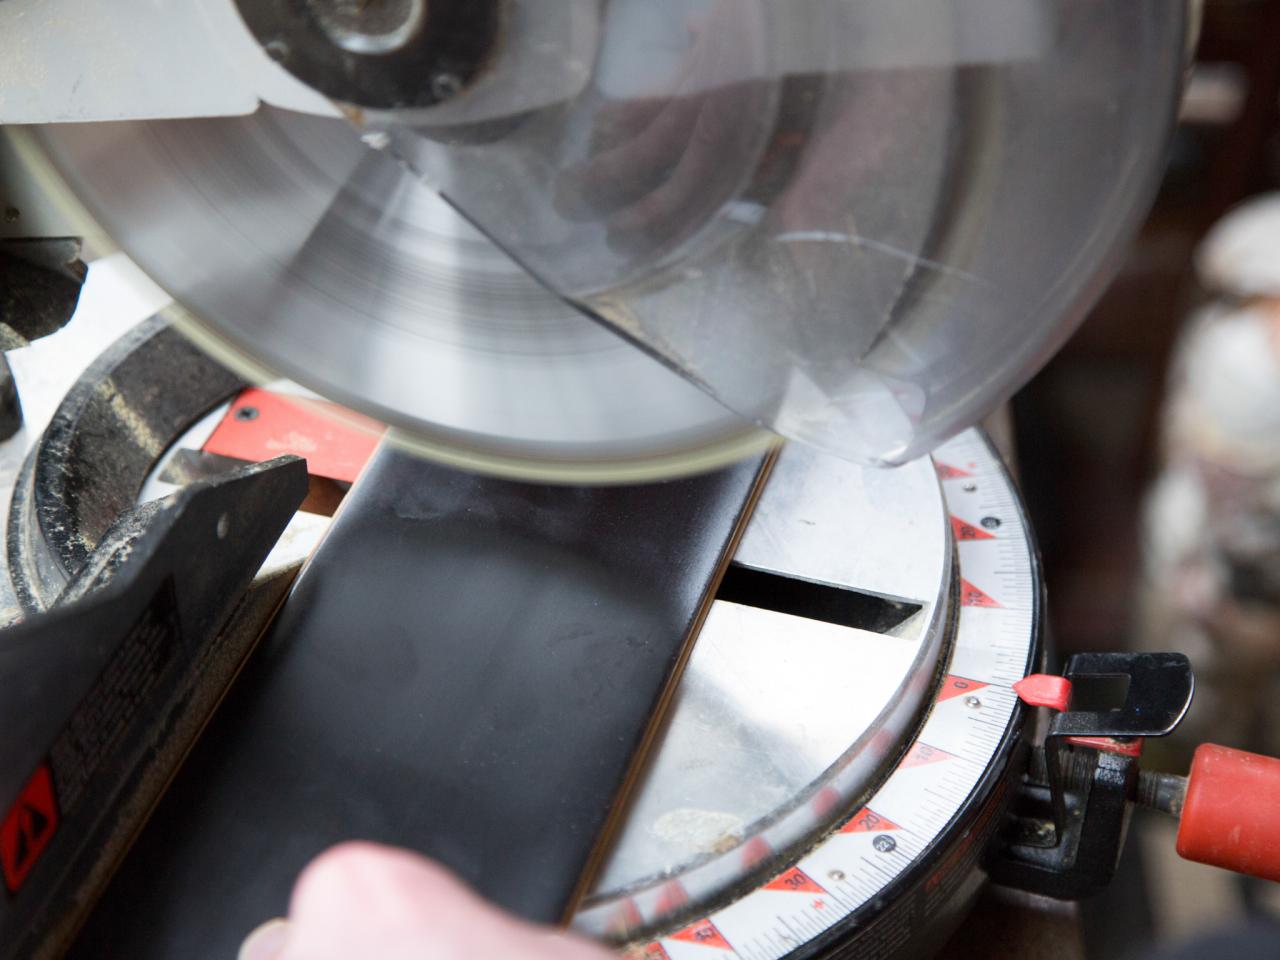
Cut and Stagger
As each run comes into contact with the opposite end of each wall, the very last plank will need to be cut to size with a chop saw. Once cut, use the leftover pieces to create a staggered effect for the very next run of wood.

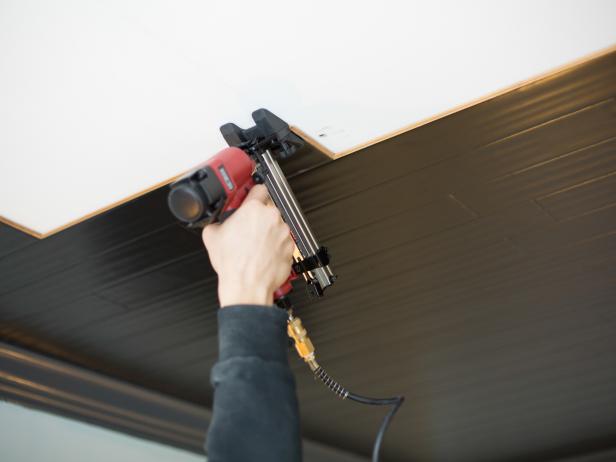
Work Around Fixtures and Vent Openings
Roughly halfway across the ceiling, a rhythm will start to take place and the installation will move increasingly faster. Once any air vents or junction boxes are reached, mark wood flooring planks with pencil and cut to size with chop saw or using jigsaw. Once ceiling is completely covered, re-install air vents and light fixtures.
Tip: For a seamless look, consider spray-painting air vents a similar color as the wood ceiling planks.

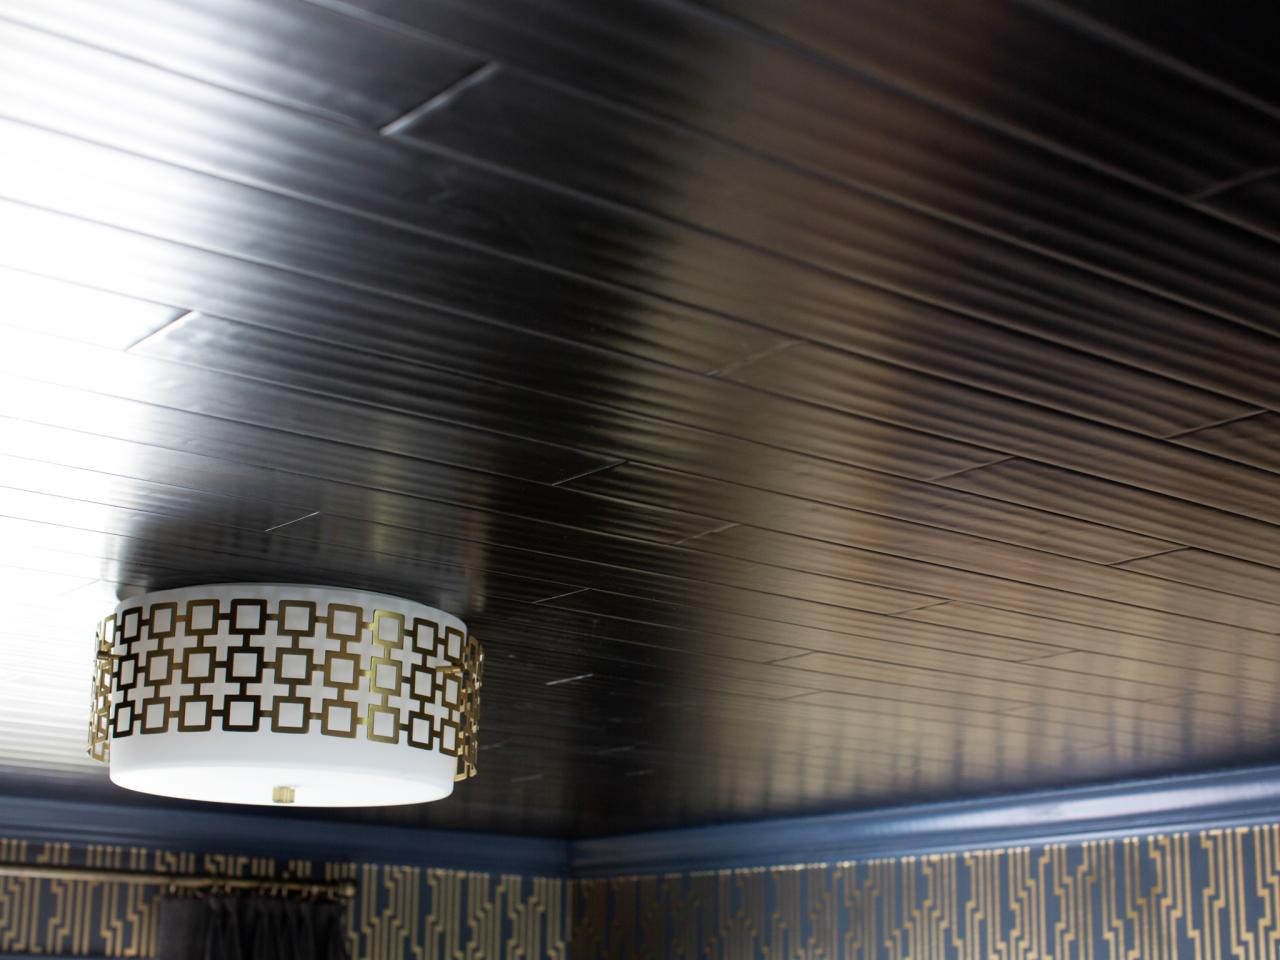
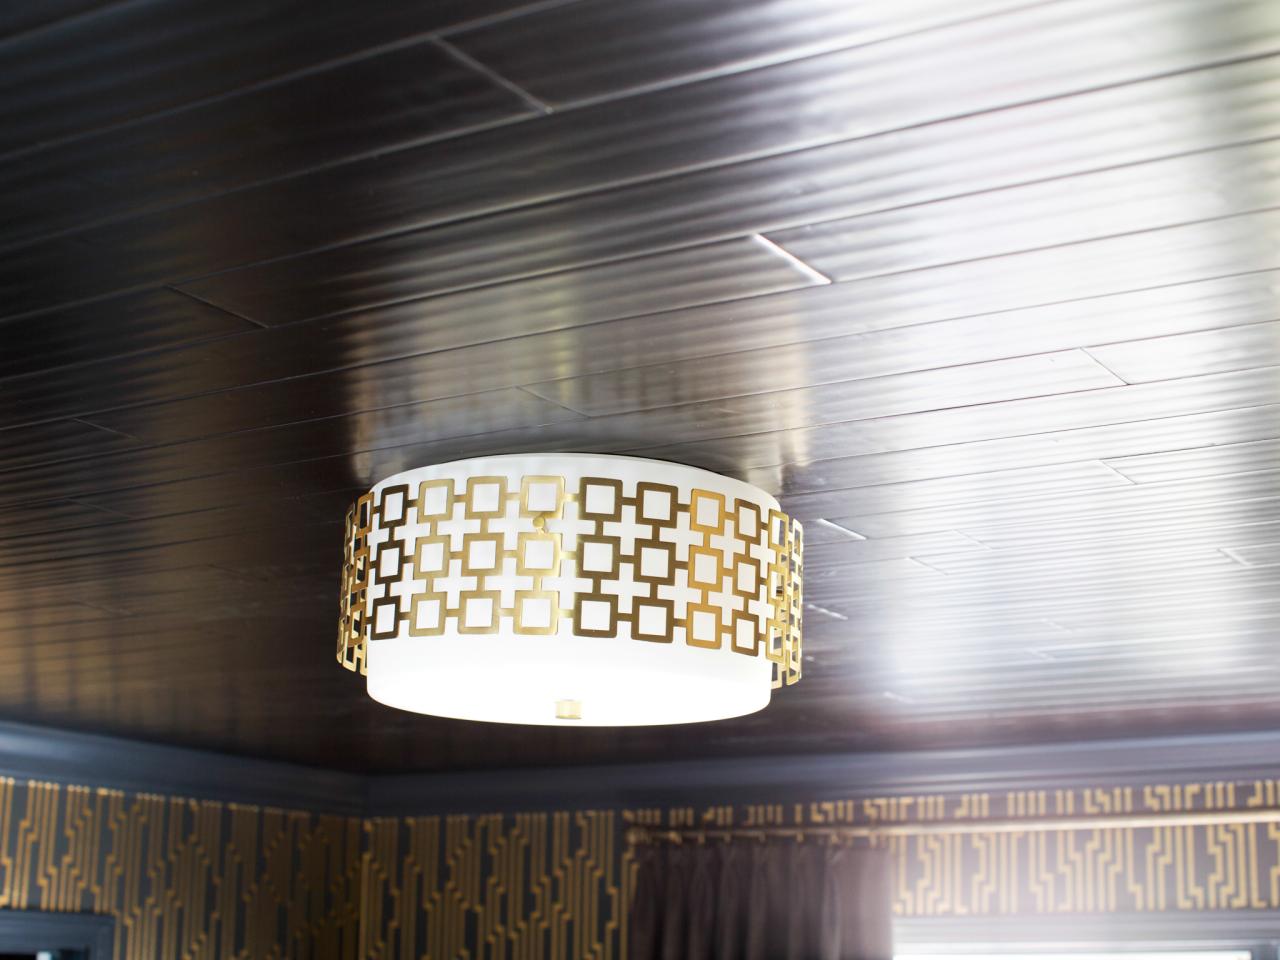
The Finished Product
That's it! This project will add a high-end look to a previously builder-basic ceiling.


