


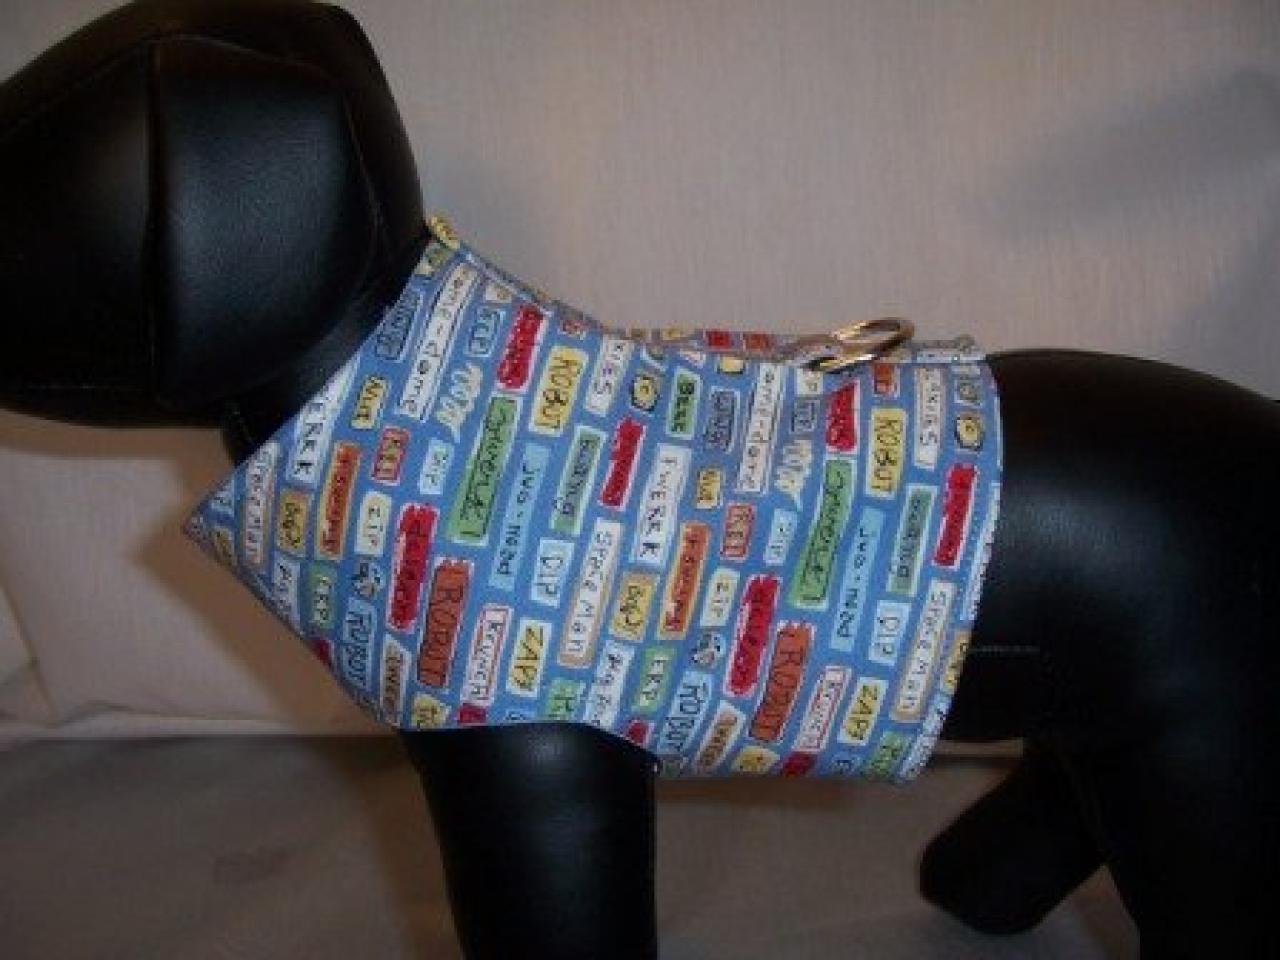
Dog Harness Vest

Materials:
2 coordinating fabrics
straight pins
sharp scissors
disappearing fabric ink pen/chalk pen
heavy weight paper large enough to create your template
a straight edge
needles
thread
medium-weight interfacing (fusible works best)
fabric adhesive (optional)
sturdy D-ring
sew-on Velcro
Steps:
1. Measure dog around the neck where the "collar" portion will rest, then along the spine for the length of the vest. Measure the dog's girth where the ribs are the widest, and add four inches. Tip: Don't make the vest too long because it may obstruct the dog's ability to go to the bathroom.
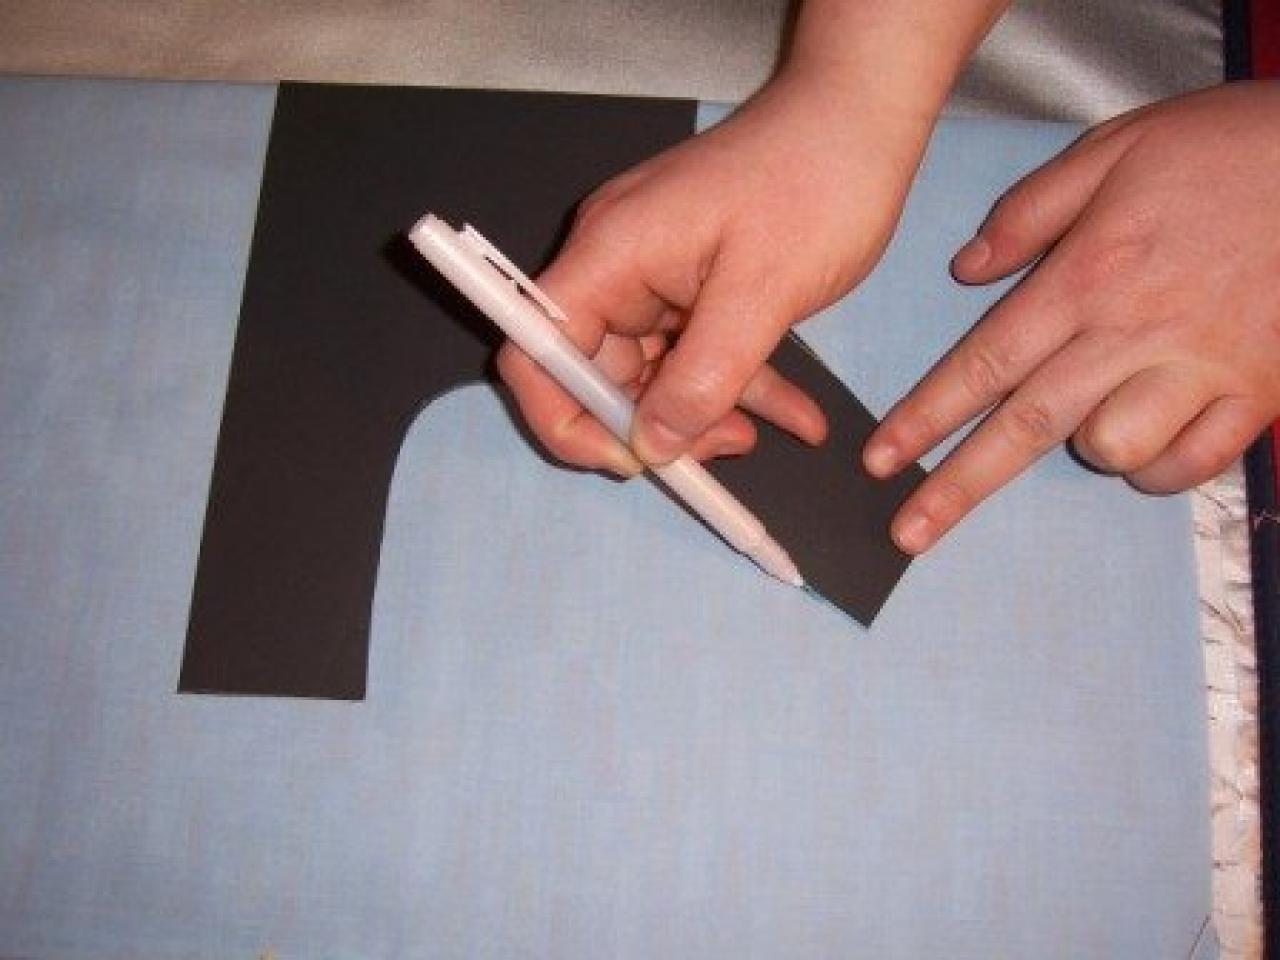
2. Create a template using your measurements and the heavy weight paper and pen. Add a slight curve for the collar area and make the fastener tabs wide enough to accommodate the desired size Velcro. Tip: It's recommended that you make half a template; halve the sizes of the neck and the girth, but maintain the full length of the spine.

3. Cut out the template and place it aside.
4. Cut your fabrics and your interface into a square/rectangle shape large enough to accommodate double your template, plus a little extra for the seam width. Iron the fusible interface on the wrong side of the outer shell of the vest. Tip: Use the manufacturer recommended heat settings so you don't ruin your fabric.
5. Layer the fabrics right side to right side and fold them in half. Iron them in half to create a crisp edge for the template/spine measurement to rest on. Note: Don't iron the interfacing directly, only the liner and the iron should come in direct contact.

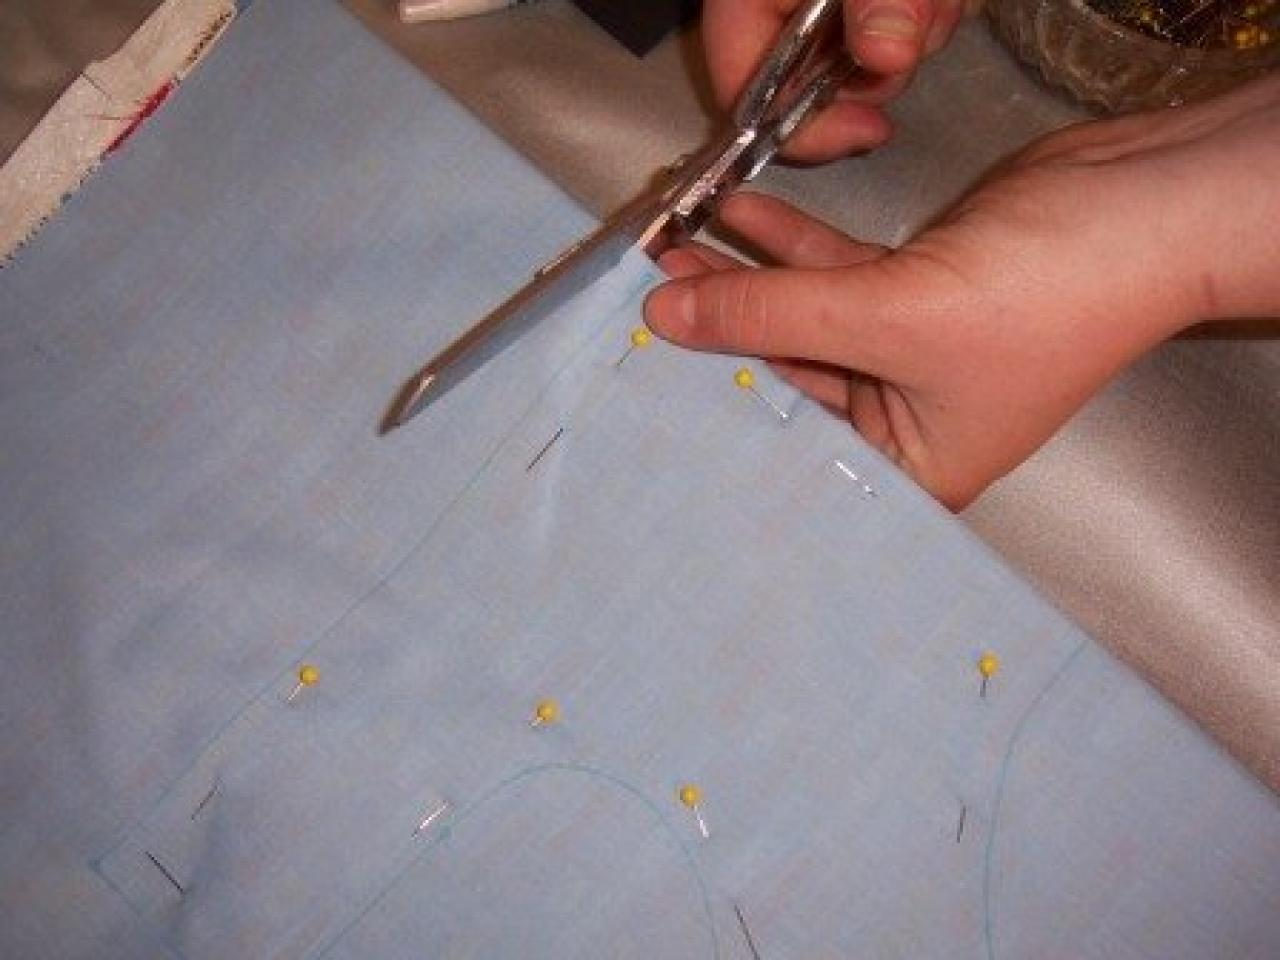
6. Pin the fabric down on the corner areas to minimize fabric shifting. Take the template and spray with the fabric adhesive or use something to keep the template from shifting while tracing it onto the fabric. Put the spine edge of the template directly on the fold and trace onto the fabric. Once you have traced the template, remove it from the fabric and carefully pin inside the template line to help minimize shifting when cutting.

7. Cut the fabric allowing a 1/2" seam from the template line. Unfold your fabrics and iron them flat.

8. Place the two pieces together (right side to right side) using pins or a temporary spray fabric adhesive. At this time, carefully check the sizing for the dog and make any necessary adjustments.
9. When satisfied with the sizing, sew the fabrics together leaving a 3" opening at the bottom (girth line) of the harness vest.

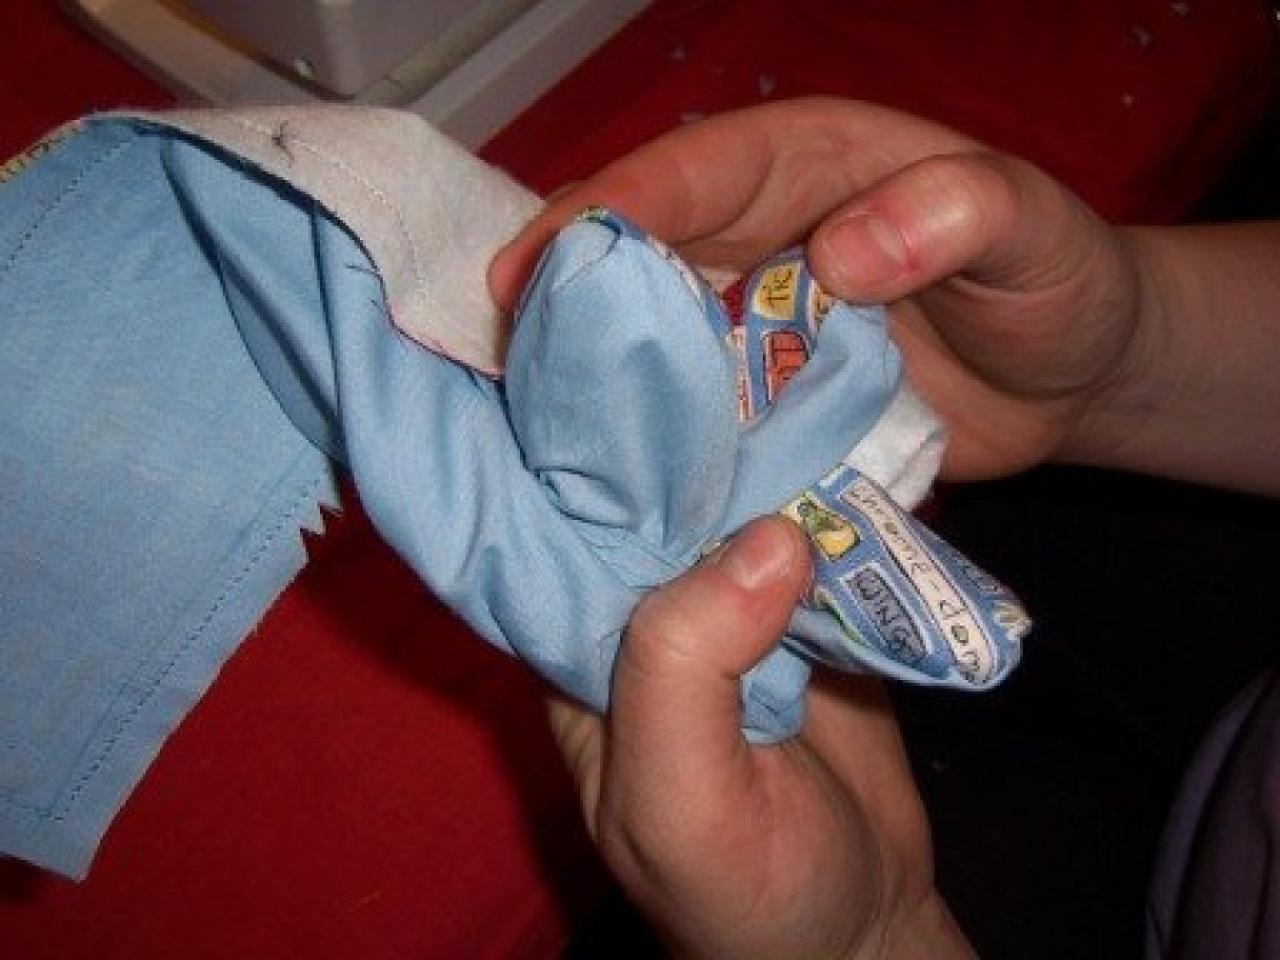
10. Once the inner stitching is completed, cut out notches in any areas that are curved (the area between the fastener tabs and the neck area) to help with the shaping of the completed garment. Turn the garment inside out, shape the corners, iron flat and sew along the outer edge (you decide the width from the edge) but be sure to close the opening at the bottom.
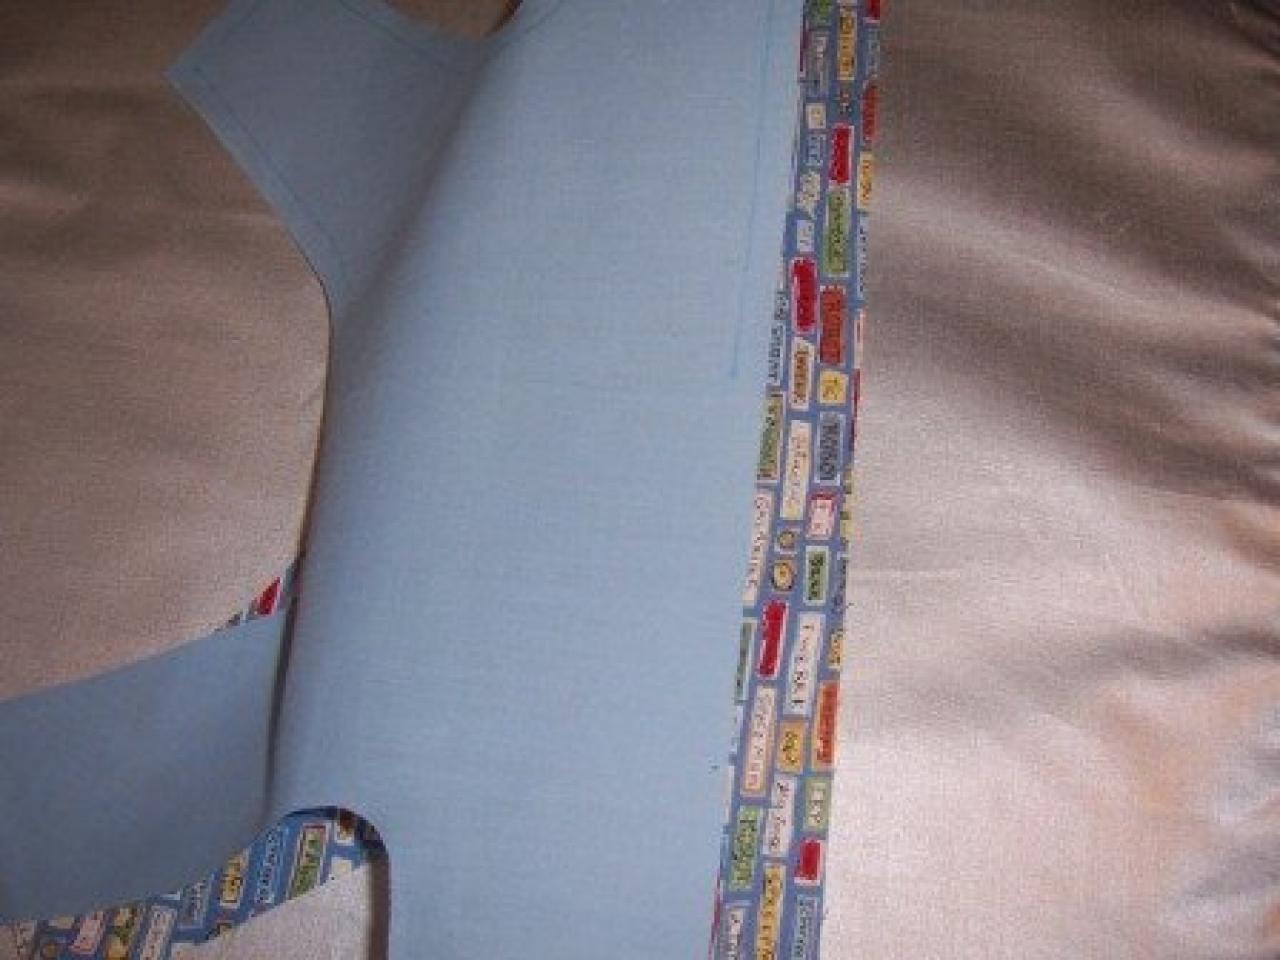
11. Using a scrap piece of the outer shell fabric (with the fused interfacing), cut the length of the spine plus 1 1/2" and double the D-ring width (Ex: For a 1" D-ring cut 2" of fabric).
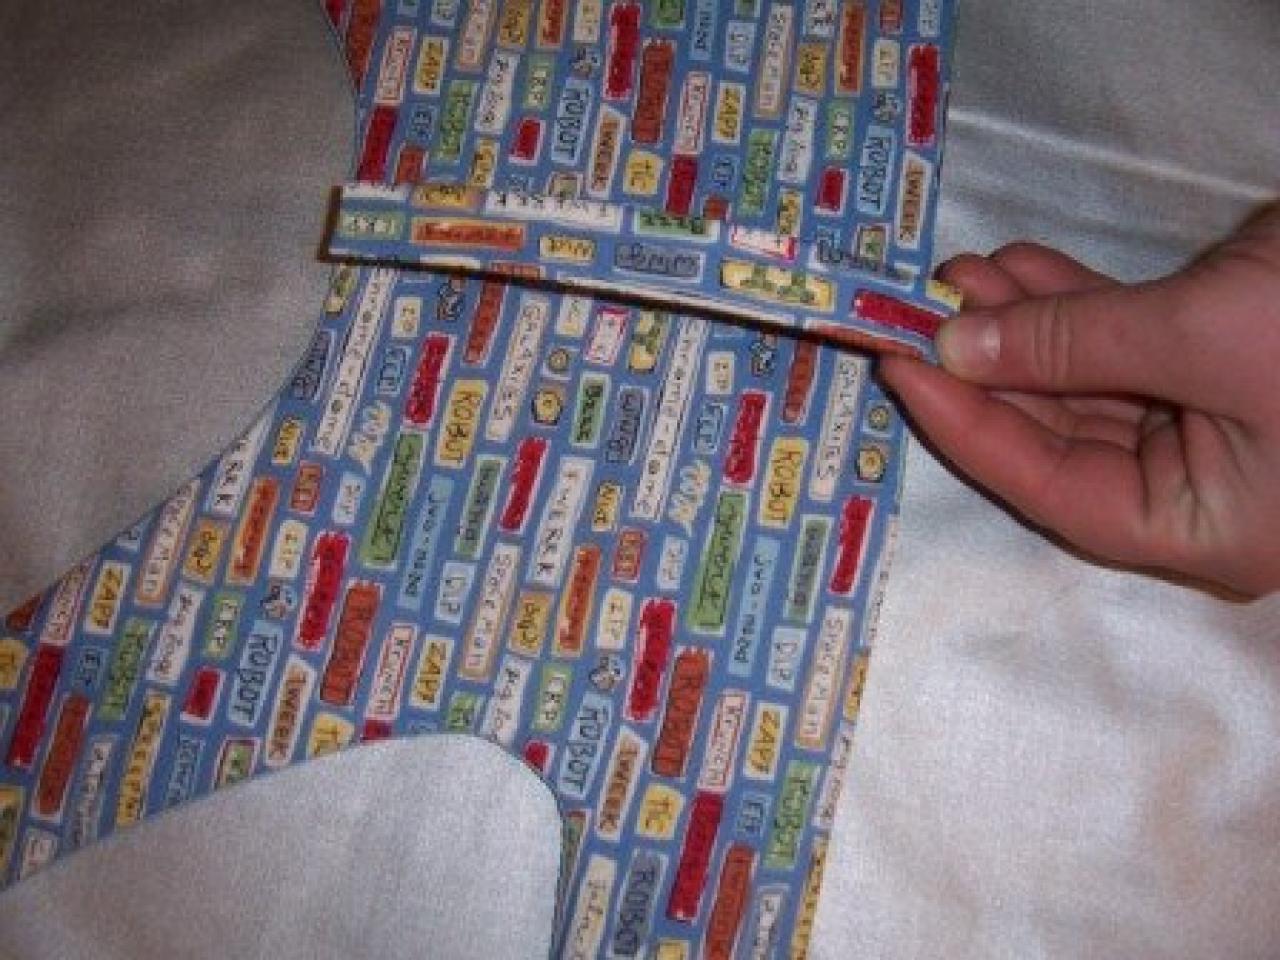
12. Using your harness length as a guide, fold the short ends of the fabric piece under to fit to the length of harness vest. Fold long edges of the spine to the center and press to create a guide line for additional folds.
13. After the center line has been established, open the spine/fabric piece and fold the long edges on both sides to meet the center line to create the D-ring width.

14. Once you have completed all the folding and ironing, turn the spine over and iron flat into shape. The finished spine should be approximately the inside width of your D-ring.
15. Position the spine down the center of the vest and pin it into place. Sew the spine down about three quarters of the way starting from the top of the harness. Then place the D-ring under the remaining quarter of the open end of the spine and sew the remaining spine length locking the D-ring into place.16. Cut the Velcro at least 2" long and sew onto the fastener tabs of the harness vest. If using two different sizes of Velcro, use the wider width on the girth fastener tabs. The hook part of the Velcro should be placed on the outer shell of the harness vest. This will keep the hooks from snagging fur and causing your pet discomfort.
17. Cut all stray threads and place it on your pet for a fashion show.
Submitted by Linda Gordon, Twisted-Cow.com


