How to Build a Hoop House to Protect Your Vegetables
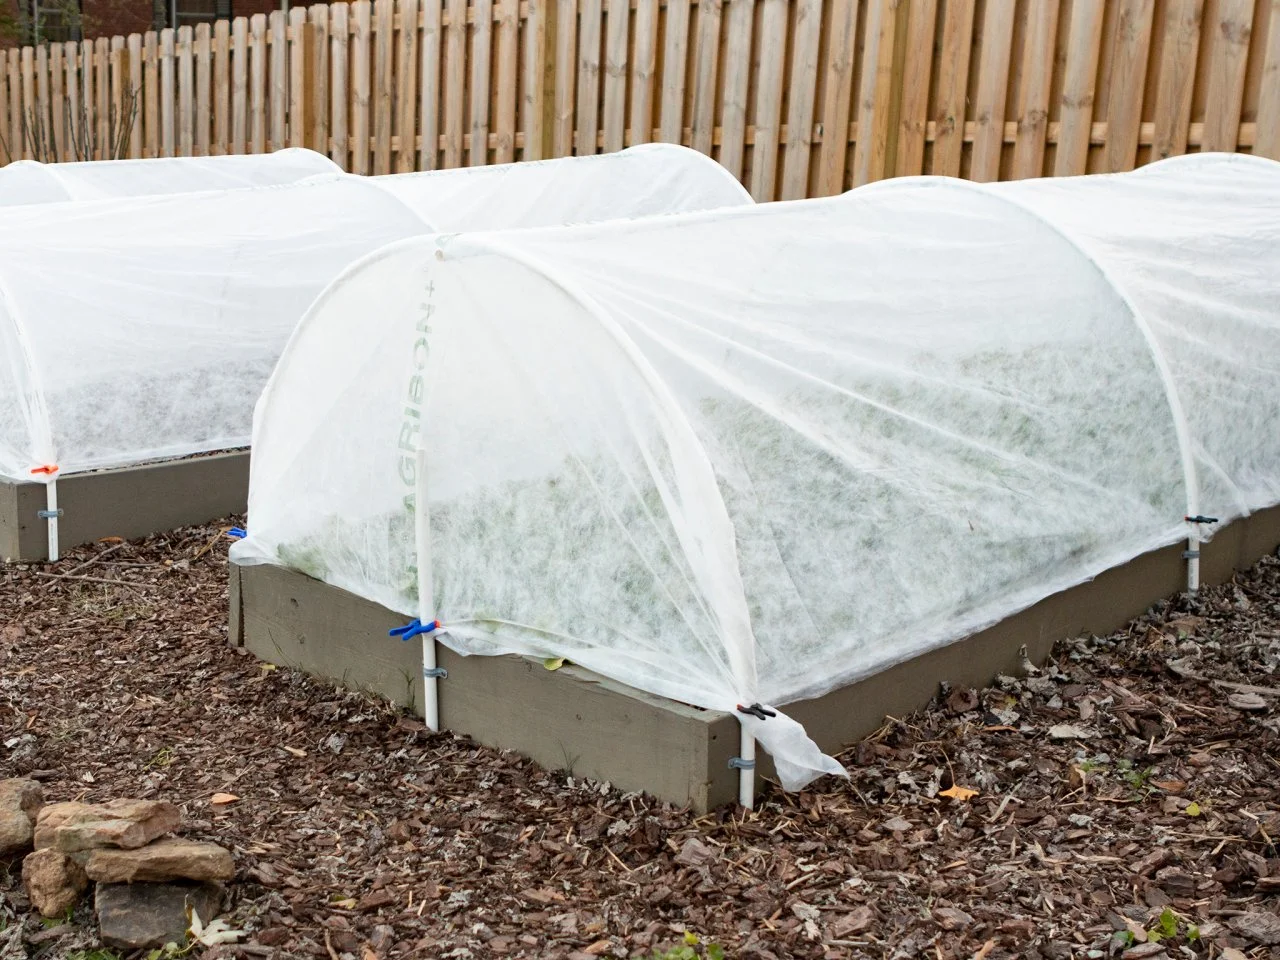
Extend your cool-weather growing season and even get a jump on spring with a DIY hoop house frame to cover a raised bed.

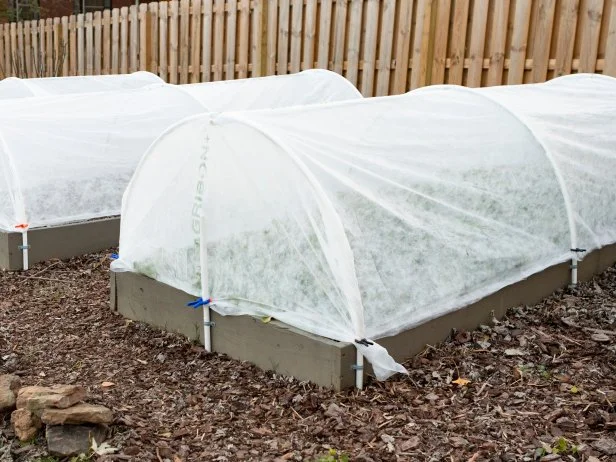
Row covers are used in commercial agriculture to protect cool-weather crops from frost and light freezes. You can protect the plants in your own garden with a row cover suspended over your plants by a simple DIY hoop house, which allows some air, water and light to pentrate but captures heat from the sun underneath. Also, suspending a row cover in this way will prevent damage to plants after a heavy rain, frost or snow that will weigh the fabric down.
Derek R. Trimble
Materials + Tools
- (3) 8’ piece of 1/2” PVC
- (8) 3/4” galvanized pipe straps
- (16) 1-5/8” exterior grade screws
- (1) roll of bailing wire or package of zip ties
- (1) pair of pliers
- (1) PVC pipe cutter or hacksaw
- (1) impact driver or drill
- (1) pair of scissors
- (8) small plastic hand clamps
- (1) 4’ wide package of agricultural row cover
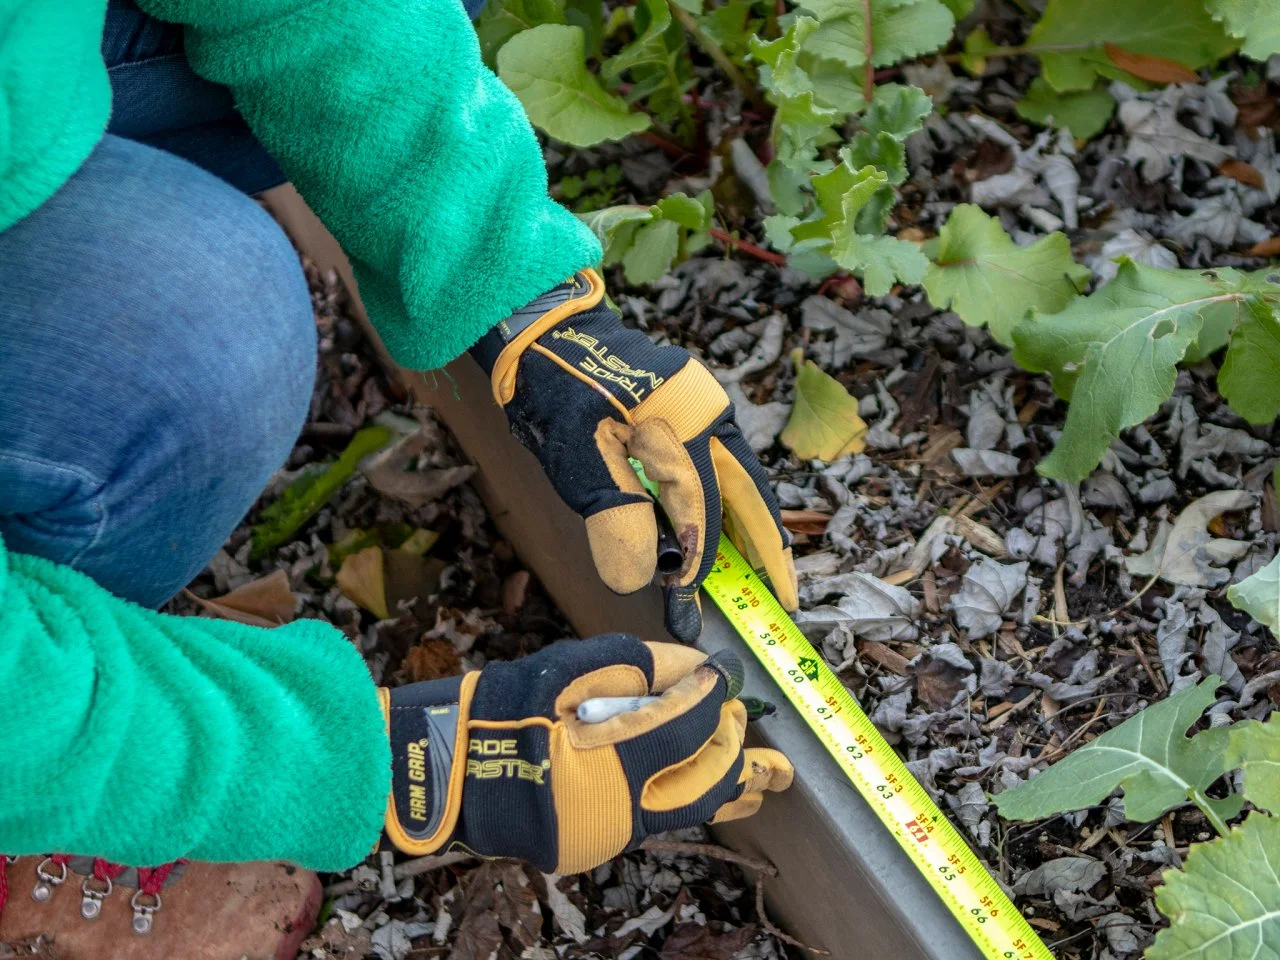
1. Measure Your Hoops
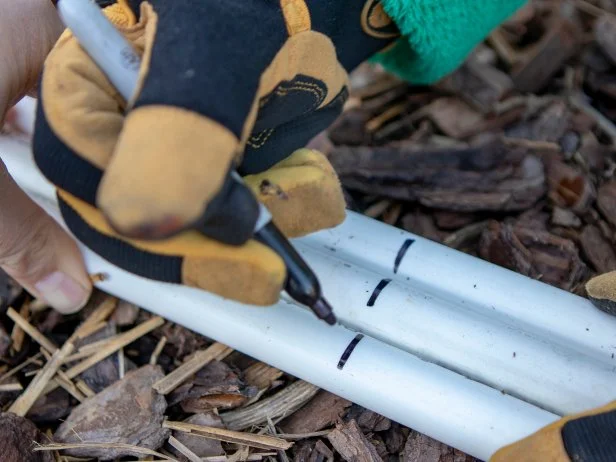
The PVC pipes will be bent into a hoop, but first you'll need to shorten them for the row cover to fit. Measure the side of your raised bed, multiply that number by two, then add the width of your row cover to that. In our case, the raised beds are 6 inches high and the row cover is 48 inches wide. So, we’re going to cut the pipes down to 60 inches to give us a bend that will allow us to completely cover the top of the raised bed.
Derek R. Trimble
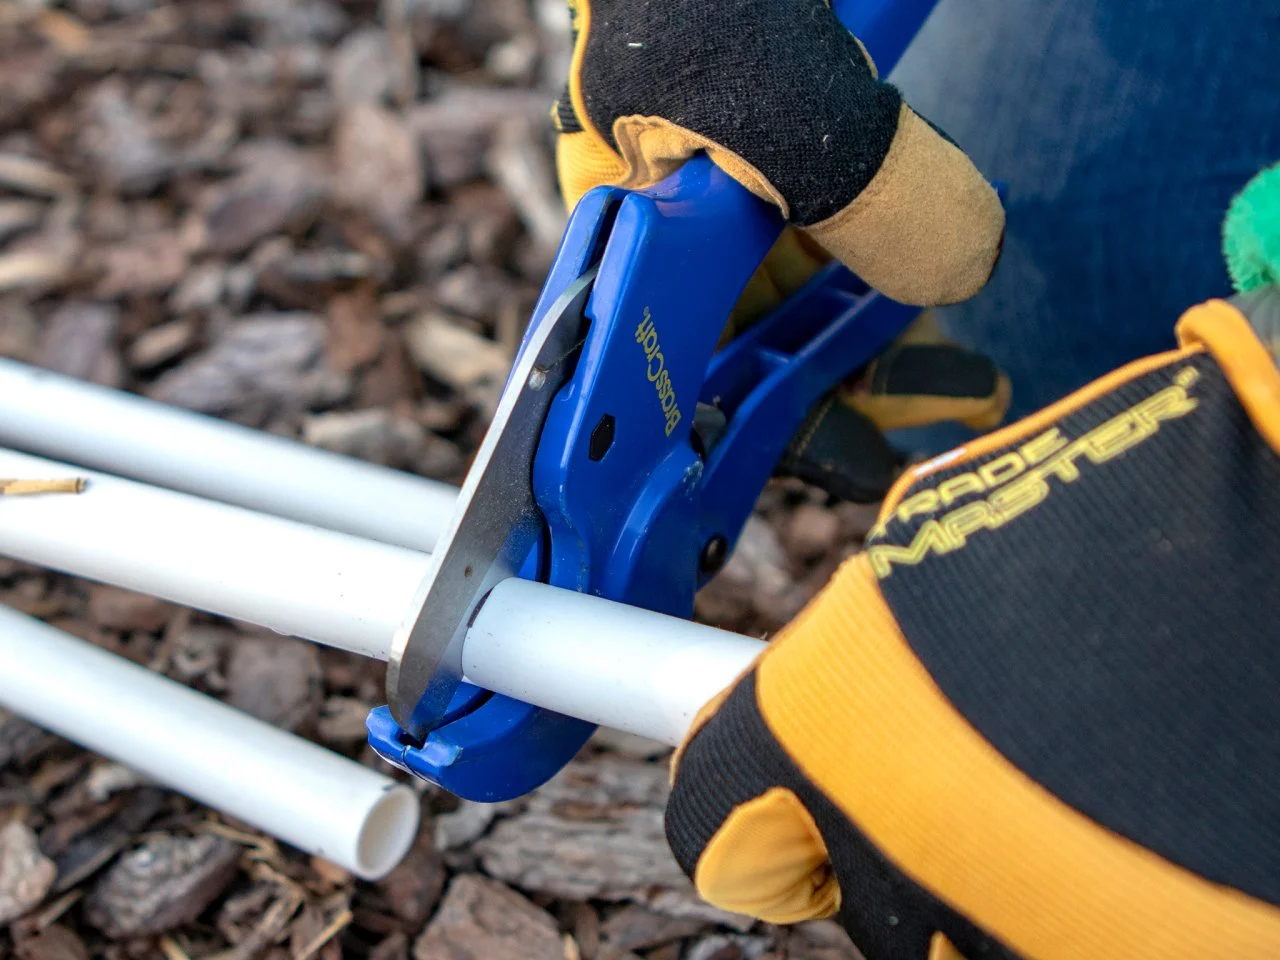
2. Cut PVC to Length
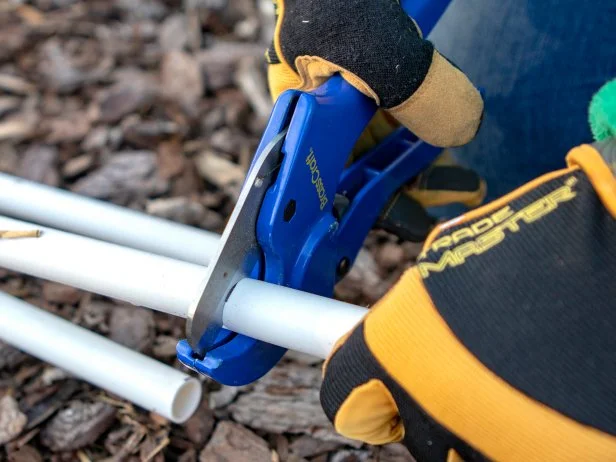
PVC cutters are super easy to use and really make short work of cutting pipes. But if you don’t have one handy or don’t want to buy one, a hacksaw cuts through PVC easily enough. Make sure to wear gloves and take your time. Also make sure to save your scraps; you'll need them for the short sides.
Derek R. Trimble
3. Determine Hoop Locations
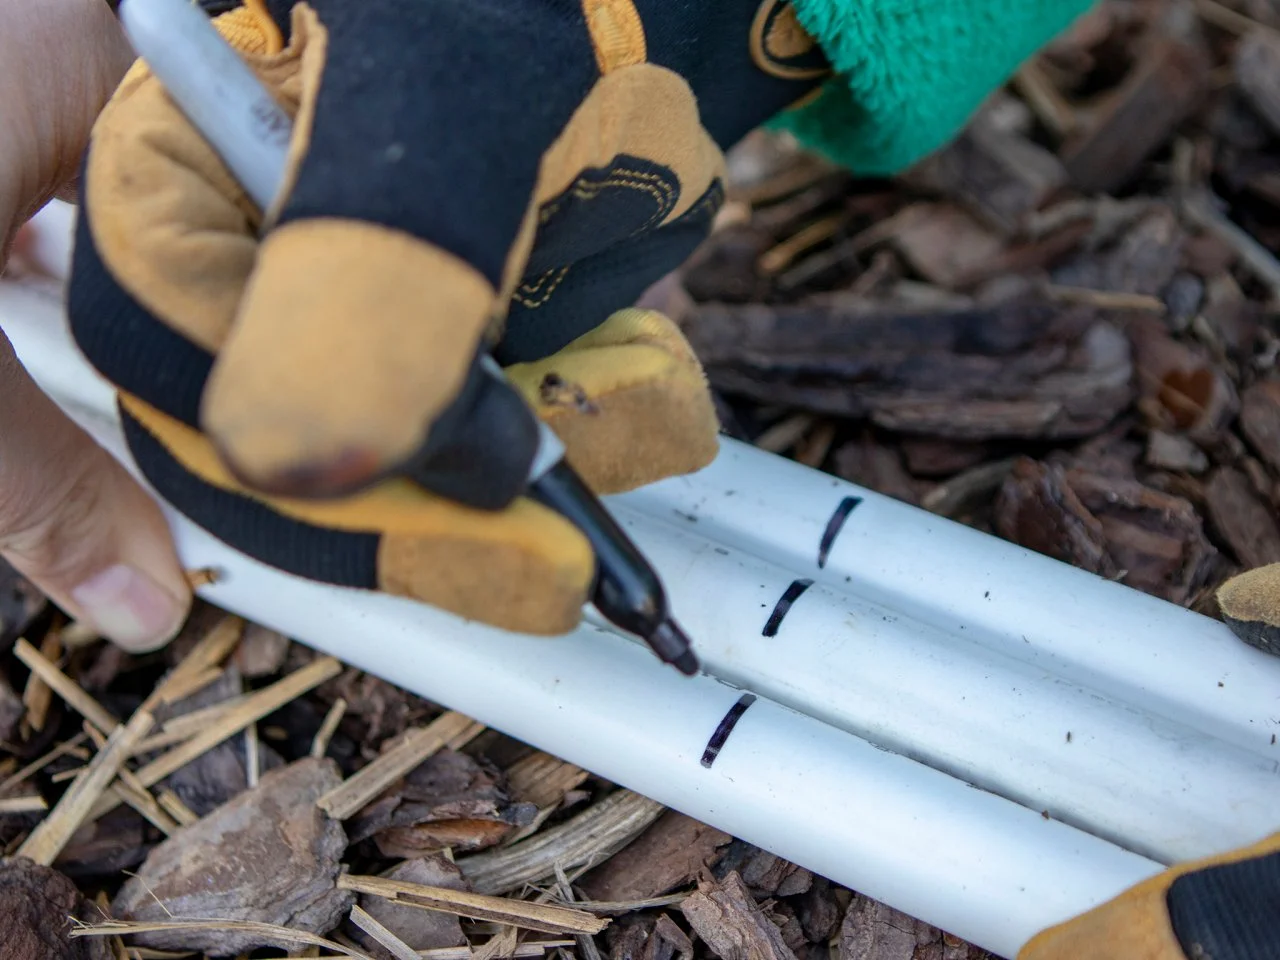
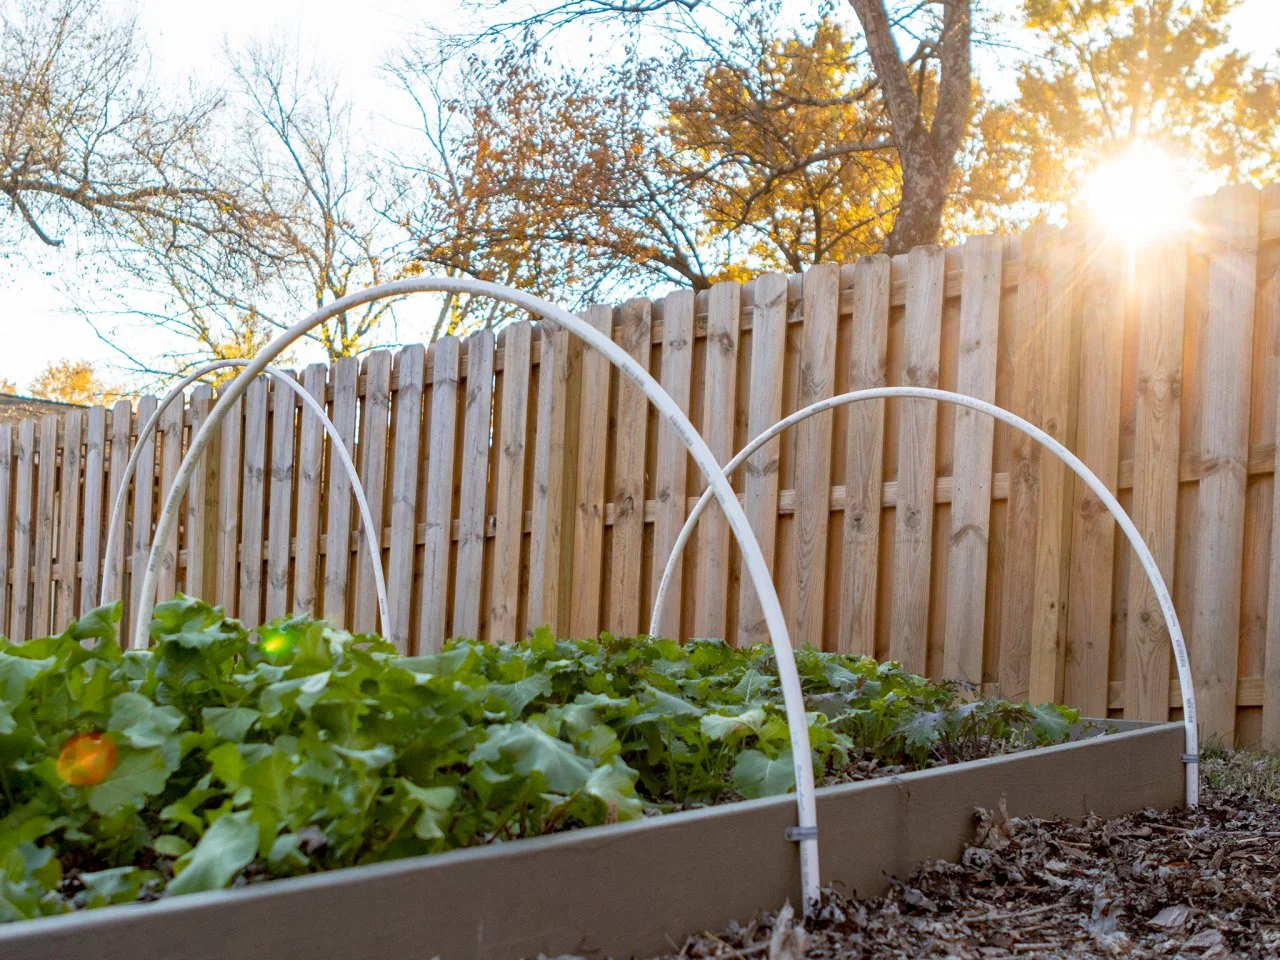
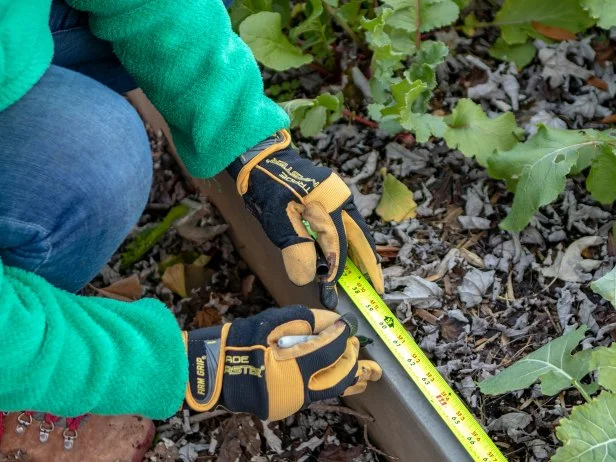
If you have a basic 8-foot rectangular raised bed, you’ll only need three hoops on the sides and one small anchor at each end. Locate one hoop at each corner and another one right in the middle. We'll also need some small pipes on the front faces to help anchor the row cover in place, so measure and mark the centers of the short sides.
Derek R. Trimble
4. Use PVC Scrap as a Guide
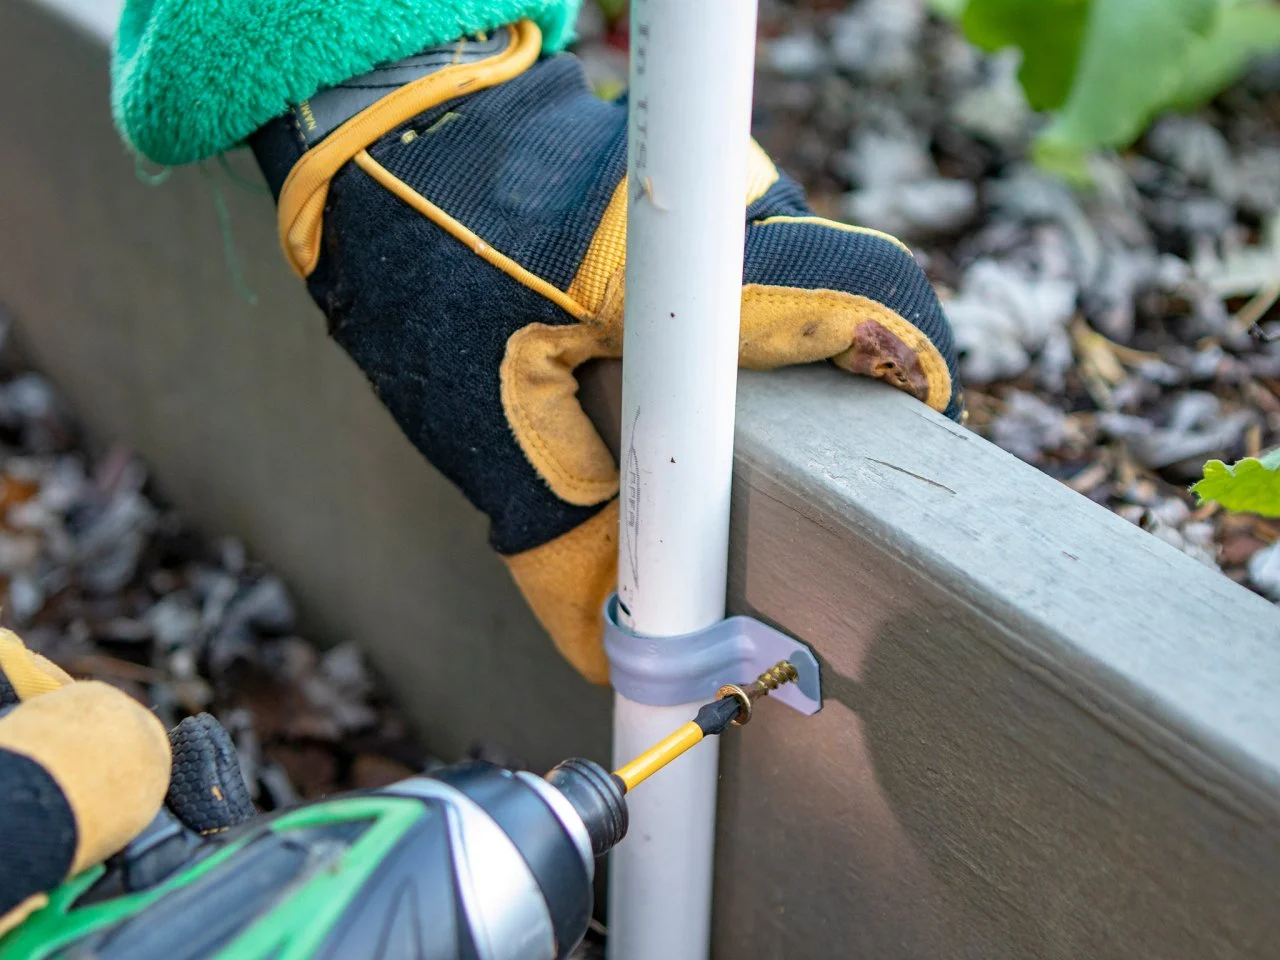
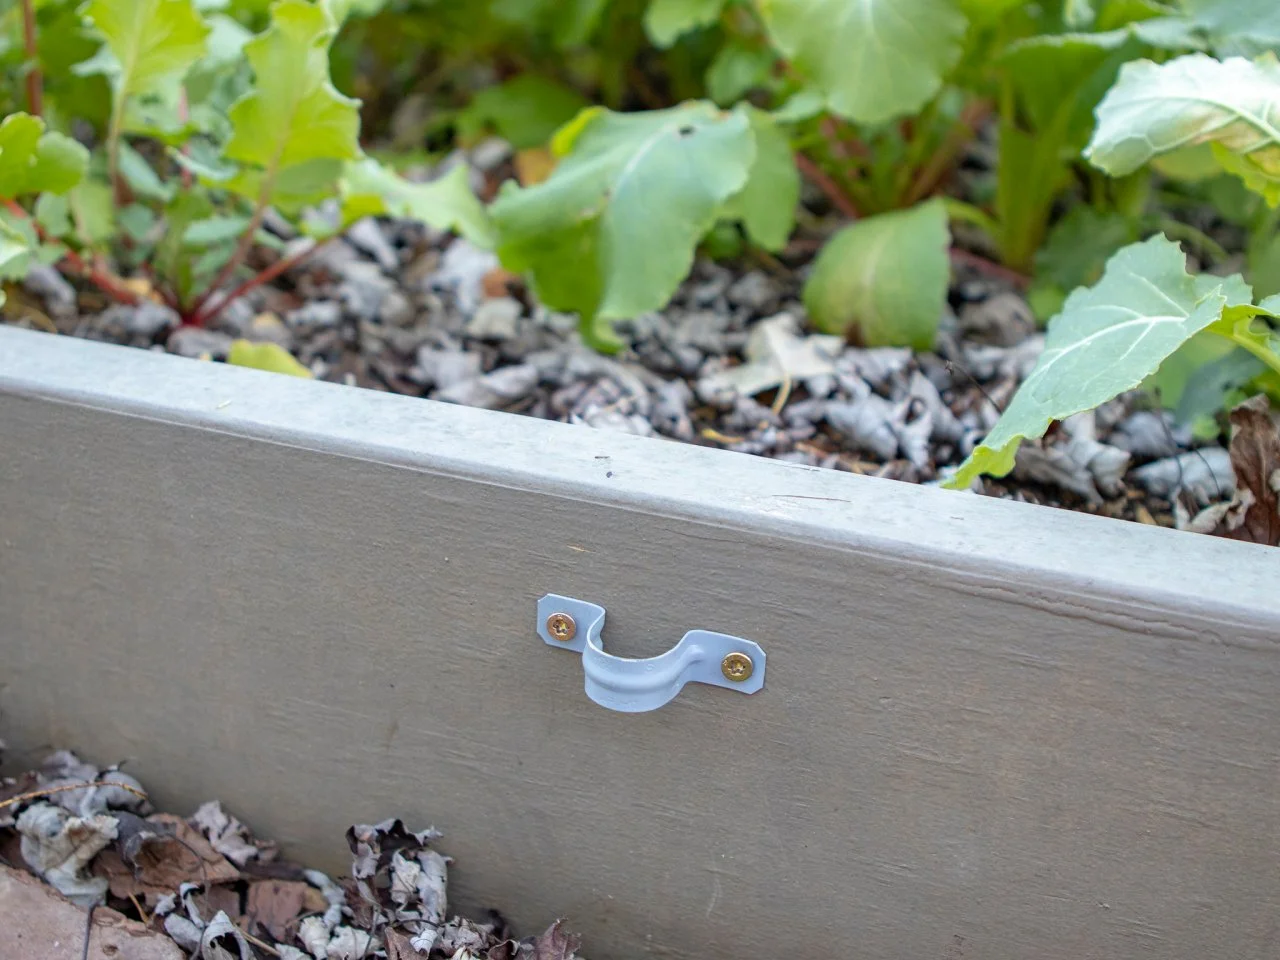
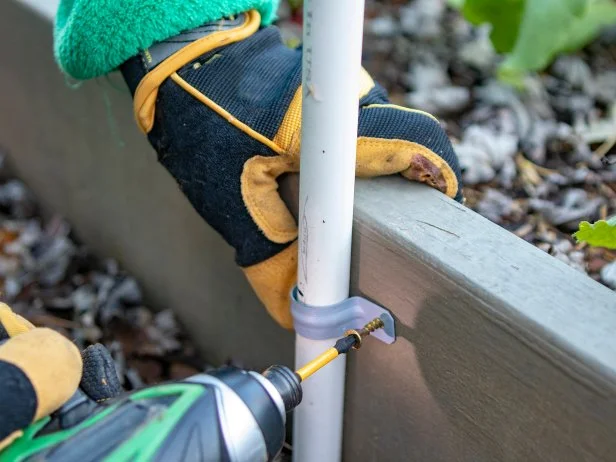
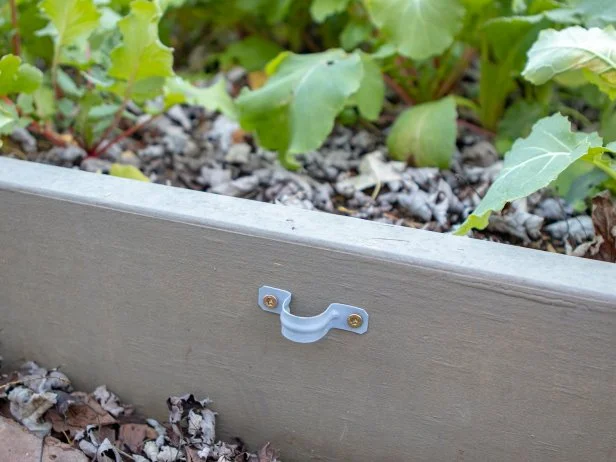
To make sure you get all the straps screwed in at the same height on all four sides of the raised bed, mark the height on a small piece of PVC scrap and use that as a template. Use the template at each of your anchor points to make sure you get your straps even with one another. Using the scrap pipe will also help prevent over tightening the straps. You want to be able to pull the pipe in and out of the strap easily.
Derek R. Trimble
Derek R. Trimble
5. Bend the Hoops
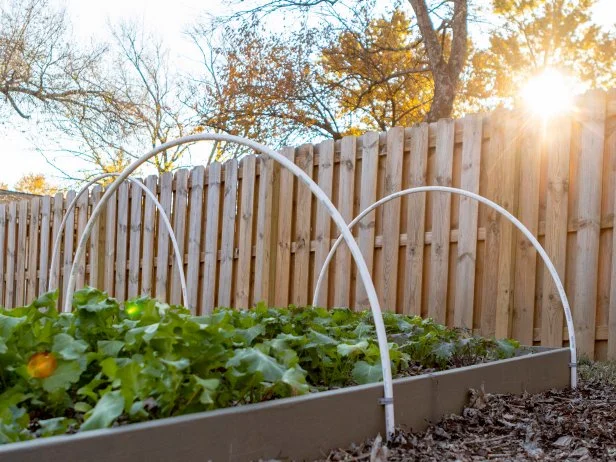
Insert one end of a PVC pipe into a strap and bend it over to the opposite side. Insert it into the opposing strap and voila! You’ve just made your first hoop. Do it for the remaining straps and when you're finished you should have three consecutive hoops of the same height.
Derek R. Trimble
6. Twist on the Top Rail
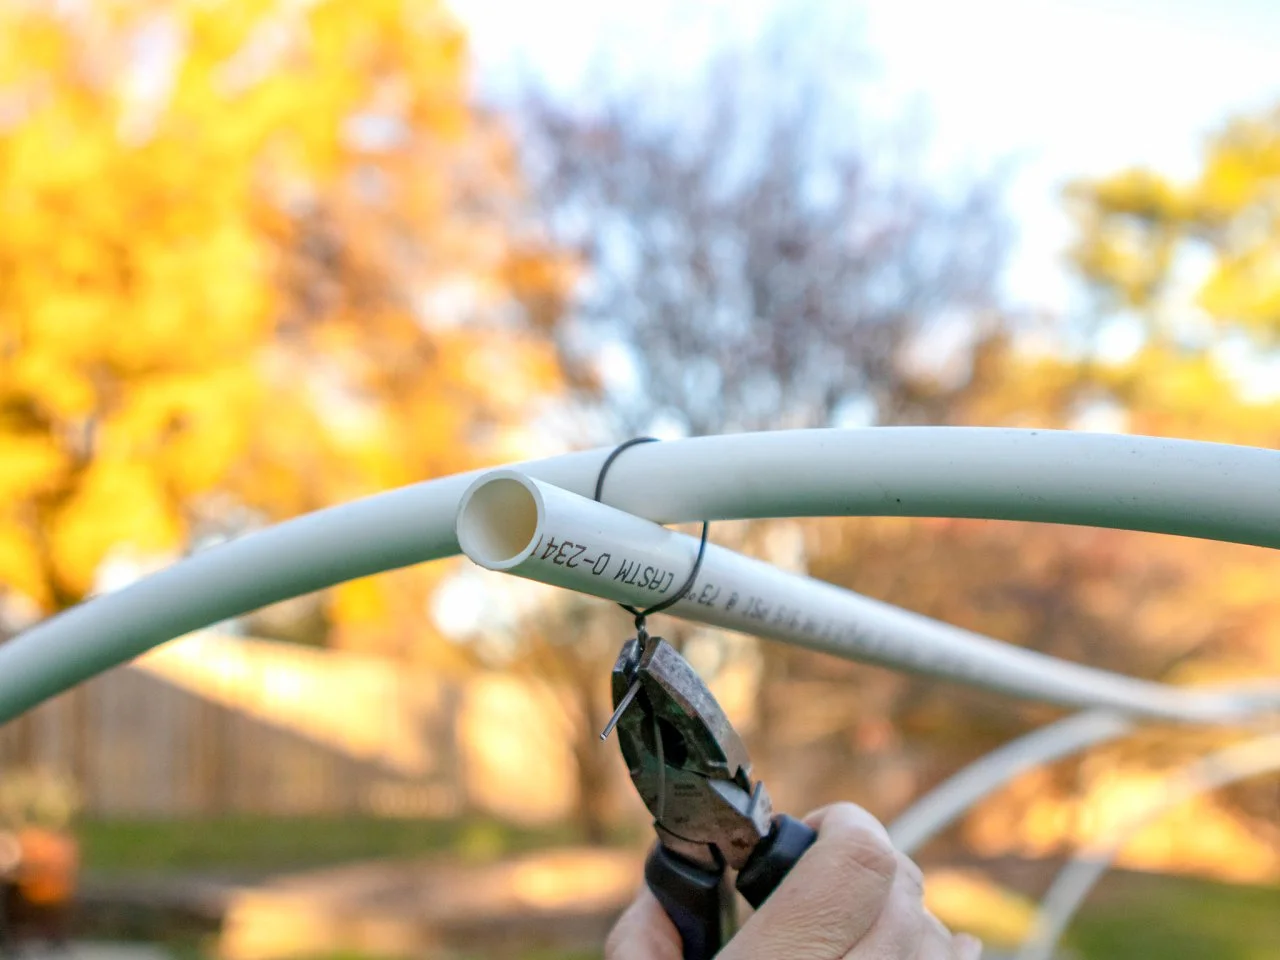
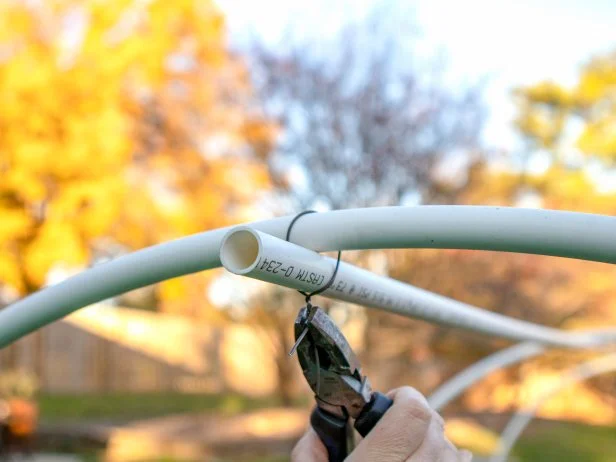
Use some baling wire or zip ties to secure a top rail under the three main hoops. Make sure to keep the sharp ends tucked away so your hands won’t get scratched when you reach in later on. Clip the excess ends with wire cutters when you’re finished.
Derek R. Trimble
7. Don’t Forget the Ends
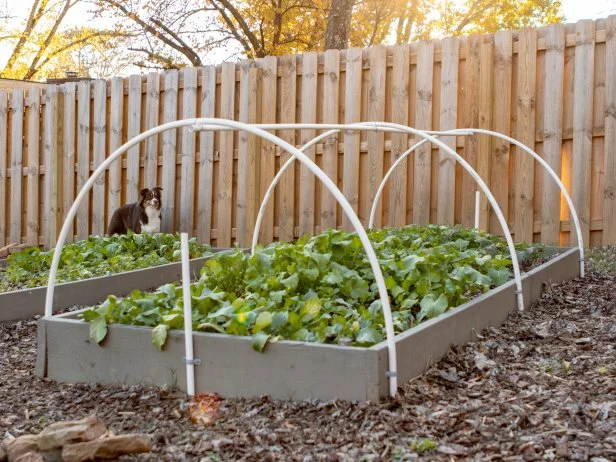
When you’ve finished your sides and top rail, it’s a good idea to take some small pieces and install them on the ends. This will give you a place to anchor the row covers at either end to keep the fabric from blowing around from a gust of wind.
Derek R. Trimble
8. Cut Your Row Cover to Fit
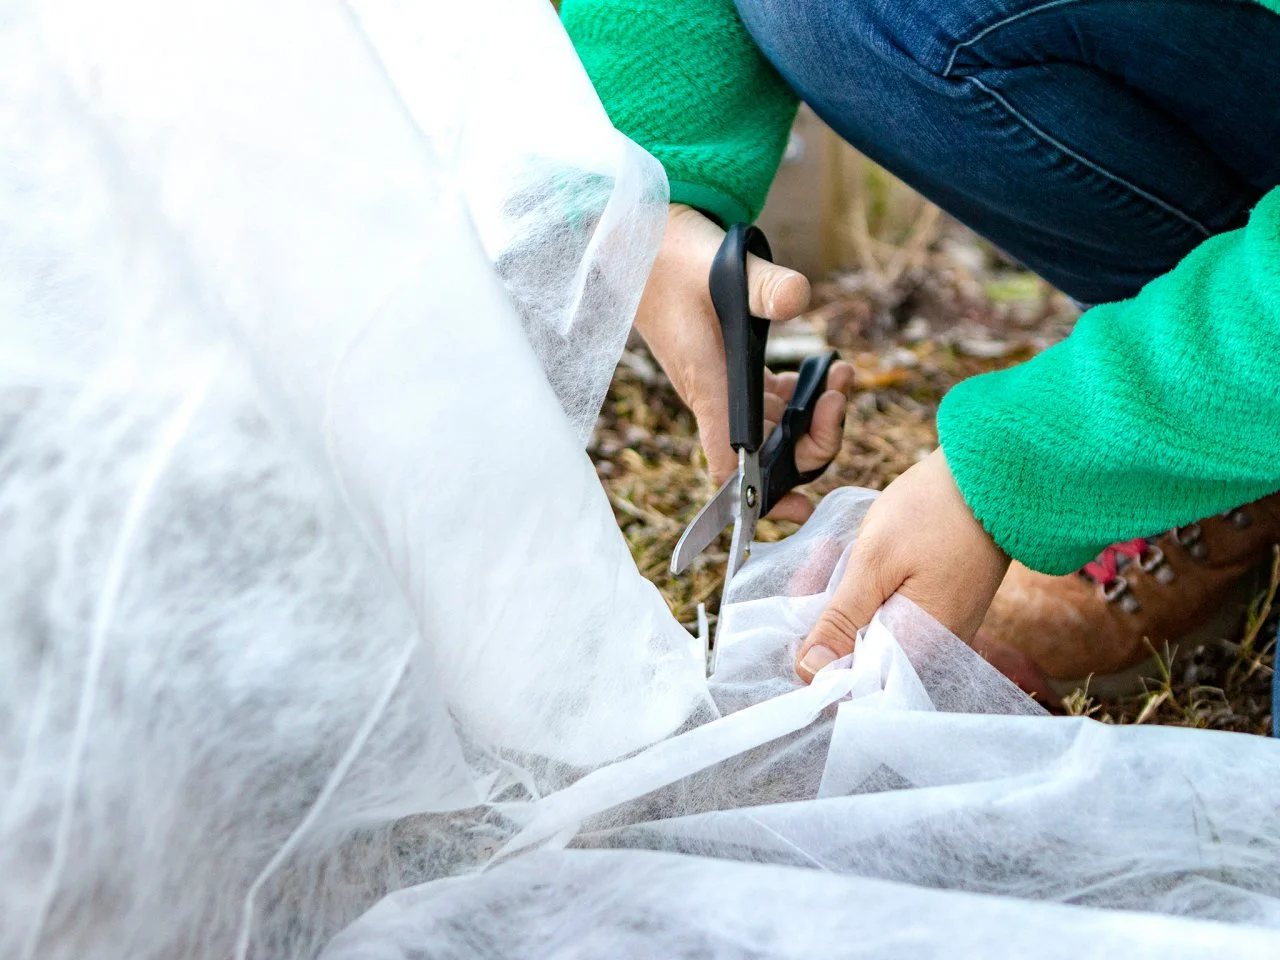
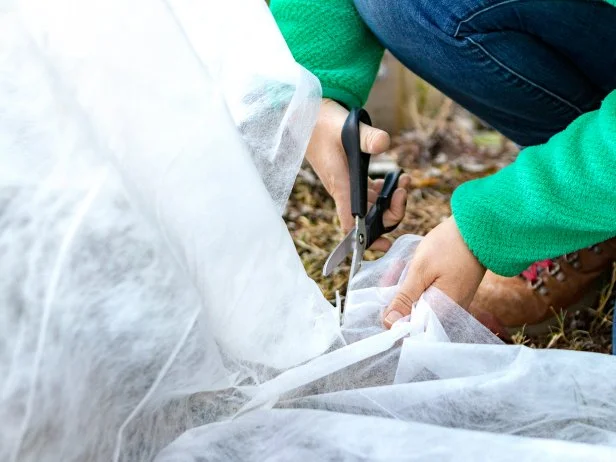
Row covers usually come in a very large roll. Since most homeowners don’t have gardens that long, you'll probably have to make some cuts. Pull the row cover over your garden bed, secure the front and the sides making sure to pull everything snugly. Next, move to the furthest end and cut your row cover to length. You can leave a little extra if you want; it’ll make it easier to reposition later on if you need to.
Derek R. Trimble
9. Snug It Up, Then Clamp It Tight
Trim off any excess in the corners, tuck in the sides neatly and make sure you’ve got everything clamped tight. When you need to reach in to harvest or water your plants, just take the clamps off one side and fold the fabric back. Once you’re done it’ll be easy to put back in place. Your fall and spring crops are now safe from the frost.
Plant Covers for Winter
Discover how to use row covers to protect your plants from frost and extend the growing season.