


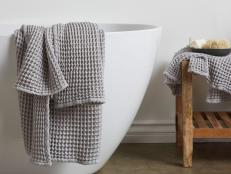
Converting a Half Bath to a Full Bath

The Malamugs have a wonderful home. Phil and Anne love spending much of their free time with their kids, but they can't help worrying about the growing home improvement to-do list.
Anne and Phil can handle minor projects, but they need help with the larger ones. Steve and the Don't Sweat It team help out, in their first project, showing them how to convert a closet into a new shower.
Below is a summary of steps, as well as a list of tools and materials used, as seen in the first Don't Sweat It project.
Materials and Tools:
8' 2x4s (20)
pedestal sink
sand (6 bags)
plumbing fixtures
shower
greenboard (2 sheets)
adjustable wrench
caulking gun
drill
electric miter saw
gloves
pipe wrench
soldering torch
utility knife
jackhammer
hole saw
paddle drill bit
air compressor and hoses
finish nailer
safety glasses

Steps:
1. Begin by demoing the closet door wall and the bathroom wall. Be sure the bathroom wall is only cut back to the desired opening of the shower. Leave the remaining wall on the sink side. Demo the wall carefully by first marking out the desired area of demo then cutting clean lines with a circular saw and the edges with a reciprocating saw. Before removing the sink be sure to cut off water to the room.
2. There should be water shut off under the sink. If not, head to the basement and shut off water to the house. Use a basin wrench and adjustable wrench to unhook the plumbing. Unscrew the countertop and base cabinet from the wall and remove.
3. The next step is to frame the new end wall that will enclose the shower. Carefully read the directions that come with your shower unit and control valve to determine the location of the studs in this wall. You may have to notch one or more of them to accommodate the valve body and waterlines. Using a level, plumb the new wall in place, then nail it securely to the floor and ceiling joists. Once the new shower is in place the demoed closet door wall will need to be rebuilt and dry-walled.
4. Study the shower installation instructions to establish the exact location of the shower drain. The manufacturer's instructions should also give the height of the drain line above the finished floor. Cut and dry-assemble the pipe and fittings that form the drain and trap. Remember that the standard downward pitch for waste lines from a fixture is 1/16 inches per foot of run.
5. The shower-valve instructions should give the specifications for locating the unit and the copper fittings you'll need for the job. These pieces are joined to copper pipe by soldering, also known as sweating.
6. If you are installing a fiberglass shower, additional support must be provided under the floor of the shower. Otherwise, the floor will flex (though probably never break), when you stand on it. To support the floor, place a 2-inch-deep circle of sand on the subfloor. Keep the sand about four to five inches away from the drain opening.
7. Once the sand is in place, move the shower into its opening and fit the shower drain. Follow the shower manufacturer's directions for making this drain connection. Keep in mind that you may have to work the unit back and forth a bit to get it to settle properly into the sand. Adjust the unit so that it sits level and plumb, then drill pilot holes through the mounting flanges and nail or screw the unit to the framing members.
8. If you are installing a dome top to the unit, run a bead of silicone caulk around the joint surface, position the dome over the shower and attach it with screws.
9. To conceal the area above the shower, build a soffit. A simple ladder-style soffit that extends across the front of the shower and from the lip of the dome to the ceiling will do the job.
10. Next drill a hole for the showerhead arm through the shower wall and install the arm by threading it into the wing elbow. Use Teflon tape on this threaded joint to prevent leaks.
11. Complete the shower-drain assembly by installing the rubber caulking gasket that seals the drain to the waste lines. Push the gasket over the pipe, then install the threaded nut that compresses the gasket. Use the wrench provided with the shower unit and a screwdriver to tighten the trim ring in place. Finish up by installing the escutcheon and knob to the shower control valve.
12. Turn on the water to the shower and check for leaks in the plumbing before you put up any drywall.
13. Once you're certain that no leaks are present, install water-resistant drywall on the end wall, soffit and any other areas damaged by the construction. Be sure to keep the drywall back from the shower, about 1/8 inch, to provide a neat caulk joint. Tape and finish the drywall. Then, prime and paint the whole room when you are done with the other work. Caulk any surfaces that abut the shower with white or clear silicone caulk.
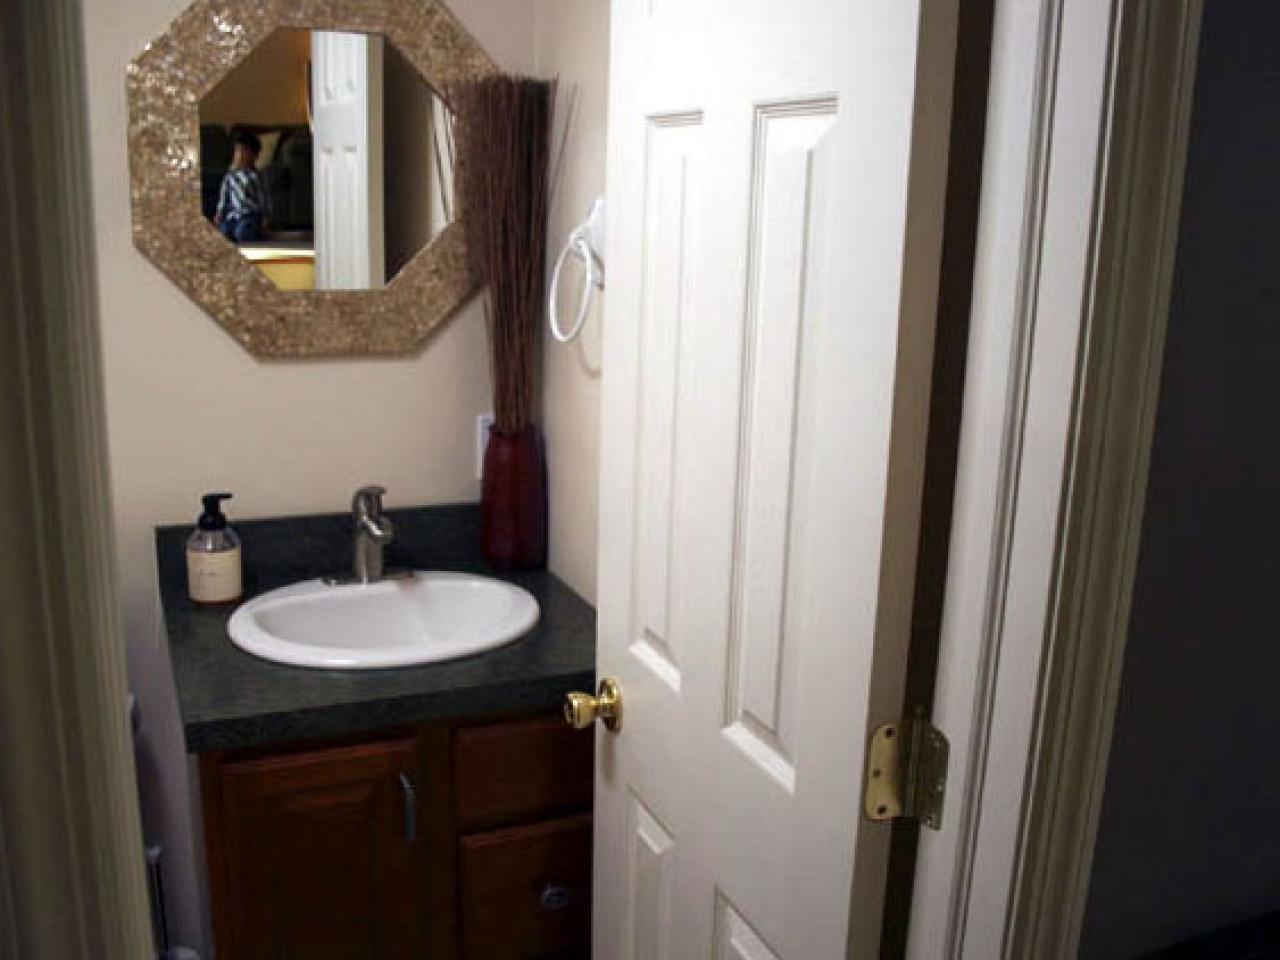
14. In order to secure the pedestal sink to the wall behind it there must be something substantial to bolt into. Use a stud finder to locate the wall studs flanking the plumbing lines. If no studs are found use heavy-duty wall anchors.
15. Freely set the basin and pedestal in position and prop up the basin with 2x4s to steady it. Make sure the sink is level both front to back and left to right. Mark the location for the mounting holes on the wall for both the basin and pedestal. Drill holes corresponding to your marks and the type of fasteners you plan to use. Install the faucet and drain assembly on the basin. Attach the water supply lines to the faucet. Put the basin and pedestal back in position but only bolt the basin in place. Be careful not to over tighten the bolts and crack the sink. Next, with the basin supported by some 2x4s, slip the pedestal out from under the basin.
16. Complete the installation of the drain and water supply lines and test for leaks. If you have a leak, use some Teflon tape and re-secure the fittings.
17. Move the pedestal back into its final position and bolt it to the floor. If the pedestal is not designed for floor bolts, then apply adhesive caulk to the bottom and top of the pedestal before putting it in position. Caulk the joint between the sink and the wall. Smooth and blend the bead by moistening your finger and running it over the bead.


