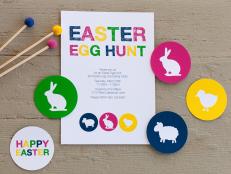
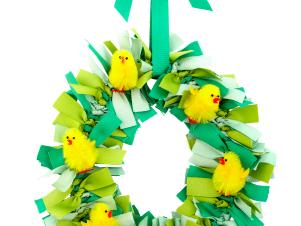
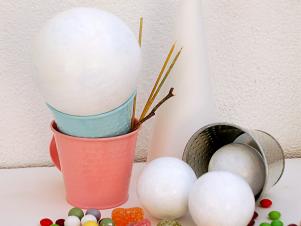
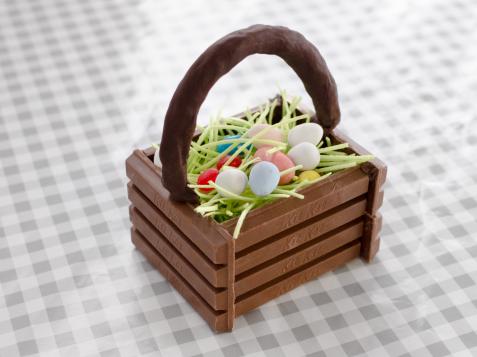
60 Fresh + Fun Easter Craft Ideas for All Ages 60 Photos
Hop into the holiday with these egg-cellent craft projects, DIY decor, printables, recipes and more.
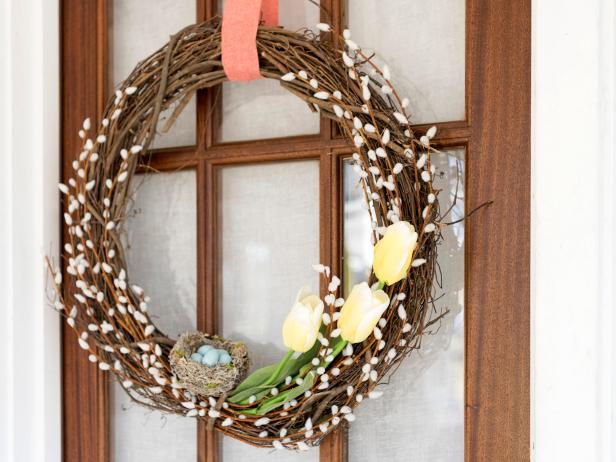
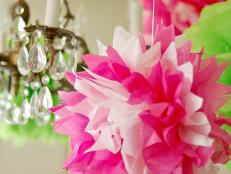
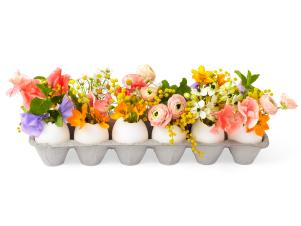
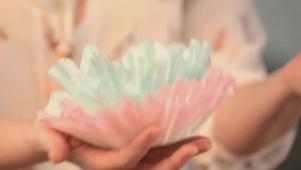
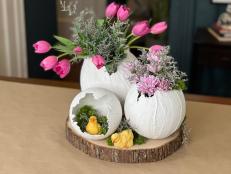
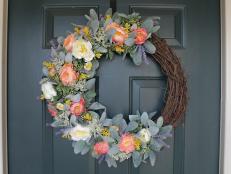
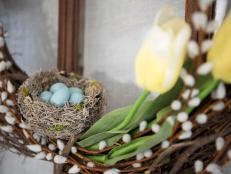
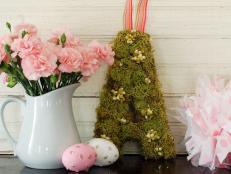
50 Easter Decorating Ideas 55 Photos
Banish winter blahs with fresh flowers, cheery colors and Easter-themed touches.
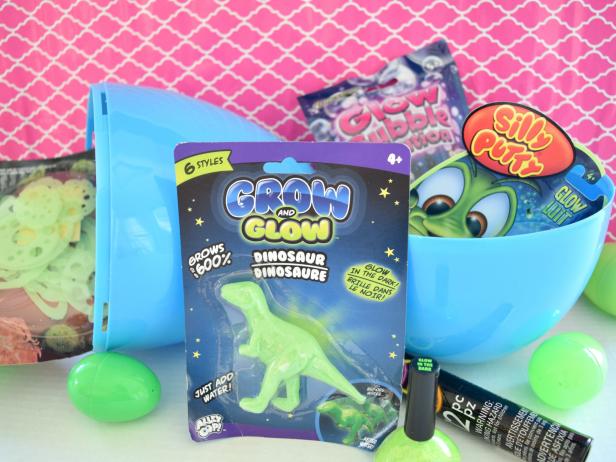
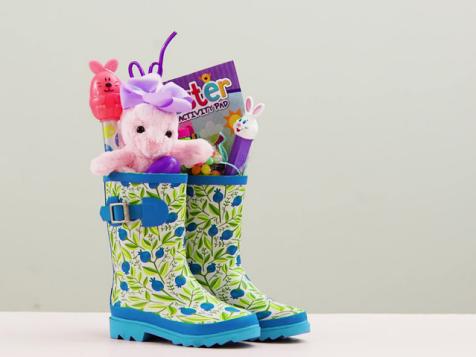
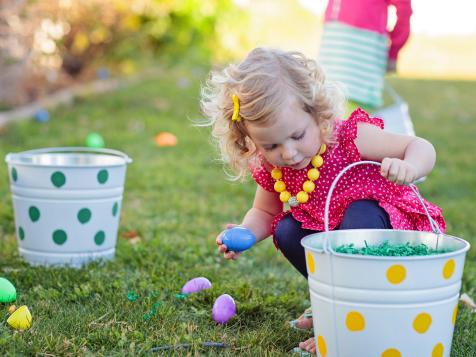
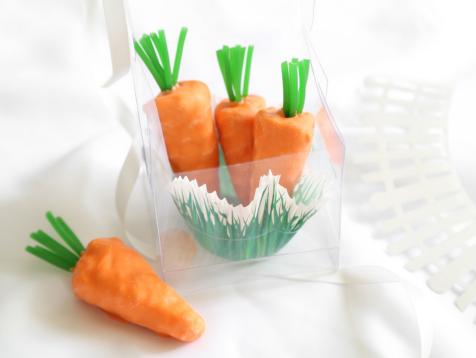
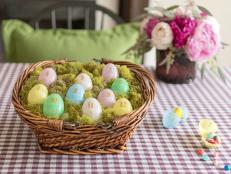
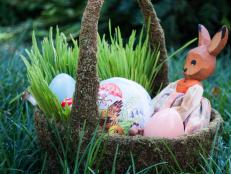
35 Unique Easter Basket Ideas 34 Photos
Skip the traditional basket this Easter, and make one of these clever ideas that are perfect for all ages.
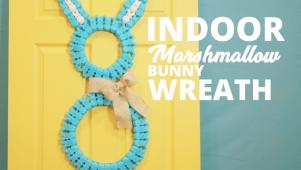
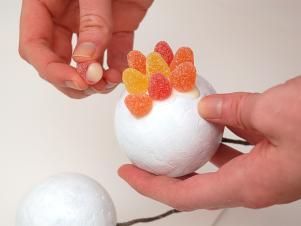
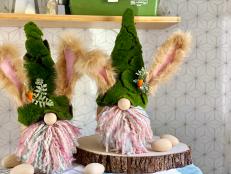
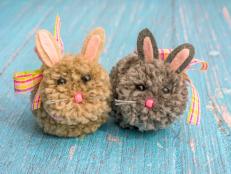
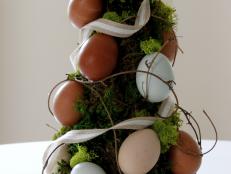
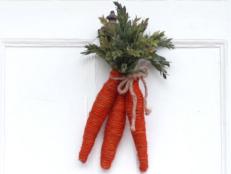
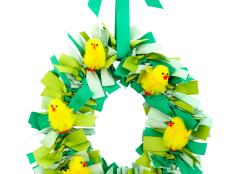
Easter Crafts & DIY Projects
Get crafty as you prepare to celebrate the holiday.
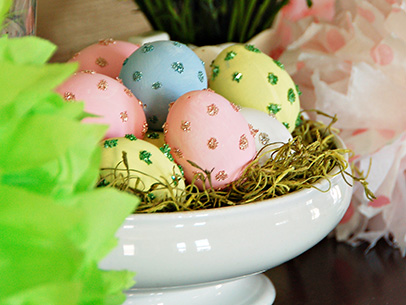


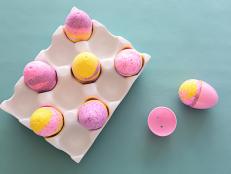


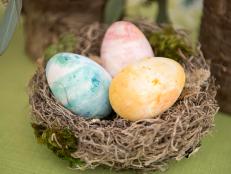
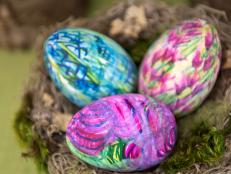


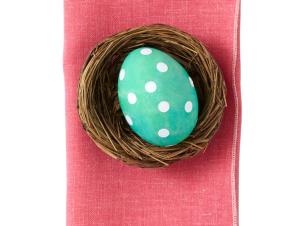
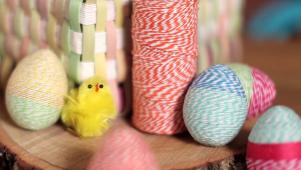
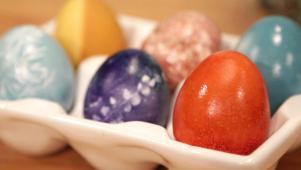
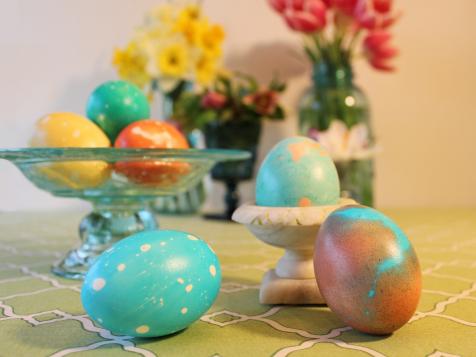
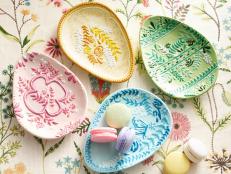
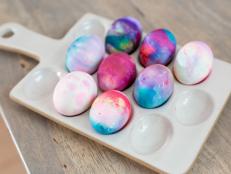
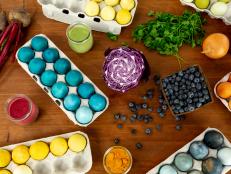
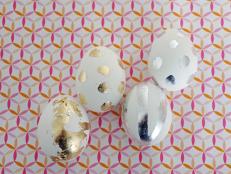
18 Fun and Easy Easter Egg Decorating Ideas 27 Photos
Take your Easter egg decorating to the next level by adding jewels, washi tape, colorful dip-dyed designs and more. Your spring tablescape will never be the same.
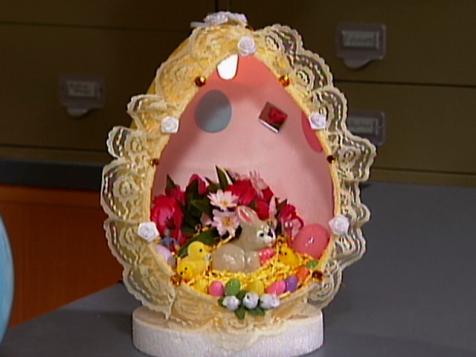
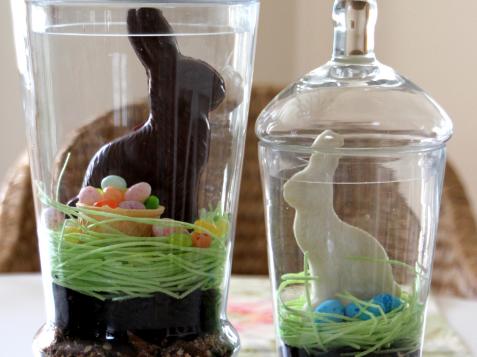
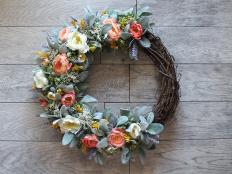
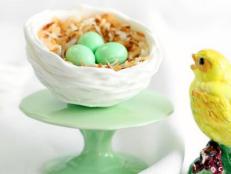
Our Favorite Easter Decor Ideas
From Easter eggs to pastel-colored place settings, we've got Easter decorating ideas for you.


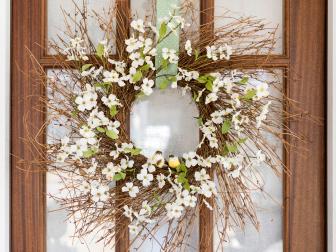
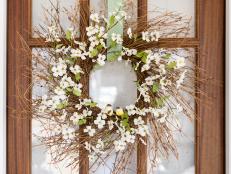
50 Easter Decorating Ideas 55 Photos
Banish winter blahs and brighten up your home indoors and out with fresh flowers, cheery spring colors and whimsical Easter-themed touches.
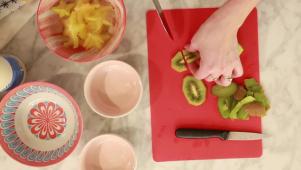
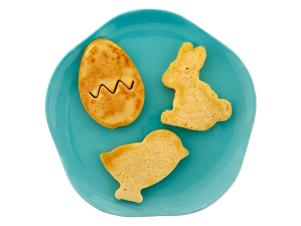
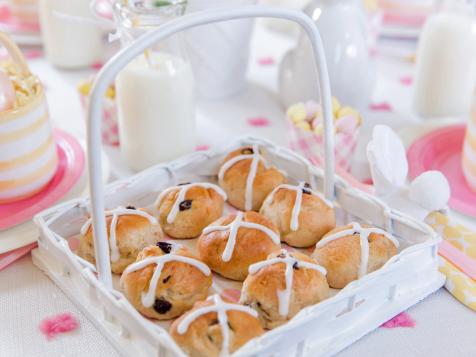
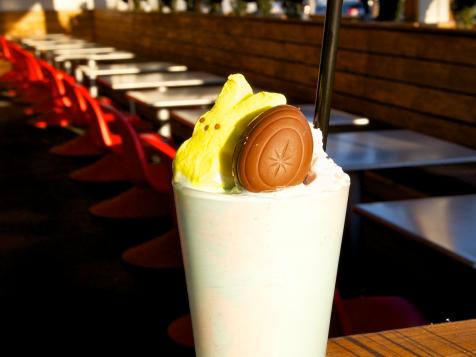
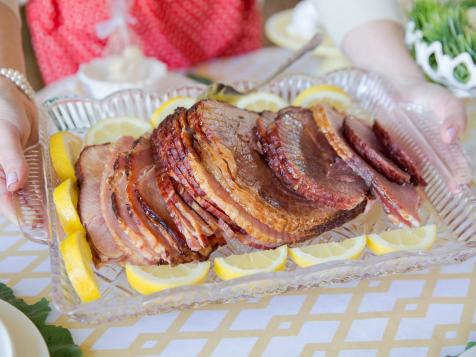
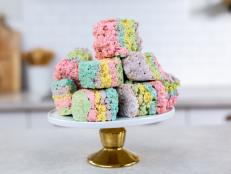
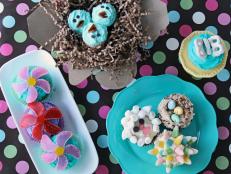
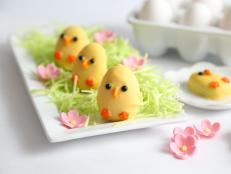
Cook Up Tasty Easter Treats
Get recipes for a adorble Easter snacks or a tasty brunch or dinner spread.


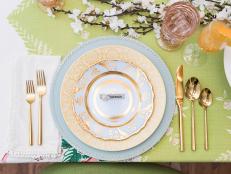
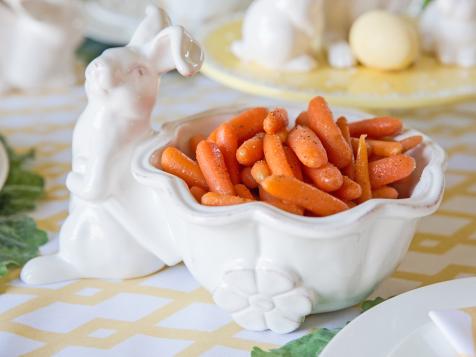
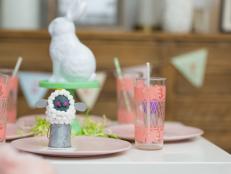
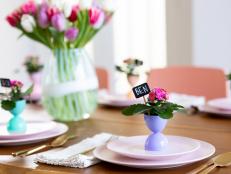
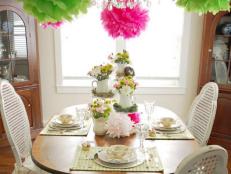
30 Easy Easter Tablescapes 35 Photos
Easter is a great time to celebrate with family and friends. Set the right tone for your Easter gathering with an unforgettable, easy-to-make tablescape.
Easter Entertaining Tips
Prepare to entertain family and friends this Easter weekend.