


How to Make Modern Wood Wall Art with Plywood


Materials Needed:
- 4x8' sheet of 1/2" thick paint-grade plywood
- chop saw
- 4 quarts semigloss latex paint in coordinating colors
- mini roller handle
- mini foam roller sleeve
- mini paint pan
- drop cloth
- primed 1x2" strips of MDF (medium density fiberboard)
- 8' long strips of 1x3" plywood
- 8' long strips of 1x5" plywood
- measuring tape
- pencil
- sawhorses
- roll of craft paper
- paintbrush
- drill
- 2" wood screws
- 75 lb capacity picture wire
- 75 lb capacity picture hooks
- wire cutters
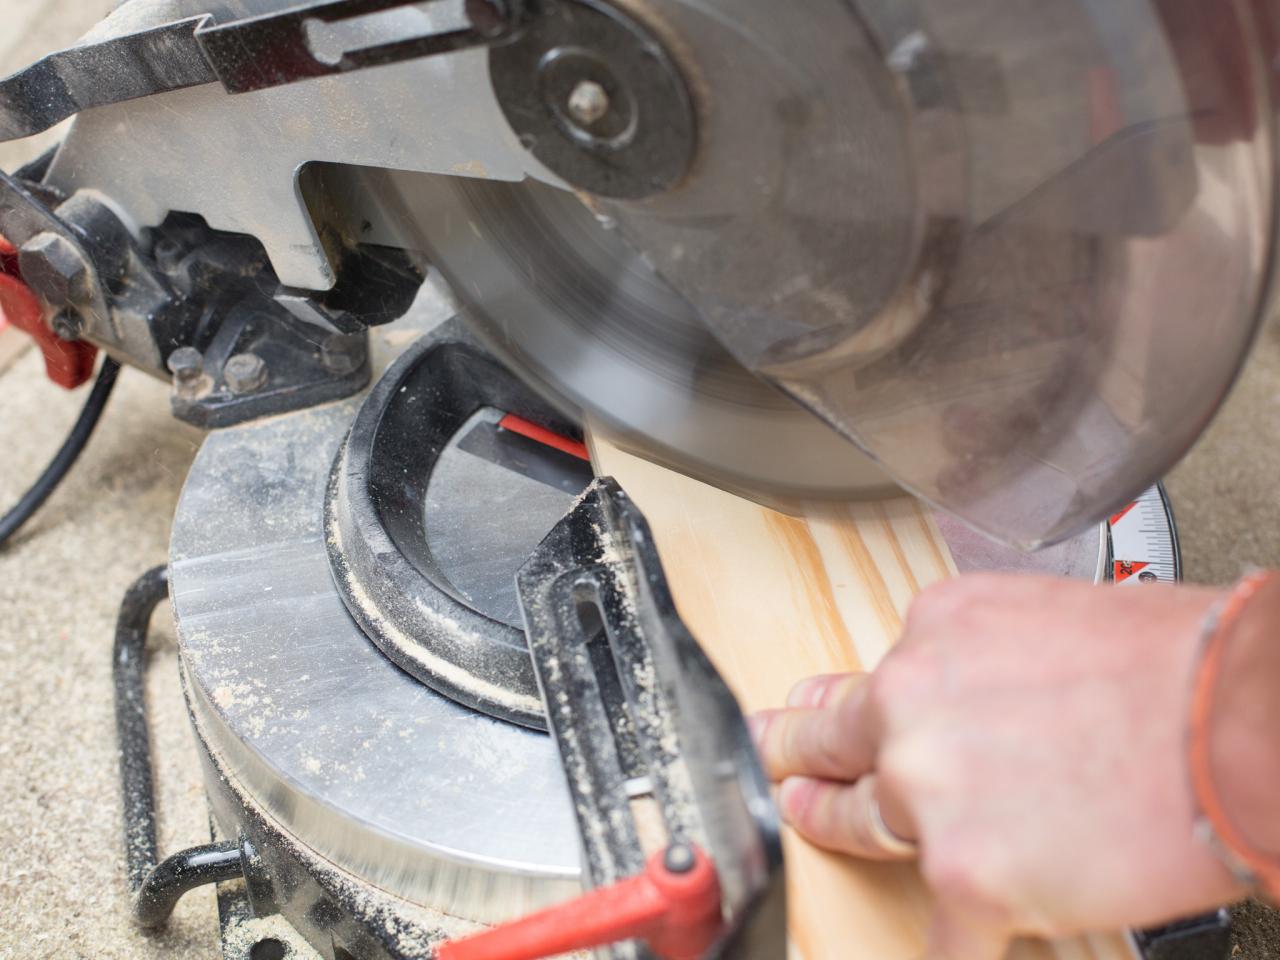
Mark & Cut Plywood
Use measuring tape and a pencil to mark 4x8' sheet of 1/2" thick paint-grade plywood to size, then cut with chop saw. Cut primed 1x2" strips of MDF to size using chop saw, mitering the corners to create a frame. Attach the frame around the outside edge of the plywood sheet. Next, use chop saw to cut strips of MDF and plywood the same length as the 4x8' sheet.

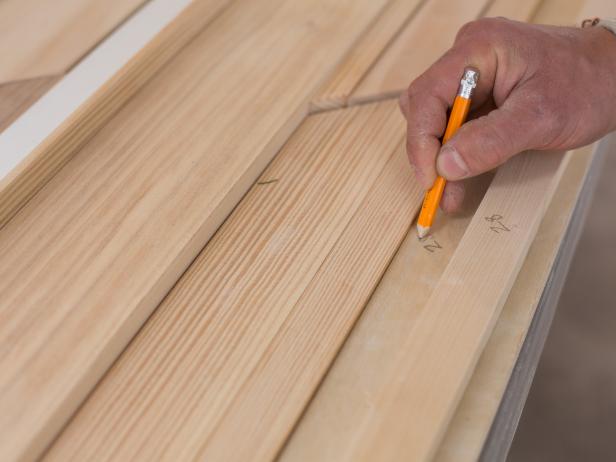
Mark Angled Cuts
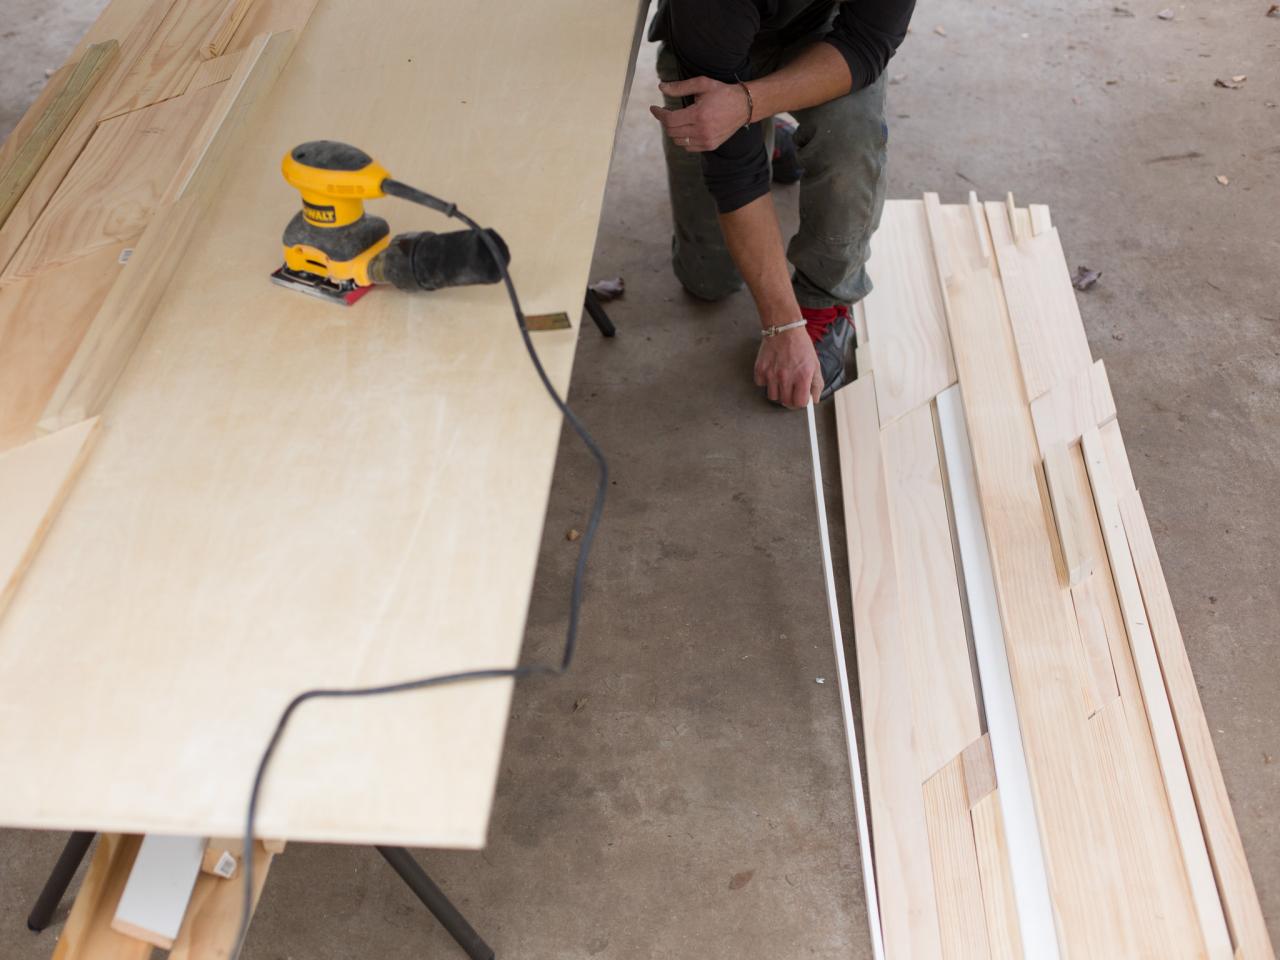
Place the cut sheet of plywood directly on top of sawhorses, then position each cut strip of MDF and plywood up against one another along the top of the plywood sheet. Next, use a pencil to mark where strips will be mitered to add geometric shapes and angles (Image 1). To ensure the positioning of each mitered strip is easily identifiable, mark the strip and its placement to sheet of plywood with corresponding numbers in pencil (Image 2). Tip: Mark the top and the bottom of each strip with pencil so that once painted the placement will still be identifiable on the unpainted back side of each strip.

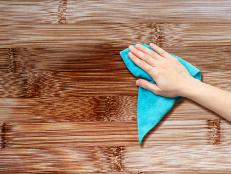
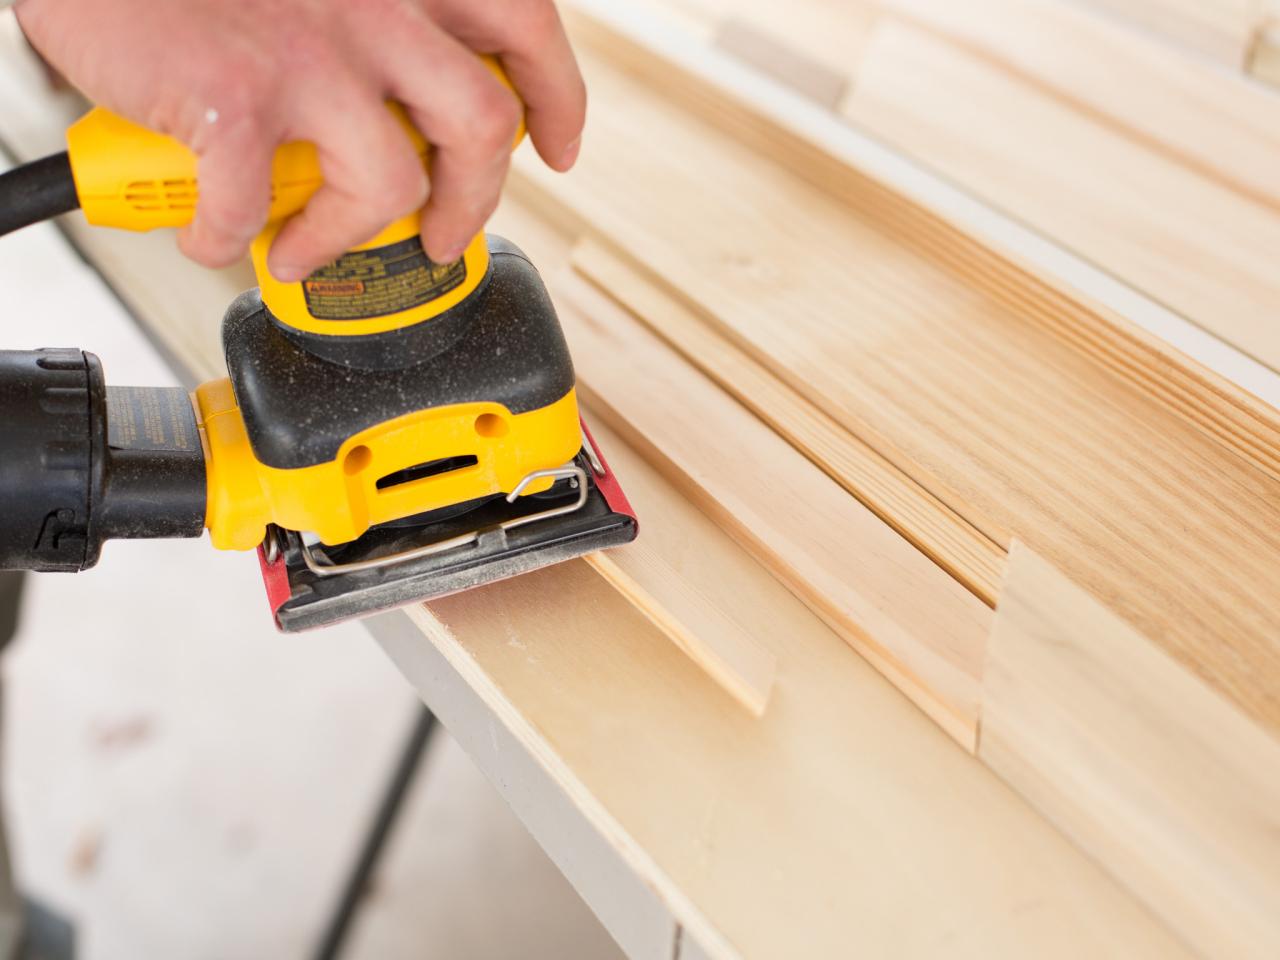
Sand Surfaces
Once all cuts have been made, use orbital sander to smooth all surfaces.


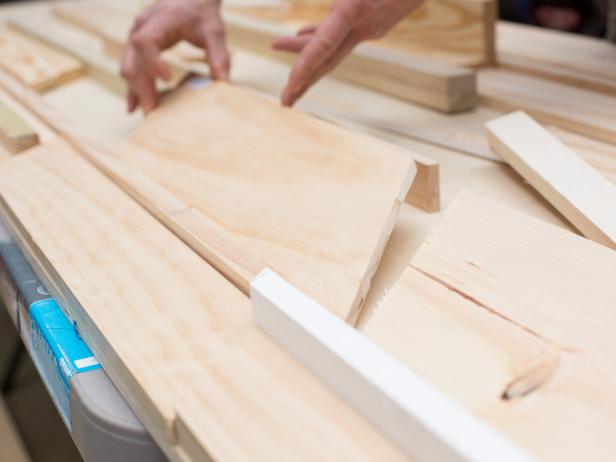
Add Dimension
Once wood pieces are cut to size and sanded, play with the dimension by placing some on their sides (Image 1) and stacking some on top of the others (Image 2).

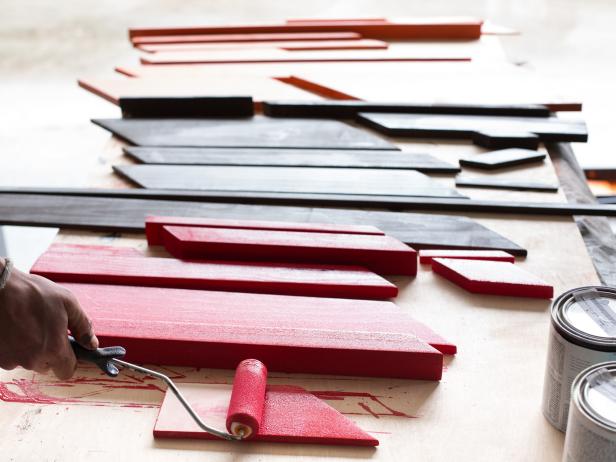
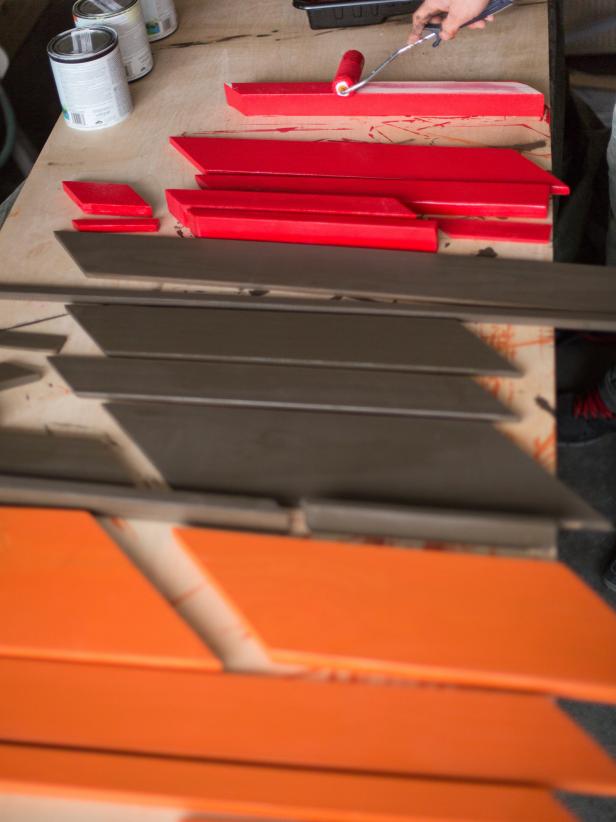
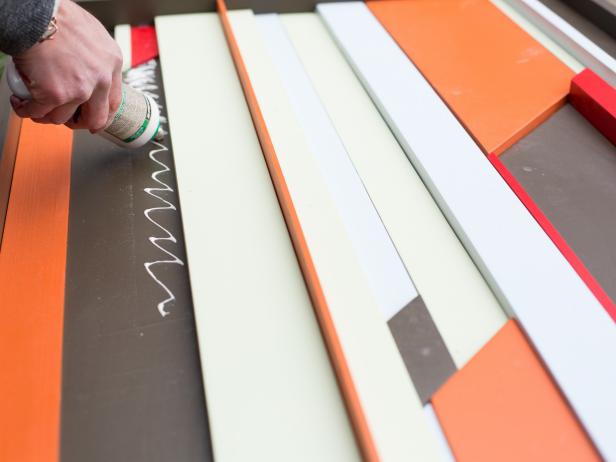
Paint Strips
Determine random color placement by marking each strip with paint in its intended color (Image 1). Lay craft paper or drop cloth on a flat, level surface. Group strips together in like colors, then add two coats of paint with mini roller and/or paintbrush (Images 2 and 3).

Paint Background Color and Glue Strips in Place
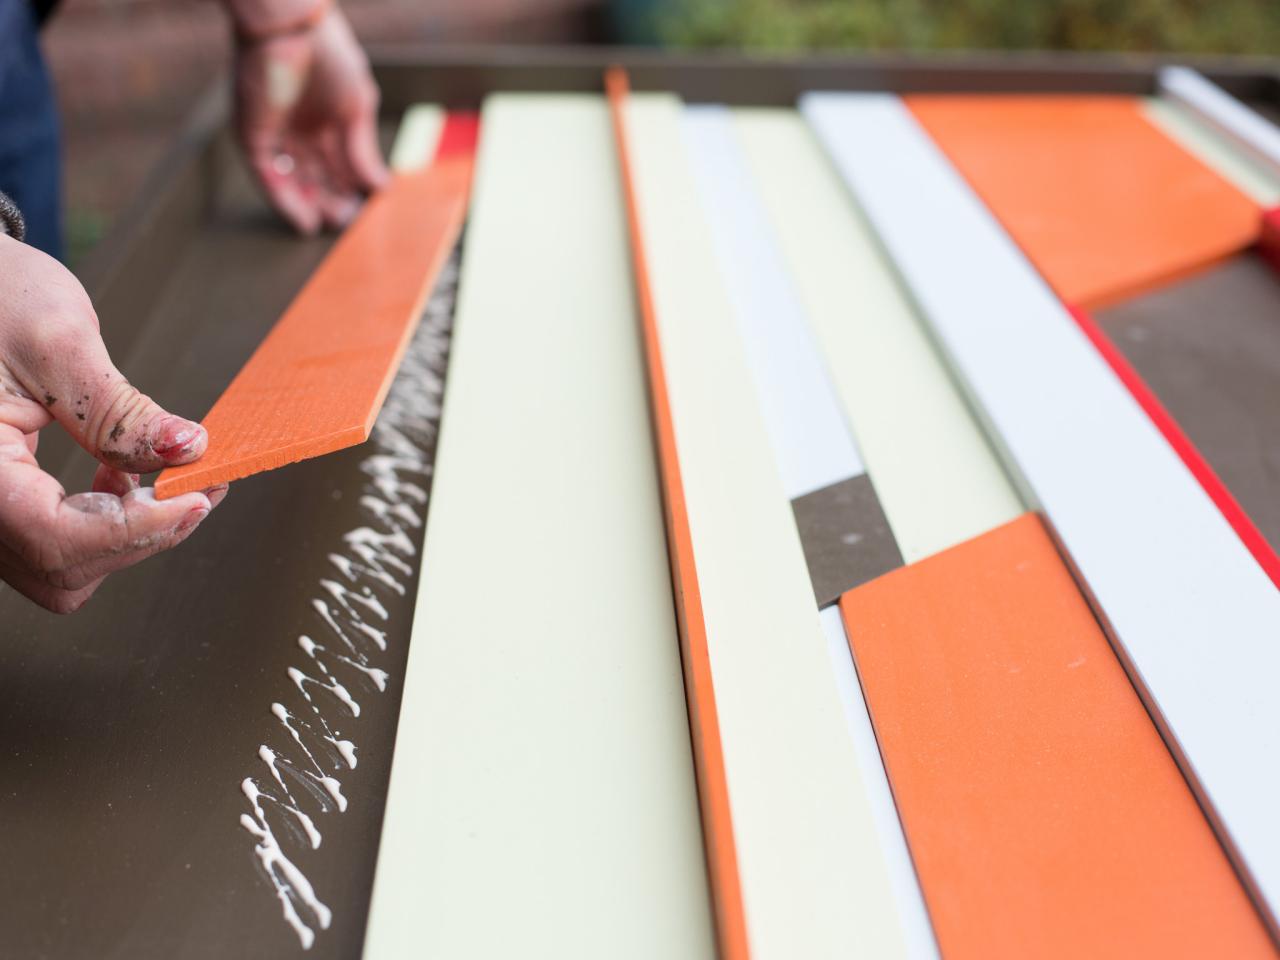
Use mini roller to paint 1x2" frame as well as the plywood, ensuring the pencil marks still show through. Next, use numbers along bottom of each painted strip to position properly. Add glue directly to the plywood (Image 1), then place each strip individually until pattern is complete (Image 2). Allow glue to dry for 24 hours, then attach picture hooks to the back of the plywood sheet using drill and screws. Unfurl spool of 75 lb picture wire to proper length; cut using wire cutters and securely add wire to hooks.


