


Easy Clip-Art Rails
Create a stylish and functional spot to hang children's artwork, photos, awards or even chores or homework with these easy-to-build ruler clip-art rails.

By:
Ana White
Materials Needed:
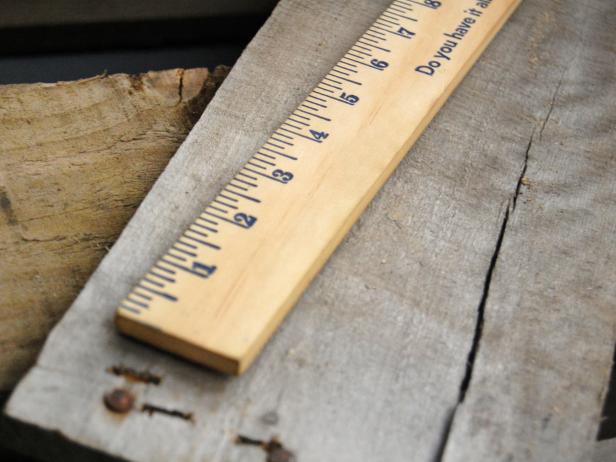
- wooden yardstick
- 4 oversized wood clothespins
- (8) 1/2" wood screws
- (2) 2" wood screws
- pilot hole and drill bit to match screw heads
- drill
- acrylic paint
- small paintbrush
- wood glue
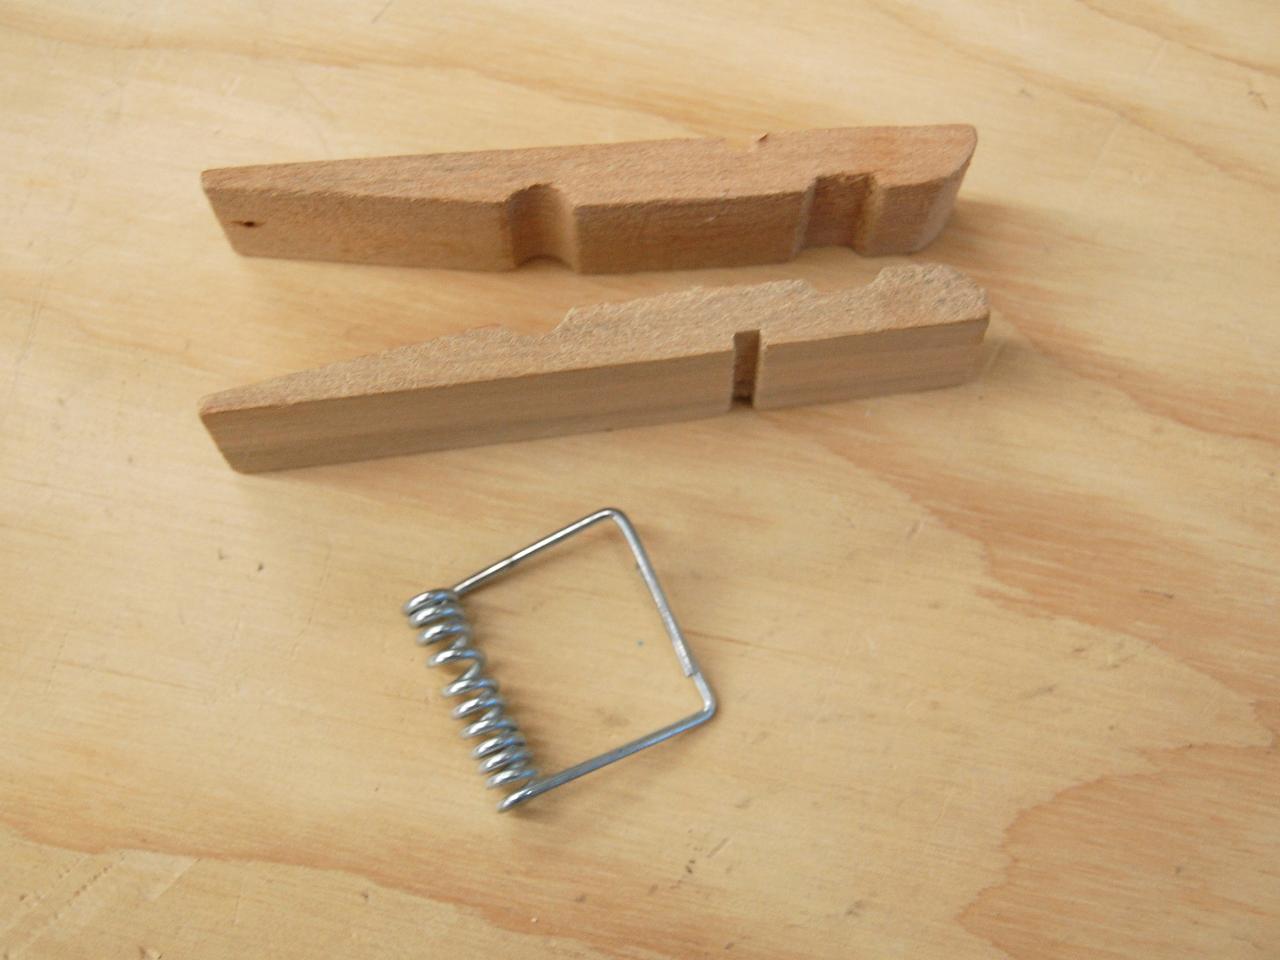
Prepare Clothespins and Yardstick
Remove spring from each clothespin and brush clothespins and yardstick with soft bristled brush to remove any debris.

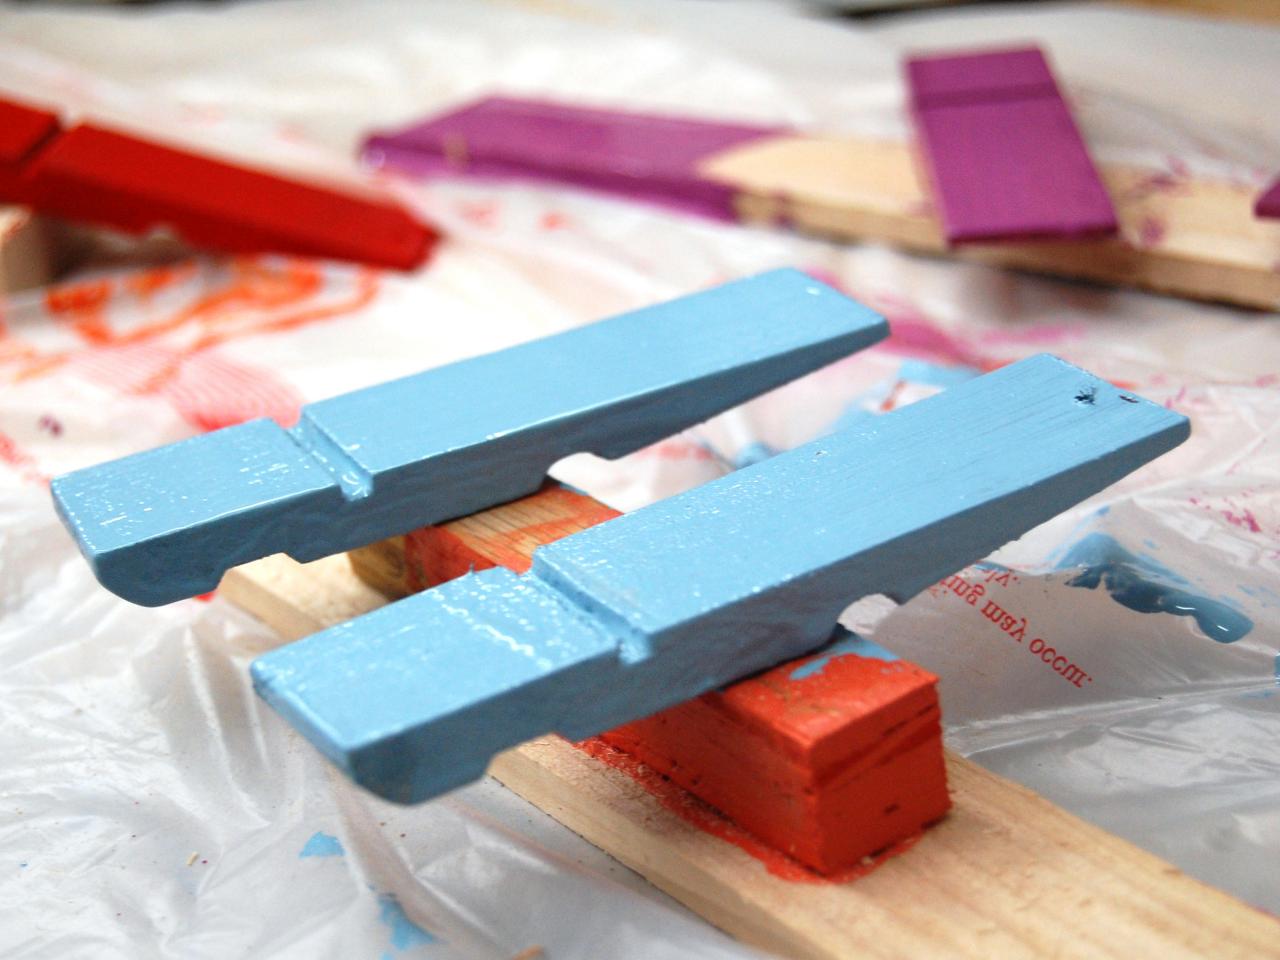
Paint Clothespins
Paint clothespins with acrylic paint. Let dry completely. Add second coat if necessary.

Replace Springs
Replace springs on clothespins. Arrange clothespins evenly spaced on yardstick.

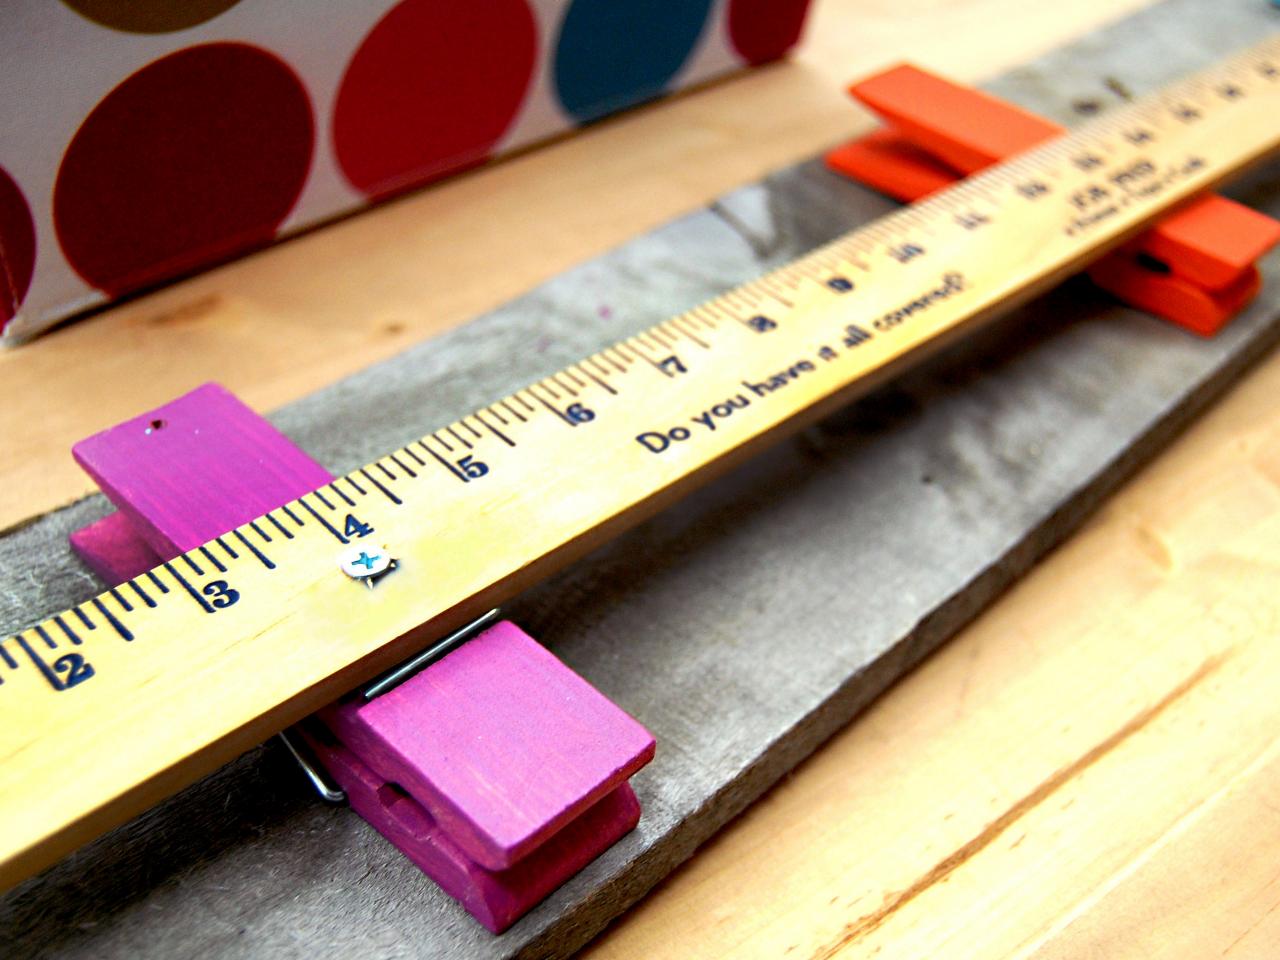
Attach Clothespins to Yardstick
Pre-drill holes with pilot bit in yardstick. Glue and screw the yardstick to the clothespins with the half-inch screws. Let dry.

Hang on Wall
Pre-drill holes in yardstick corresponding with a stud in the wall behind the yardstick. Use two-inch screws through pre-drilled holes to attach yardstick to the wall. Tip: If studs are not available, use drywall anchors to secure screws to drywall.

Next Up

Child's Favorite Toy Photo Project
Turn a child's treasured belonging into eye-catching artwork with a large printed photo and basic lumber.

Fragmented Map Art Project
Give an artistic, modern twist to a vintage map by displaying it in a collection of frames.

Kids' Chalkboard Lamps
Create a convenient spot for leaving messages for your little one by covering a lamp base with chalkboard paint.

DIY Upholstered Toddler Daybed
Reading spot by day, comfortable padded bed by night. Repurpose a standard crib mattress and bedding to create your own upholstered toddler daybed with simple tools and no sewing.

How to Create Embellished Roller Shades
Turn basic roller shades into stylish window treatments by simply adding decorative trim.

Stair Post Kid's Desk
Learn how wooden posts, plywood and a little patience can create a custom, kid-size desk.

Kids' Photo Wall Mural
Turn a cherished photograph into a uniquely personal wall mural fit for a kids' space.

Create a Colorful Chalkboard Dresser
Give a boring, old dresser a playful new style with colorful chalkboard paint.

How to Create a Painted Kids' Room Monogram
Add a uniquely personal touch to a nursery or kids' room by painting their initials on the wall.

How to Upgrade Ready-to-Assemble Bookshelves
Give basic bookshelves the designer treatment with paint and added molding.


