Create a Colorful Chalkboard Dresser
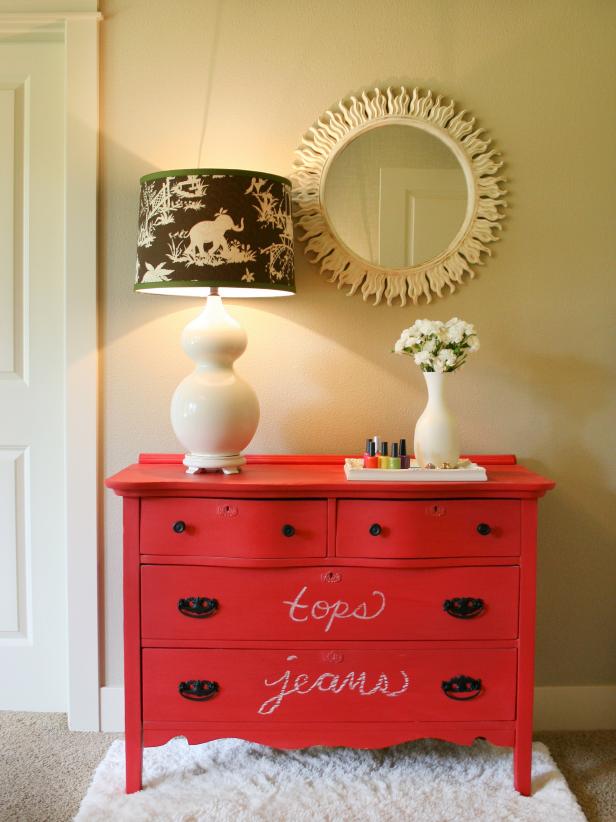
Give a boring, old dresser a playful new style with colorful chalkboard paint.
By: Janell Beals
Dresser With Bold Chalkboard Paint

Bold Chalkboard Dresser

A coat of bright chalk paint can turn an old eyesore into an artist's canvas — or, for the super-organizers among us, another way to label every single drawer. Use chalk pens to avoid smudging and dust.

Materials Needed:

  • dresser
  • water-based primer
  • chalkboard paint (tinted to the color of your choice)
  • paintbrush
  • extra-fine sanding pad
  • tack cloth
  • chalk
  • towel
  • drop cloth

Prep Work Area and Dresser

Protect work area with a drop cloth. Remove all hardware and drawers from dresser. Tip: Place hardware together in a zipped baggie so no screws are lost.
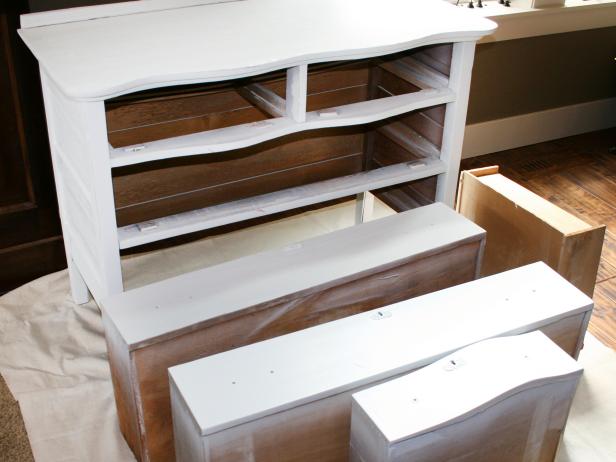
Dresser With No Hardware or Drawers

Prepare the Dresser for Painting

Protect work area with a drop cloth. Remove all hardware and drawers from dresser. Tip: Place hardware together in a zipped baggie so no screws are lost.

Sand Surface

Sand all dresser surfaces to knock down any existing finish then remove all dust with tack cloth.
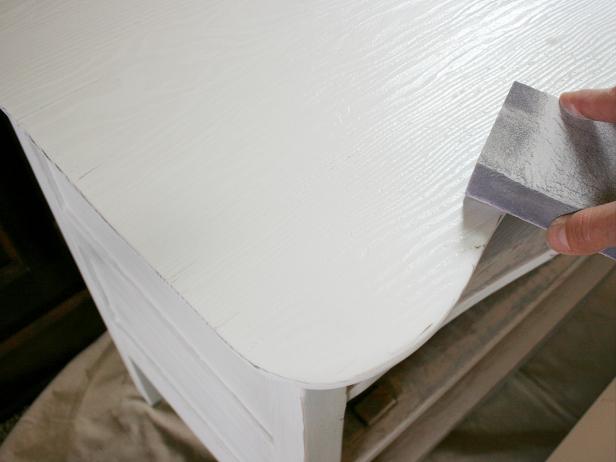
Sanding Top of Dresser

Sand the Dresser

Sand all dresser surfaces to knock down any existing finish then remove all dust with tack cloth.

Apply Primer

Brush a smooth layer of primer onto dresser and drawer surfaces. Let dry three hours then lightly sand primed areas to eliminate any rough spots. Wipe clean with tack cloth.
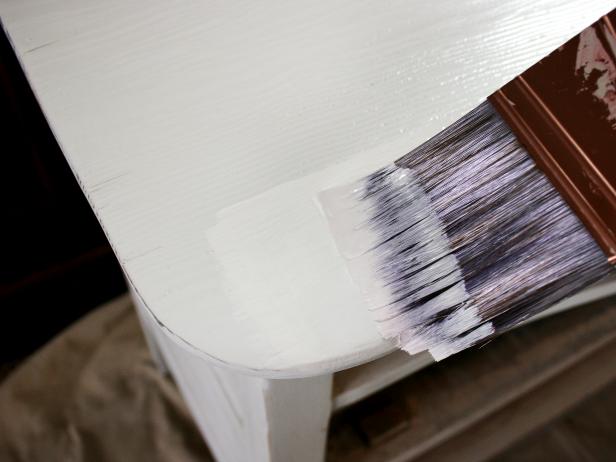
Adding Primer to Dresser With Brush

Prime the Dresser Before Chalkboard Paint

Brush a smooth layer of primer onto dresser and drawer surfaces. Let dry three hours then lightly sand primed areas to eliminate any rough spots. Wipe clean with tack cloth.

Apply Paint

Brush a consistent layer of chalkboard paint onto dresser and drawer surfaces; allow to dry three hours.
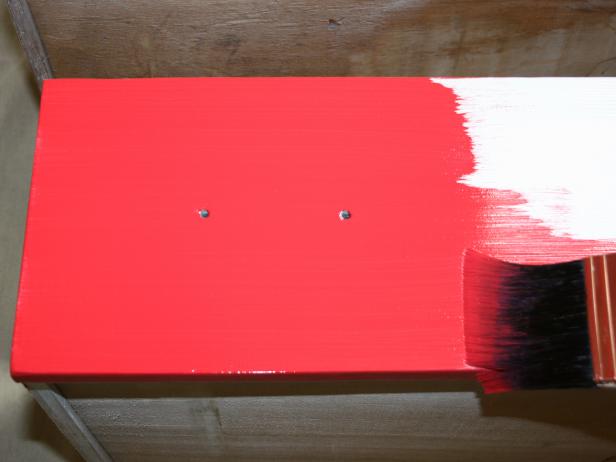
Applying Red Paint to Dresser

Paint Kid's Chalkboard Dresser

Brush a consistent layer of chalkboard paint onto dresser and drawer surfaces; allow to dry three hours.

Sand Between Coats

Sand down any raised areas before applying the second coat of chalkboard paint. Wipe clean with tack cloth.
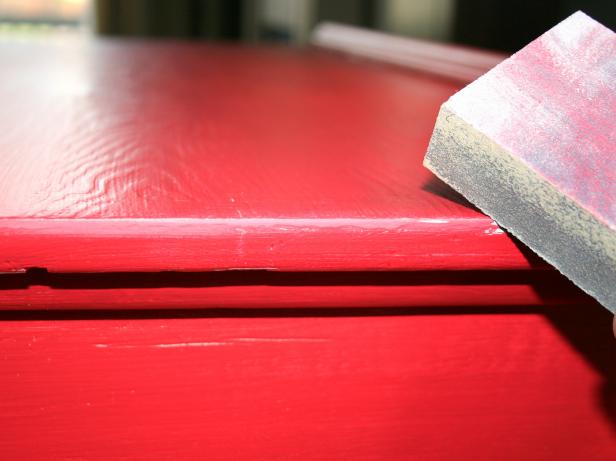
Sanding Red Dresser

Sand Between Paint Coats

Sand down any raised areas before applying the second coat of chalkboard paint. Wipe clean with tack cloth.

Apply Second Coat

Brush on second coat of chalkboard paint and allow to dry three hours.
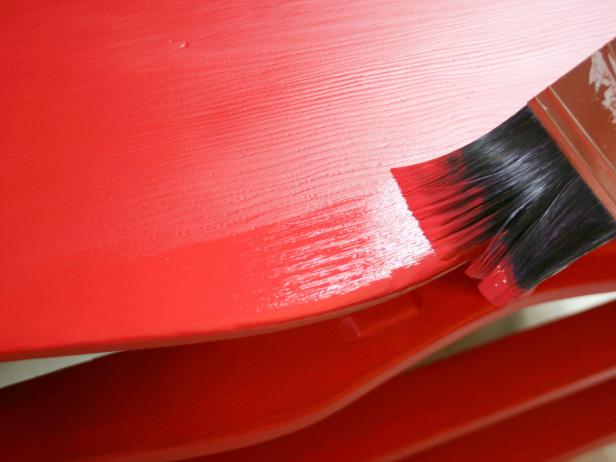
Applying Red Paint on Dresser

Adding a Second Coat of Chalkboard Paint

Brush on second coat of chalkboard paint and allow to dry three hours.

Treat Painted Surfaces With Chalk

Prepare dresser for writing by covering surfaces with a large chalk stick on its side. Tip: This step prevents any future chalk phrases from being "burned" into the surface and allows markings to be fully erasable.
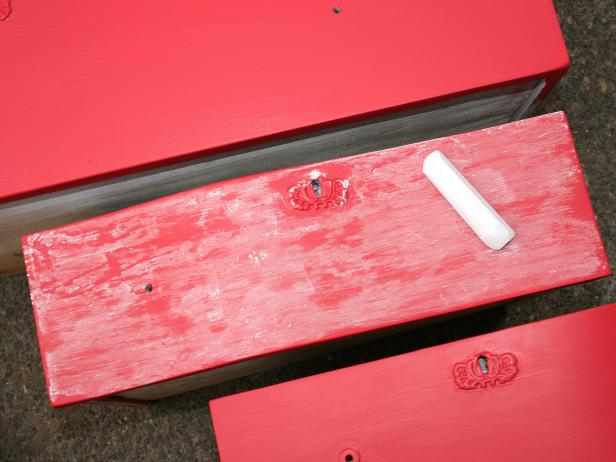
Treating Red Painted Surfaces With Chalk

Prep Dresser With Chalk

Prepare dresser for writing by covering surfaces with a large chalk stick on its side. Tip: This step prevents any future chalk phrases from being "burned" into the surface and allows markings to be fully erasable.

Wipe Clean

Rub chalk into painted surface then wipe away with towel.
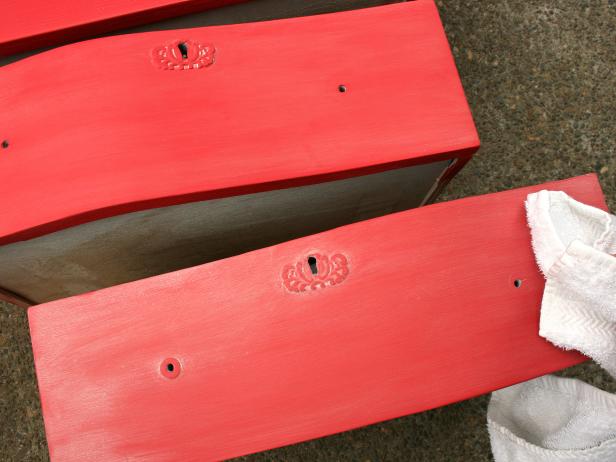
Wiping Away Chalk From Dresser Drawers

Clean the Dresser Surface

Rub chalk into painted surface then wipe away with towel.

Label Drawers

Help kids stay organized by labeling each drawer. Alternately, you can add a favorite quote or saying or allow kids to add their own chalk artwork.
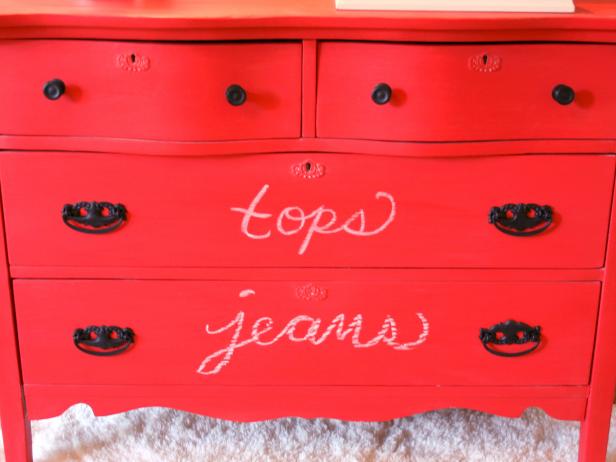
Red Dresser With Labeled Drawers

Chalkboard Painted Dresser With Messages on Drawers

Help kids stay organized by labeling each drawer. Alternately, you can add a favorite quote or saying or allow kids to add their own chalk artwork.

Next Up

Kids' Chalkboard Lamps

Create a convenient spot for leaving messages for your little one by covering a lamp base with chalkboard paint.

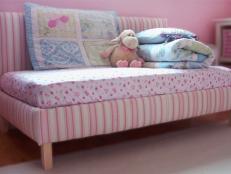
DIY Upholstered Toddler Daybed

Reading spot by day, comfortable padded bed by night. Repurpose a standard crib mattress and bedding to create your own upholstered toddler daybed with simple tools and no sewing.

Stair Post Kid's Desk

Learn how wooden posts, plywood and a little patience can create a custom, kid-size desk.

How to Upgrade Ready-to-Assemble Bookshelves

Give basic bookshelves the designer treatment with paint and added molding.

How to Create a Painted Kids' Room Monogram

Add a uniquely personal touch to a nursery or kids' room by painting their initials on the wall.

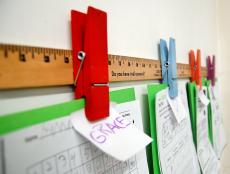
Easy Clip-Art Rails

Create a stylish and functional spot to hang children's artwork, photos, awards or even chores or homework with these easy-to-build ruler clip-art rails.

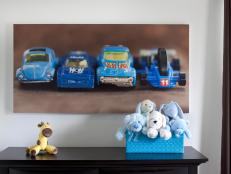
Child's Favorite Toy Photo Project

Turn a child's treasured belonging into eye-catching artwork with a large printed photo and basic lumber.

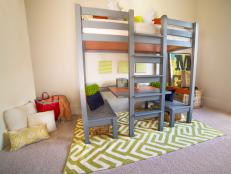
How to Build a Loft Bed With a Built-In Table and Benches

Increase the square footage in your child's bedroom by making a loft bed with a built-in desk/play station. 

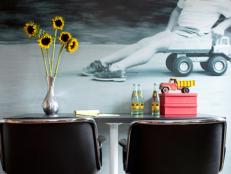
Kids' Photo Wall Mural

Turn a cherished photograph into a uniquely personal wall mural fit for a kids' space.

How to Create Embellished Roller Shades

Turn basic roller shades into stylish window treatments by simply adding decorative trim.

Go Shopping

Get product recommendations from HGTV editors, plus can’t-miss sales and deals.

Follow Us Everywhere

Join the party! Don't miss HGTV in your favorite social media feeds.