


How to Make a Modern Rope Rug
Turn rope and hot glue into a super cool throw rug or welcome mat.

A splash of modern style is just a few steps away. With some simple rope, felt and a hot-glue gun, you can design and make a rug in any size, shape or colors you want.

Tools and Materials
- poster board
- ruler or compass
- pencil
- marker
- 1/4 inch rope, we used 220 ft.
- lighter
- scissors
- hot-glue gun and glue sticks
- felt, we used 1 yard
- tweezers
Step 1: Make a Template

Mark a spot in the center of a sheet of poster board. Use the spot as the center point to make circles using a ruler or compass and a pencil. Our template has a variety of circle sizes: 3", 3-1/2", 4", 6" and 12". The template will help you keep consistent shapes and sizes throughout your design. Trace the circles with a marker and use the template to measure the circles as you create them.
Step 2: Prevent Fraying

Before you make each cut of the rope, seal that area to prevent fraying. If you are using a rope with synthetic materials, pass the rope over the open flame of a lighter. Turn the rope slightly to ensure that all sides are gently melted before cutting. If you are using non-synthetic rope, smear a bit of slightly cooled glue around the area to be cut and allow it to cool before cutting.
Step 3: Start Circling

To begin making a circle, add a dab of hot glue to the end of the rope and fold it over on itself about 1/2". Hold it in place until hardened. Add dabs of glue around the outside of the fold and begin wrapping the rope around it.

Continue adding small amounts of glue and wrapping the rope around the center circle. The glue can be spaced a few inches apart during this construction step. You can add more glue to the back after the circles are done to make them more secure. Check the circle against the template to get the size you want. When you are close to the end, seal the rope and cut.
Step 4: Tuck Under the Ends

When you get to the end, turn the end of the rope upwards slightly towards you and add some extra glue to hold it in place. This will be the bottom of the rug.
Step 5: Make More Circles

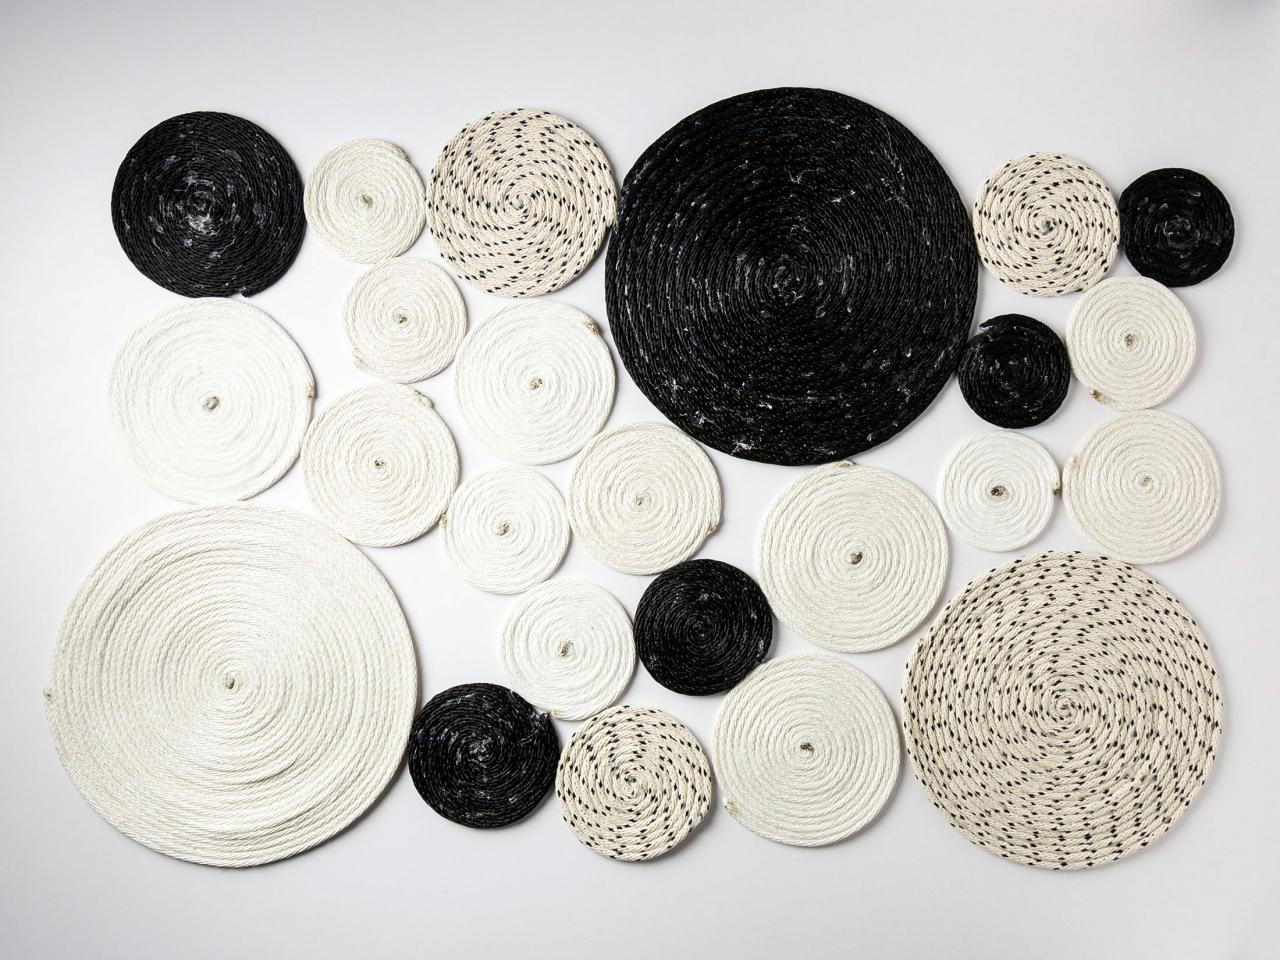
For this modern look, you will need several shapes in coordinating colors. Make many smaller circles to fill in the space between the larger circles. Layout your design in advance, with the bottom of the circles facing up. Your design can be in any shape or completely organic. Our rug is a 2’ x 3’ rectangle.
Step 6: Cut Felt Backing
Remove the circles, one by one, and outline them on felt in the color of your choice. Cut the felt circle 1/4" smaller than the rope circle. Do not attach the felt at this point, set aside the circles.
Step 7: Connect Rope Circles


Connect the rope circles together by applying a bead of hot glue where any of the circles touch each other. Try to have as many touching points as possible to make the rug more durable.
When the intersections are bonded, add an extra, thick patch of glue over each intersection to secure the circles together. Allow the patches to cool before continuing.
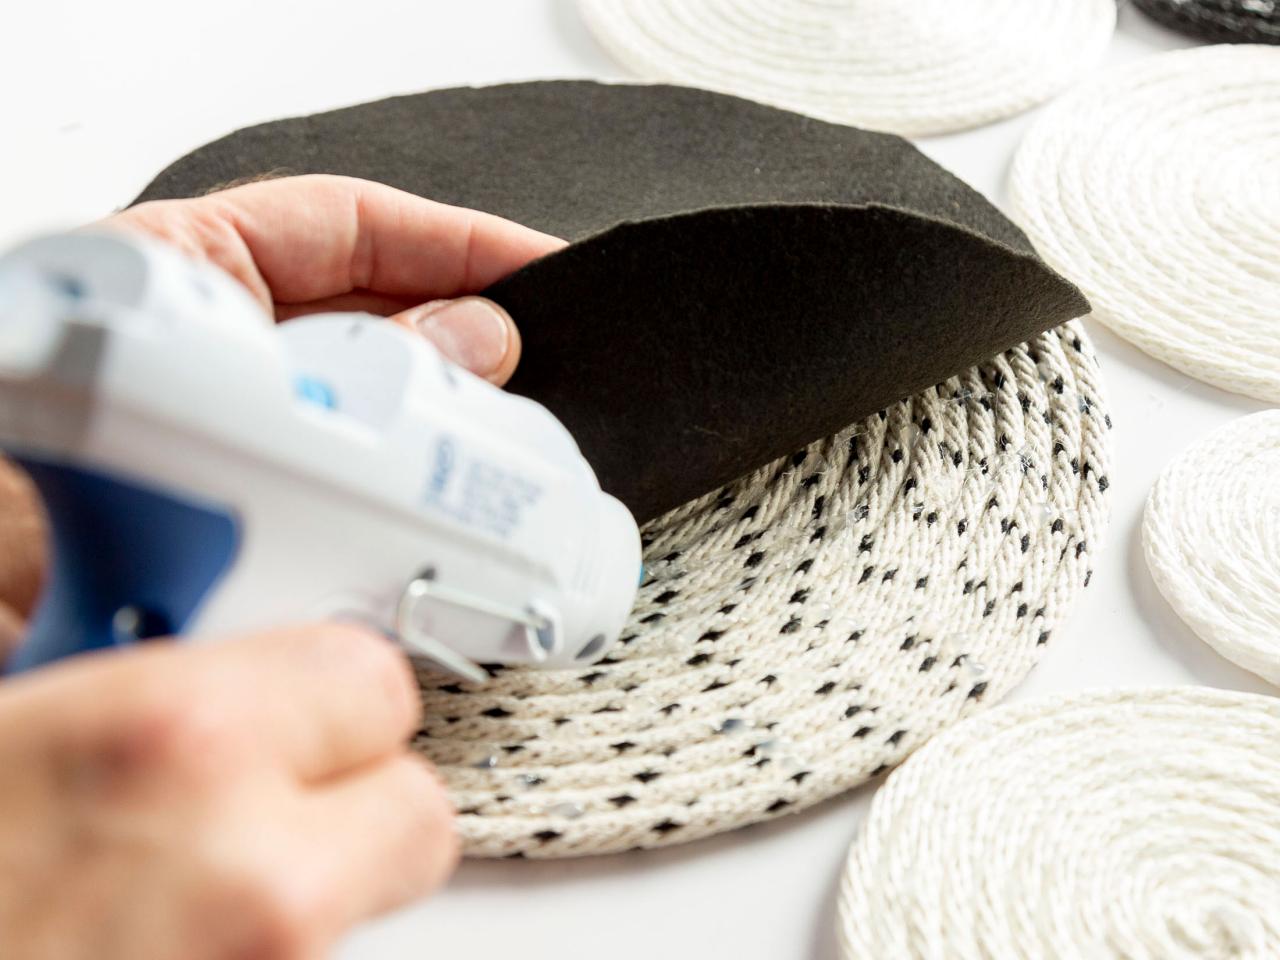
Step 8: Attach Felt Backing

Add the felt to the backs of the circles using hot glue. Add lines of glue across the back and one circle bead of glue close to the edge of where the felt will lay to hold it securely in place.

Remove any excess glue from the project with scissors and tweezers before using.


