


How To Install Picture Frame Molding
As a wall treatment, picture-frame molding is a simple way to give an elegant, classic look to an ordinary space — as well an ideal way to highlight framed art.

Picture frame molding is a beautiful way to add style and sophistication to a space. Originally used to protect the canvases of the great Italian painters, picture frame molding evolved eventually into its own art form, adding architectural interest to uninspiring spaces. While this type of molding looks complicated to install, it is actually quite simple if you use a couple of time-saving tricks.

Jennie Andrews
Tools and Materials:
- picture frame or base cap molding
- 1x4 board to use as a spacer
- paint
- paintbrush
- paint roller
- paint tray
- construction adhesive
- nail gun
- finish nails
- miter saw
- level
- caulk gun
- tape measure
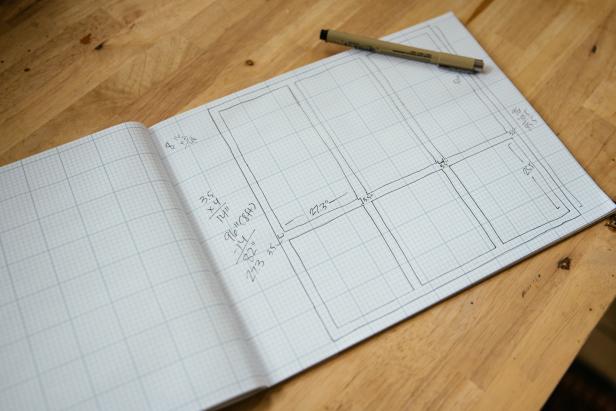
1. Determine Your Layout
The most difficult part of this project might just be visualizing your pattern and measuring and marking the placement of your frames. Begin by measuring your walls and determining how wide and tall your frames will be. For equal spacing between the frames, factor in 3-1/2” on each edge and between each frame, both vertically and horizontally. You will be using a 1x4 boards (which actually measures 3/4" x 3-1/2”) as a spacer. Sketch out your design to scale. Typically, the height of the top frame is about 2/3 larger than the bottom frame, though this does not have to be precise. Our wall measures a typical 8’ or 96”. Here’s how we came up with our layout:
- 96” minus a 4” baseboard equals 92”.
- 92” minus 10-1/2” spacing between frames equals 81-1/2”.
- Divide the 81-1/2” by 2 to get equal two spaces.
- Divide the two equal spaces into thirds. Take 1/3 from the bottom space and add to the top space in order to create the top space which is 2/3 larger.
Once you have made these calculations, sketch out your design to scale. Adjust your plan if necessary.
Jennie Andrews

Jennie Andrews
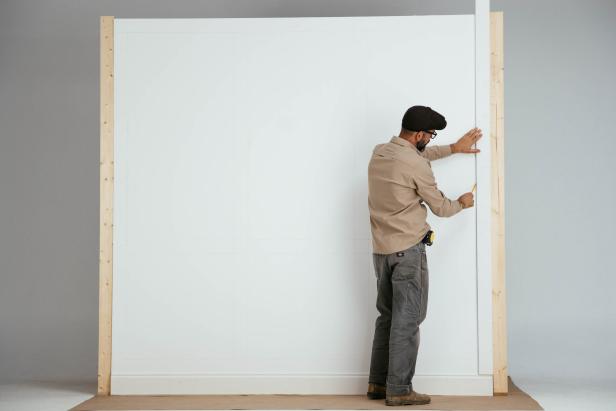
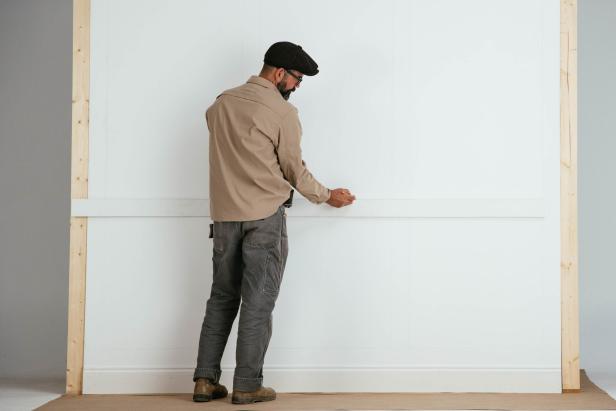
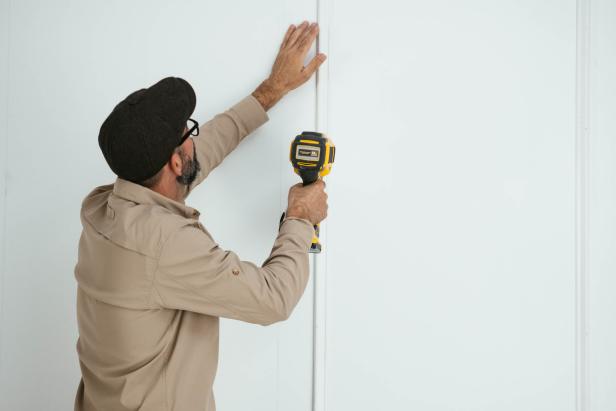
2. Sketch Pattern Onto Wall
Place the 1x4 spacer at one edge of the wall and make your first mark, tracing down the length of the board. Use the spacer, a measuring tape and a level to mark out the rest of the design.
Jennie Andrews
Jennie Andrews
Jennie Andrews
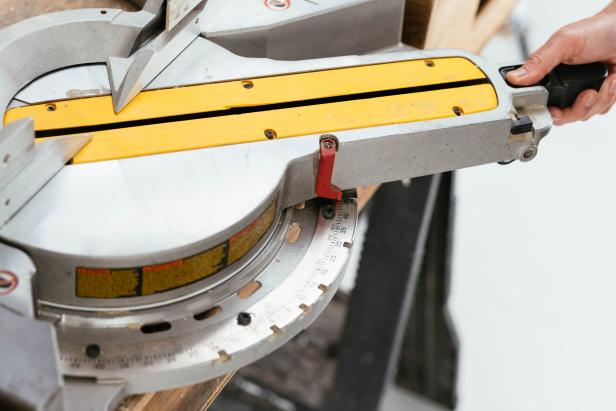
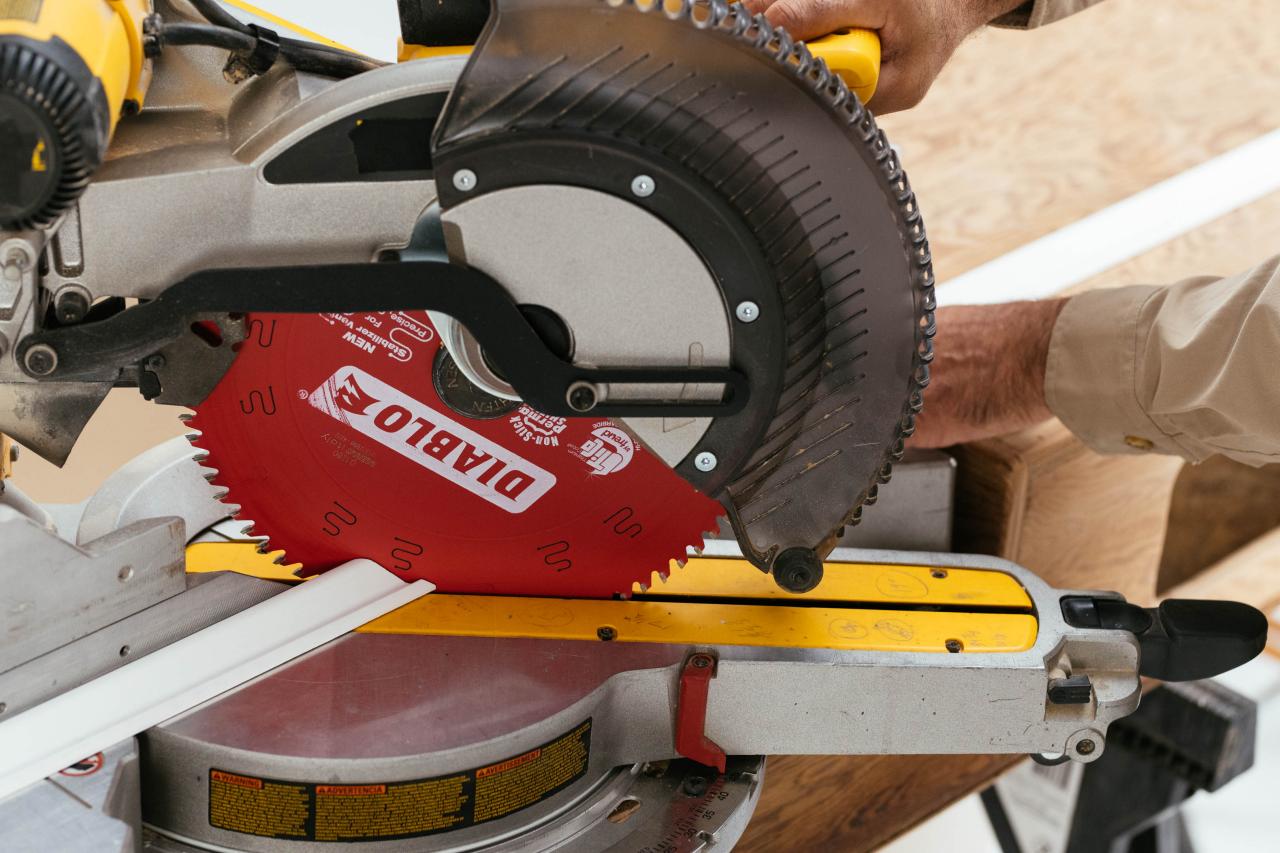
3. Cut Molding
Each frame will be made up of four pieces of molding. Use a miter saw set at a 45-degree angle to cut the trim based on your measurements. Be sure to orient the blade in the correct direction with each cut. Measure cuts to the long side, or to the outside corner of each frame.
Jennie Andrews

Jennie Andrews
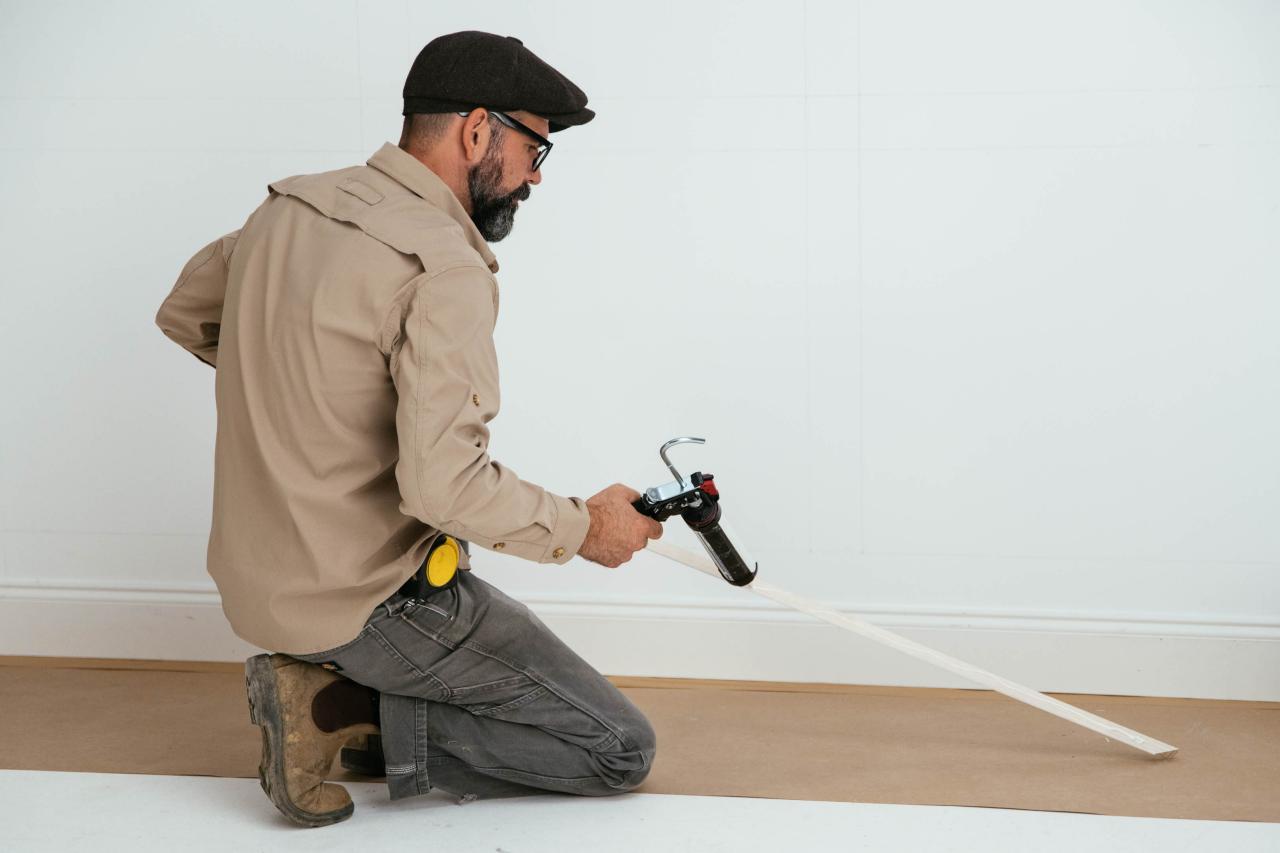
4. Install Molding
Apply a line of construction adhesive to the back of the molding. Using a nail gun, fasten the molding to the wall using the pre-marked guidelines. When nailing each piece of molding onto the wall, start with just a couple of nails close to the center of each piece. Once all four pieces are in place, go back, push the molding together at the corners and nail closer to the end of each piece. Leaving this little bit of wiggle room will help you achieve seamless corners.

Jennie Andrews
Jennie Andrews

Jennie Andrews

Jennie Andrews
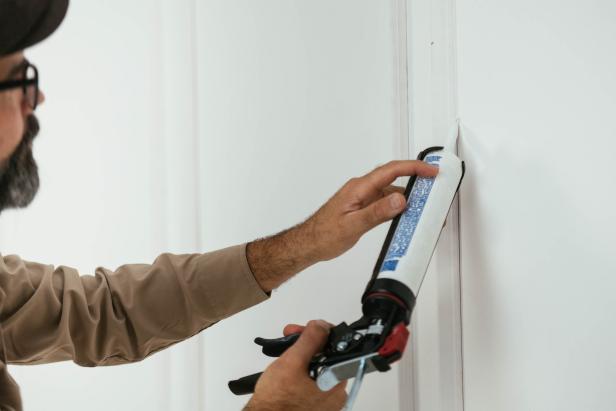
5. Caulk and Clean
Caulk along both sides of each piece of molding. Caulk the corner seams and the nail holes, wiping smooth with a damp rag as you go. Let the caulk completely dry before moving on to paint.
Jennie Andrews
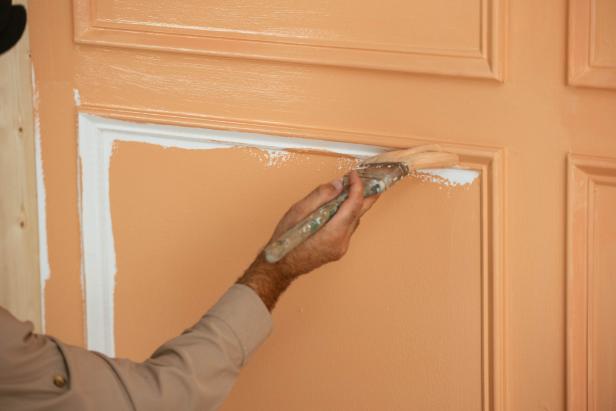
6. Paint
Use a paintbrush on and around the molding and use a roller on the flat areas. To create a seamless appearance, paint the baseboard in the same color.

Jennie Andrews
Jennie Andrews
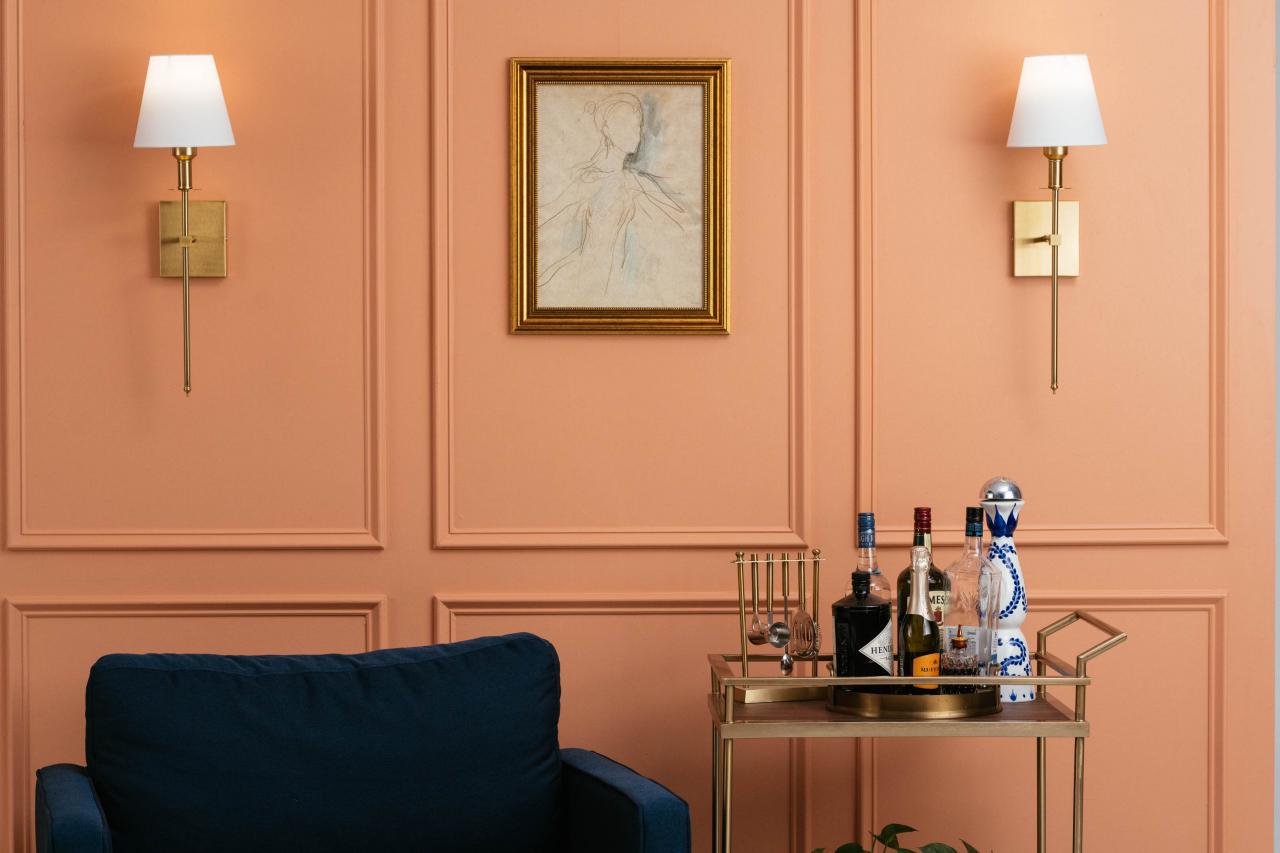
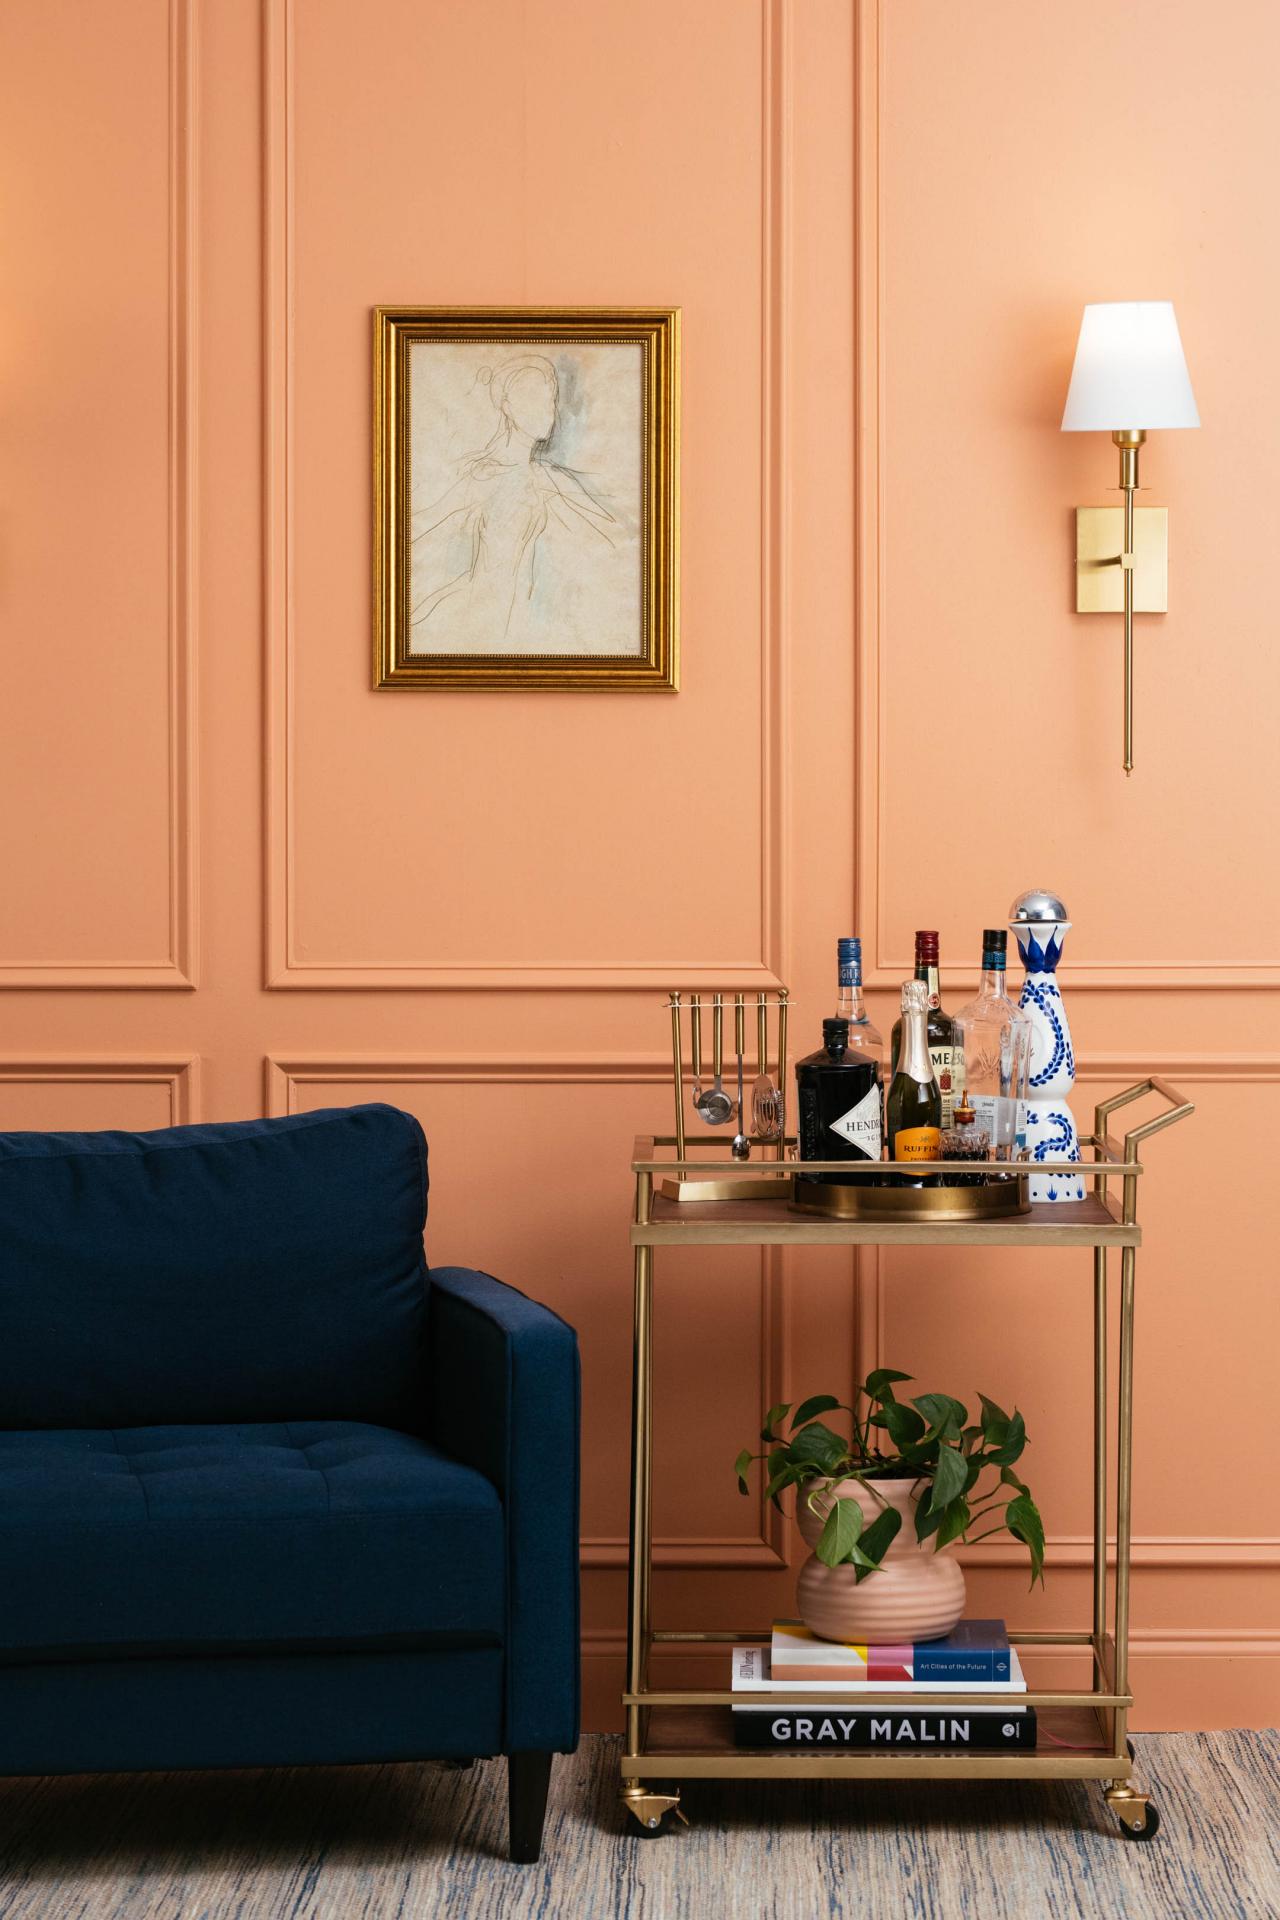
7. Enjoy Your New Space
Elegant and sophisticated, your new walls are ready to display your favorite works of art or to stand on their own as an homage to classic architecture.

Jennie Andrews

Jennie Andrews

17 Wood-Paneled Walls That Are Anything But Dated 17 Photos
See the latest trends in wood accent walls and paneling.


