


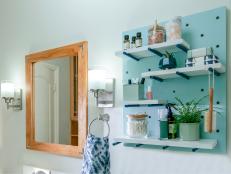
How to Build Recessed Bookcases

Materials and Tools:
4x8 sheets of 3/4-inch birch plywood
two House of Fara pine fluted door casing sets
four House of Fara pine fluted casing
four House of Fara Hardwood embossed casing/chair rail
eight House of Fara pine rosette blocks
two House of Fara pine fluted side molding
Ace Sensations ceiling white paint
Ace Sensations paint, color Tree Frog
wood glue
screws
drill with 1-inch bit
chop saw
table saw
T-square
air compressor
pneumatic nail gun
circular saw
protective eyewear
gloves
two paint rollers
two paint brushes
Steps:
1. Measure the complete work area including wall, floor and ceiling dimension. Mark a level line where the recessed bookcases will go into the wall. Our bookcases were 40-3/4 inches by 23-7/8 inches wide.
2. Use a drill to make pilot holes in the corners of where the bookcases will go. This will create an inspection spot and also a place to start the saw. Avoid any wiring or electrical outlets that may be hidden behind the wall. Consult an electrician to move any electrical lines behind the wall before cutting further.
3. Use a hammer to enlarge the inspection hole and open the wall. With the circular saw, cut the rough opening for the bookcase. Clear away any plaster behind the wall. Change the depth of the blade on the drive to cut completely through the wall. Use the hammer to clear away the remaining wood. You now have the finished holes to begin building the bookcases.
4. Use the table saw and chop saw to cut the plywood into 12-inch-wide pieces. Measure and cut out plywood sections for the shelves with the table saw. Use a T-square to make sure the shelves are square.

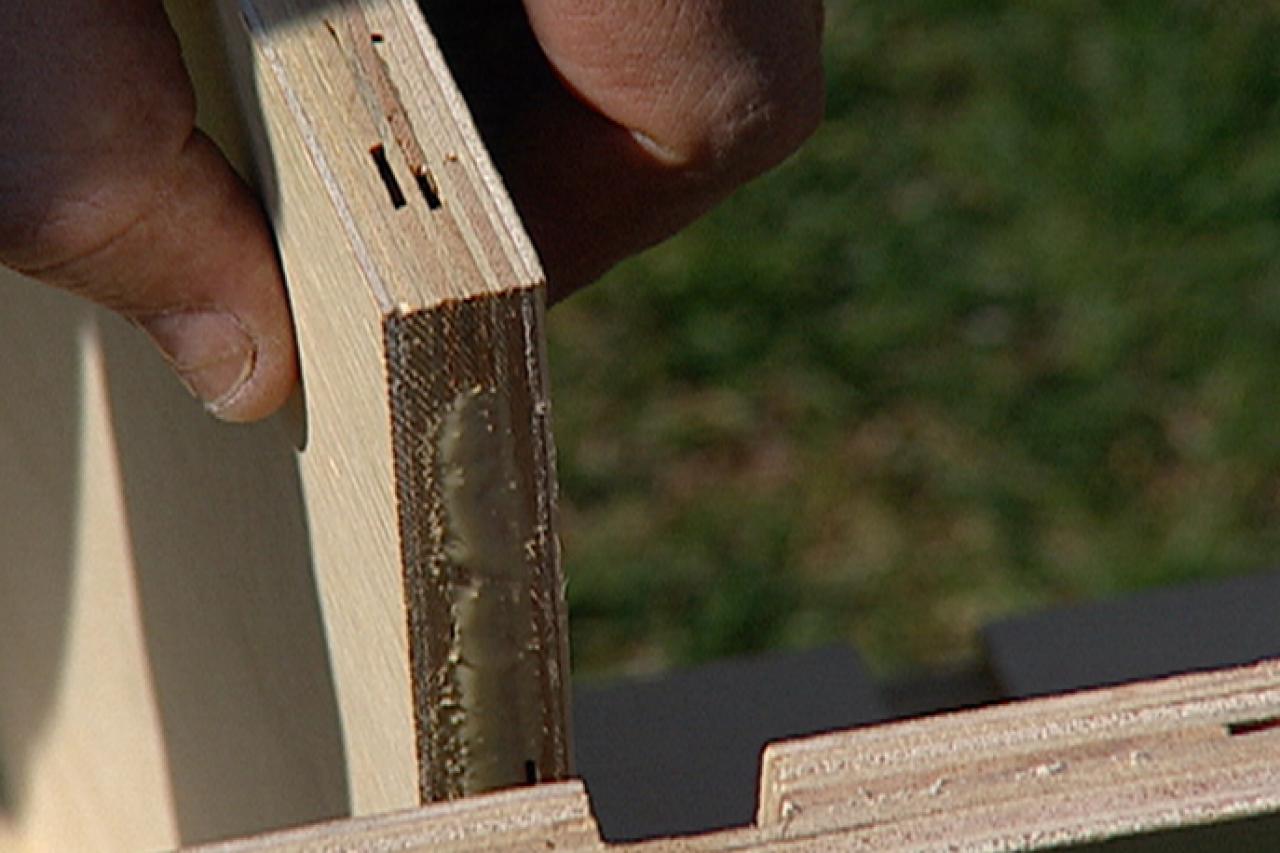
5. With the table saw, cut 3/4-inch grooves in the side pieces halfway through the plywood. These grooves will be the supports for the shelves. Place a stream of carpenter's glue in the grooves and on the shelves. Place the shelves in position and screw them into place. Repeat on the other side of the bookcase.
6. Slide the bookcase into the rough opening. It should be flush against the wall. Level and plumb the bookcases. Use a nail gun to affix them to the insides of the wall. Prime the bookcase when it is solidly in place.
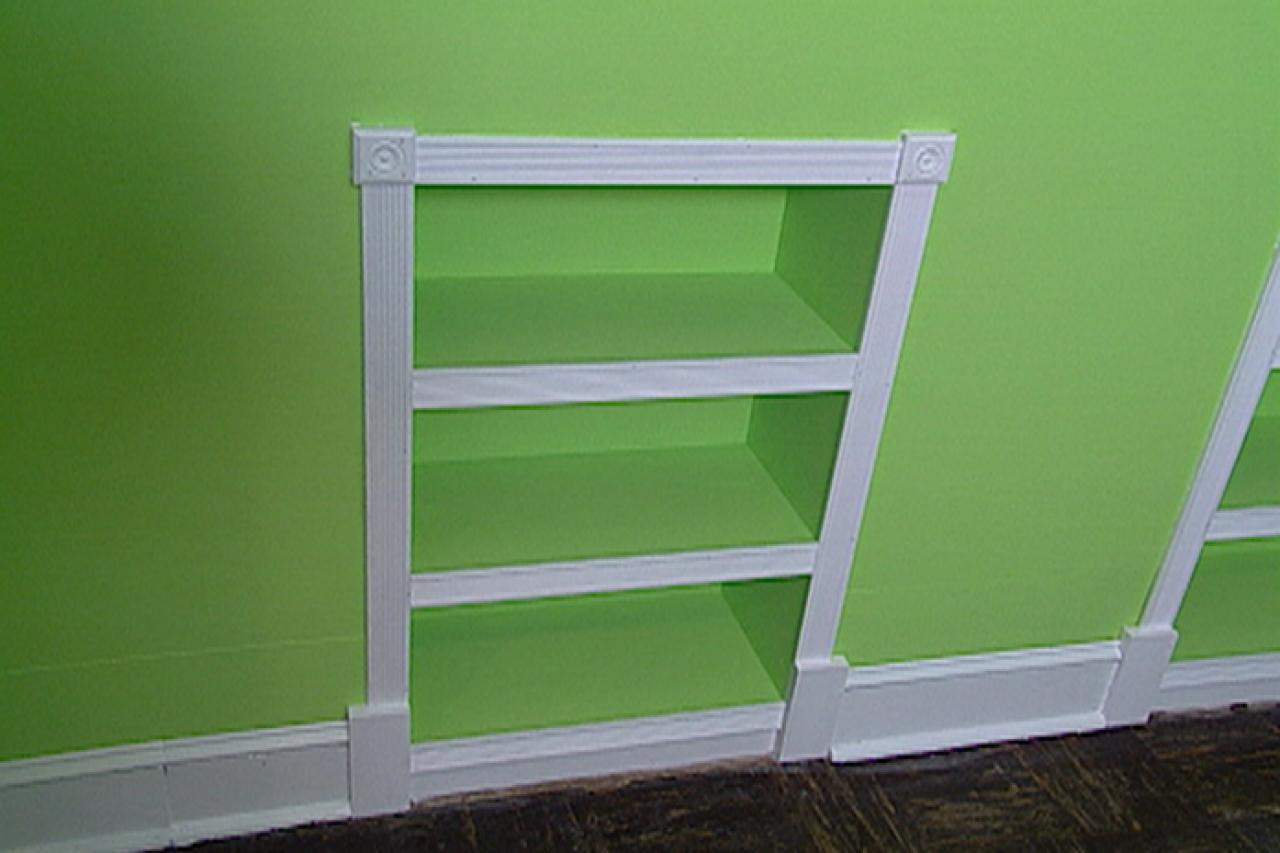
7. For the molding around our three bookcases, we used solid pine door sets with rosettes. We used fluted trim around the bookcases, leaving space for rosettes at each corner. In this case we needed six plinths (bottom base molding), 12 rails (horizontal strips), and six stiles (vertical strips). We cut a template of each size first to make sure each unit will be the same. To cut the molding down, we placed the templates on the various molding pieces and then marked the molding with a pencil. We used a chop saw to cut the moldings down to size.

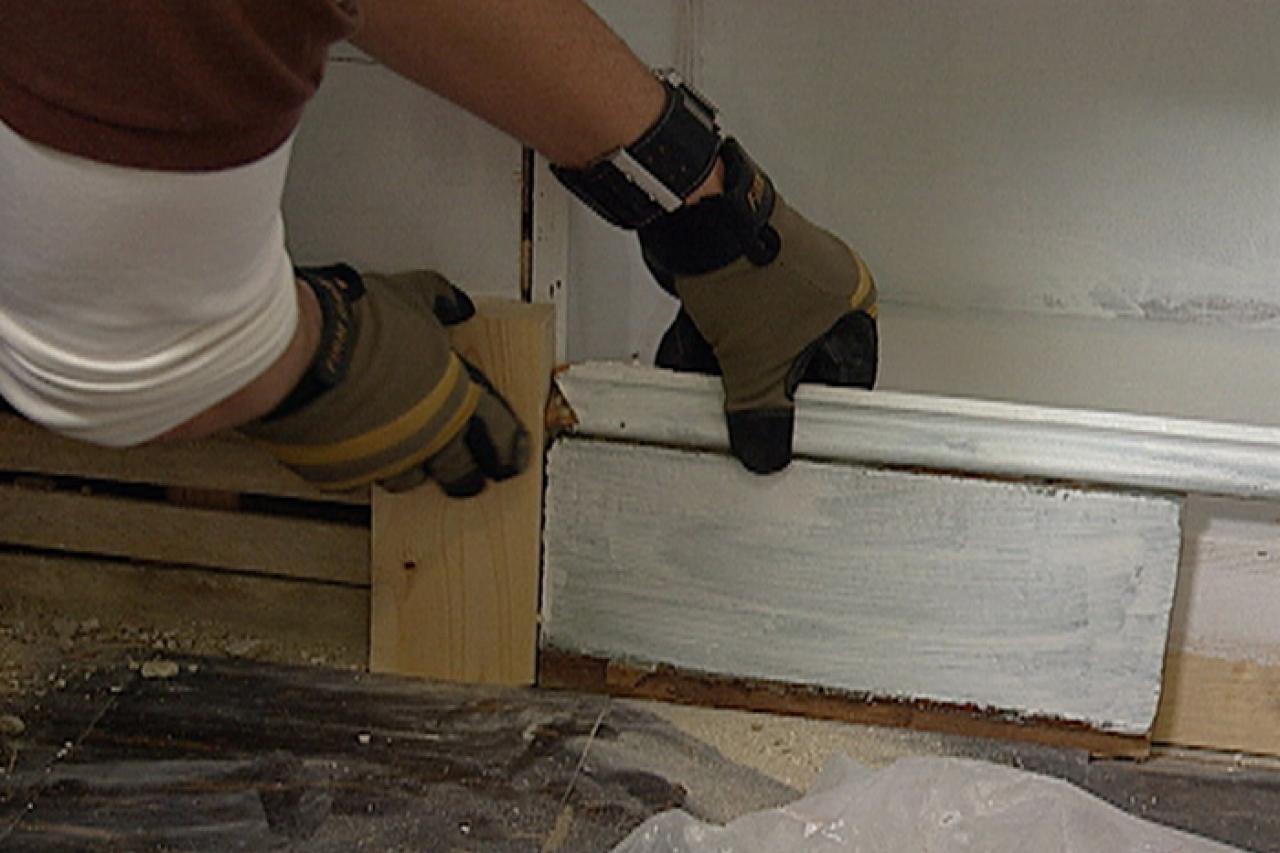
8. A plinth provides a transition between the different thicknesses of the baseboard and the furniture. Cut two plinths for each bookcase, then nail them into place. Glue and staple the molding on the bookcase at the top and across the front of the shelves. Apply the molding to the sides of the bookcase with the glue and staples. Add rosettes to the top corners of the bookcase with glue and staples. Paint the bookcases and let dry.


