


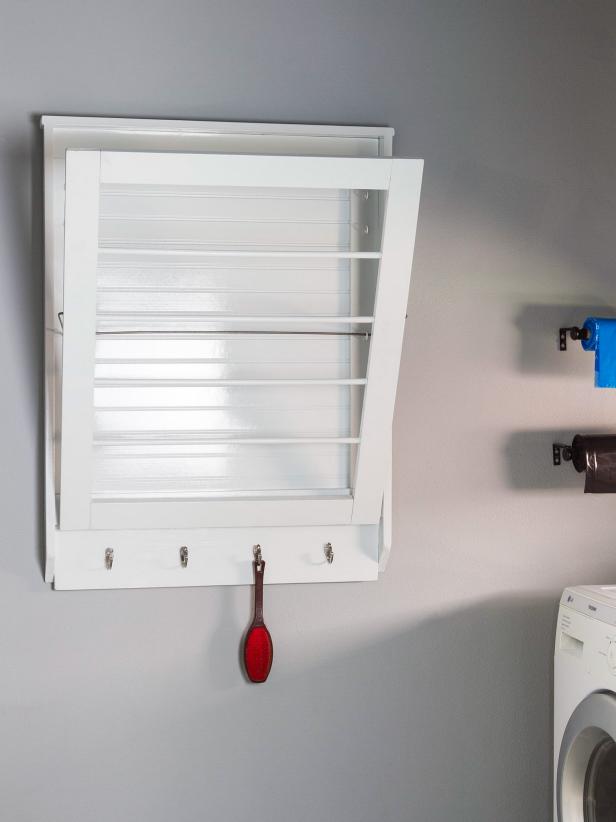
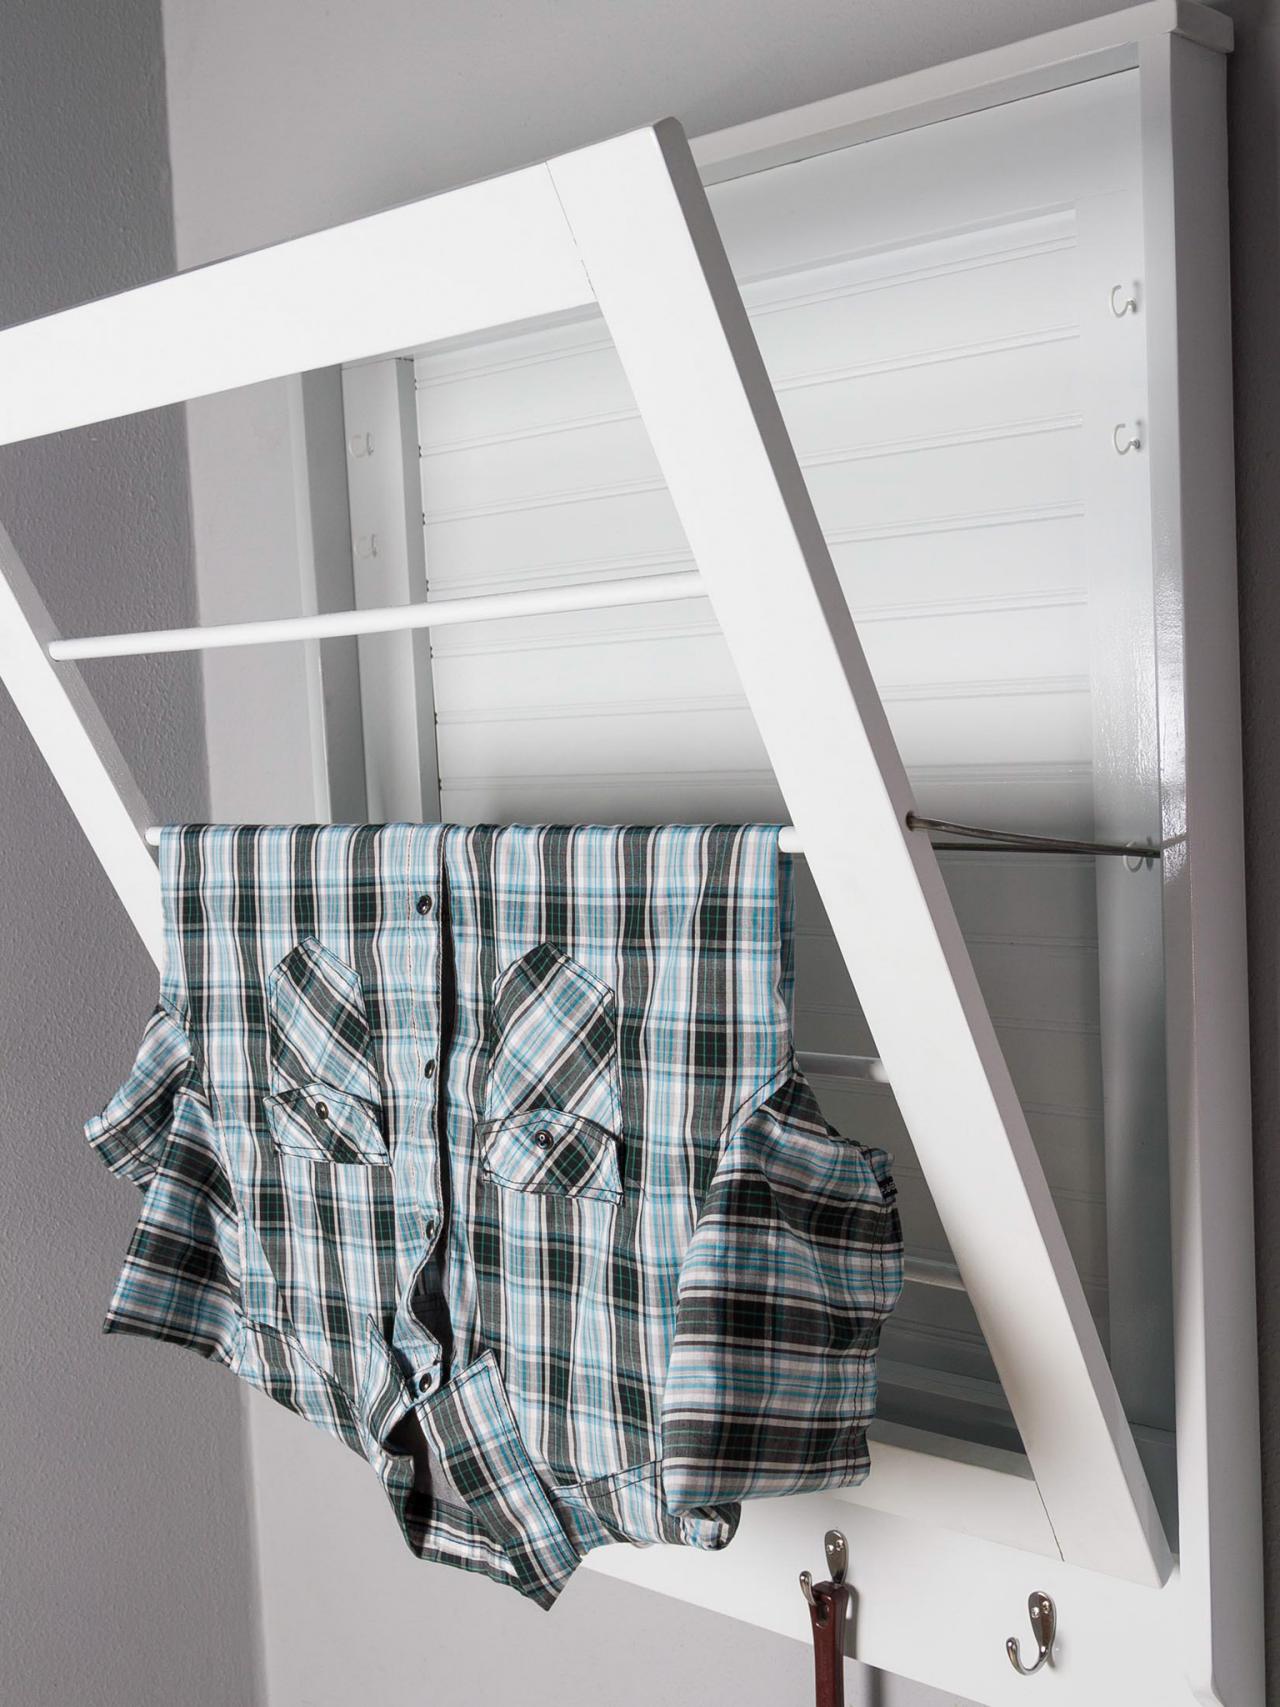
Upgrade Your Laundry Room With This DIY Fold-Down Drying Rack
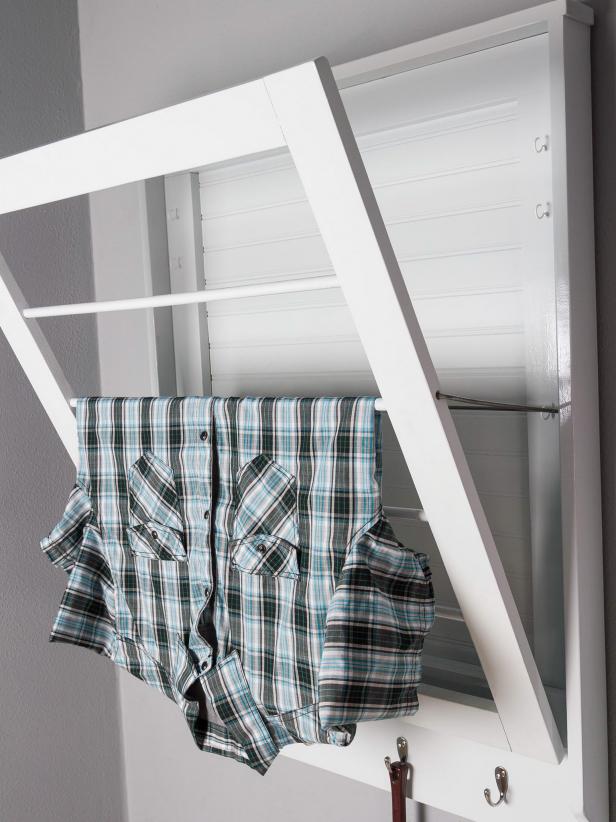
Make laundry day a little easier with this space-saving clothes drying rack. It drops down when you need it, and folds away when you don’t. With adjustable levels, you can determine how far you want to extend it.


Materials Needed
- (6) 1x 3 x 6’ boards
- (1) 1x6 x 6' board
- (2) 1/2" x 48" dowels
- bead board, 27-3/4" x 37"
- drill
- 1/2" drill bit
- 3/8" drill bit
- 3/16" drill bit
- doweling kit
- 3/16" doweling pegs
- wood glue
- clamps
- rubber mallet
- sander and sandpaper
- paint or stain/sealant
- 1-1/4" wood screws
- wood putty
- 6 cup hooks
- 2 small hinges
- 3/16" x 48" metal rod
- locking pliers
- (4) utility hooks
Make the Rack
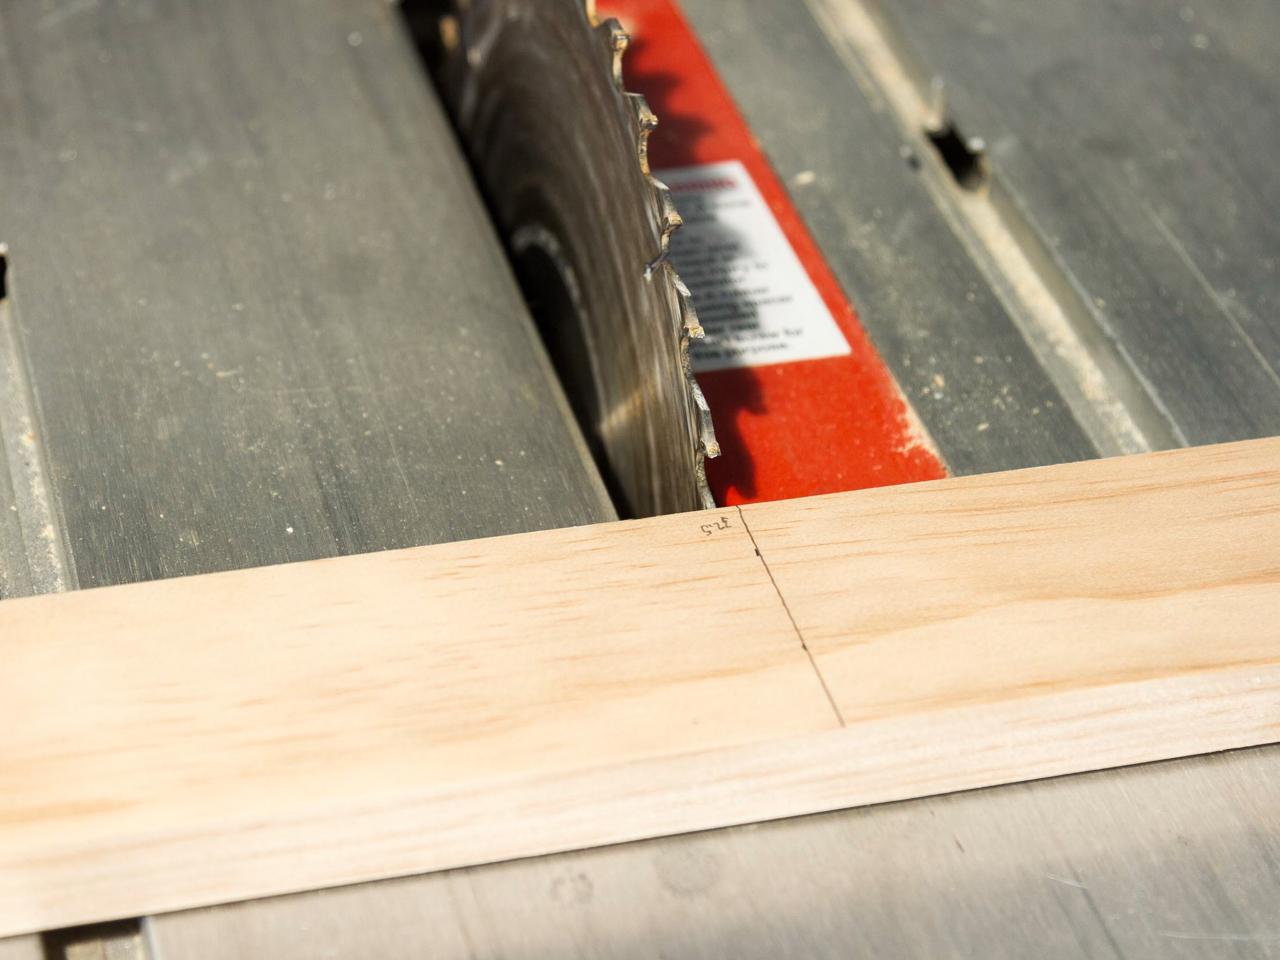
Begin by cutting the 1x3 x 6’ boards into two pieces that are 22” long and two that are 32-1/2” long. Cut the dowels in half.

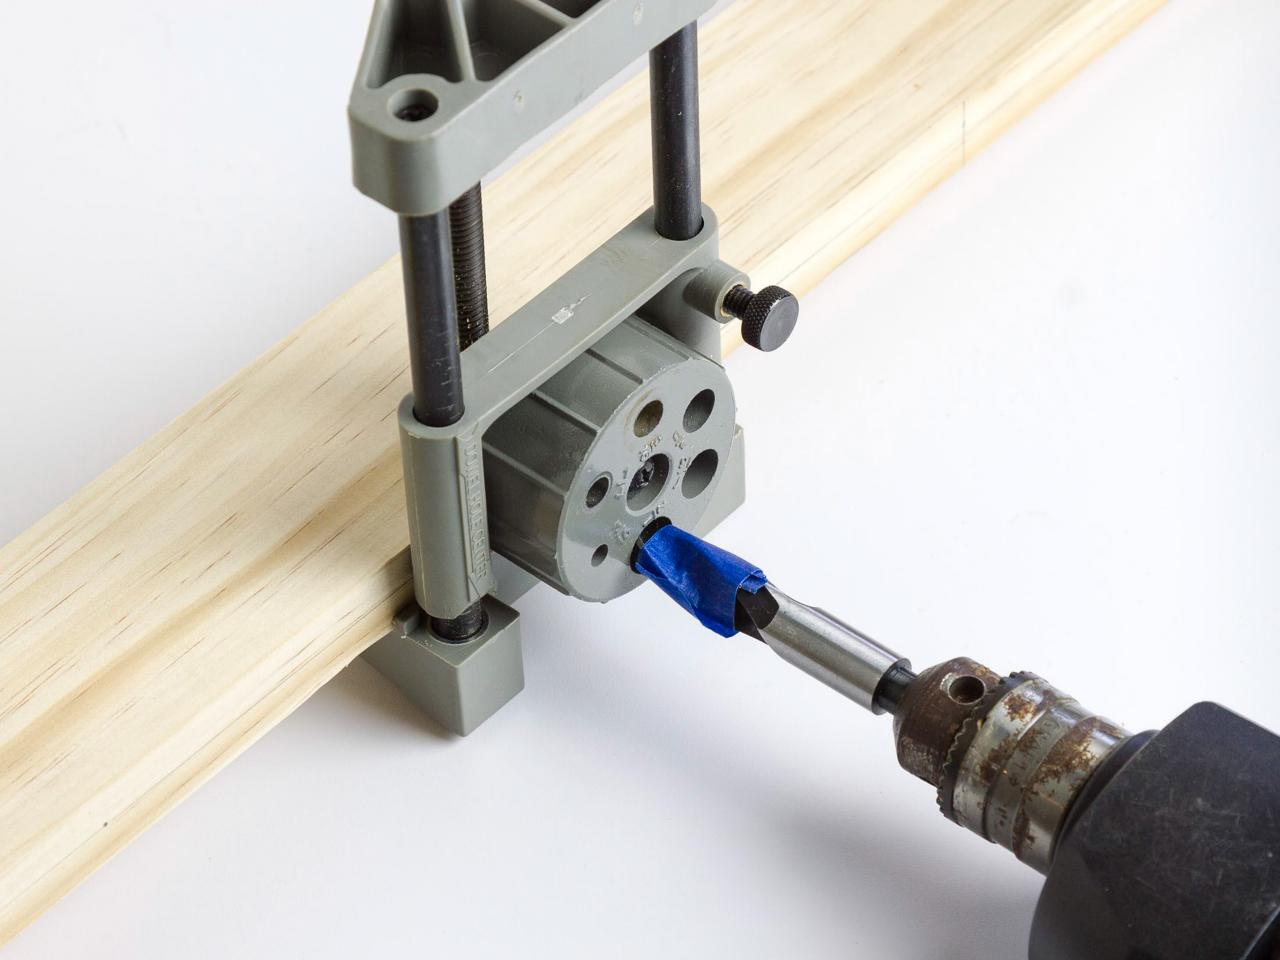
Mark one side of each of the thin edges of the 32-1/2" boards at 8”, 13-1/2”, 19”, and 24-1/2”. Use a doweling kit to drill holes at least 1-1/2” deep at each of the marks with a 1/2” drill bit. Mark the ends of the same boards at 1” and 2” in from the ends. With the doweling kit, drill holes at least 1-1/4” deep at each of the marks with a 3/16" drill bit. Mark the ends of the 22” long boards at 1” and 2” from one side. Use the doweling kit to drill holes at least 1-1/4” deep with a 3/16" drill bit at each of the marks.

On one of the 32-1/2” boards, insert 1/2" dowels coated with a bit of wood glue on the ends into each of the 1/2” wide holes. Insert 3/16" wooden doweling pegs coated with a bit of wood glue into each of the 3/16” holes. Add a little more wood glue to the spaces between the 3/16" doweling pegs and add the two 22” long boards over the pegs.
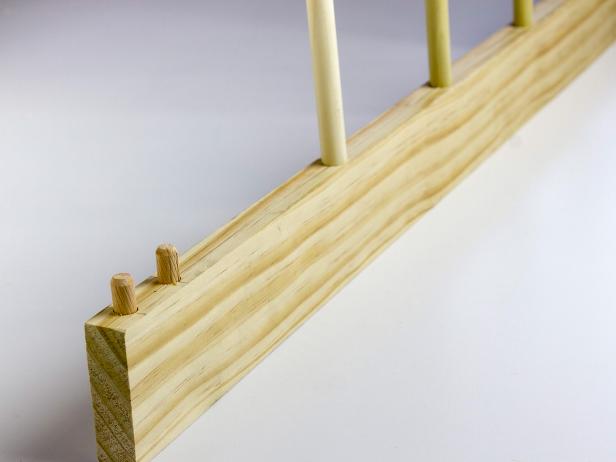
Add doweling pegs coated with a bit of wood glue on the ends to the opposite ends of the 22” long boards. Coat the open ends of the doweling pegs and the dowels with wood glue. Add the remaining 32-1/2” board, inserting the doweling pegs and dowels into the holes. Tap into place with a rubber mallet. Clamp the pieces together and wipe away any excess glue with a wet paper towel. Allow to bond completely before proceeding.
Make the Frame
Cut the 1x3 boards into two 27-1/2" pieces and three 27-3/4" pieces. Cut the 1x 6 board to 27-1/2”. Place one 1x3 x 27-3/4" board under the bead board at the top and attach with 1/2” wood screws through the back of the bead board into the 1x3 x 27-3/4" board. Add the 1x3 x 27-1/2" boards to the sides. Attach with 1/2” wood screws.

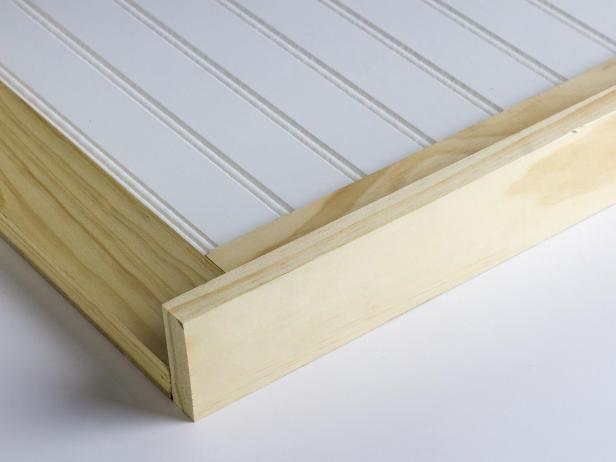
Screw the remaining 1x3 x 27-3/4" boards together with 1-1/4" wood screws. Place the two 1x3 x 27-3/4" boards at the bottom of the two boards on the sides and attach with 1/2” screws through the back of the bead board. After the two 1" x 3” x 27-3/4" boards add the 1x6 board under the bead board and attach through the bead board with 1/2" wood screws. Cut a 1x3 board into one 29-3/4" piece and two 37-1/2" pieces. Stand the bead board up and attach the 1x3 x 29-3/4" along the top flush with the back of the bead board with 1-1/4" wood screws. Add the remaining two boards to the sides flush with the top board. Attach with 1-1/4" wood screws. Optional: Cut the bottom edges at a 45-degrees angle for a tapered look.
Finish the Pieces

Fill any small gaps with wood putty and allow to dry before proceeding. Sand the entire project and sharp edges.
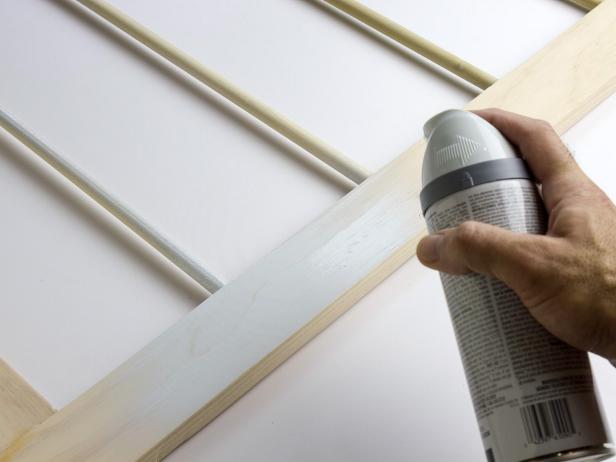
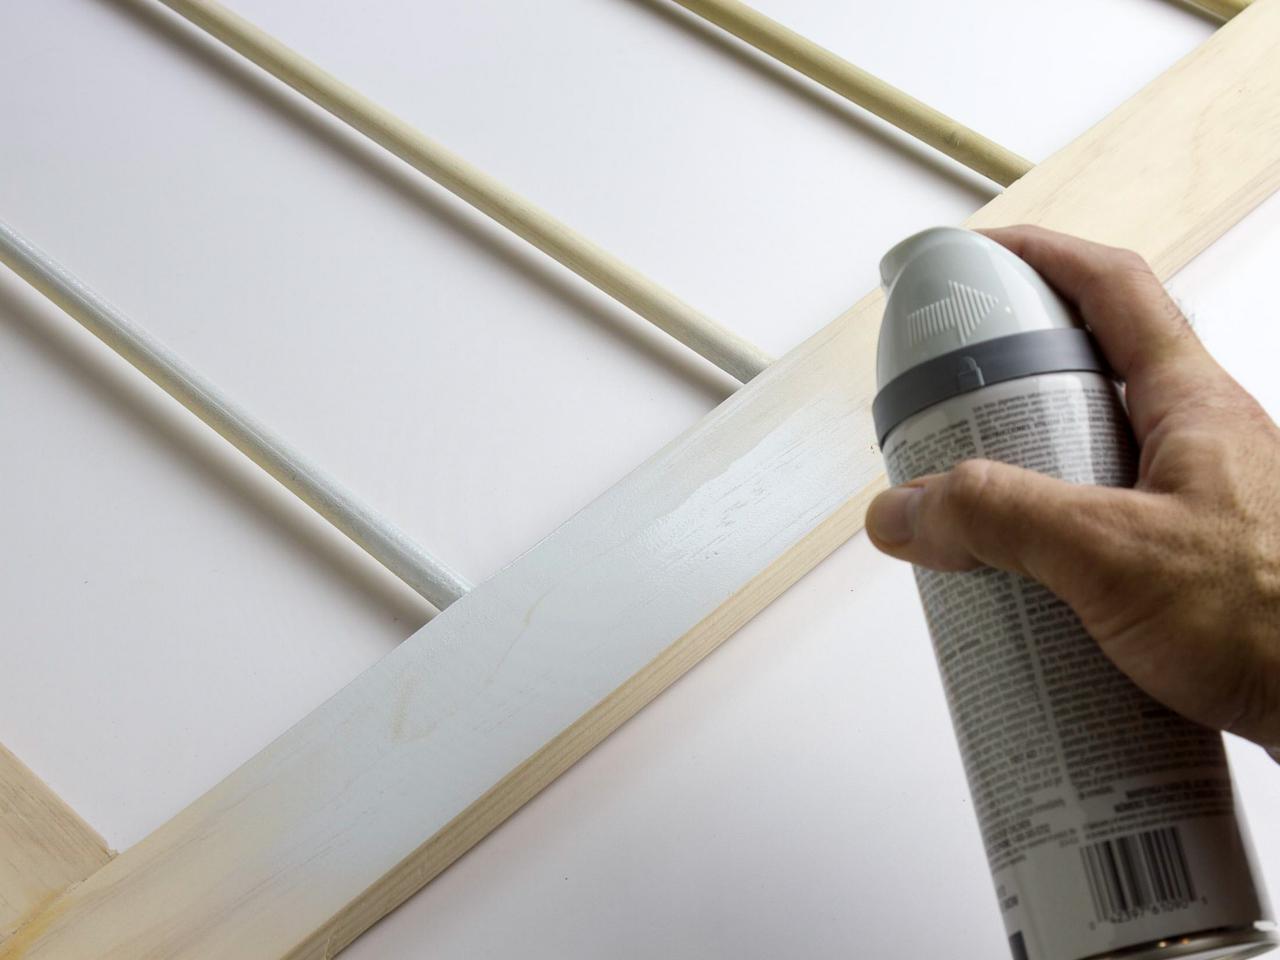
Paint or stain/seal the rack and the frame as desired.

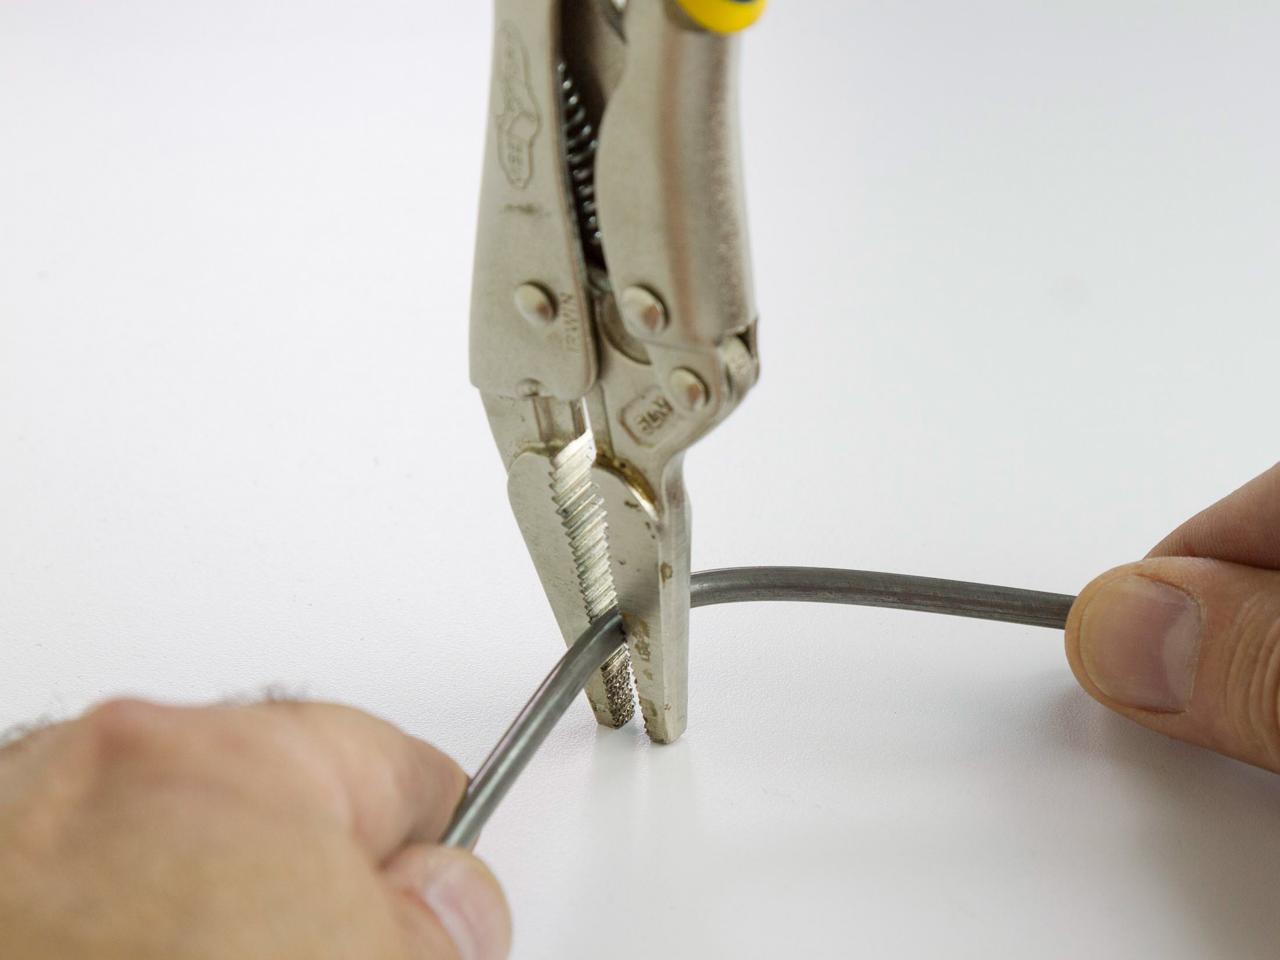
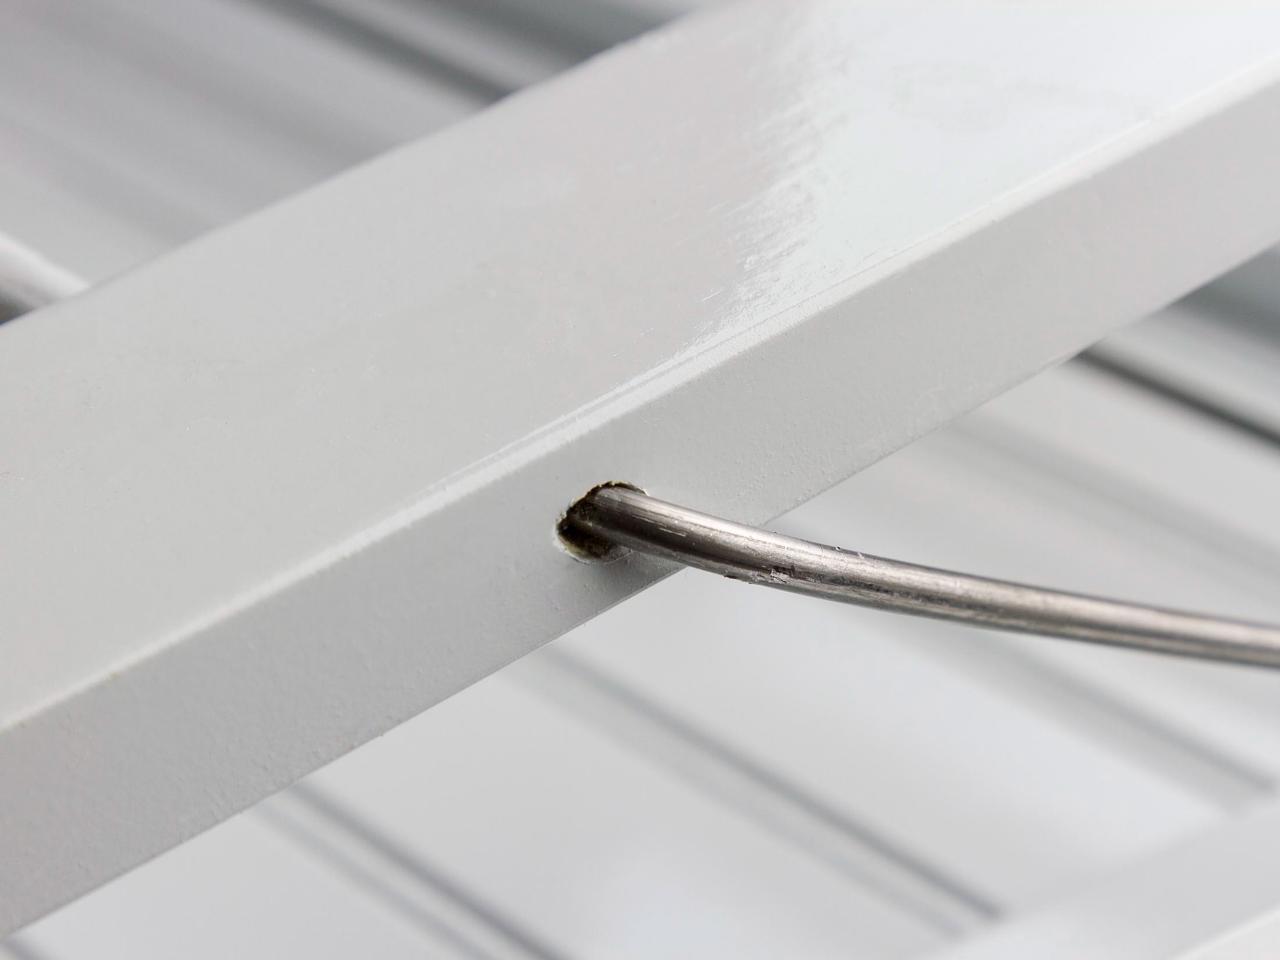
Mark the sides of the frame 13” from the top on both sides. Use the doweling kit to drill holes at least 1-1/2” deep. Bend the metal rod at 1-1/2” and 9” in from both ends, creating an open rectangle.
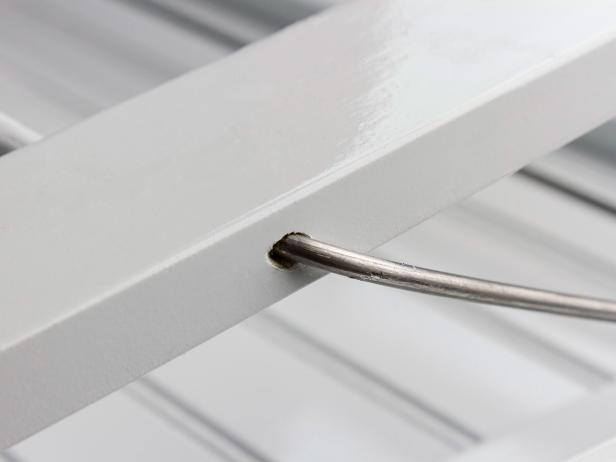
Insert the 1-1/2” ends of the rod into the holes on the sides of the rack.

Attach hinges to the bottom of the rack and the frame.
Add Finishing Touches

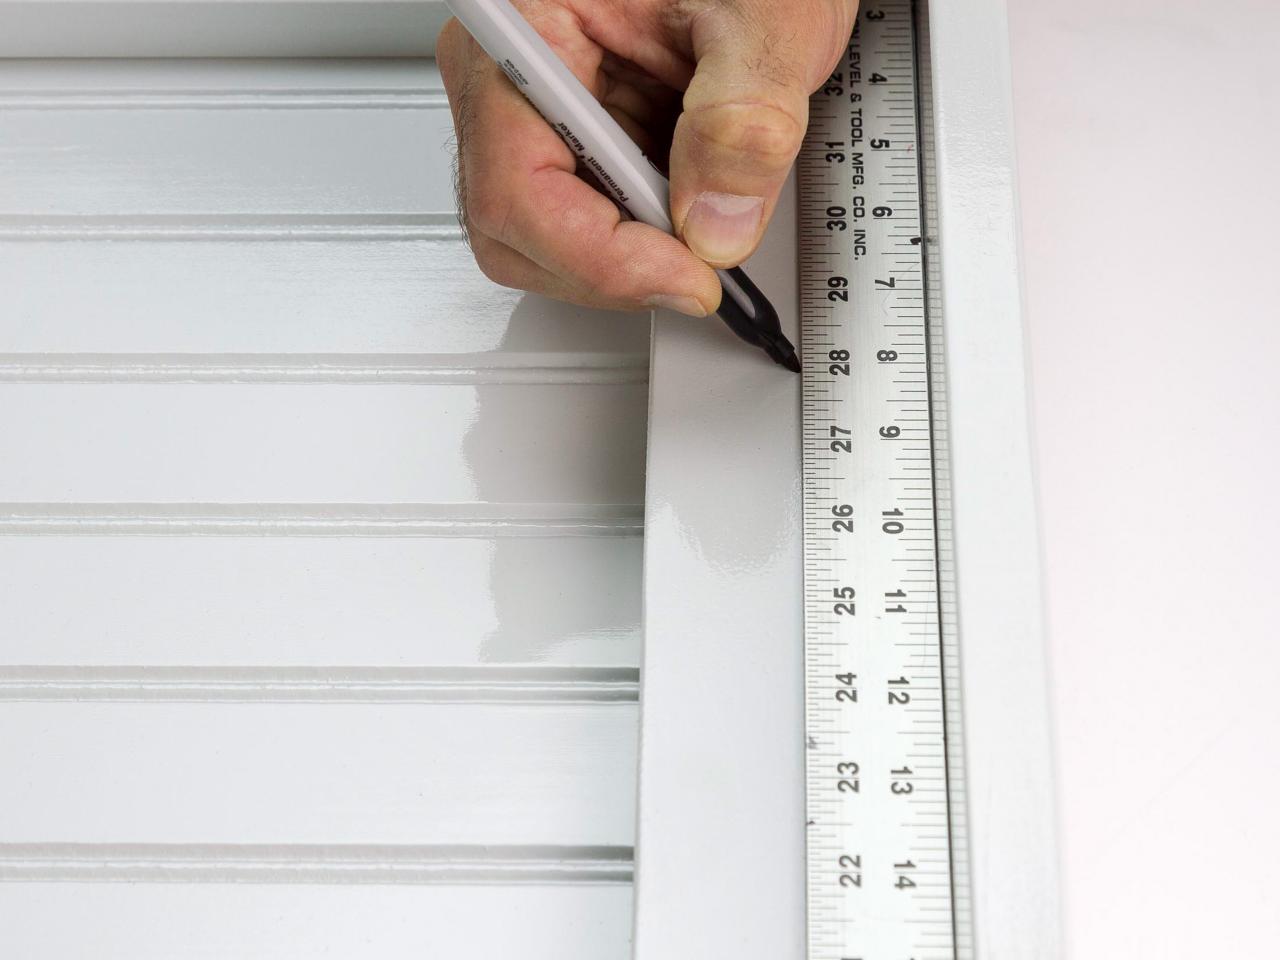
Add cup hooks to the inside frame boards. Mark spots at 5”, 8” and 17” from the top of the inside of the frame and down the two side boards attached to the bead board.
Pre-drill holes and insert cup hooks into each. The hooks should be lined up evenly and placed about 1-1/4” from the inside of the frame on both sides.

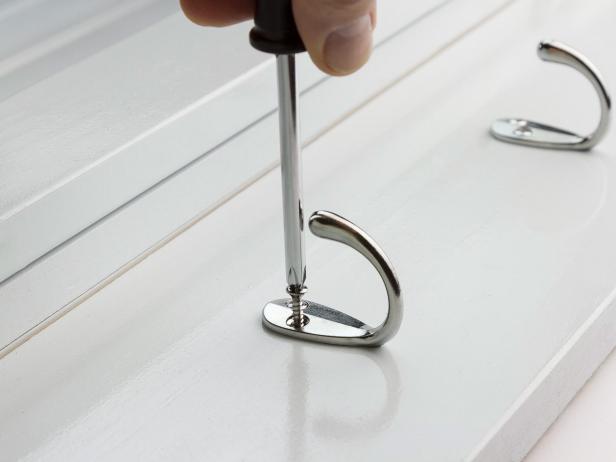
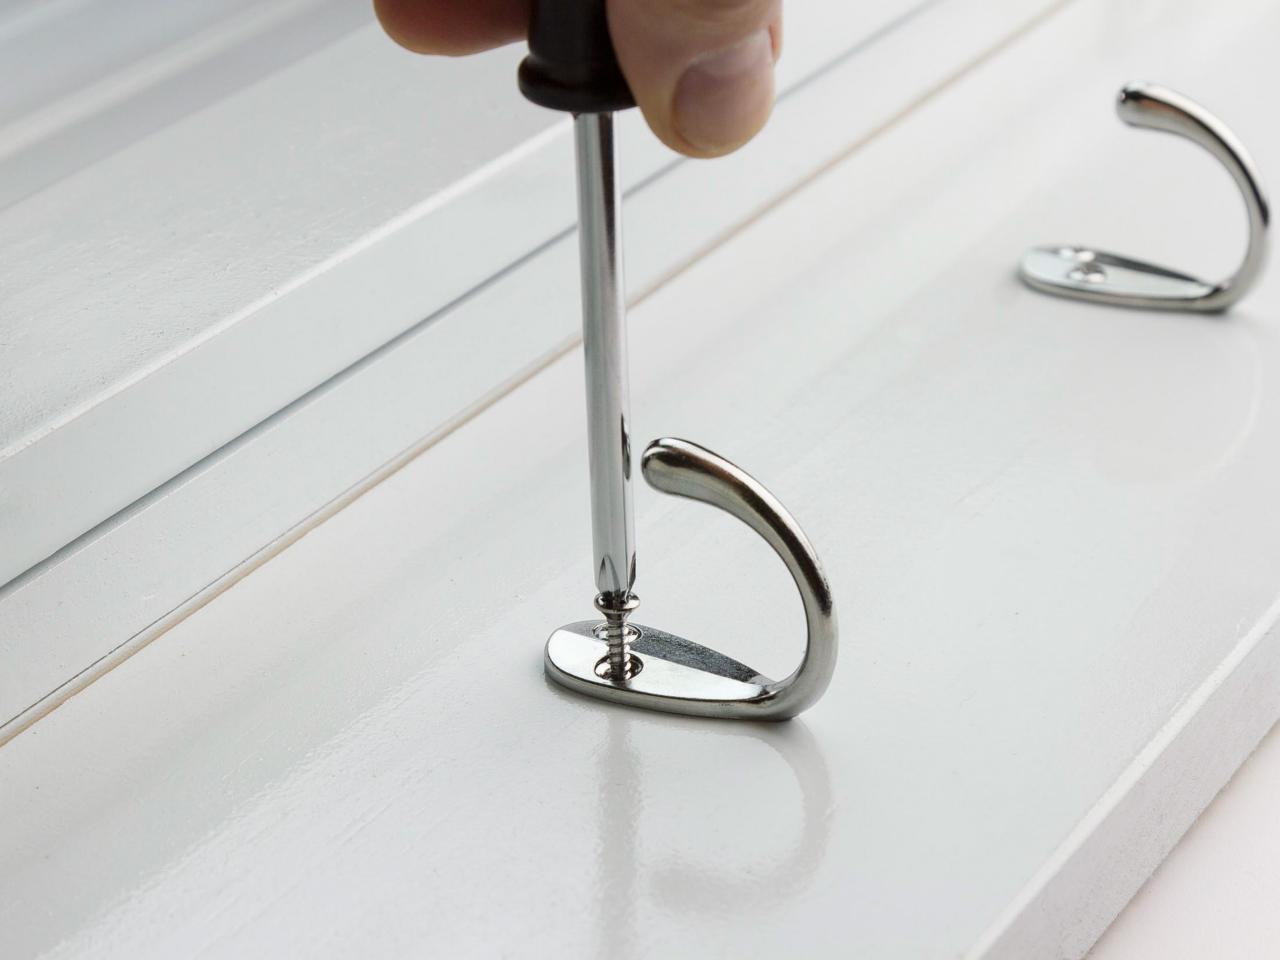
On the 1x6 board, mark spots at 4-1/2", 10-3/4", 17" and 23-1/4" across the board and 2” from the top of the board. Place the top of the hooks at the marks and attach with included screws. Add a magnet closure at the inside top of the frame and rack. Add D-rings to the back of the frame 6” down from the top of the frame for hanging. Alternatively, secure the frame to the wall through the front of the frame and into wall studs or anchors for a more permanent solution.


