


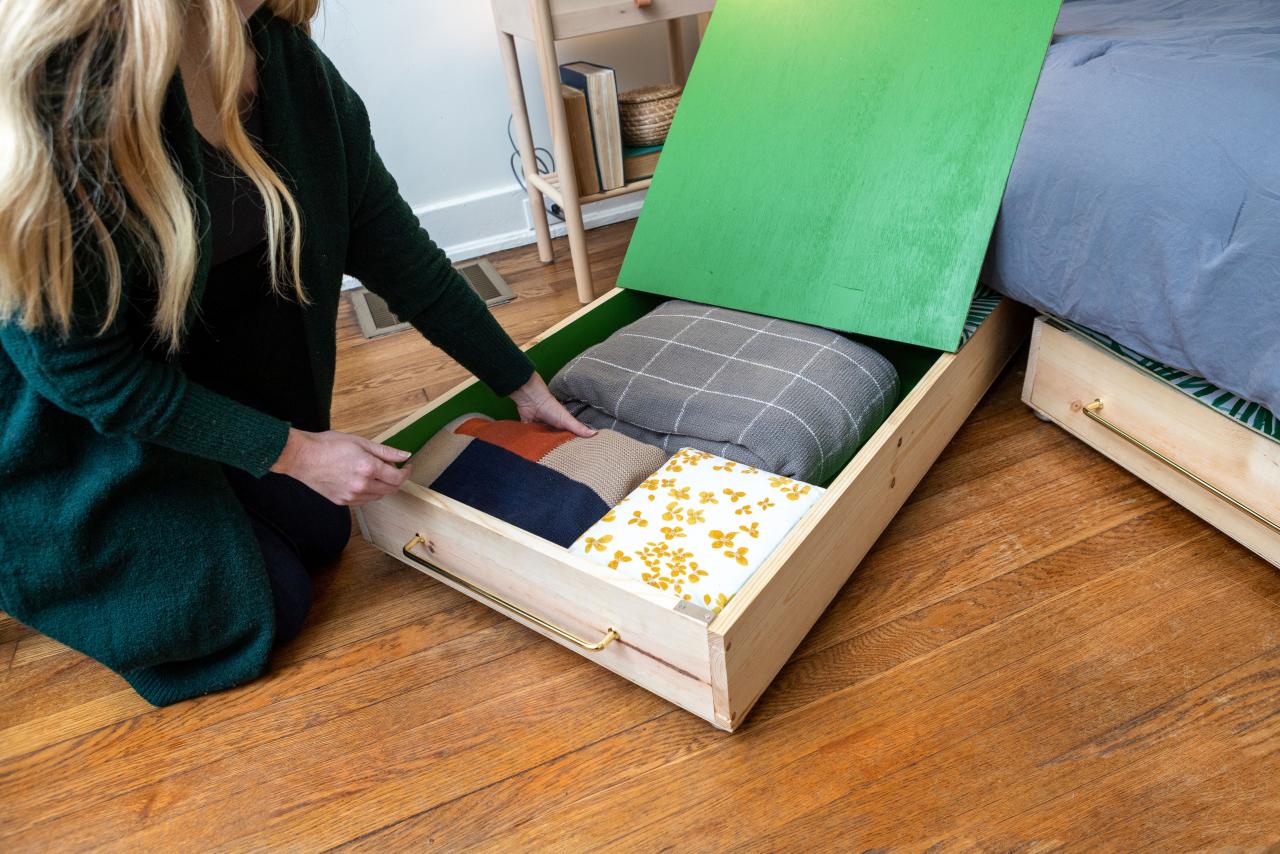
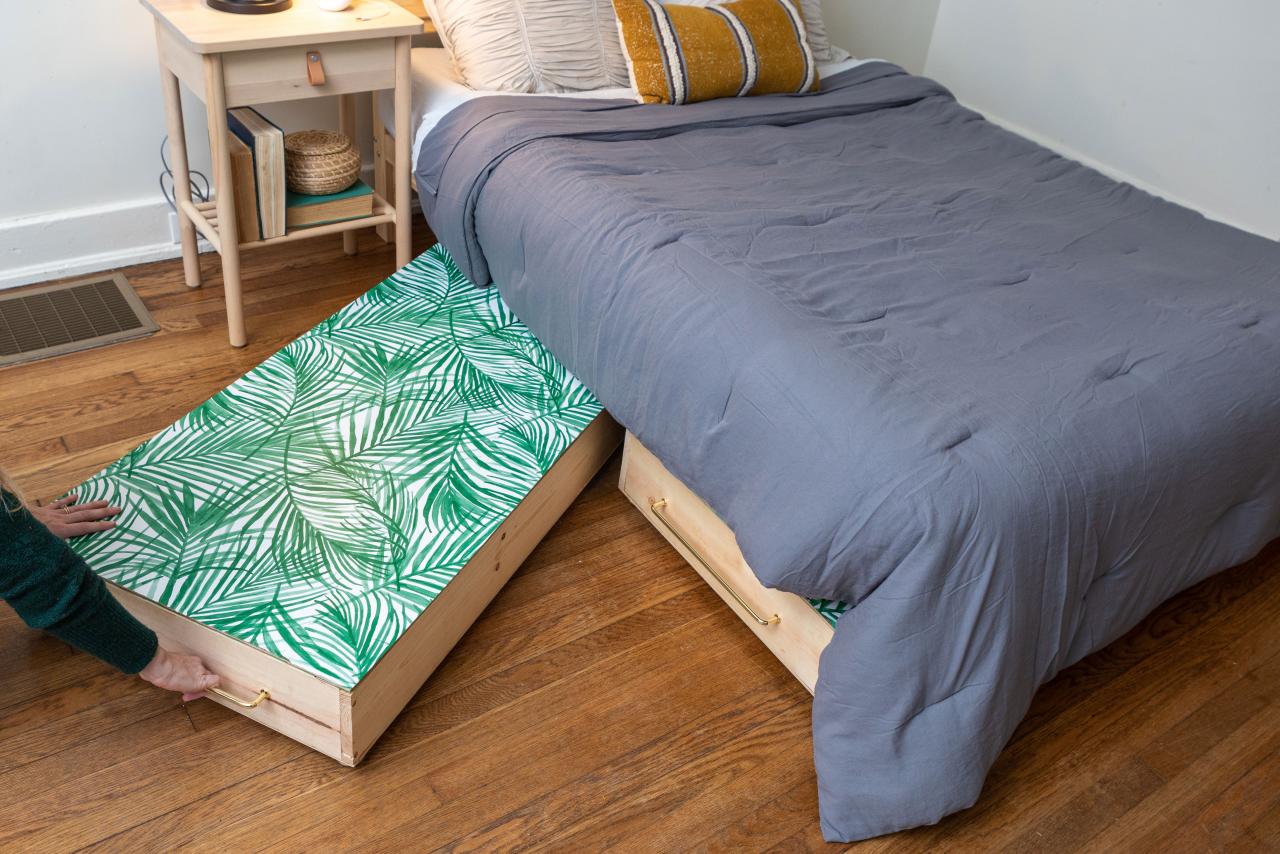
DIY Under-Bed Storage Drawers
Take advantage of that extra space living under your bed with a quick and easy set of DIY drawers.

Derek R. Trimble
The void underneath your bed is an untapped source for extra storage. Use this simple DIY drawer system to keep your newly reclaimed space organized and functional.
Materials Needed
- (2) 1×6 × 8' pine boards - 2 cut @ 48” and 2 cut @ 22.5” (sides)
- (1) 1/4” x 24” x 48” plywood (base)
- (1) 24” x 48” luan, cut in half (lid)
- #8 × 2” wood screws with wood caps
- (4) magnetic drawer catches
- (4) casters
- (1) handle
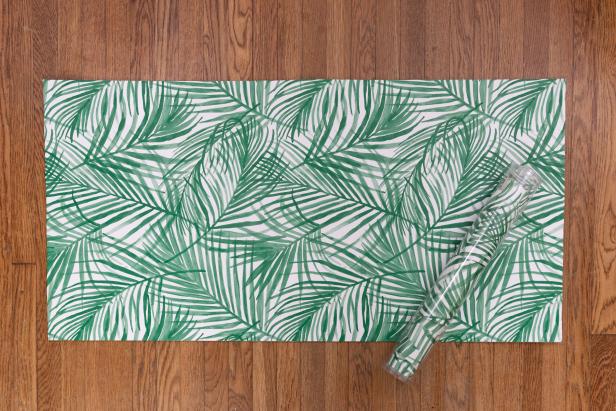
- 24” x 48” sheet of wallpaper
- wood glue
- duct tape
- paint
- drill with bits and countersink bit
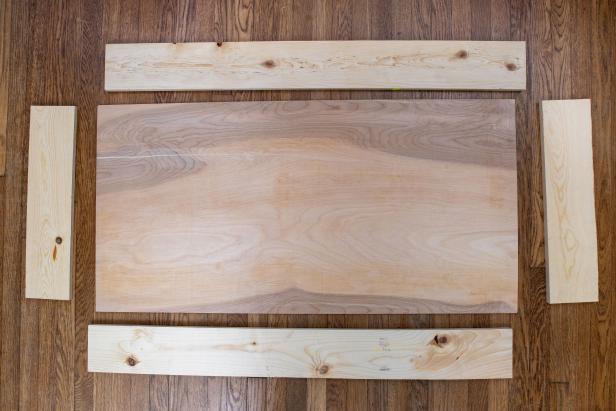
Assemble the Base
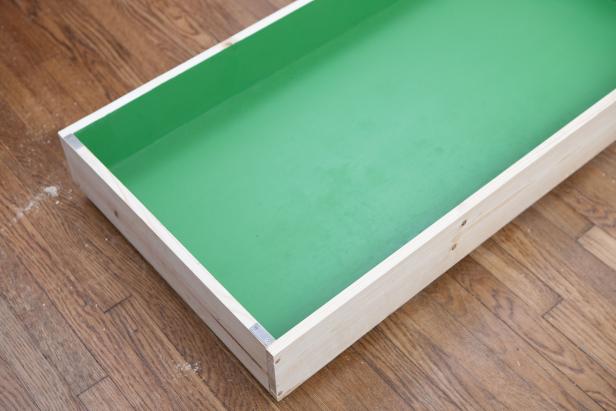
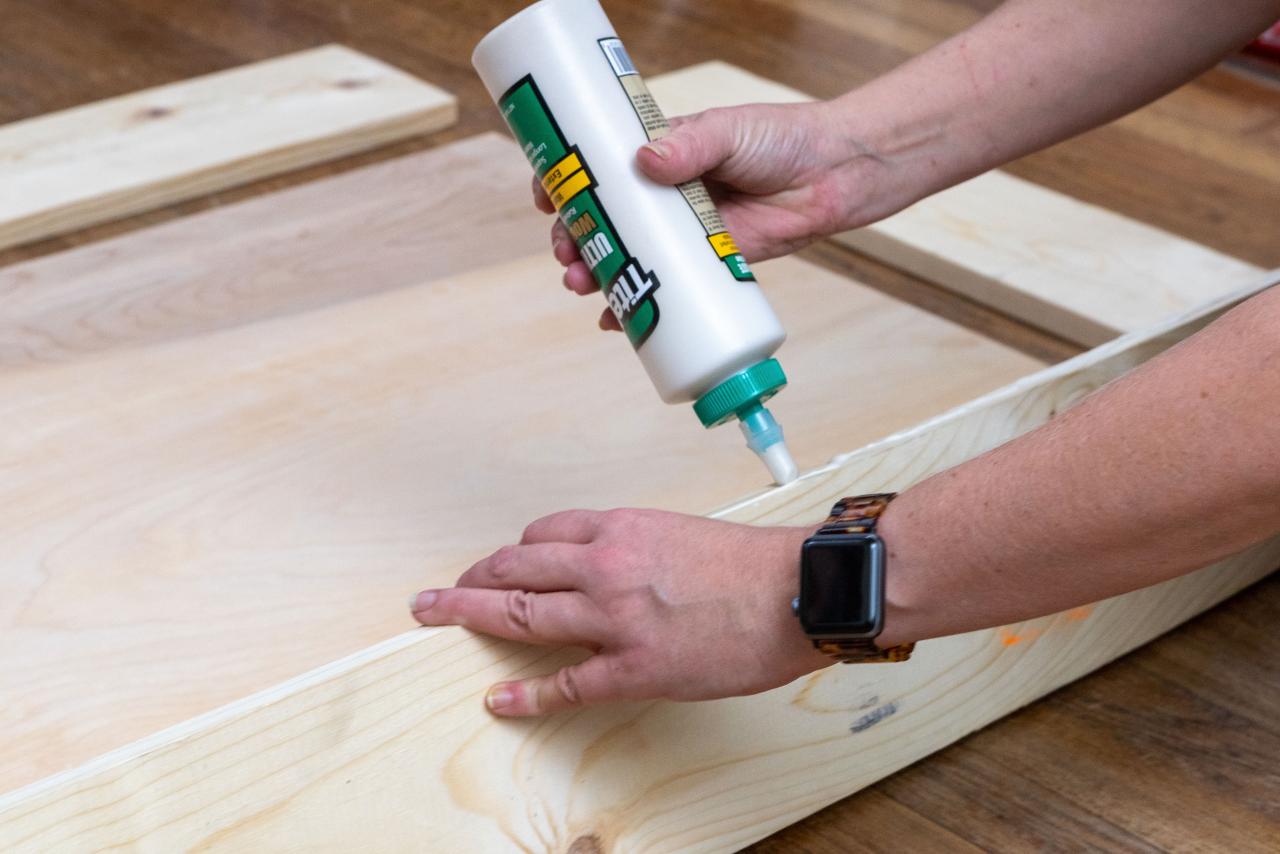
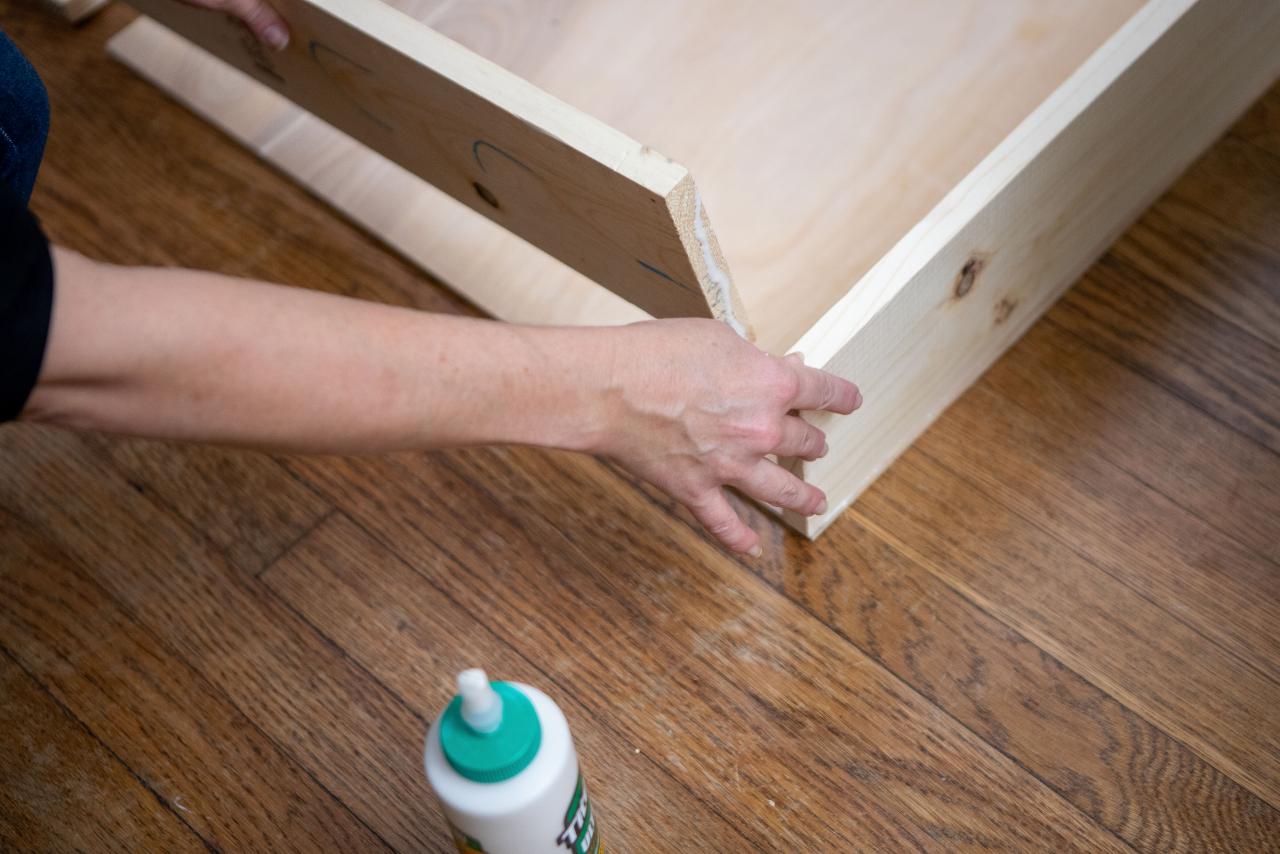
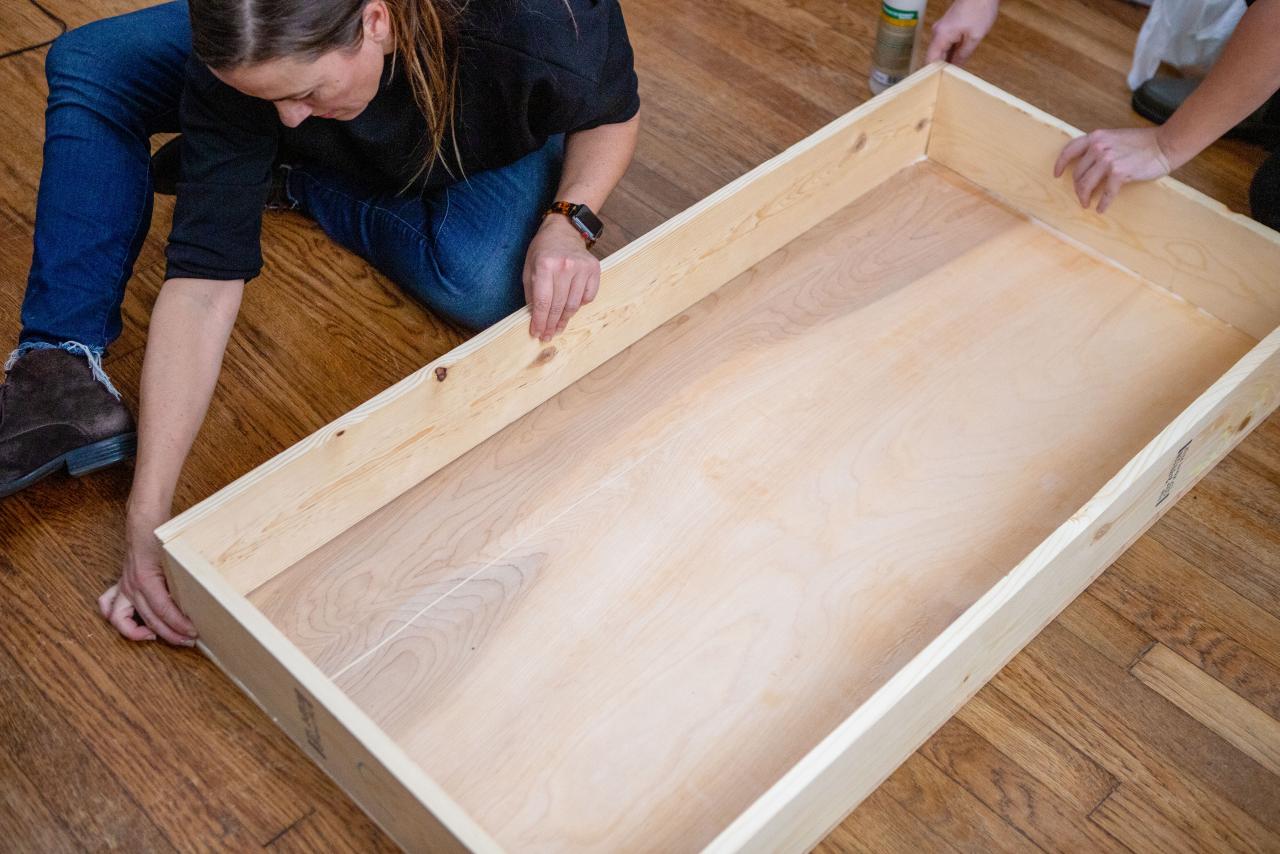
Lay the 1x6 pieces around the perimeter of the 1/4” plywood base (Image 1). Starting with the long sides, run a bead of glue down the bottom edge of each piece and attach them along the perimeter of the plywood (Image 2). When you arrive at the ends, run a bead of glue down the corners as well before attaching them (Images 3 and 4). It helps to have an extra set of hands for this, so it’s a good idea to enlist the help of a friend before you start (Image 5).
Derek R. Trimble

Derek R. Trimble

Derek R. Trimble

Derek R. Trimble

Derek R. Trimble
Secure the Corners With Screws
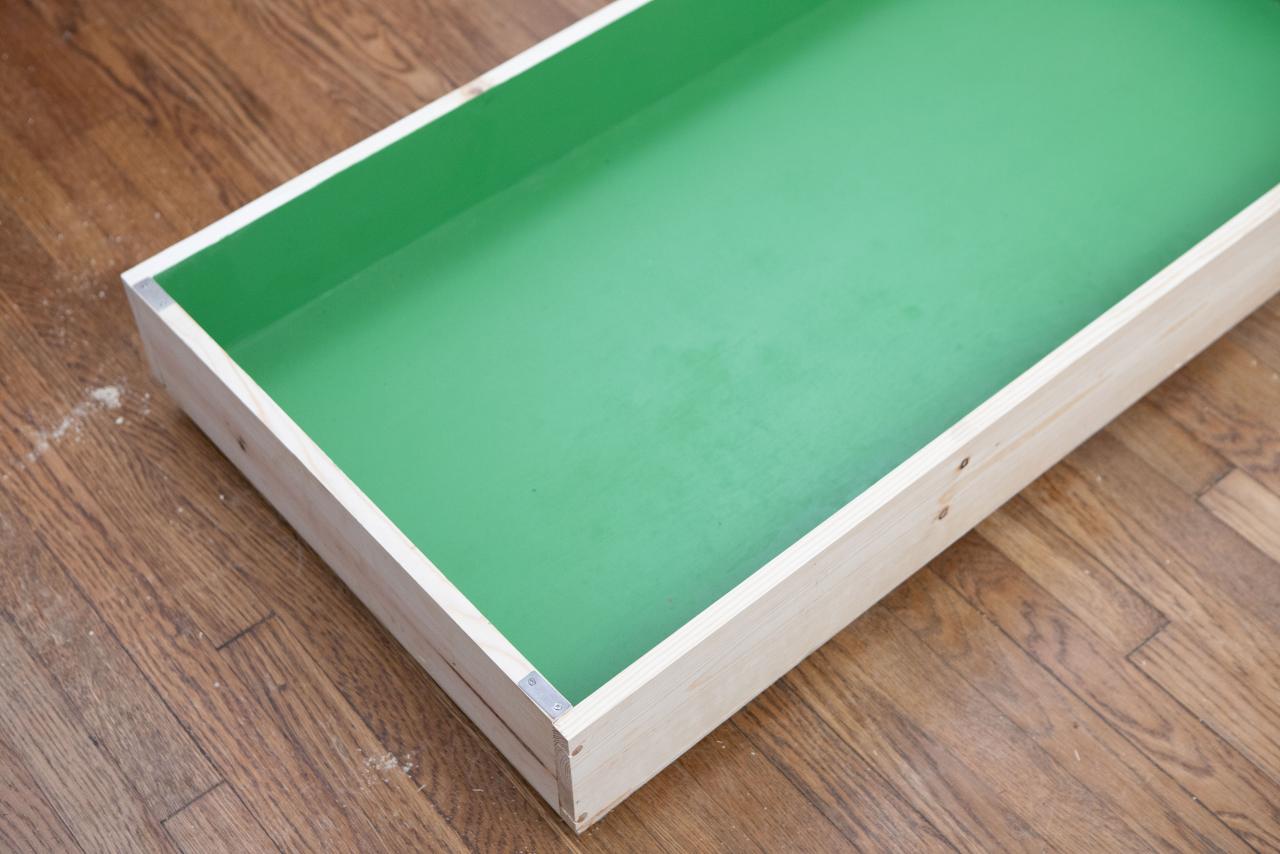
To keep your drawer strong, you’ll want to add two screws at each corner. You can do this before the glue dries completely if you’re careful. Start by drilling pilot holes that are slightly smaller than your screws, then drill your countersink holes just deep enough to bury the screw head and accept a wooden plug on top. Gently drive each screw into place and glue the wooden plugs into place. Give everything a chance to dry before moving on to the next step.

Derek R. Trimble
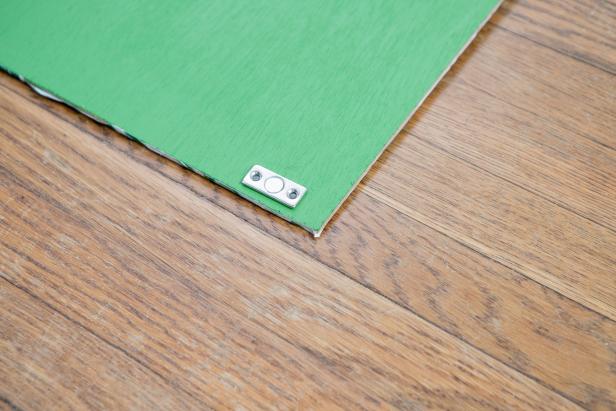
Attach Magnets and Casters
Using a few small screws, attach a magnet on the corner of each short side of the drawer as shown (Image 1). Next, flip your drawer over and attach a caster at each corner so you can slide the drawer under the bed without scratching the floor (Image 2).

Derek R. Trimble

Derek R. Trimble
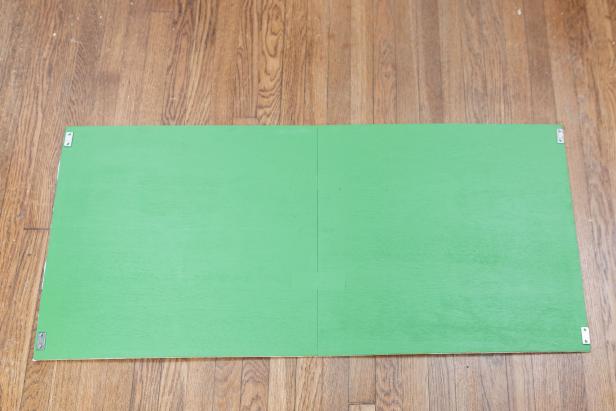
Customize With Paint
Once your magnets and casters are in place, you can paint the inside of the drawer and the underside of the luan sheets that will be used for the lid. Make sure to tape off any areas you don’t want painted before you get started! Then, let everything dry completely before moving on to the next step.
Derek R. Trimble
Attach Lid Magnets
Once your paint has dried fully, it’s time to attach the other side of your magnetic catch to the lid. Stick each lid magnet to one of the magnets on the drawer and put a piece of double-sided tape on the back. Press each side of the lid onto the drawer firmly and gently remove it with the magnets stuck into place. Now that the magnets are aligned correctly, you can screw them into place at all four corners (Images 1 and 2).
Derek R. Trimble
Derek R. Trimble
Build the Hinges and Cover the Lid
With the magnets attached, flip the lid over to the bare wood side. Use a few pieces of duct tape along the seam to create a flexible hinge for your lid (Image 1). Press the tape firmly into place, then use decorative wallpaper to cover the lid and conceal the tape (Image 2).

Derek R. Trimble
Derek R. Trimble
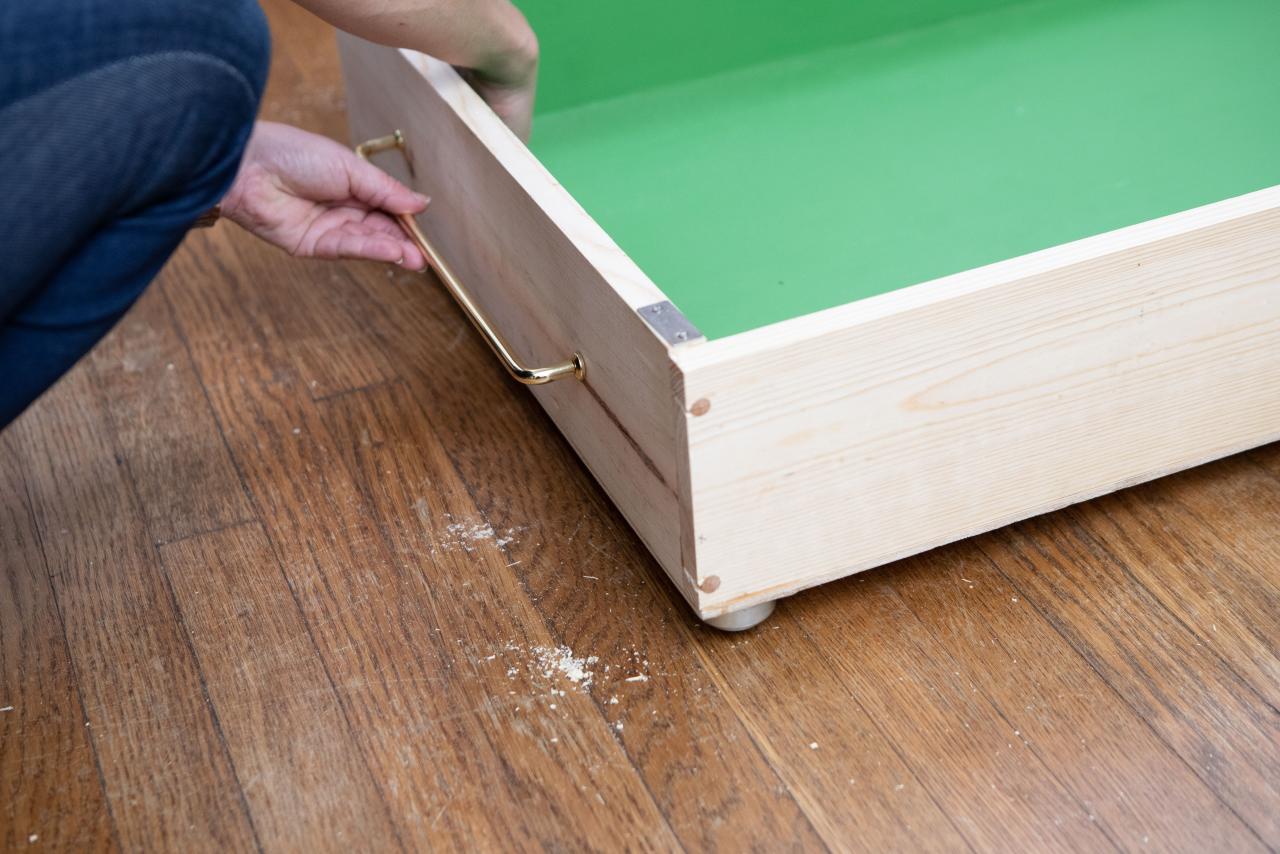
Install the Handle
Pre-drill holes to prevent the wood from splitting and install your handle according to the manufacturer’s instructions. Now you can slide your new storage drawer under the bed and make the most out of your newfound space.

Derek R. Trimble
Derek R. Trimble

Derek R. Trimble


