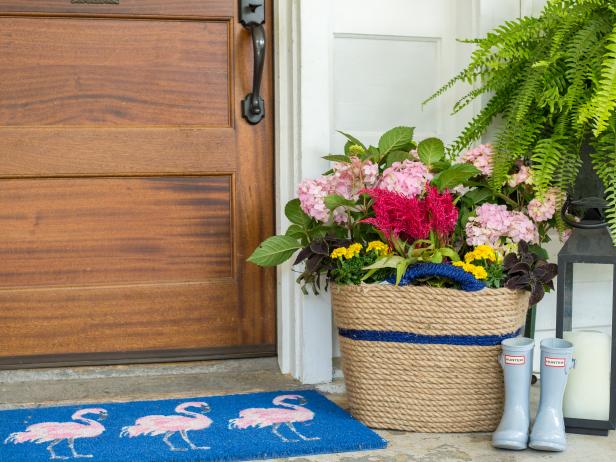
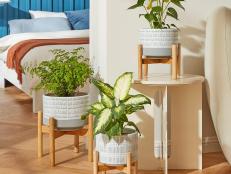
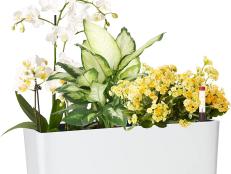
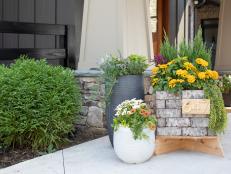
50 Can't-Miss Container Gardening Ideas 50 Photos
Get our tips for container garden planning and planting success — plus easy DIY planters you can craft yourself.
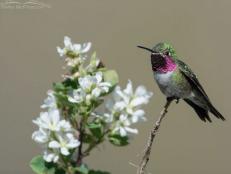
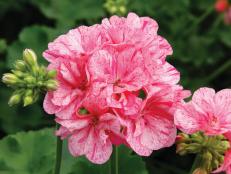
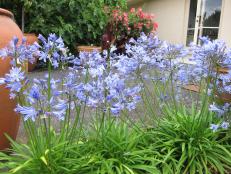
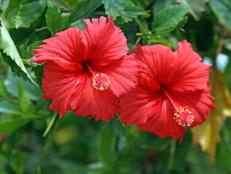
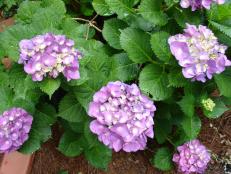
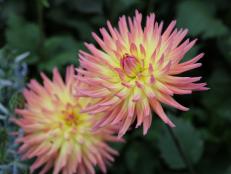
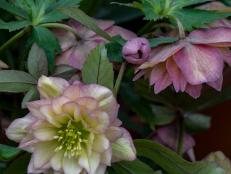
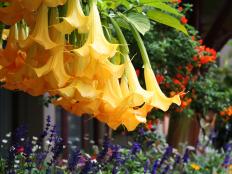
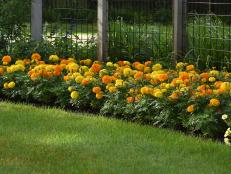
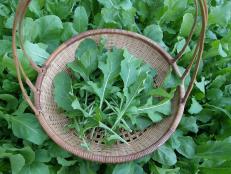
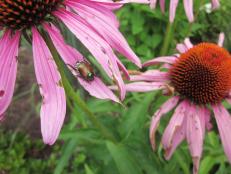
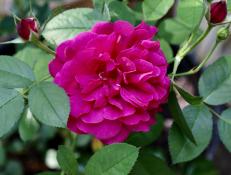
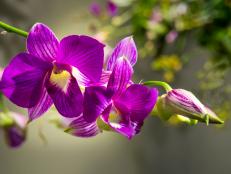
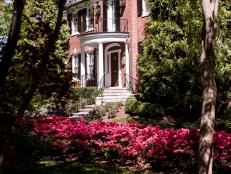
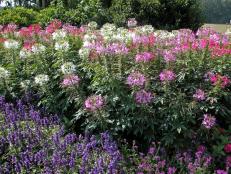
Our Favorite Flowers
Add color and interest to your garden with these beautiful blooms.


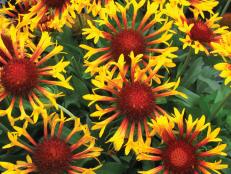


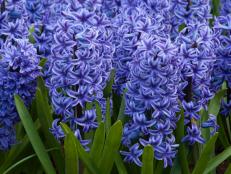


20 Can't-Kill Flowers for Beginners 25 Photos
Try these easy-to-grow, low-maintenance flowers and watch your beginner's thumb turn green.
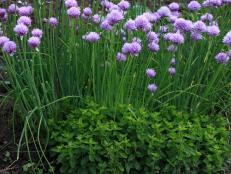
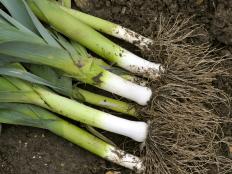
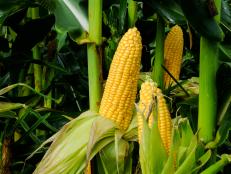
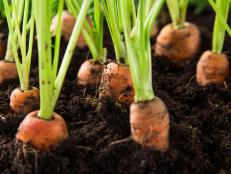
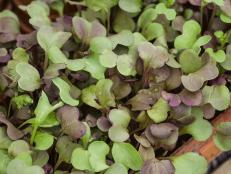
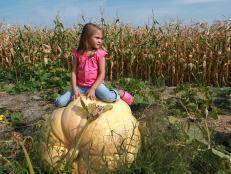
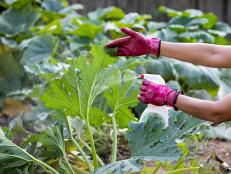
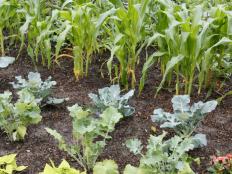
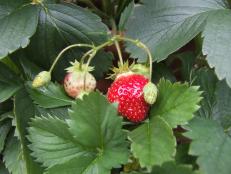
Vegetable Gardening Tips
Learn how to grow your own veggies, herbs and fruit.


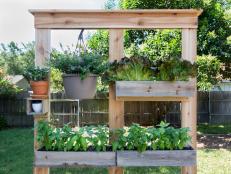
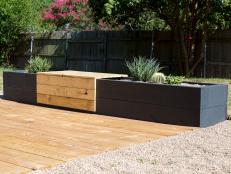
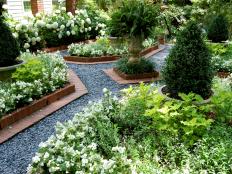
20 Raised Garden Bed Ideas 26 Photos
Discover different types of raised garden bed styles and flower bed styles that will inspire you to create your own orderly garden space.
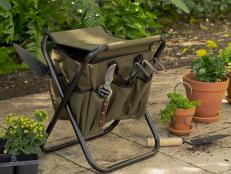
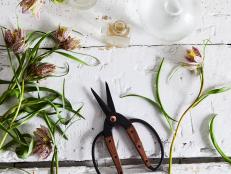
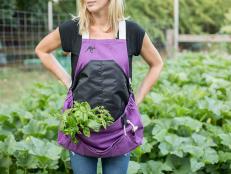
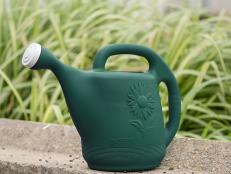
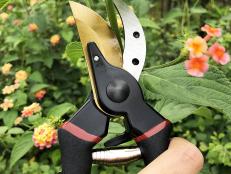
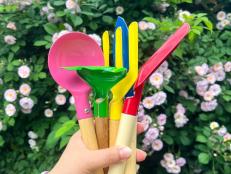
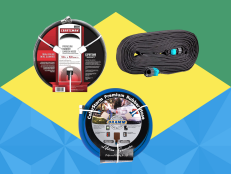
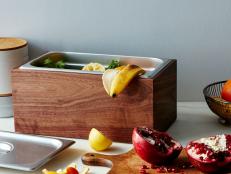
Shop for Gardening Tools
The right tools and gear will bring joy to gardening. Check out these items handpicked by HGTV editors.


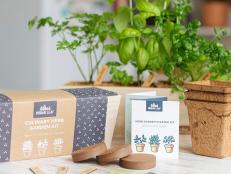


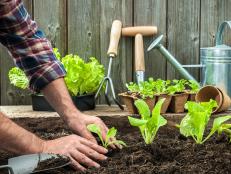
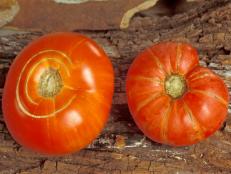
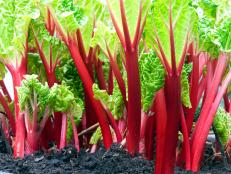
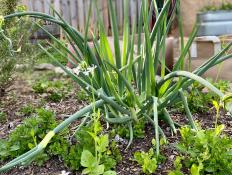
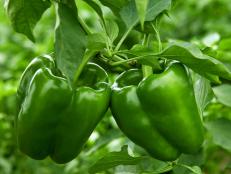
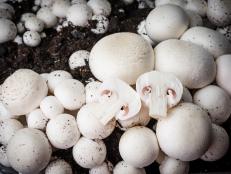
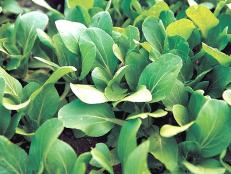
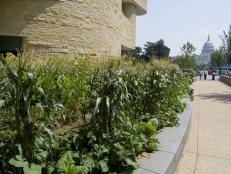
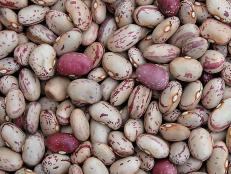
Vegetable Gardening
Design your own vegetable garden and grow delicious vegetables all throughout the year.
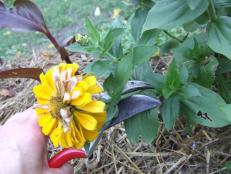
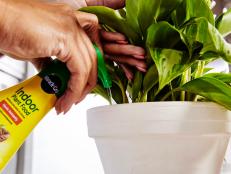
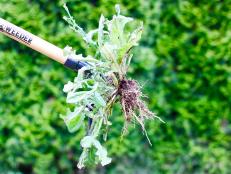
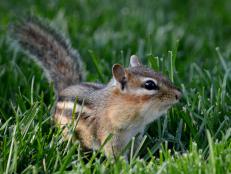
Dealing With Pesky Pests
Keep your garden growing with these tips and ideas for keeping furry, flying and crawling pests away.
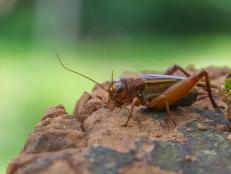
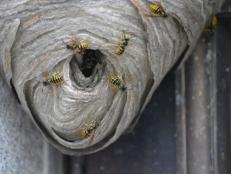
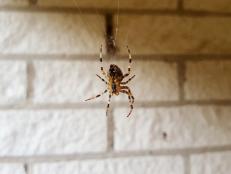
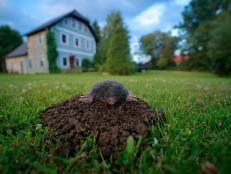


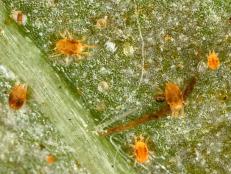
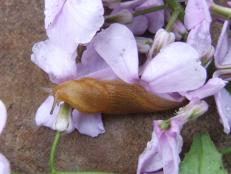
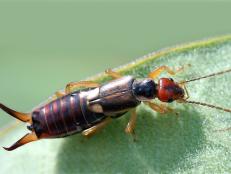
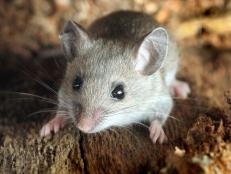

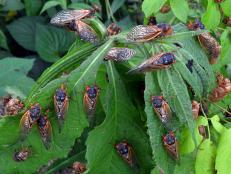
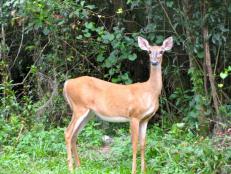
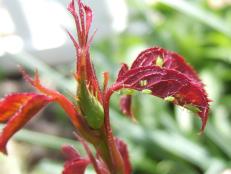
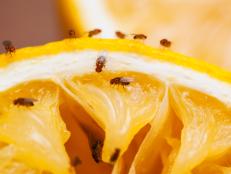


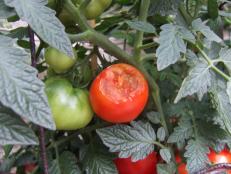
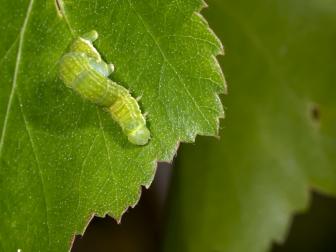
44 Common Garden Pests 45 Photos
You can identify pest damage in one of two ways: You see the insect or the damage it causes. Learn about common pests and how to control them.
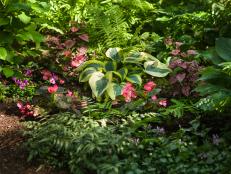
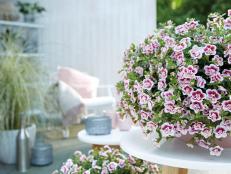
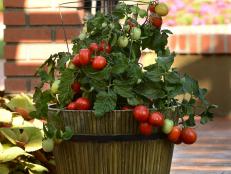
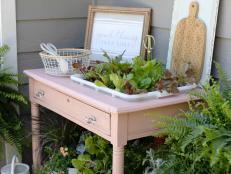
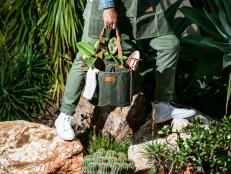
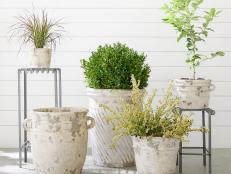
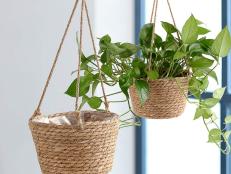
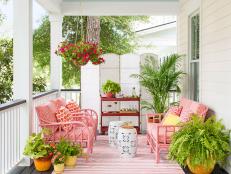
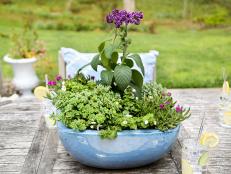
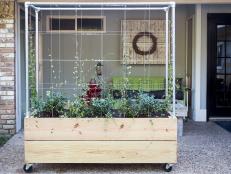
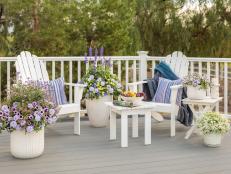
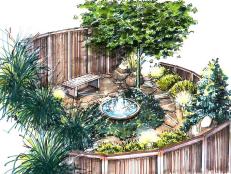
Small Space Container Gardening
Hearing nature's call but don't have much space to answer? Try container gardening for small spaces.


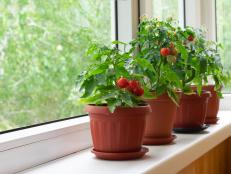
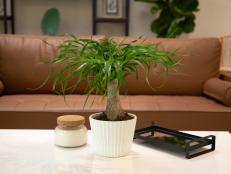
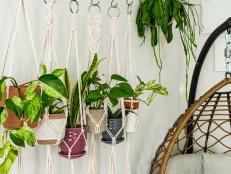

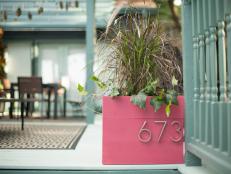

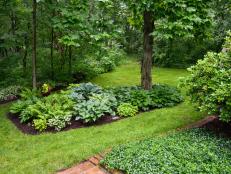


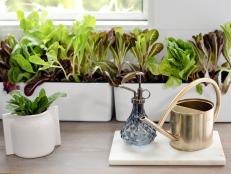
Small Space Gardening Ideas
Just because space is tight doesn't mean you can't have a garden. Get ideas for flowers, trees and plants you can use in small-garden designs.
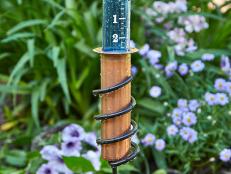
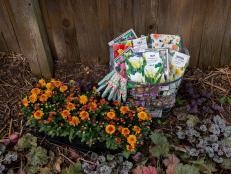
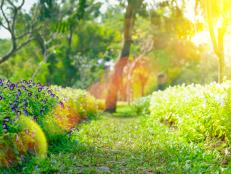
Get Tips for Planning a New Garden
Starting a garden from scratch this spring? Check out these tips.
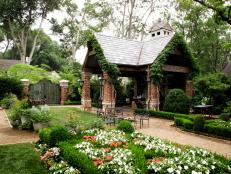

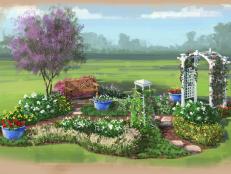

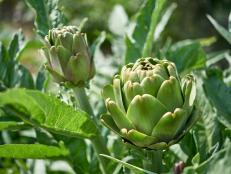
Learn About Different Garden Types
What do you know about seasonal gardens? How about vertical gardening? From container gardens for your outdoor space to cottage gardens, urban gardens, small-space gardens and more, we dish the dirt.
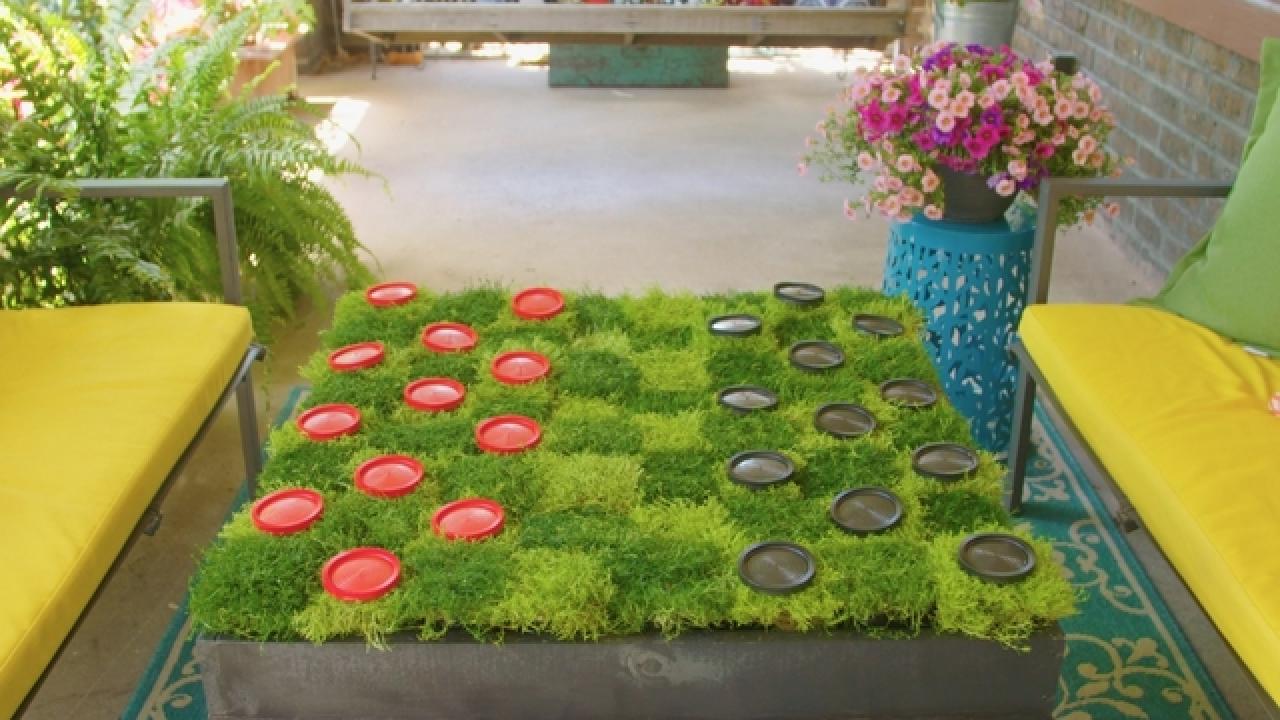
Creative Gardening Projects