


Planting and Growing Artichokes
Learn all the basics of growing artichokes, from planting artichokes to the right time to harvest them for your dinner table.

Shutterstock/Harun Ozmen
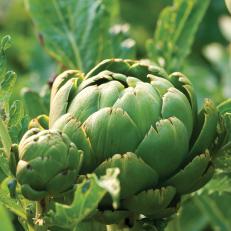
Harvest your artichokes soon after the buds appear. If left too long on the plant, flowers will begin to open and take on a tough, stringy texture.

The artichoke can add beauty and sophistication to any garden or landscape, not to mention baskets of gourmet vegetables.
Originally from the Mediterranean, artichokes (Cynara cardunculus var. scolymus) prefer a warm climate. While it’s possible to grow them nearly anywhere, gardeners in colder regions may need to take a few extra steps and adapt their expectations as to what a good artichoke yield looks like.
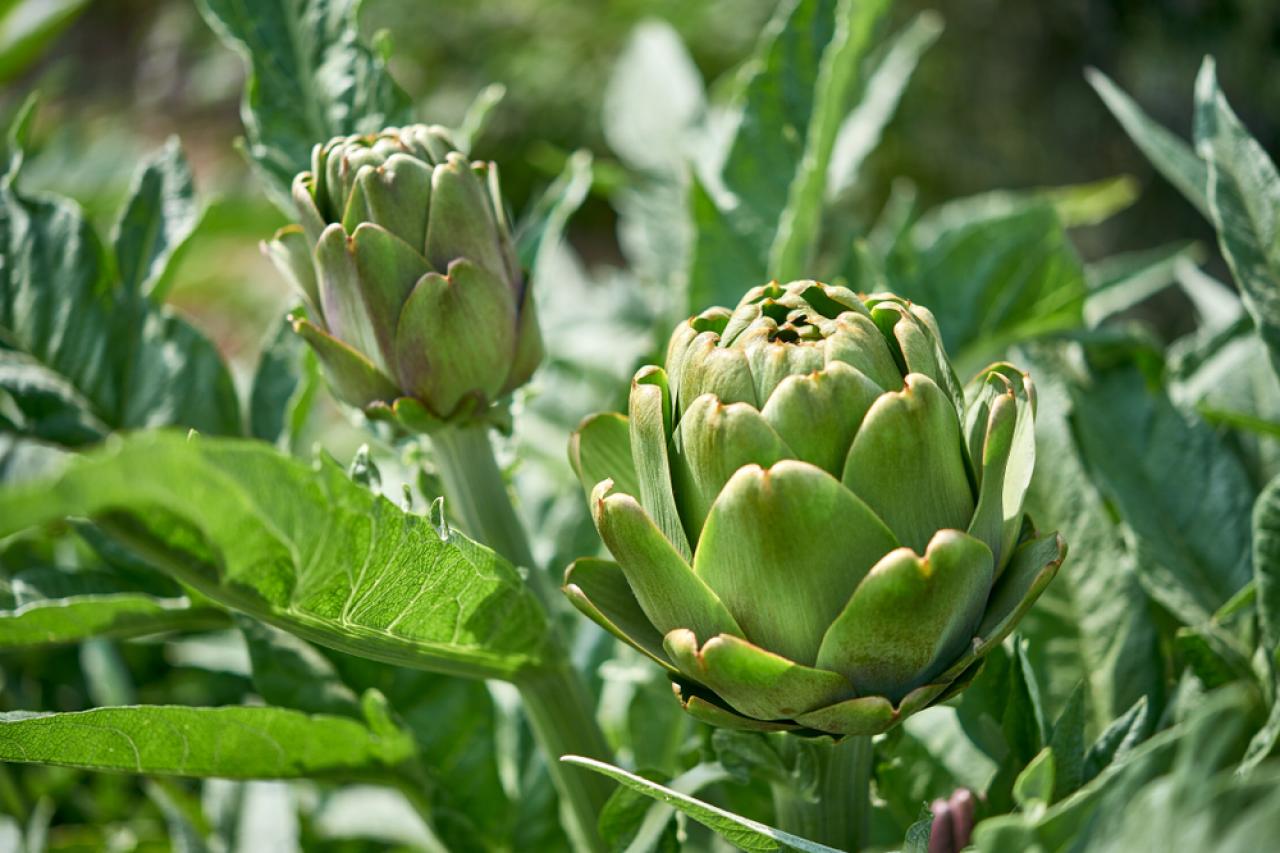
Artichokes start out as short, very leafy plants. As they grow, the leaves become surprisingly large, and by midsummer your plants will start sending up thick, tall flower stalks. A flower bud will begin to develop at the top of each stalk, and eventually you’ll recognize those buds as artichokes, ready to harvest.
Once they start to bud, artichokes develop fast. If you happen to miss the harvest window, your buds will open into large, purple flowers. While no longer edible, artichoke flowers are stunning to behold and attractive to beneficial insects to the garden.
The Artichoke Lifecycle
In warm climates, the artichoke is easily maintained as a perennial, meaning that it comes back year after year in the garden without replanting. However, in colder areas, USDA zone 6 and below, it’s likely to be killed by winter temperatures. Fortunately, with a little extra care, the artichoke can be successfully grown as an annual, producing a harvest the same year it’s planted from seed.

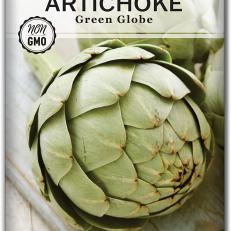
Johnny’s Selected Seeds
Native to the Mediterranean, artichoke is a perennial in Zones 10-11.
Growing artichokes as an annual crop is tricky because they don’t typically flower during their first growing season. However, exposing the seedlings to cold temperatures, a technique known as vernalization, unlocks the flowering process inside the plant. Seedling vernalization, along with the breeding of cold-hardy, short-season varieties, has made annual production possible.
When grown annually, artichokes must be replanted every spring. When grown as a perennial, plants can live indefinitely but typically reduce in vigor after five to six years. In a perennial setting, new artichokes can easily be propagated by separating rooted shoots from parents, refreshing the bed with young, vigorous plants.
How to Start Your Artichokes
Transplants
The easiest way to start growing artichokes is to pick up transplants at a local nursery in the spring. Nursery selections should be appropriate for your climate and ready to go into the ground, speeding up and simplifying the process tremendously. Transplants should be put into the garden as soon as possible after the danger of frost is past.
Seeds
Adventurous and experienced growers may prefer to grow their artichokes from seed. They can be a high-maintenance addition to the home nursery but manageable with the right planning and preparation.
If you want your plants to bud the first year, they should be seeded 10-12 weeks before your average last frost date. This is longer than most annual vegetables, so it’s important to plan ahead and get an early start. If you’re okay postponing your harvest until next year, seed them four to six weeks before your average last frost.
To vernalize, new plants need exposure to at least 10 days of 45-50-degree weather. More than 10 days of cool weather is helpful, but make sure they aren’t exposed to freezing temperatures. To meet this cold threshold, seedlings can be planted into the garden a few weeks before you expect temperatures to warm up or can be vernalized while still in their nursery pots.
Either technique can be a gamble, so keep a close eye out for sudden cold snaps.
Seed information:
- Germination temp: 60-80 degrees, optimal 70 degrees
- Germination time: 12 days at 60 degrees, nine days at 70 degrees
- Seed viability: three years
Dormant Roots
It’s also possible to start your artichokes from roots. Your local nursery may carry these in addition to or instead of transplants. They can also be ordered online. The process is simple and has similar benefits to starting with transplants. When the danger of frost has passed, set the roots just below the surface of the soil, making sure not to bury the crown under more than a 1/2 inch of soil.
Choosing Artichoke Varieties
Nearly any variety will thrive in warm regions with long growing seasons. In colder regions where they’re being grown as annuals, it’s important to select varieties that are specifically bred to perform in these conditions.
Green Globe is probably the most widely available and popular variety. The buds are a dark green with a hint of purple. They produce nice-sized buds, 3–5 inches across. This is a great artichoke for warmer climates but can be challenging in cooler areas since they can take up to 120 days to reach maturity.
Imperial Star is the go-to variety for annual production and was bred specifically for this purpose. These plants grow more quickly, only requiring 85 days to mature and can be a bit shorter than other varieties, growing only to about 3 feet tall. It’s common for these plants to produce one to two large buds followed by a series of smaller but very tasty buds to finish out the season.
Violetto is a commonly available heirloom type. It has oval shaped buds with a striking purple hue. Since this variety comes directly from the warm, long conditions of the Mediterranean, it can take a long time to reach maturity. It is considered by many to be one of the best tasting varieties.
Tavor is another variety that was bred specifically for annual production. The plants have very few spines, making them easy to harvest. They also produce well, yielding around seven to eight buds per season.
Shop Artichokes
Planting Artichokes
Fortunately, most annual and perennial vegetables thrive in similar soil conditions, so any well-prepared garden bed should work well for this crop.
When planting artichokes, it’s important to keep a few key things in mind: Sun exposure is crucial. Make sure your planting area gets at least six hours of direct sunlight during the summer. In most situations, eight to 12 hours of sun exposure is even better.
Soil quality is paramount. The health of your plants depends on the health of your soil. Properly preparing and caring for your soil will pay dividends in plant health and productivity. To start, make sure your soil is loose and free from the roots of competing plants and other obstacles. Add compost and organic fertilizer to your soil before planting and every year thereafter.
Artichokes are heavy feeders. Each growing season, the compost and fertilizer in your soil will be broken down into nutrients and absorbed by your crops, so it’s crucial that these are replaced each year.
Soil pH should be checked each season. Like most vegetable plants, artichokes like slightly acidic soil. Make sure your soil pH is between 6.3-6.9. When your bed is prepared, space plants 4 feet apart in rows also 4 feet apart.
Artichoke Care
Watering
Keep plants well-watered through the summer for the best-tasting buds.
Fertilization
Apply balanced fertilizer at planting time and again each spring. Artichokes benefit from rich, well-drained soil.
Mulching
Mulching plants with straw or compost during the summer will help conserve water. Mulching over-winter can help protect their sensitive crowns from frost.
Pests and Diseases
Aphids are the most common pests on artichokes. To help reduce pest issues, keep your plants well-watered and properly fertilized. Stressed plants are much more likely to experience aphid pressure than healthy ones. If aphids do appear, hose down your plants with a strong spray of water. If necessary, spray with an organic soap spray.
Root rot, especially in poorly drained soils, can be an issue. To avoid rot, make sure your soil is loose, amended with lots of organic matter and has proper drainage. If root rot becomes an issue and it’s not possible to adjust your drainage, look for an alternate planting site.
How to Harvest Artichokes
When to Harvest Artichokes
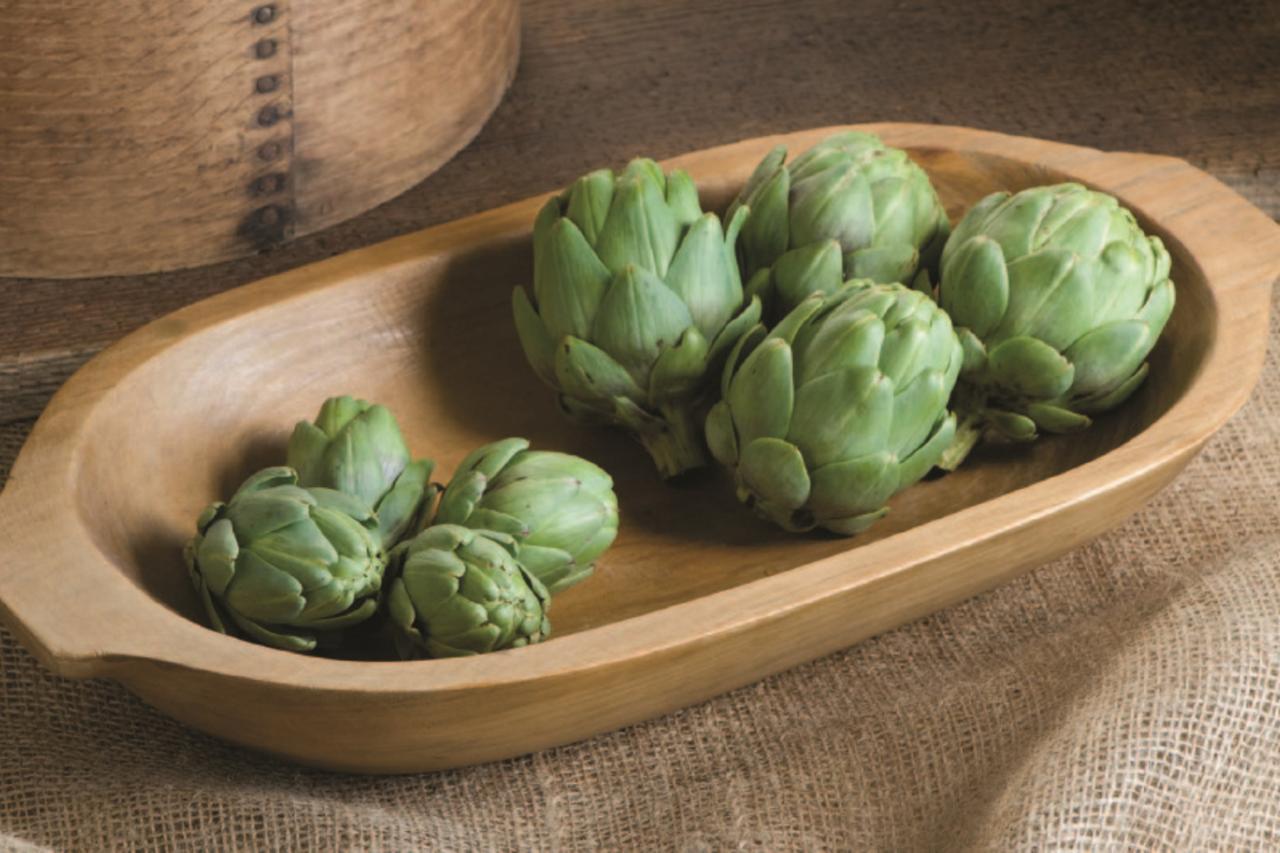
The edible portion of an artichoke is the immature, unopened flower bud. A single plant typically produces between two to eight buds per year. Harvest your artichokes soon after the buds appear. If left too long on the plant, flowers will begin to open and take on a tough, stringy texture. Eventually buds will fully develop into a large, purple, thistle-like flower. Keep an eye on developing buds and cut them when they are still compact and tight.
Use pruners or a sharp knife to cut the stalk 1-2 inches below the base of the bud. To maximize your harvest, cut any overly mature flowers from the plant. This has a similar effect to deadheading ornamental flowers; it will encourage the plant to produce new buds.
Artichokes are best eaten immediately after harvest. Store artichokes in a sealed plastic container or bag in the refrigerator and use within one to two weeks.
Artichoke Recipes


How to Maintain Perennial Plantings
In warm climates without risk of frost, artichokes can be easily maintained with regular care and occasional replanting as older plants become worn out.
Once your plants are successfully established, you can dig up and divide the base of the plant each spring. You can also look for rooted shoots along the outside edge of the plant and cut these off, with their roots intact, and replant. Expect a single plant to produce well for four to six years depending on the variety and growing conditions.
If your region is at risk of frost, apply a heavy mulch over the crown of the plant at the end of the growing season. When mulching, cover the base of the plant with 4 inches of soil and then 4 inches of straw or leaves. Push aside the mulch in the spring to uncover the crown of the plant.


