


How to Build a Concrete Block Retaining Wall
Whether you’re wanting to build a retaining wall to prevent erosion, break up a large slope or just enhance your landscape, learn how to plan for and build a concrete wall with cinderblocks or landscape blocks.

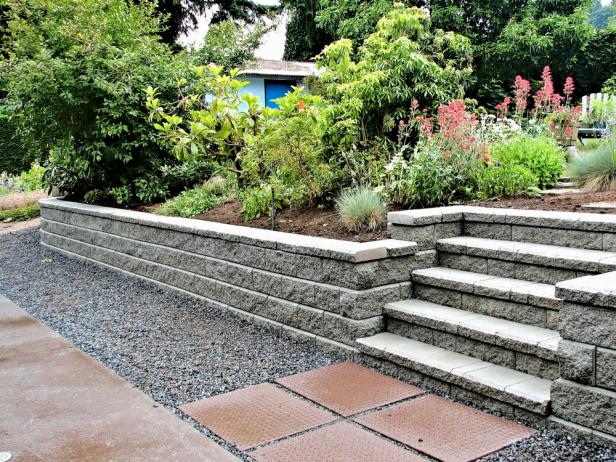
Retaining walls serve both functional and decorative purposes around a home. While their primary objective is to control soil erosion, retaining walls are also used in landscape design to refine irregularities in sloping lawns, making it easier to establish garden beds, patios, pathways and stairways. Some homeowners value a retaining wall simply because it makes it easier to mow the lawn or maintain a garden when it’s not on a steep slope. Others use them as a way to create sitting walls around entertaining spaces.
Shutterstock
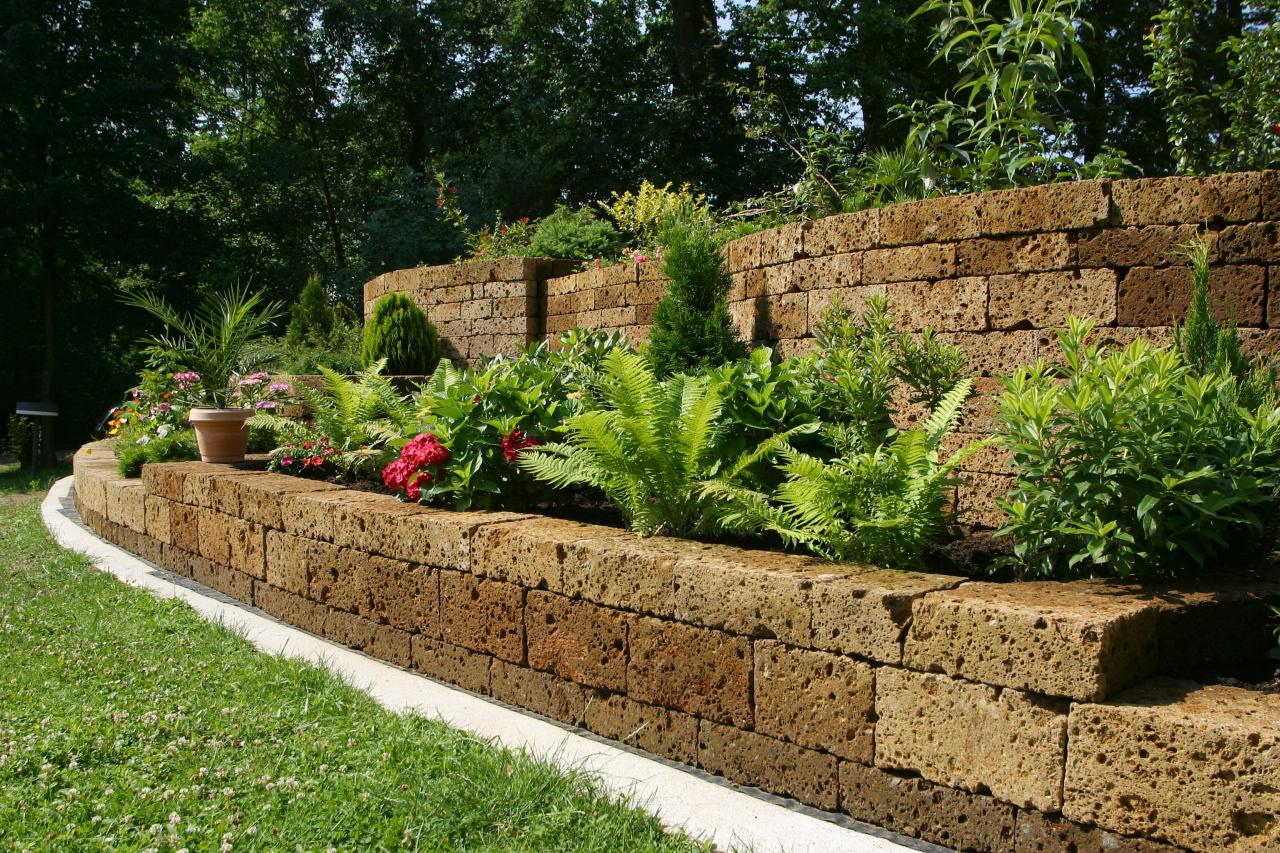
A strong concrete block retaining wall is built in a running bond pattern similar to a traditional brick wall. Each course of block is back-set by 3/4" so that, while level, the wall effectively angles back into a hillside. This way the weight of the backfill is supporting the wall and not pushing against it.

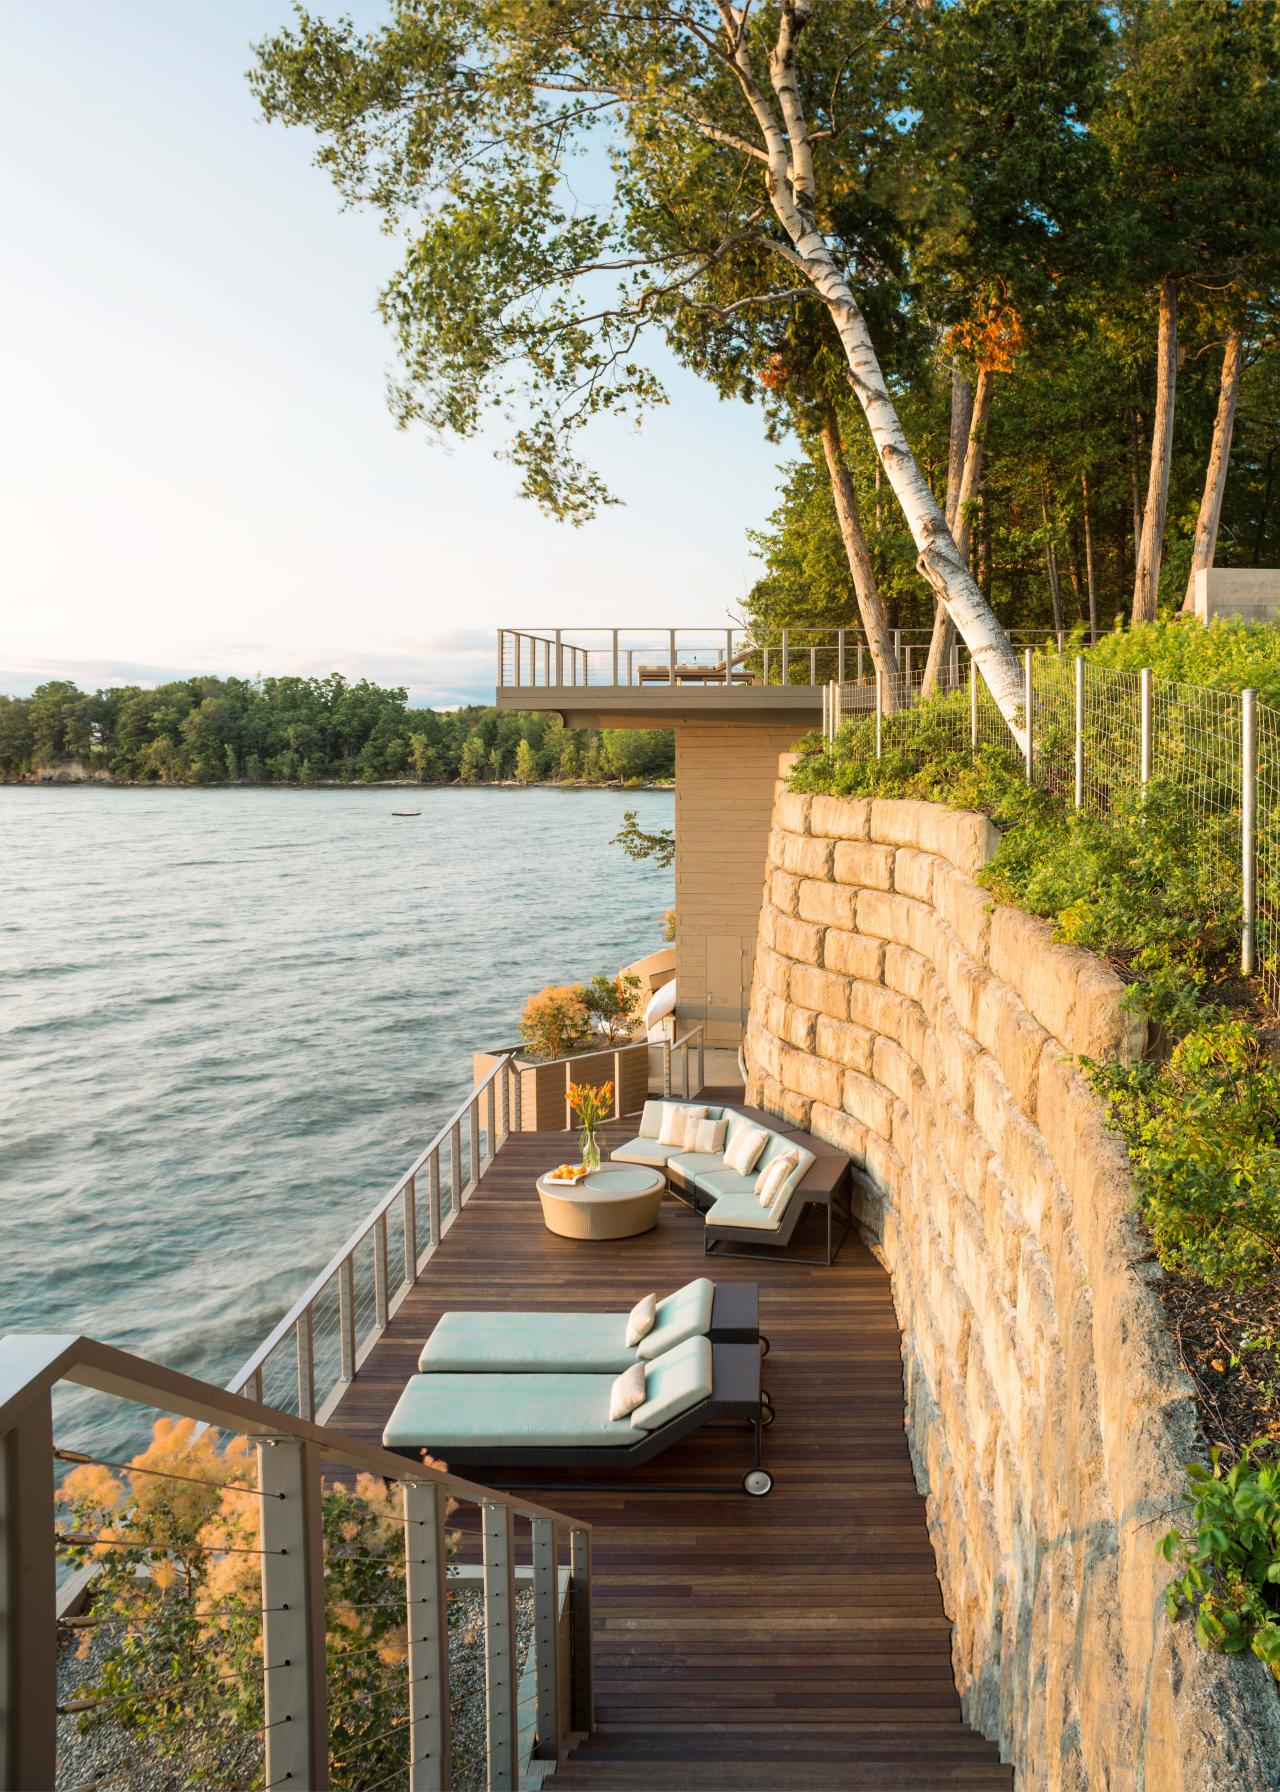
Lakeside Terrace
An existing concrete wall and terrace were covered with a new Ipe deck and stainless steel cable rail.

Photo by: Westphalen Photography
Westphalen Photography
Shorter walls can, of course, be stacked perfectly vertical, but depending on the height, it may sacrifice overall integrity.
Retaining walls can be built from traditional 8" x 8" x 16" concrete blocks, but DIYers also find it easy to use manufactured split-faced blocks or blocks with pre-fabricated backset ledges for ease of assembly and a simple finish. Furthermore, advancements in adhesives make it possible to assemble a retaining wall without mixing mortar, so if you’re looking to install your own concrete retaining wall, take the time to learn about all of the options.
Mortar vs. Masonry Adhesive
There are pros and cons to consider when you’re deciding how to attach your concrete blocks together. Both traditional mortar and landscaping-block adhesive are commonly used to attach small blocks. The scope of your project and the size of your wall will help determine which product is best for attaching concrete blocks.
- Traditional mortar is undeniably stronger than adhesive and should be used for structural installations and taller retaining walls. It requires proper mixing throughout a project and has a slower drying time (upwards of a month). Mortar is more permanent than any adhesive.
- Masonry adhesive is an easy-to-apply alternative that’s useful for shorter retaining walls or low-sitting walls when structural integrity is not as important. Conveniently packaged in a tube-like caulk, it has a shorter curing time (7 days).
- Both are waterproof and suitable for outdoor installations.
- Both provide excellent adhesion for concrete-to-concrete applications.
Moisture Barriers

Getty Images/fotolinchen
Soil moisture, roots and water run-off can cause issues for all retaining walls. It’s important to plan for a moisture membrane to be installed on the backside of your concrete block wall to be a barrier between the soil and the concrete stone blocks.
If you plan to stucco, paint or tile the front of your concrete blocks, coating the wall with a slurry and allowing it to cure also enhances the structure and serves as a proper moisture barrier to help keep your fascia intact.

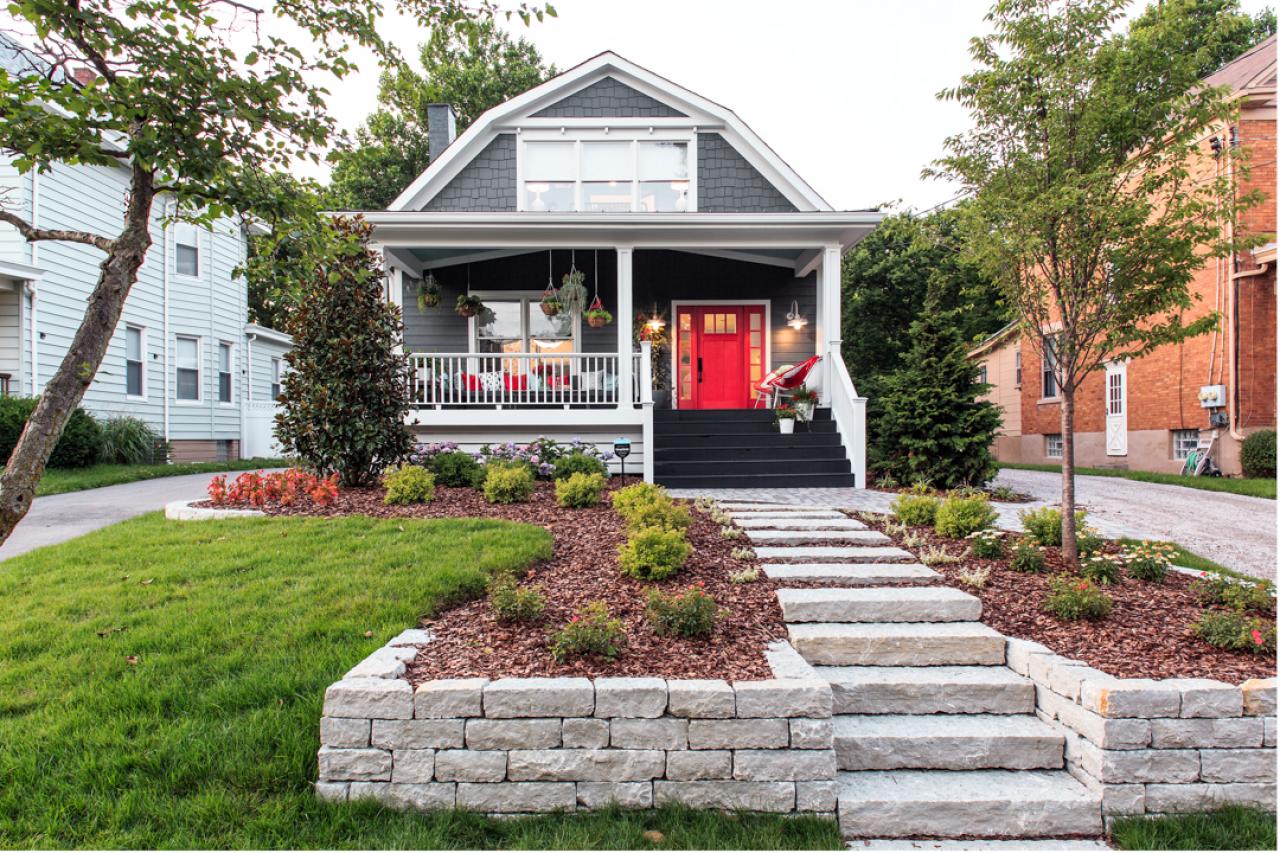
Street View
This street view of the home shows the new retaining wall and steps made from Indiana Limestone that lead up to the welcoming front entry of the home.

Photo by: Tomas Espinoza
Tomas Espinoza
Tools and Materials:
- cement blocks and caps
- shovel
- string and posts for marking and leveling
- crushed stone
- sand
- mixed concrete
- rebar
- rubber mallet
- mortar or masonry adhesive
- brick trowel
- level
- moisture barrier
How to Build a Concrete Retaining Wall
1. Planning
Planning is a critical first step for every wall. Footings beneath a wall require a clearance that is 18” to 24” wide. The depth of the footing can vary by local code, so be sure to find out the requirements and obtain permits as necessary.
Other things to decide during planning include:
- The shape and height of the wall
- Barriers in the landscape, such as root systems for nearby trees or shrubs or perennials that may need to be transplanted
- Drainage and moisture barriers around the wall
- Reference points on the property, be it the corner of a house or an existing landscaping feature. Building off a solid reference point can help anchor your wall and determine its angle.
- Dimensions of the concrete blocks
- Finishing fascia for the wall, if desired
2. Detailed Markings
Mark the path of your wall from reference points. A level string line makes it easy to mark the placement of the wall relative to other landscaping or structures in your yard.
3. Excavate
Excavate soil in the path of your footing as well as soil at least one foot behind where you want the wall to be built. Removing extra soil will give you the necessary clearance to add moisture barriers, stones or other drainage features. You will backfill soil into the space behind the concrete blocks once the wall is constructed.
4. Set Footings
Prepare and set the footing for the wall. Building a footing for your wall will require you to adhere to local codes. Guidelines for how wall footings are constructed can vary by geography. Some municipalities may allow a tamped stone and sand footer. Others may require that you sink the footers a specific depth below grade to withstand changes in the freeze-thaw cycles. These codes are in place to make sure your retaining wall is built properly and lasts a long time, so it is important to pay attention to them.
As you plan the footer, many DIYers also find it helpful to dry-fit the first course of concrete blocks. If you’re a visual planner, take pause before you mix any concrete:
- Measure and plan based on the true size of the blocks and allow for a 3/8" mortar joint between each block.
- Dry fit the blocks together over the footer you created to adjust alignment and right-size the wall and any curves.
- Snap a chalk line as a guide.
The footer needs to be solid and level, especially if you are installing concrete blocks directly on sand and stone.
Shutterstock
If you are pouring a concrete footer, incorporate horizontal lengths of rebar for reinforcement.
5. Lay First Row
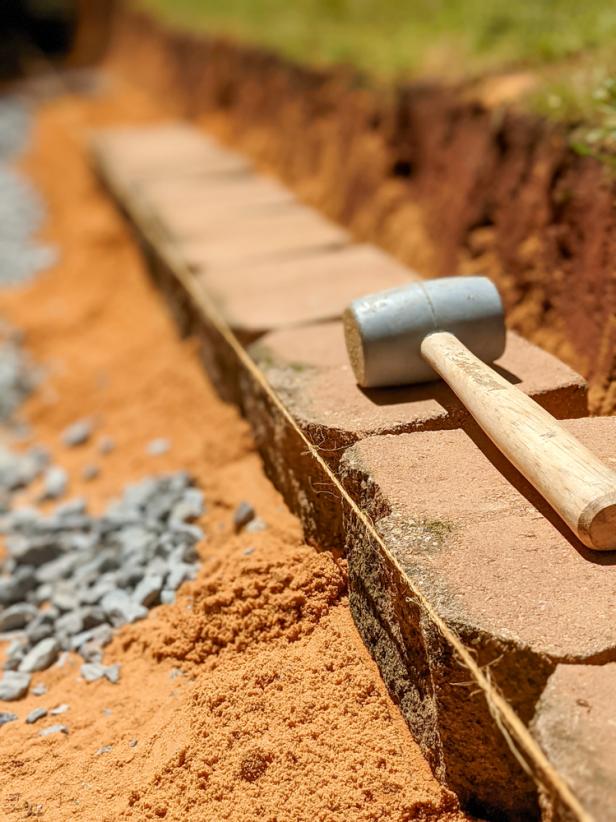
If you are building on a leveled stone and sand base, you can lay your first row of concrete blocks directly on top of the footer. Level each block using a rubber mallet to ensure that it’s positioned where you need it.
If you are anchoring your concrete blocks onto a concrete base, mix a small batch of mortar to get the job started. The first row of concrete blocks will be placed directly onto that mortar. If you dry fit your first row of concrete blocks, many builders find it easier and more consistent to start by anchoring the two end blocks with mortar first, then working your way toward the center.
Butter the sides of the concrete blocks with mortar as you work your way along the first row. Check to make sure every block is level and square.
Shutterstock
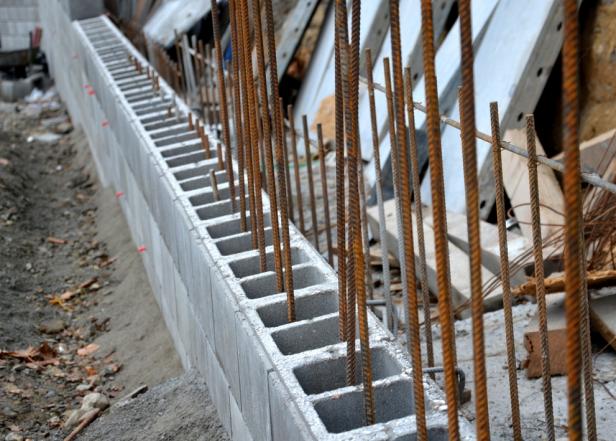
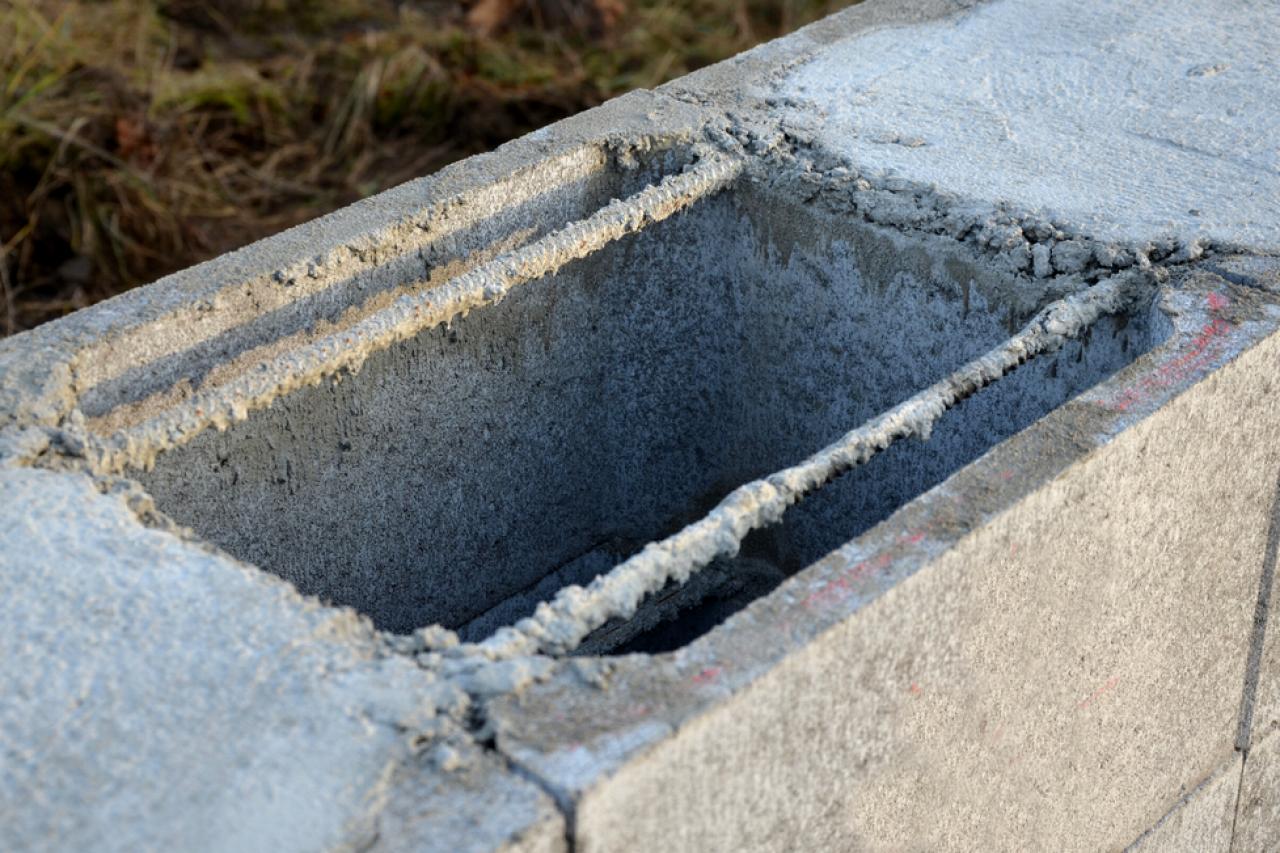
Complete the installation until you have a full first course that is even, level and solidly installed. Then, if you’re using traditional 8" x 8" x 16" cinder blocks with open cavities, place vertical pieces of rebar every 24 inches and fill every cavity with mortar to create a strong, solid foundation that locks the first course to the footer.
6. Continue Adding Rows
Build the wall one layer at a time using your blocks, mixing and churning mortar as you go. Each line of mortar should be 3/8" thick. Depending on the type of concrete block you choose and other landscaping factors, this is where you may opt for concrete adhesive to secure additional courses of stone which results in no mortar lines.
Vertical walls that thread rebar through mortar are very strong; however, it’s still best if you plan to back-set each course by 3/4".

Shutterstock
Shutterstock
Some specially manufactured stones do not rely on rebar, but instead use reinforcement pins between courses to lock blocks together. Reinforcement pins are more commonly used in small walls constructed with masonry adhesive.
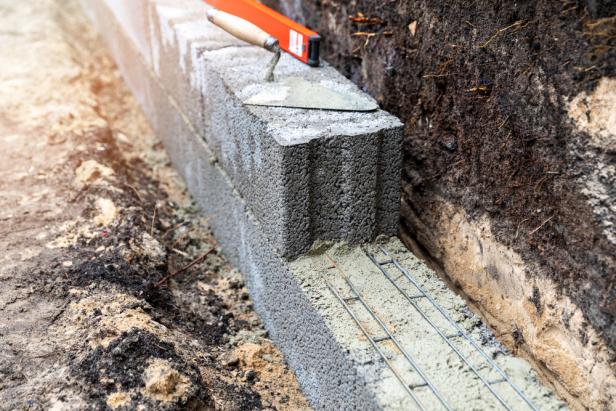
7. Top With Capstones
Once the wall has reached the desired height, the last pieces you will add to the structure are cap blocks. These caps are installed just like any other block to finish the top of the retaining wall. The caps should be slightly angled to promote runoff and provide the wall with a much-needed drip edge.
While the exposed mortar between joints is still malleable, use a trowel to clean up the job and correct any imperfections.
The mortar or adhesive you used needs to cure before you add moisture membranes or backfill. At a minimum, give it a week to solidify. If you can wait longer, upwards of a month is ideal.
8. Add a Moisture Barrier
Once you’ve allowed the mortar to cure, add the moisture barrier. The moisture membrane is the last piece that you will add to your finished wall before you backfill the cavity. Connect it to the block following the product’s instructions.
If you’re also going to add a moisture barrier to the front in the form of a concrete slurry, this is an appropriate time to install that finish.
9. Backfill With Gravel + Soil
Before you backfill the space with soil, add a base of loose stones behind the wall to support drainage around the footer. Then, replace soil that was removed, compacting it slowly as you go.
Avoid dumping a full load of soil into position at once to protect the integrity of the wall. Helping the soil slowly settle is best for the wall and surrounding root systems.
10. Watch the Backfill Settle
Before you hurry to sprinkle grass seed or plant along the upper cap of your new retaining wall, give the soil additional time to naturally settle. In all likelihood, it will continue to compress a few more inches following natural rainfall.

How to Build a Timber Retaining Wall
Atimber retaining wall is great for reshaping a sloped yard and adding a real identity and presence to your garden area.

26 Sturdy Retaining Wall Ideas for a Sloped Yard 36 Photos
From stacked stone to board-formed concrete and everything in between, these creative retaining wall ideas show how thoughtful design can make a dramatic impact.


