


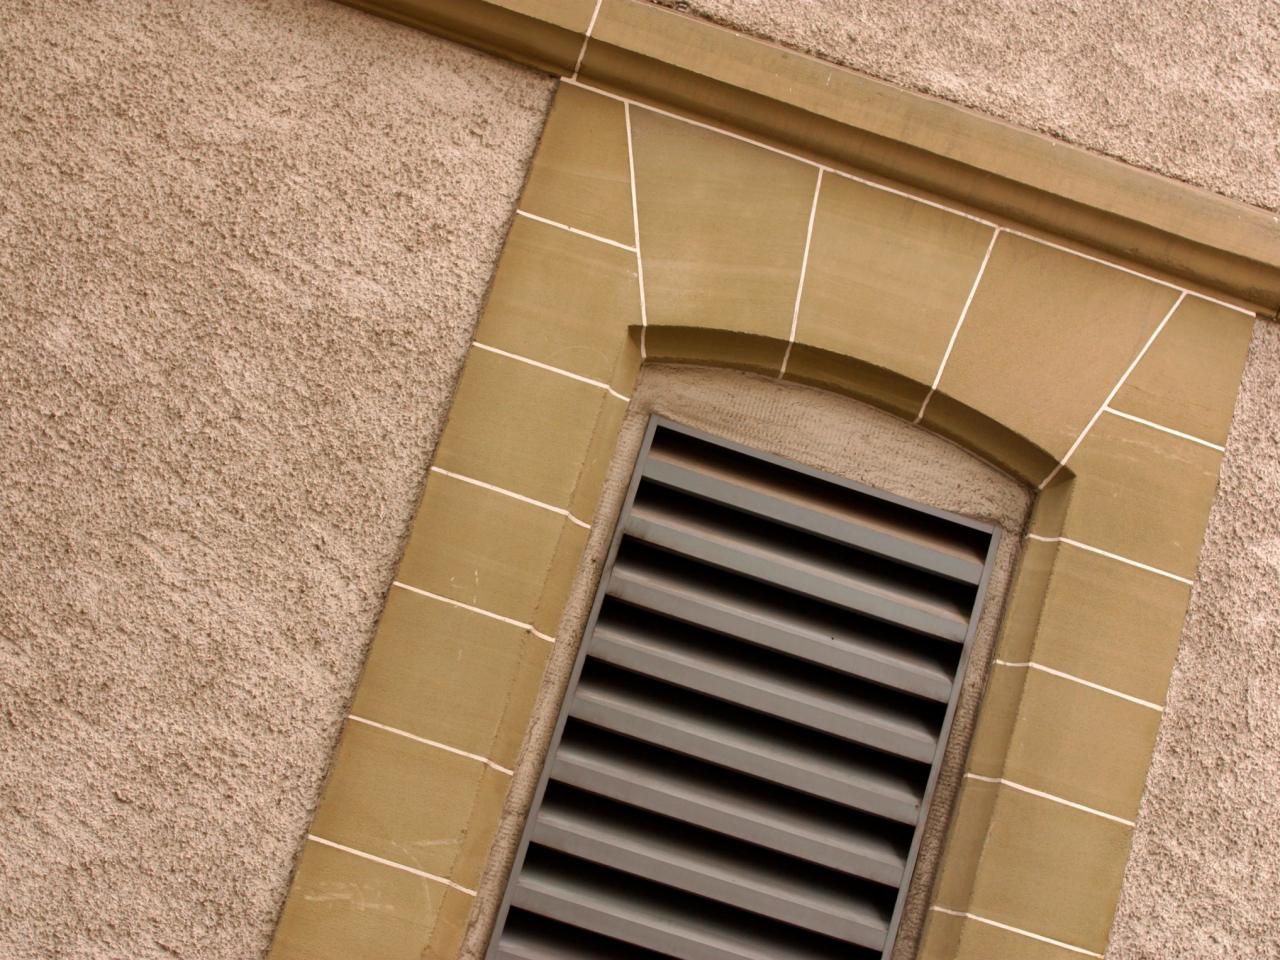
How to Replace a Heating-Vent Cover
While you're at it, you can reduce the bulk with a slimmer model. Just follow these instructions.

Cut away old ductwork to clear the way for a more compact heating-vent cover with this simple project.
Materials and Tools:
nippers
lineman's pliers
awl
screwdrivers
power drill
gloves
safety glasses
heater vent
painter's tape
caulk (optional)
Steps:
- Remove the old vent. If the screws have been painted over, use an awl to dig out the paint and clear out the screw head.
- If the ductwork extends out from the wall, you'll need to cut it away if you're installing a flush-mount vent cover. Protect the wall around the vent by taping it over with painter's tape, and then cut away excess ductwork with lineman's pliers. Wear safety glasses and heavy work gloves while cutting away the ductwork.
- Remove the painter's tape and fit the new vent cover. Make sure the louvers face down.
- Slide the vent cover into position and secure with screws. Use the awl to make a hole for starting the screw, and then pre-drill pilot holes. Start the screws by hand and then use a screwdriver to lock the vent down tight. Test the vent to make sure it operates properly.
- If desired, run a bead of caulk along the perimeter of the frame to seal it.
Next Up

How to Pressure Wash Your Driveway
Erase years of wear and tear from your driveway in just a few simple steps with a pressure washer.

10 Home Office Hacks to Get You Organized Now
Working from home can be super comfortable and productive — unless your home office is a disaster. Follow these 10 simple tips to help declutter your space.

How to Install a Porch Railing
The right front porch railing can add a lot of curb appeal to your home and help define your home's style. Learn how to install new railing on your porch.

How to Pet-Proof Your Garden
Learn how to keep the peace between your garden and pets with these nine simple tips.

How To Care For a Wood Fence
A wooden fence can be a great way to give a home a definitive border and add style. Learn the proper maintenance required to make sure your fence lasts a long time.

How to Install Gutters
Protect against water damage to your foundation, basement and driveway with these instructions.

How to Install a Dead-Bolt Lock
For burglar-proofing, it's a must-have.

How to Repair a Damaged Roof
We simulated the damage of a tree falling on a roof by dropping a piano from a crane. Such an accident can cause major structural damage. Consult a professional if there are any reframing needs due to building codes.

How to Replace Blown-in Insulation
If leaks are showing up on your ceiling, it's time to fill the insulation gaps.

Build a Closet for Your Garage
Stop the sprawl by creating a vertical storage space with these step-by-step instructions.


