


Our Fave DIY Decorations 101 Photos
Make the season bright with our top handmade holiday decorating projects.
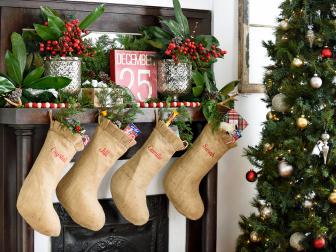
Deck the Halls, Indoors + Out

85 Easy DIY Ornaments 86 Photos
Add a personal touch to your Christmas tree this holiday season with our DIY ornaments.

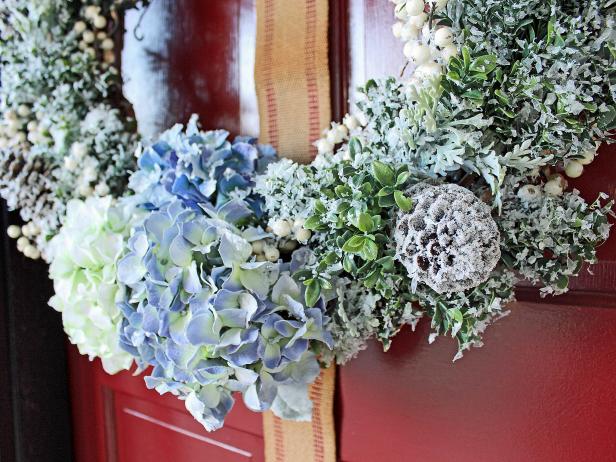
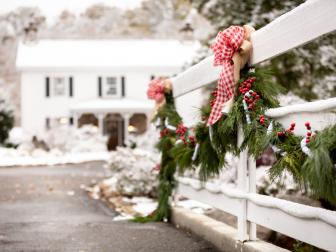
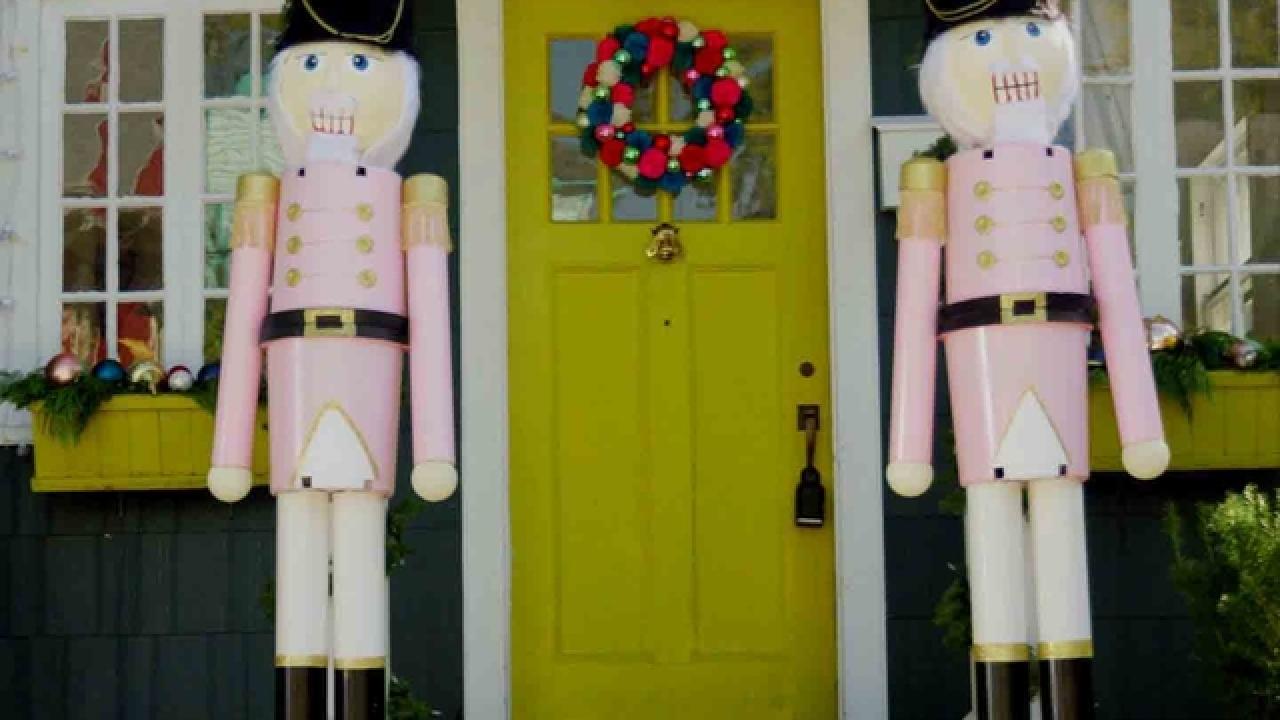
35+ Easy Outdoor Updates 54 Photos
From wintry wreaths to traffic-stopping displays, make your front yard festive.
Handmade Gifts, Cards + Gift Wrap

CRAFTED WITH LOVE
Fave Handmade Gift Ideas 80 Photos
Create one-of-a-kind gifts for him, her, the kids — even your furry best friend.

STUFF THEIR STOCKINGS
20+ Small Handmade Gifts 65 Photos
Whip up one or more of these petite presents to surprise coworkers, friends or kids' teachers.

WRAP SUPERSTARS
50 Crafty Gift Wrap Ideas 91 Photos
Impress with pretty packages that won't break the bank.

CRAFTS FROM THE KITCHEN
Easy Food Gifts 45 Photos
Treat them with one of these made-from-scratch goodies.

PUT YOUR STAMP ON IT
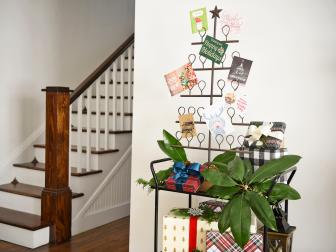
20 Handmade Holiday Cards 21 Photos
Craft a one-of-a-kind greeting they'll display year after year.

NEW LIFE FOR OLD STUFF
15 Vintage Holiday Gift Ideas 15 Photos
Fill creative containers with surprises so the wrap is part of the present.
More Ways to Make It Merry


Christmas Crafts You Can Create
Loading Video...
Don't Forget the Kiddos

KID-TASTIC CRAFTS
80+ Easy Christmas Crafts for Kids 83 Photos
Get little ones involved with easy Christmas ornaments, cards and decorations.

QUICK + COLORFUL
Sewing Stash Topiaries
Turn everyday craft materials into playful button and yarn topiaries.

10 Crafty Ways to Trim the Tree

- No-Sew Sunburst Christmas Tree Skirt
- Clothespin Snowflake Ornament
- Kids' Craft: Candy Cane Reindeer
- Kids' Craft: Glittering Snowball Ornaments
- Retro-Mod Tree Topper
- No-Sew Ruffled Tree Skirt
- Christmas Card Garland
- Kids' Craft: Candy Cane Mouse
- Garland Advent Calendar
- Kids' Craft: Yarn Ball Ornaments


