


How to Install a Marble Tile Backsplash

Marble Tile Kitchen Backsplash
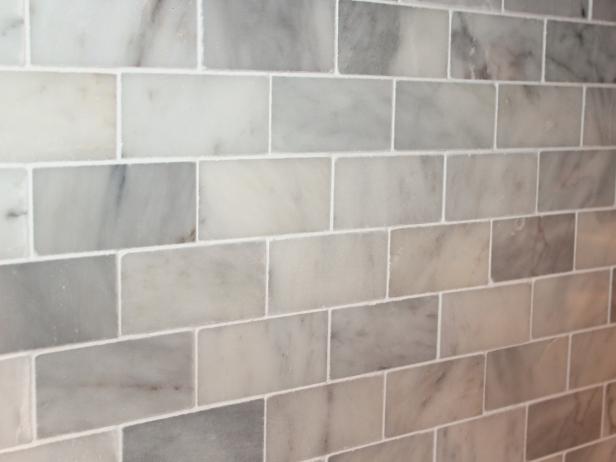
Boost your kitchen's wow factor in a three-day weekend by installing a timeless Carrara marble backsplash in an updated subway tile pattern. Do-it-yourself with our step-by-step instructions.

Photo by: H. Camille Smith
H. Camille Smith
The key to completing this project in a weekend is careful planning and having all the materials on hand before you start. To determine how much tile you'll need, use a tape measure to determine the length and height of all areas to be tiled and jot down these measurements in feet. To calculate square footage, multiply length by height, then add 10 percent to your total to allow for waste. Check local tile or big box stores to ensure they have enough of your chosen tile in stock. If not, you may have to special order, which typically requires 2-4 weeks for delivery. Also, call around to local tool rental shops to compare prices and place a reserve on a wet tile saw for the weekend you plan on tiling.
Materials Needed:
- 2" x 4" marble subway tile on mesh backing (or whatever size you prefer)
- marble "pencil" trim (these act as a border between tiled and non-tiled areas)
- heavy-duty paper or plastic drop cloth
- painter's tape
- mixer bar
- electric drill
- tile adhesive or mortar made specifically for marble
- unsanded grout (best for joints less than 1/8")
- flexible grout admixture (reduces grout shrinking and cracking)
- natural stone sealer
- tile spacers (I used 3/32", 1/16" and 1/8")
- rubber grout float
- large bucket
- orbital sander or sandpaper
- razor blade or scissors
- V-notched trowel
- wooden stir stick
- spirit level
- tape measure
- wet tile saw
- dust mask and eye protection
- soft cotton rags and paper towels
- vacuum cleaner or tack cloth
- grouting sponge
- pencil
- acrylic caulk and caulking gun
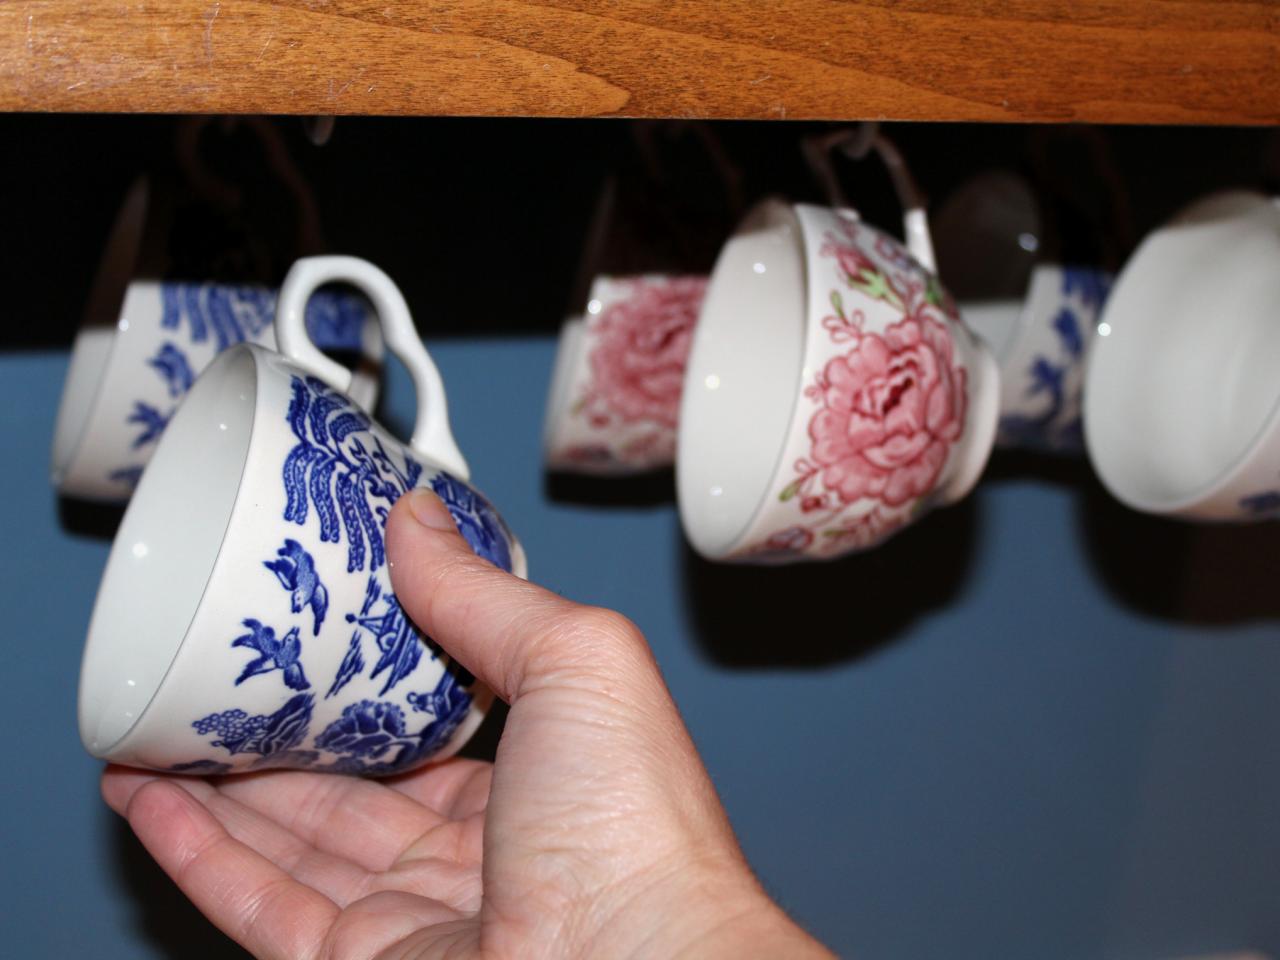
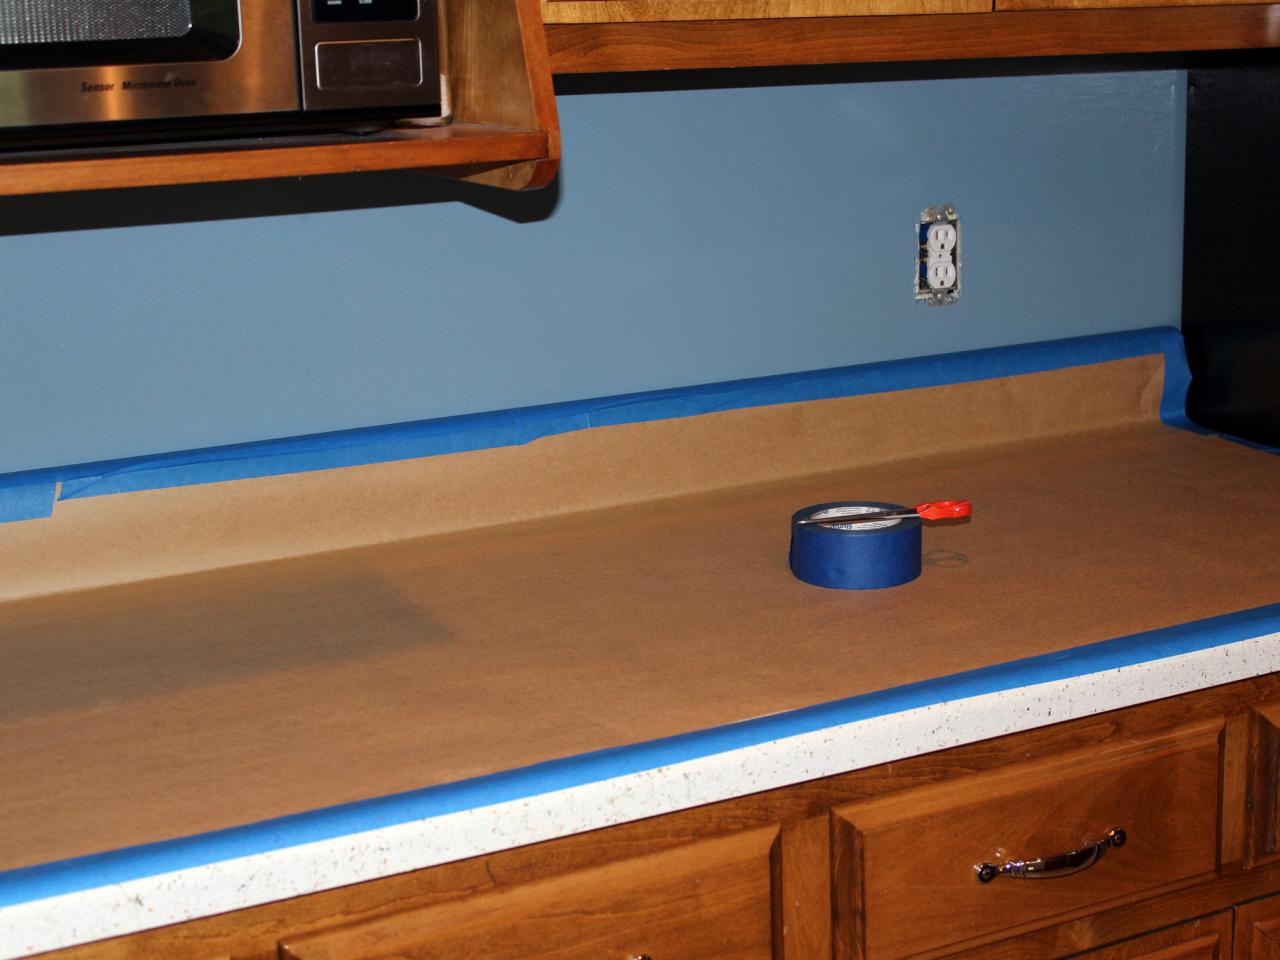
Prep Kitchen
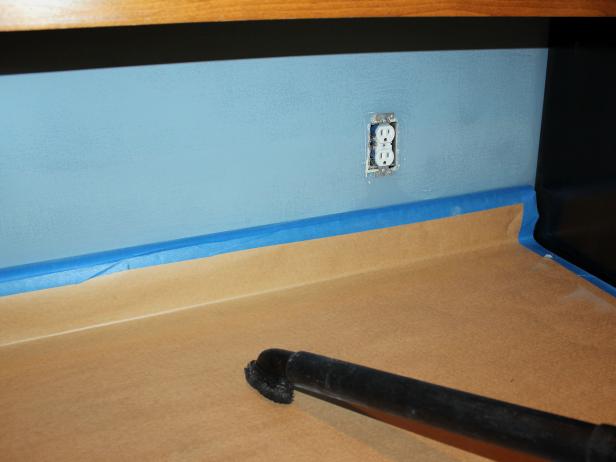
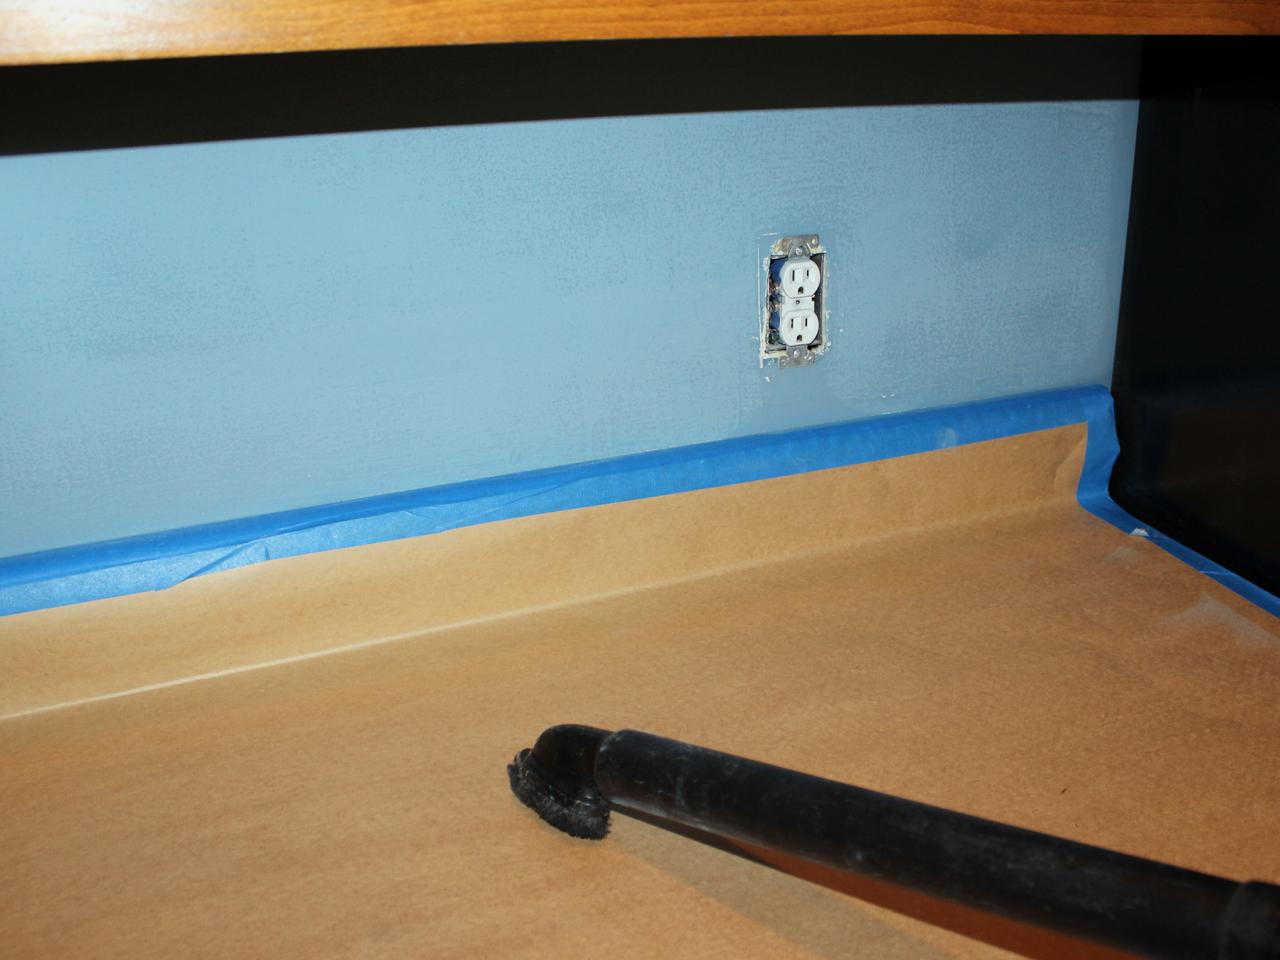
Completely clear countertops and remove any items hanging under cabinets (Image 1). Protect countertops by covering them with a heavy-duty paper or plastic drop cloth and painter's tape (Image 2). Remove switch plates and attach screws to plate backs with a piece of painter's tape so they won't become lost.

H. Camille Smith

H. Camille Smith
Sand Backsplash Area
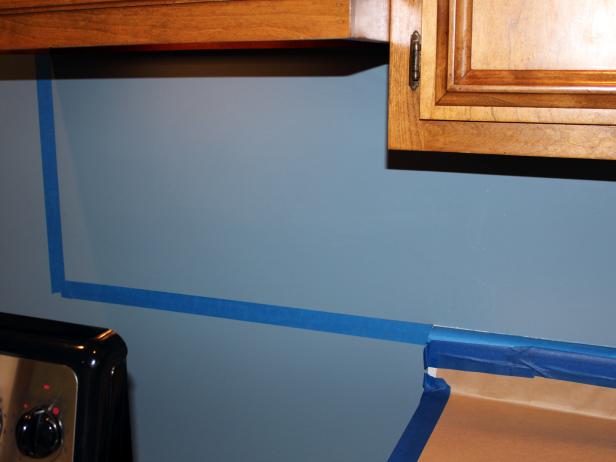
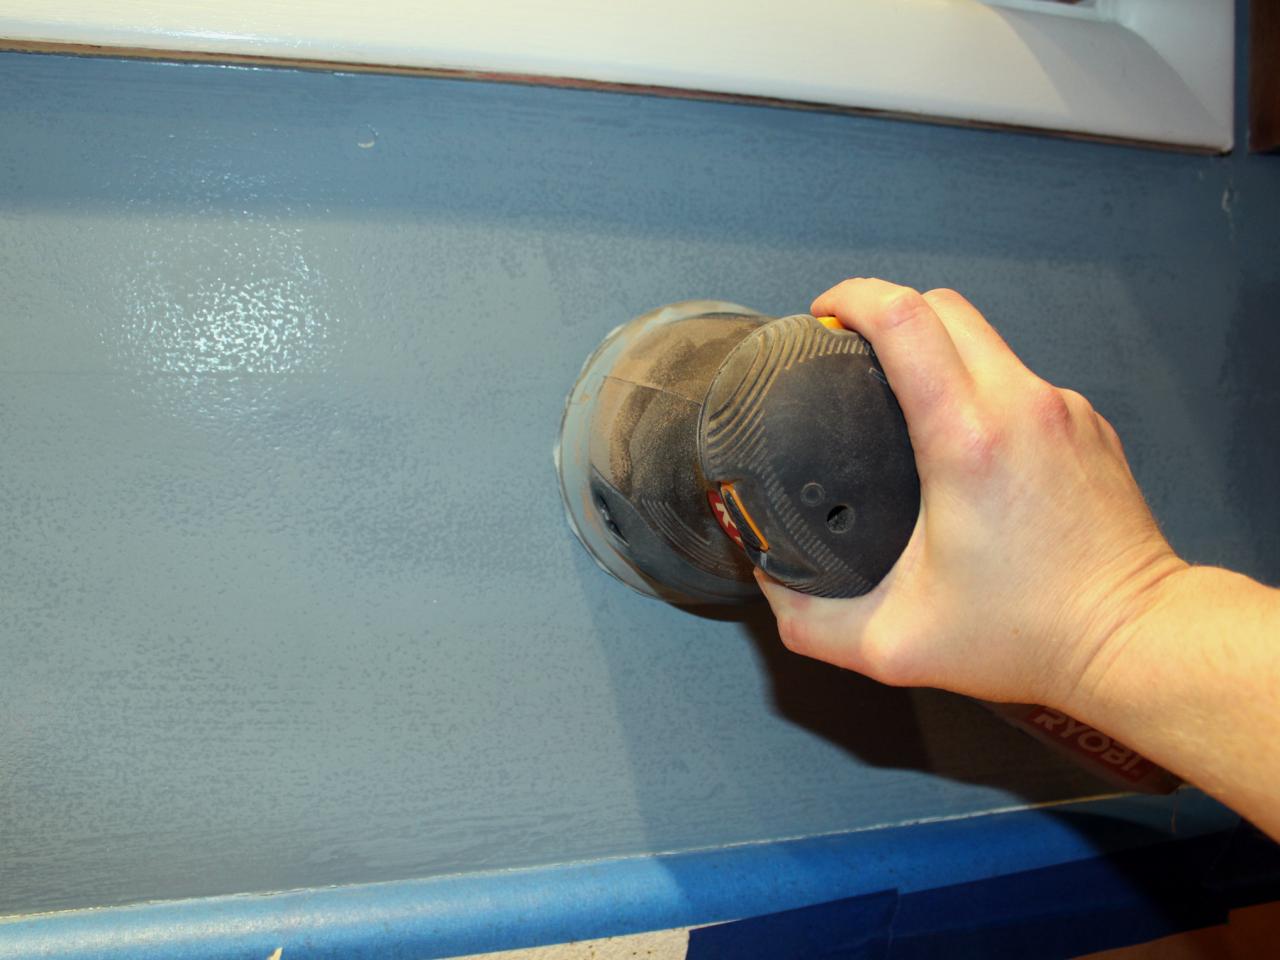
Use a spirit level to draw straight lines delineating areas, like behind the stove, where tile will continue beyond the countertop. Cover this line with painter's tape (Image 1).
Tip: These tape lines will protect paint that will not be tiled over when sanding. Using an orbital sander, go over all the areas where tile will be applied to smooth out any high spots and create a more tactile surface for applying mortar (Image 2). Clean up any residual dust with a vacuum cleaner or tack cloth (Image 3).
H. Camille Smith

H. Camille Smith
H. Camille Smith
Mix Tile Adhesive
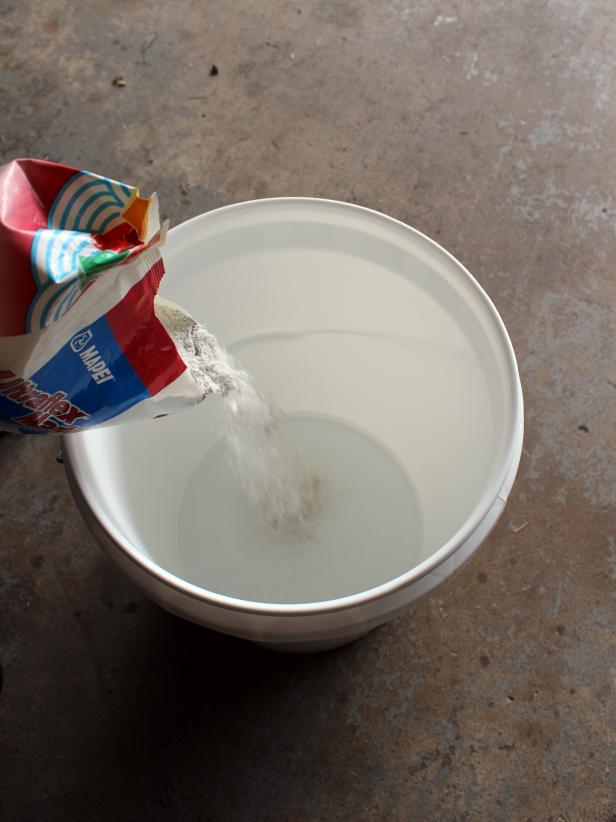
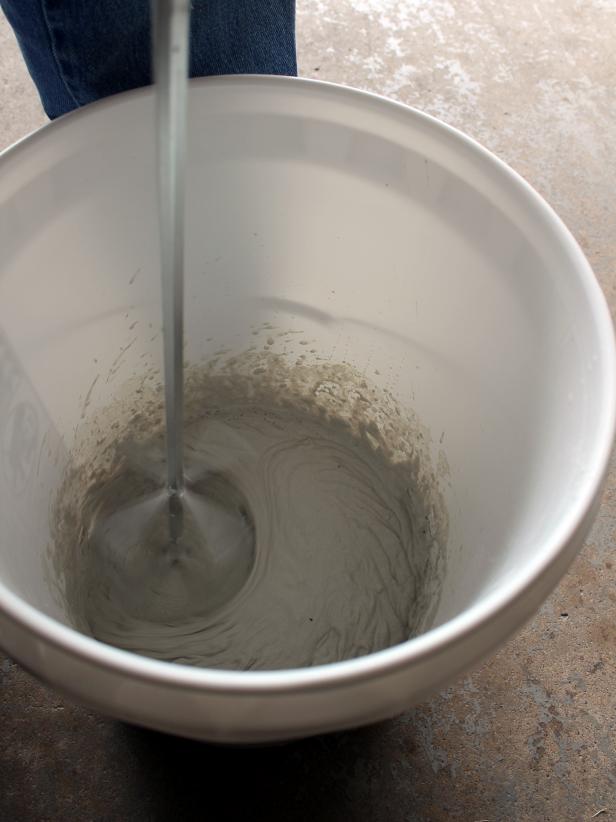
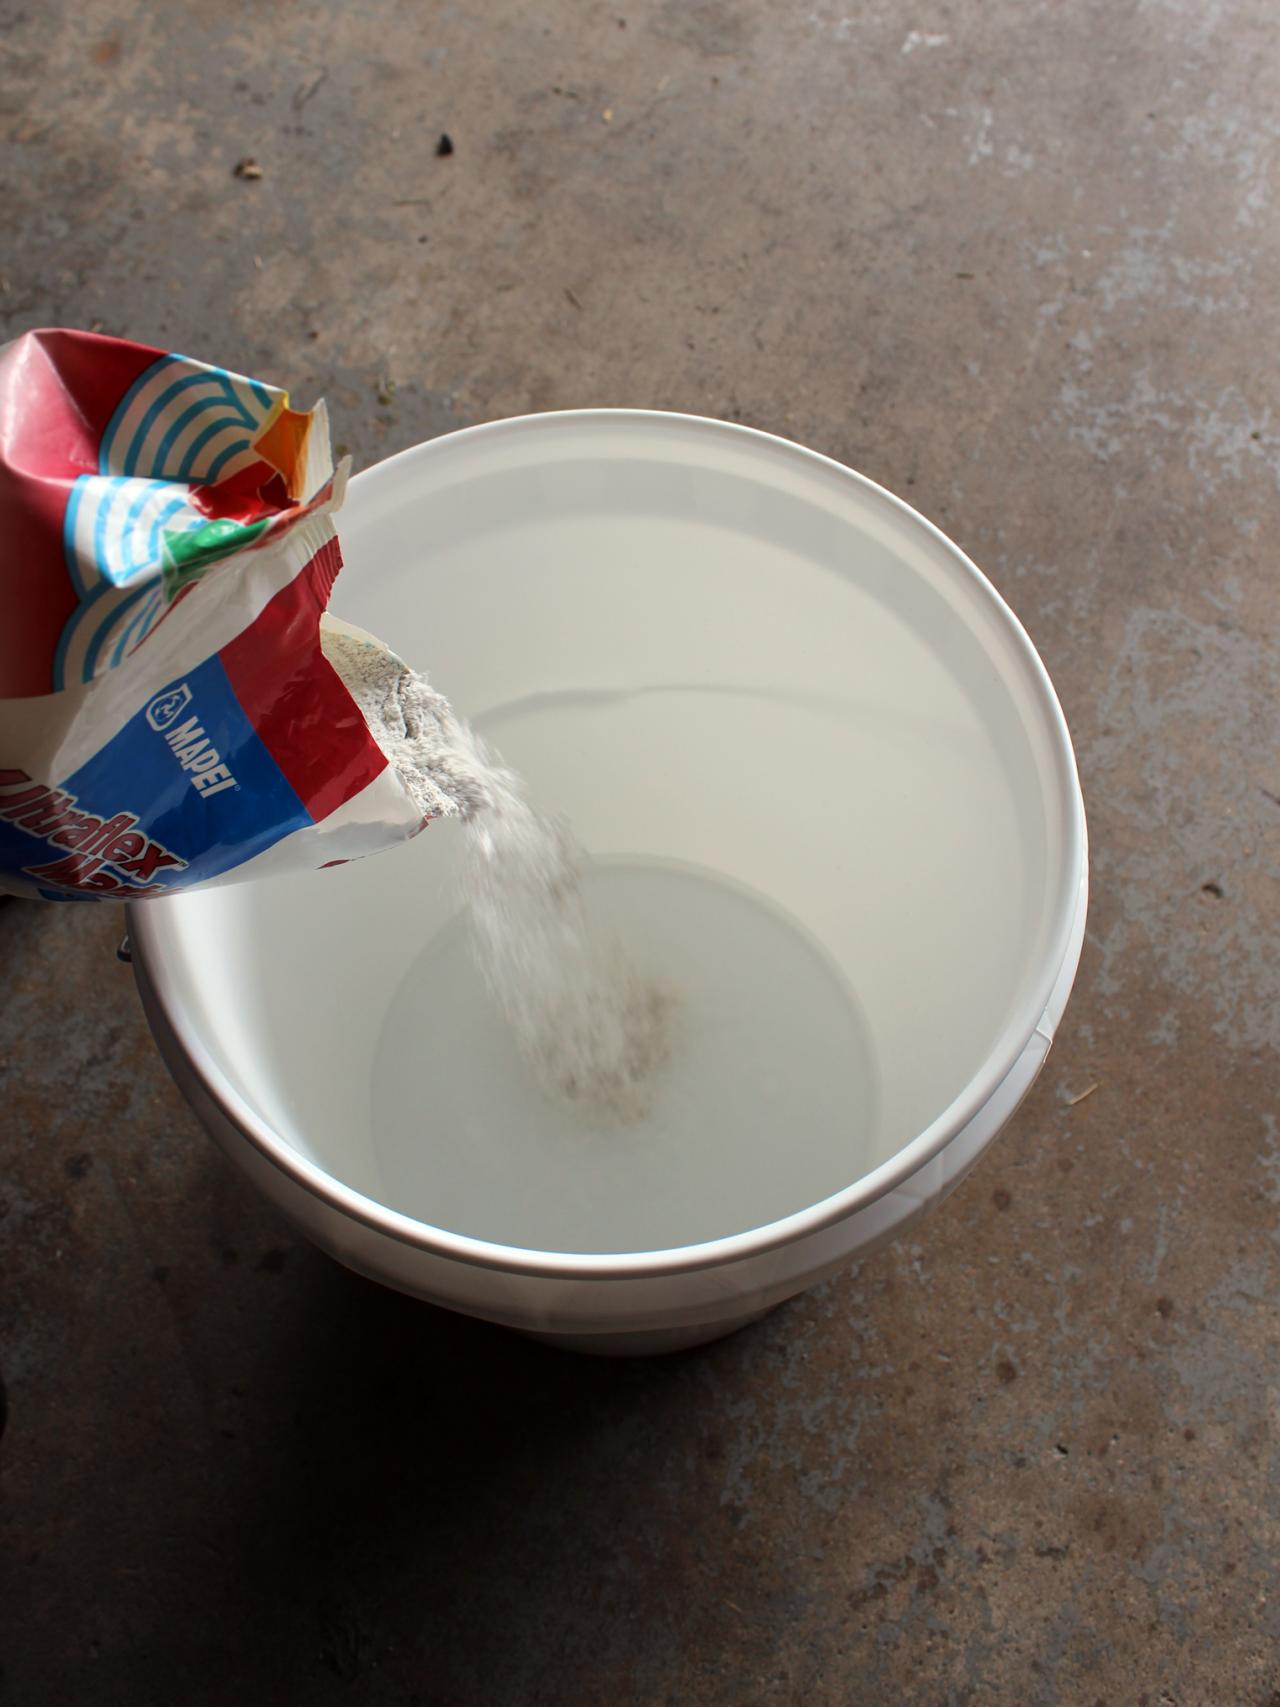
Following manufacturer's instructions, combine water and mortar mix in a deep bucket (Image 1). Fit mixer bar into electric drill and thoroughly mix until the mortar is lump-free and the consistency of peanut butter (Image 2).
Tip: For beginning tilers, it's best to mix mortar in small batches that you can use within 20 minutes. Simply divide the manufacturer's measurements for mortar and water in halves or quarters to ensure a proper ratio.
H. Camille Smith
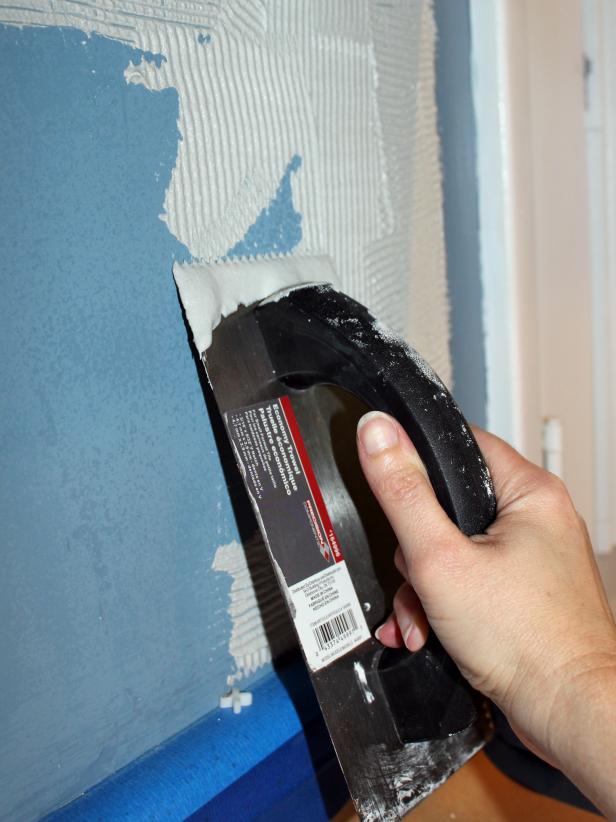
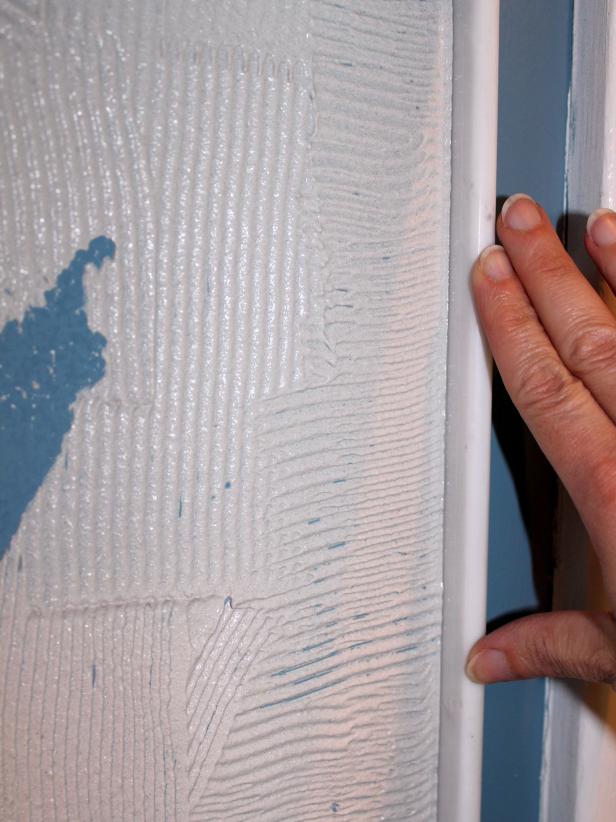
Begin Spreading Mortar and Applying Tile
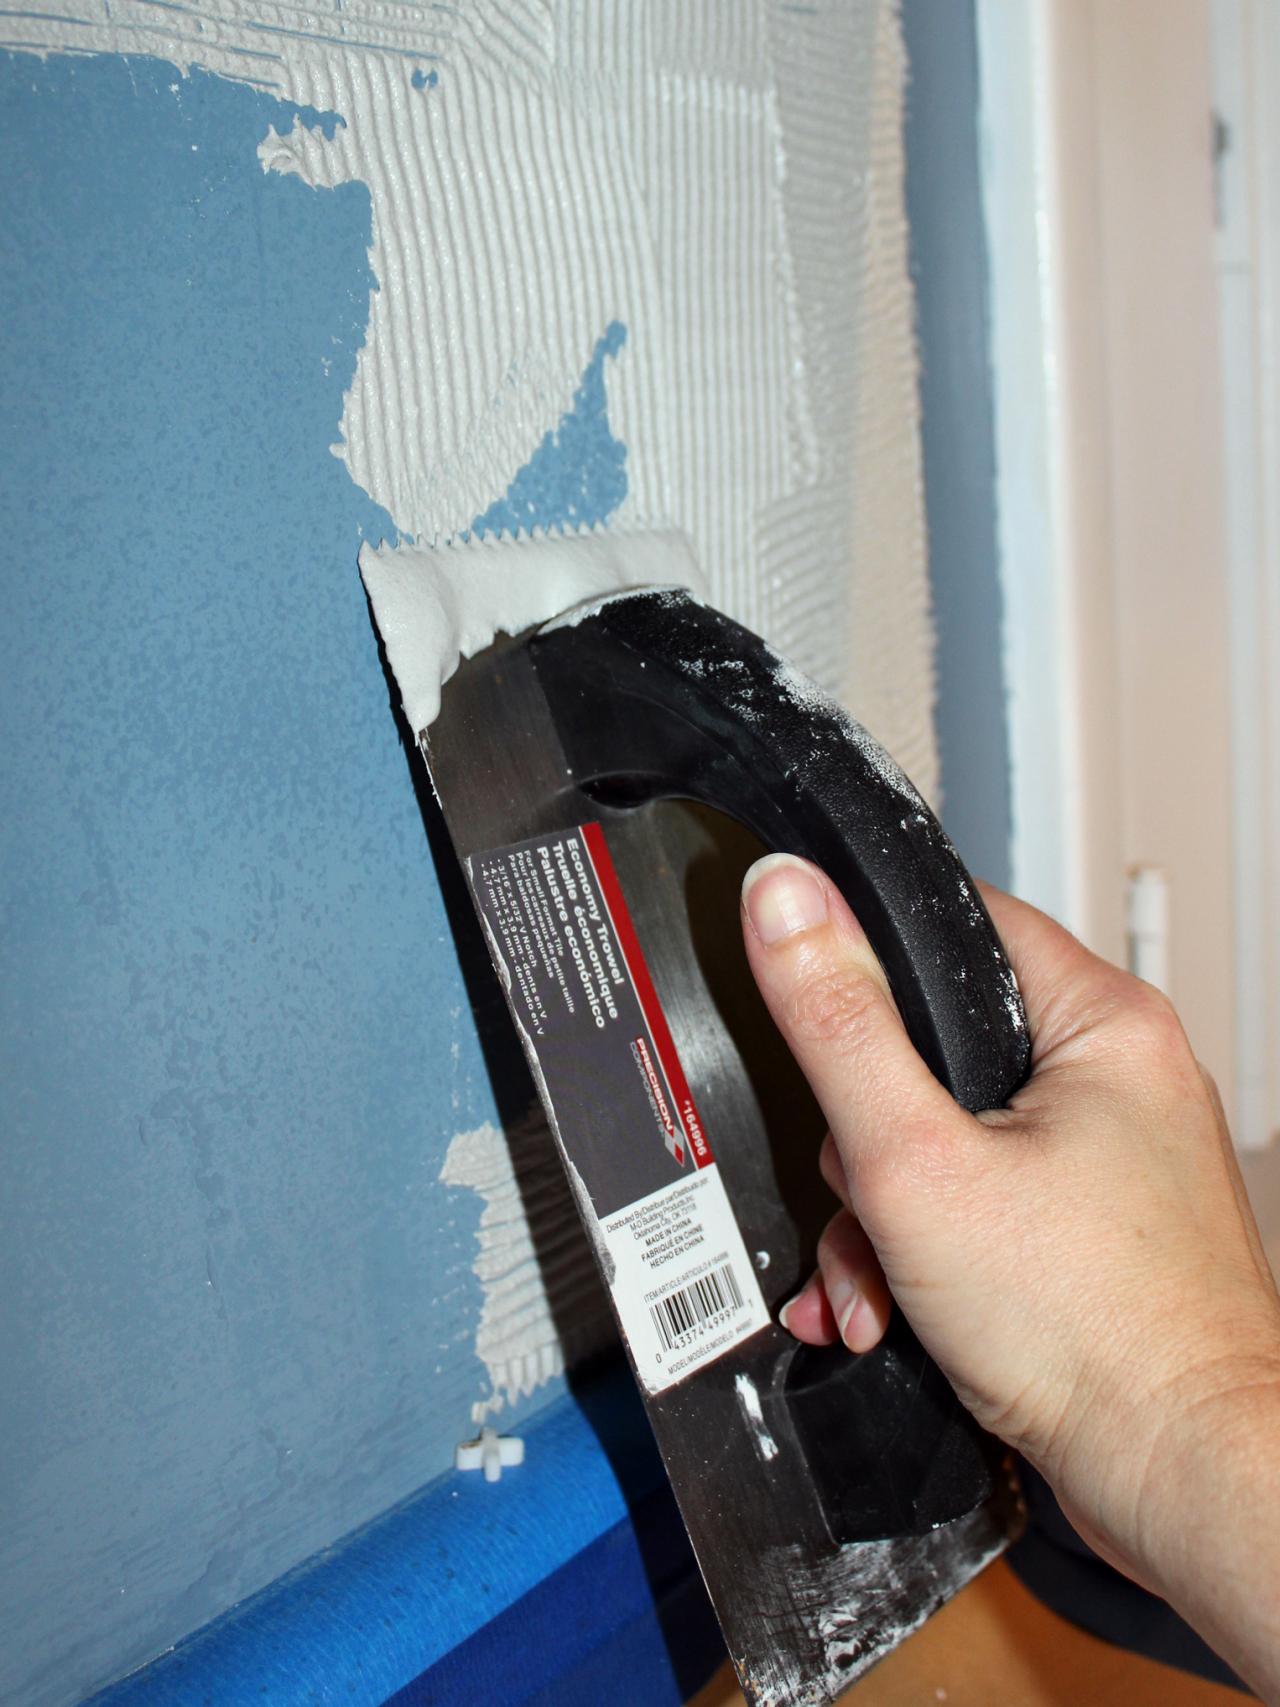
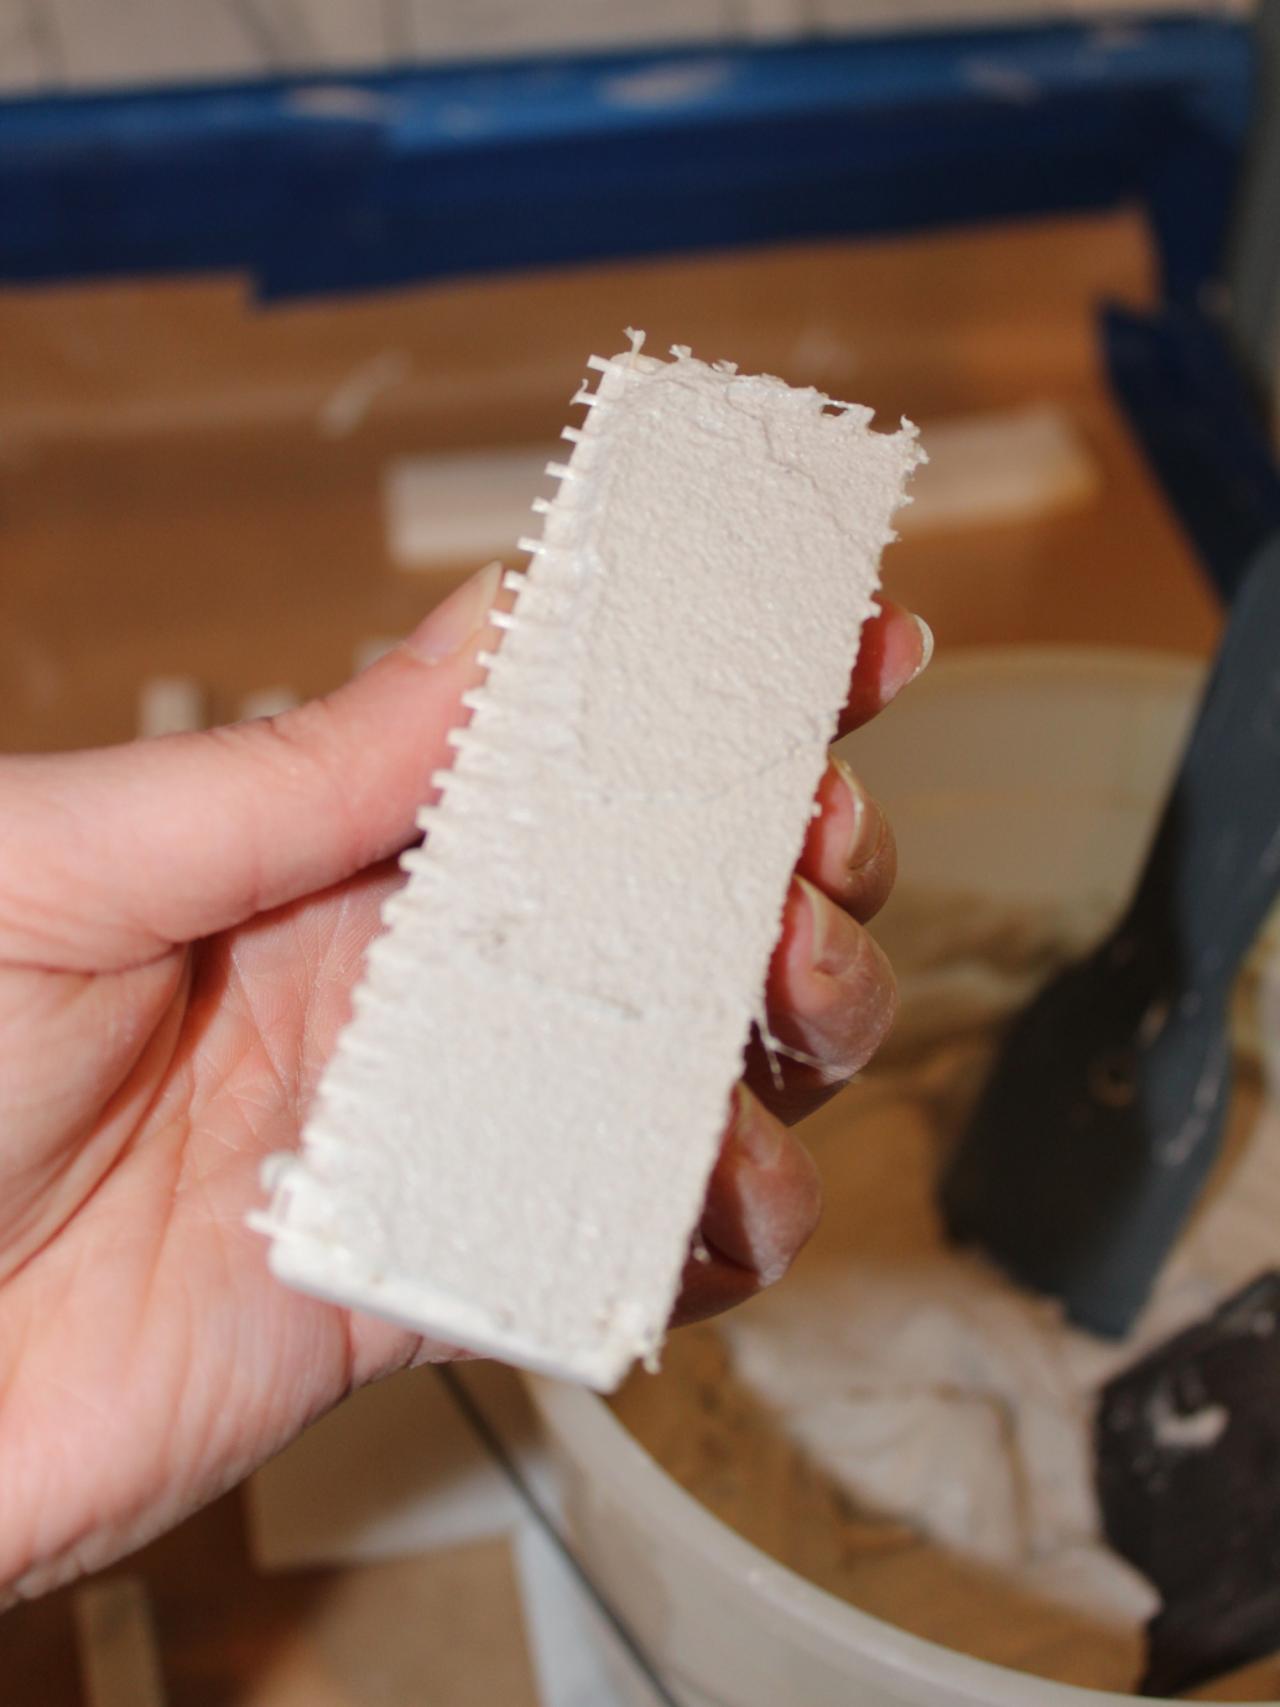
First, lay a spirit level on the existing countertop area to ensure it is level. If not, note where it dips or rises so you can accommodate with a wider caulk line where needed between the tile and countertop. Dip notched trowel into mortar, then spread an even layer onto a small section of wall (Image 1). If you're starting at an outside edge that will border drywall, attach tile "pencil" trim first to create a border between the tiled and untiled areas (Image 2).
H. Camille Smith
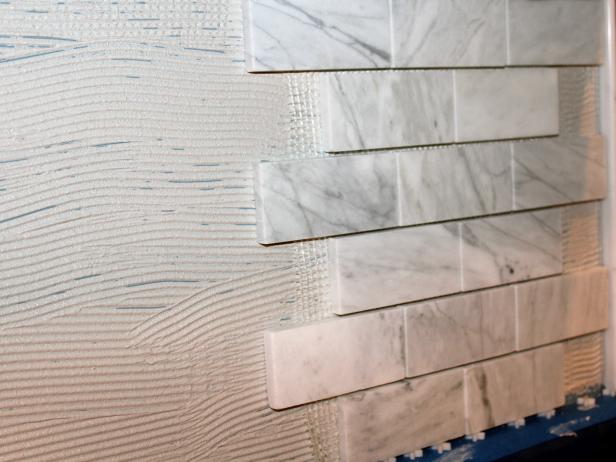
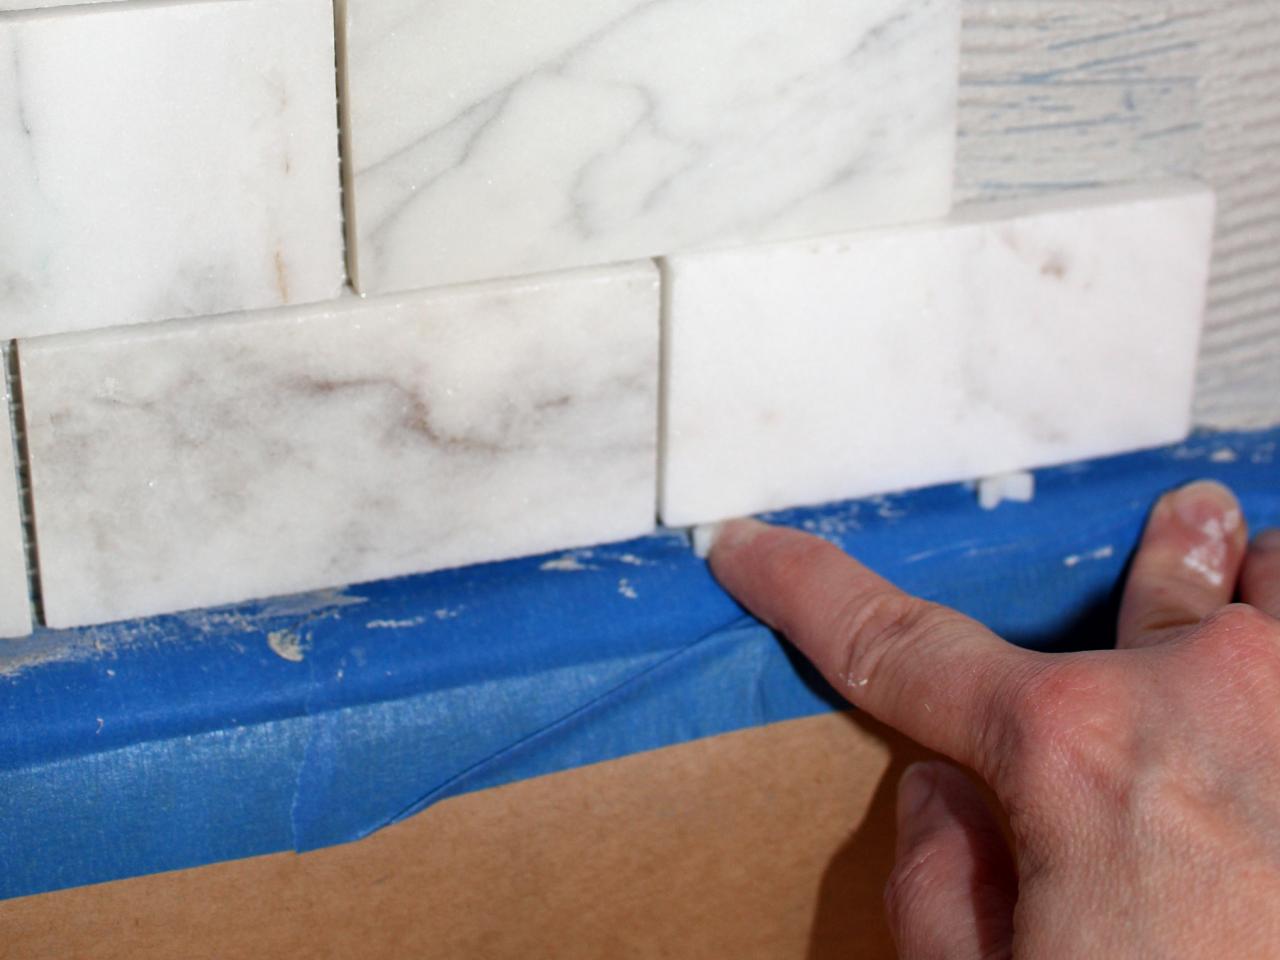
Add Sheets of Tile
Begin applying full tiles where the backsplash meets the countertop. Most likely, the tiles that border the bottom of the cabinets will need to be cut, which won't be a problem because cut tiles here will be less visible. As you apply sheets of tile, slide spacers under the bottom row of tile to create a gap that later will be filled with caulk.
Tip: It's better to caulk, rather than grout, this bottom line to allow for cabinets shifting with normal floorboard movement.
H. Camille Smith

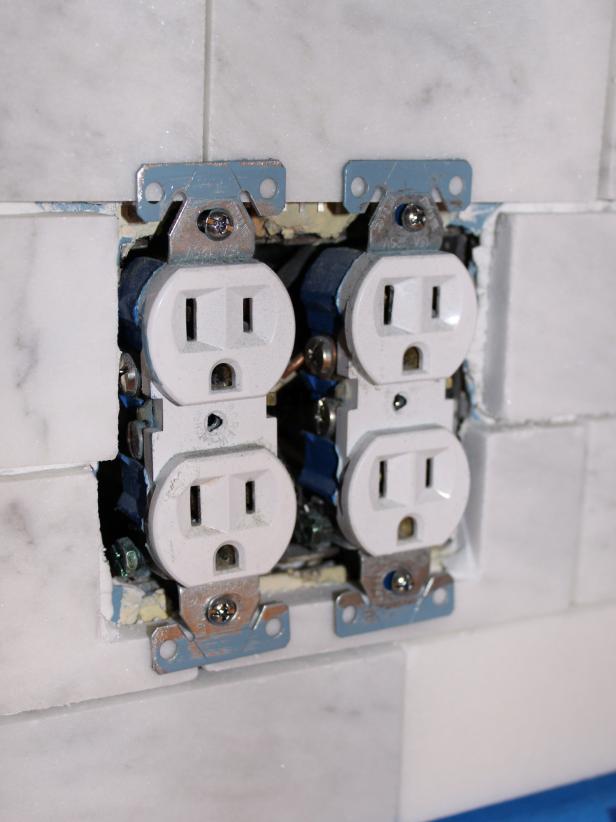
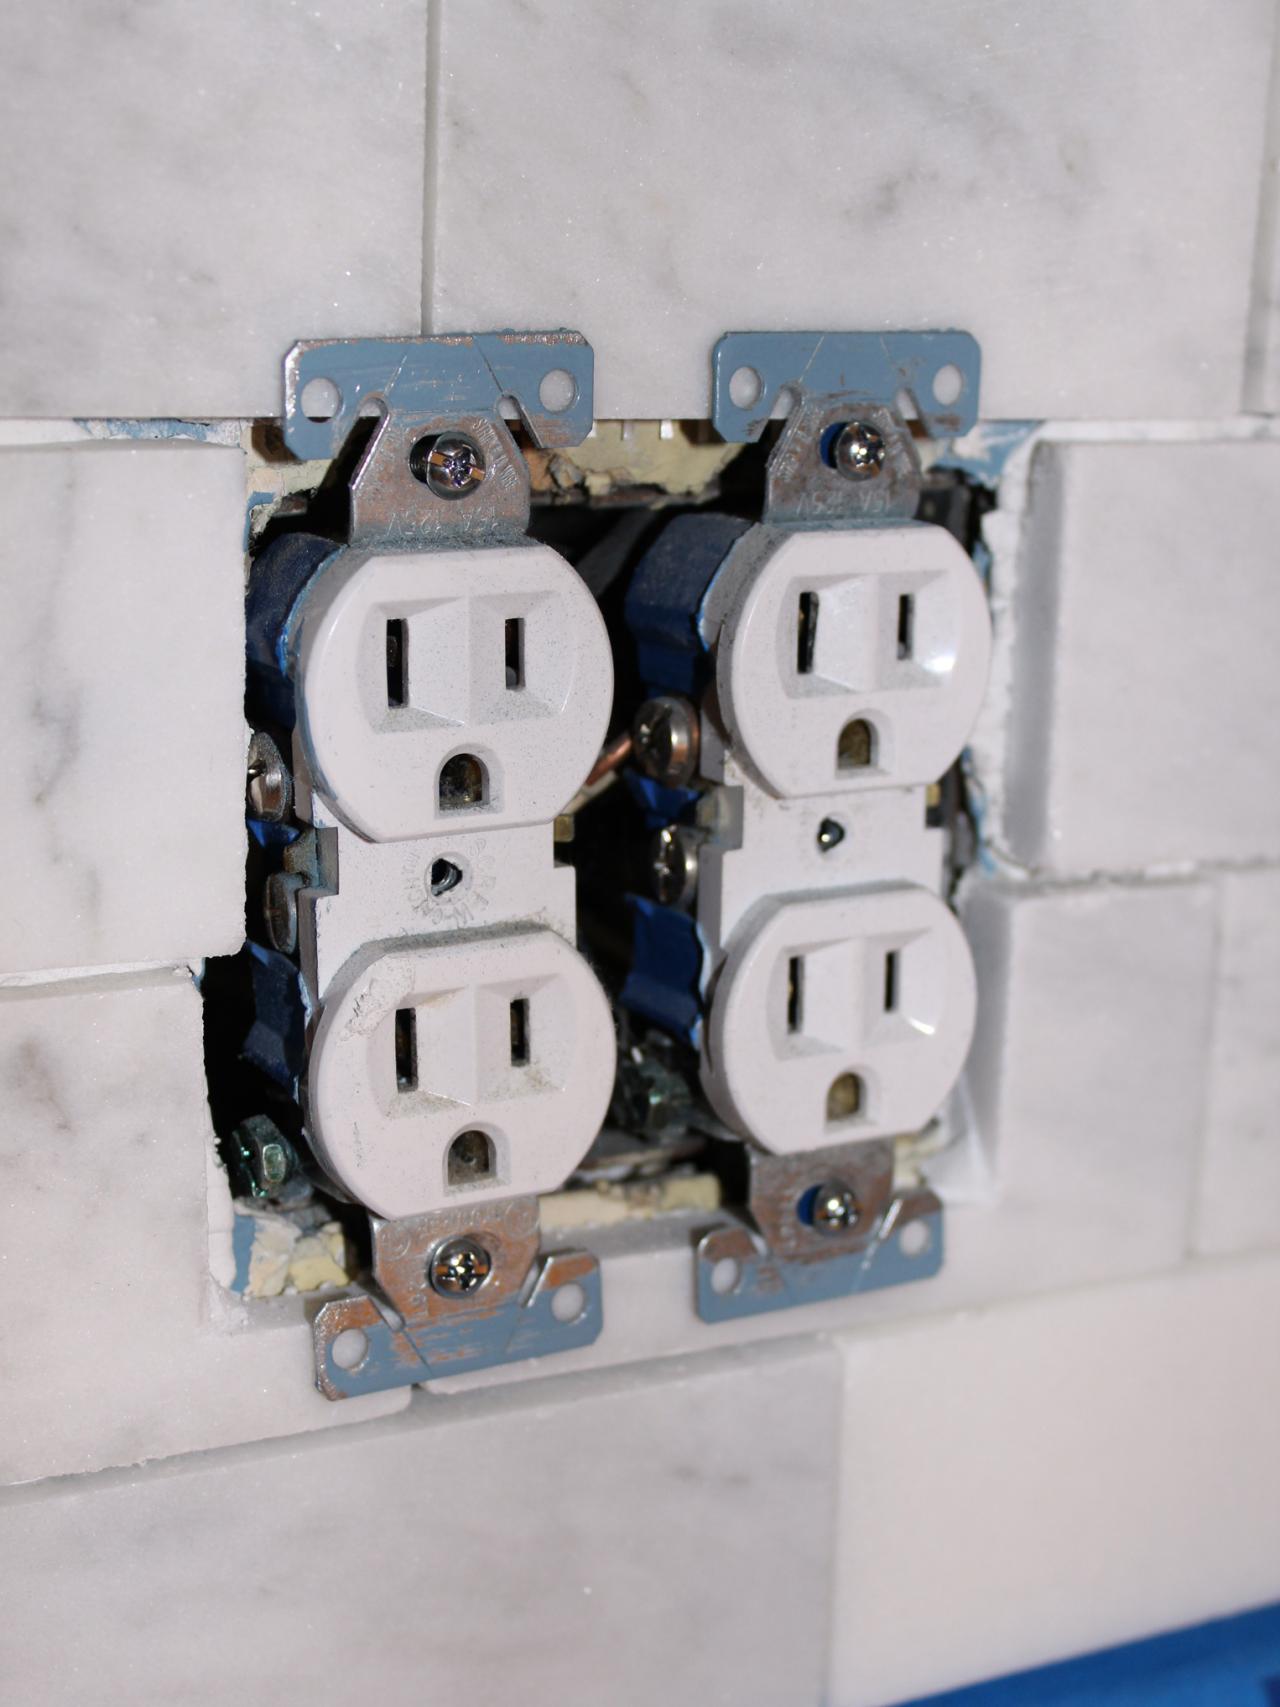
Prep Outlets for Tiling
Turn off electrical power where you're working. Using a screwdriver, loosen up screws holding outlets in electrical boxes. Grasp the clips at the top and bottom, and gently pull the box out far enough that tile can fit under the clips. Tile slid under the clips will bring the boxes flush with the surrounding tile, eliminating the need for box extenders.

H. Camille Smith
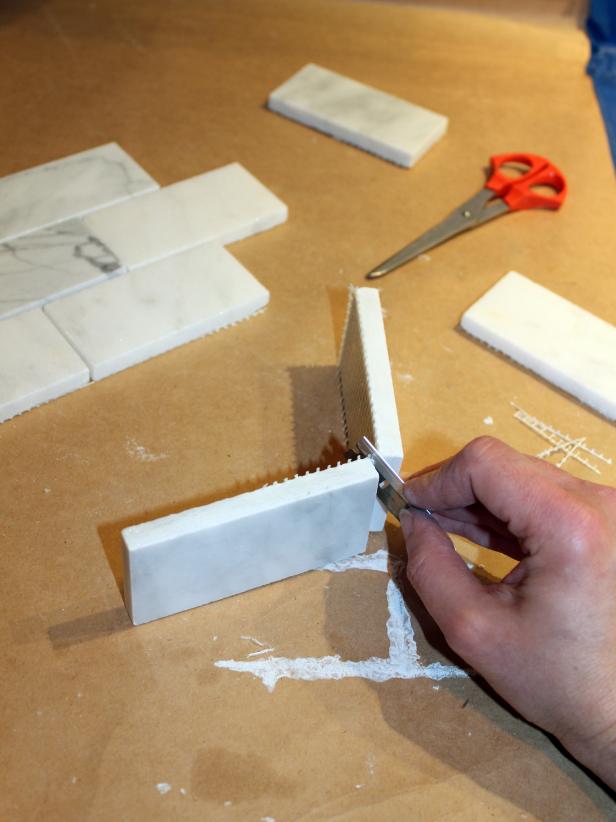
Place Individual Tiles Around Outlets
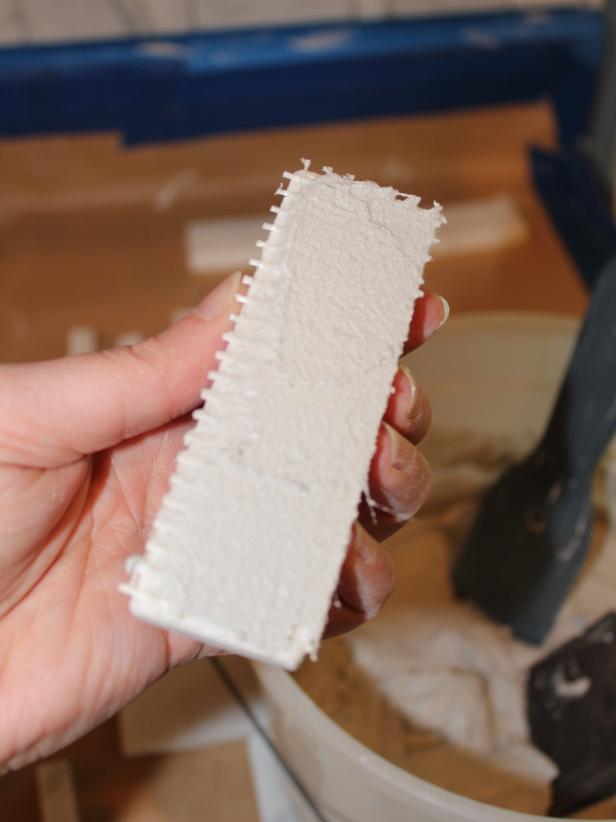
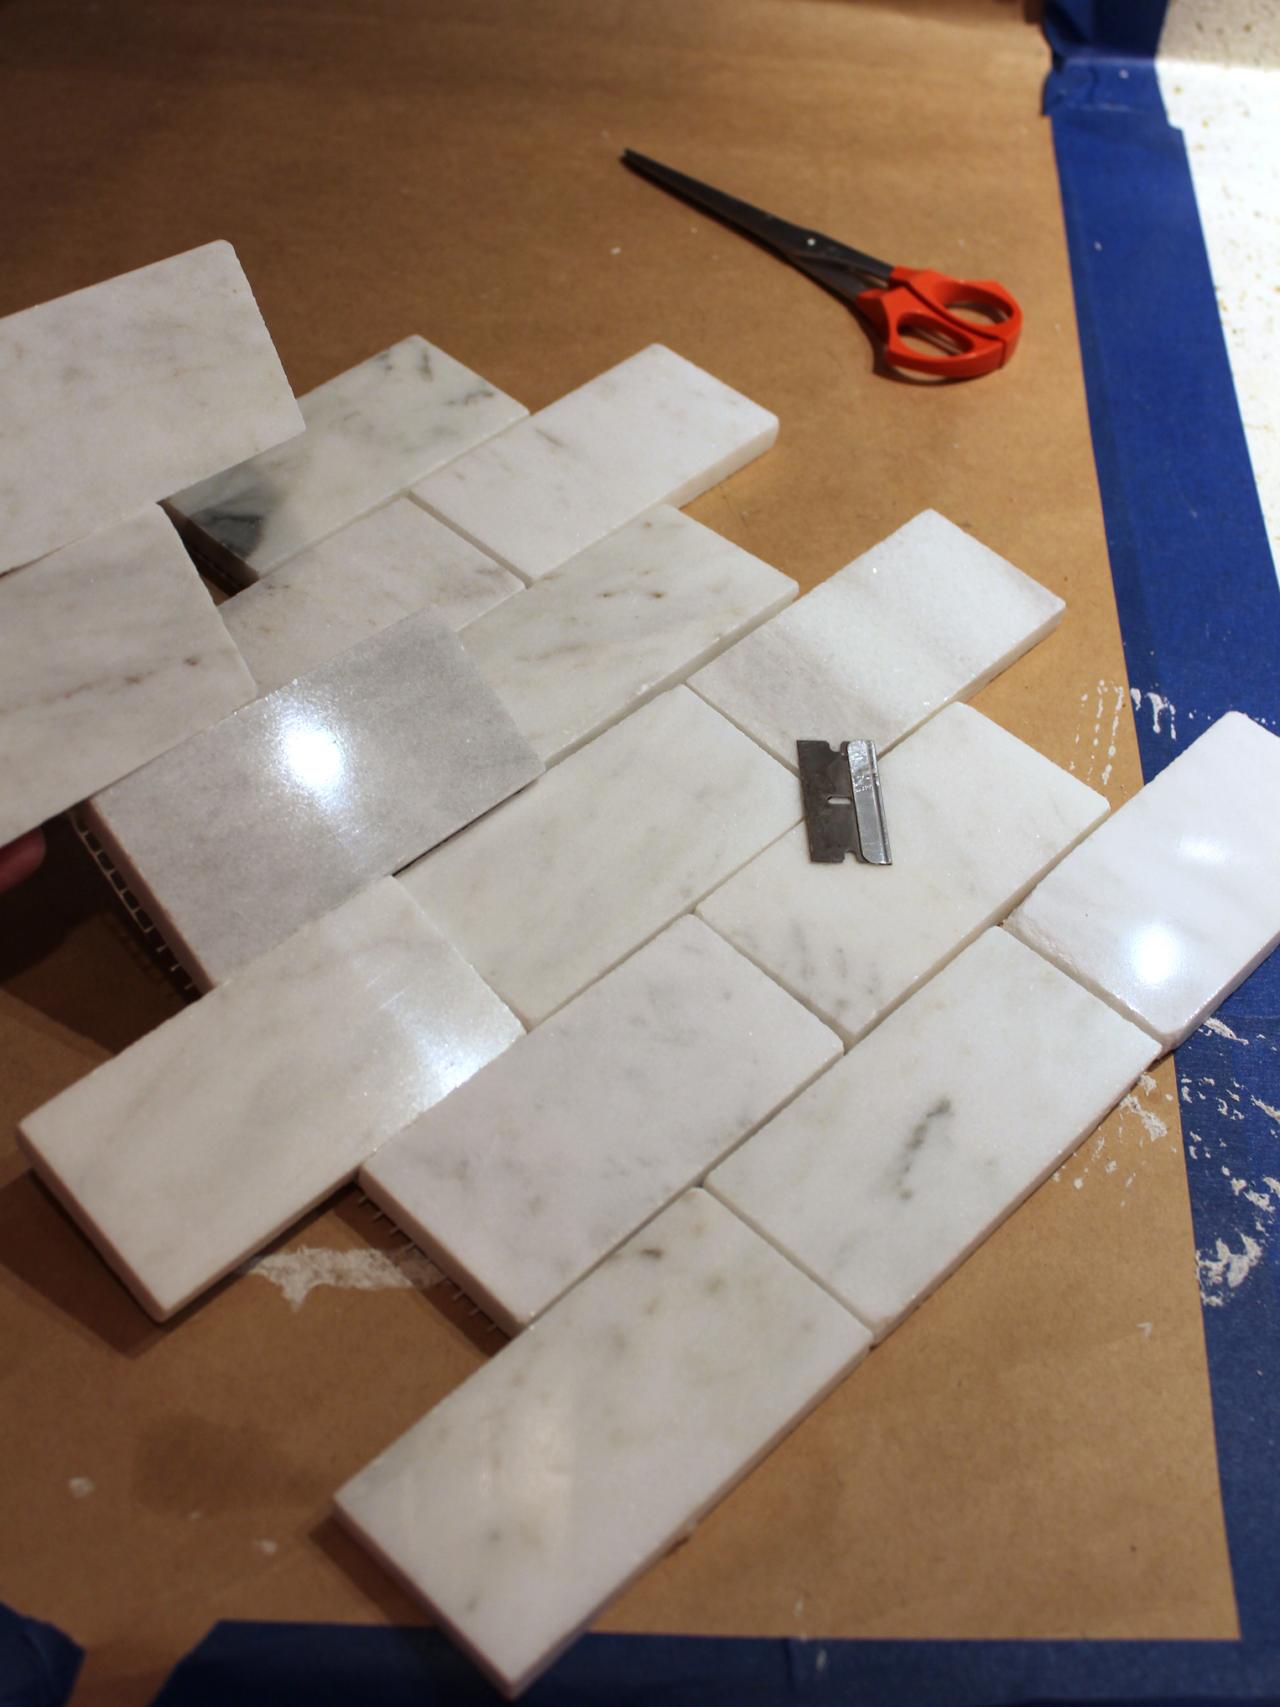
Applying full sheets of mesh-backed tile to the wall can be tricky around outlets or other obstacles, so it's easiest to cut apart and set individual tiles around these. Using a razor blade or scissors, cut tiles away from the mesh backing (Images 1 and 2). To apply, "back-butter" the tiles by spreading a layer of mortar onto the back of each tile rather than applying the mortar directly to the wall (Image 3).

H. Camille Smith
H. Camille Smith
H. Camille Smith
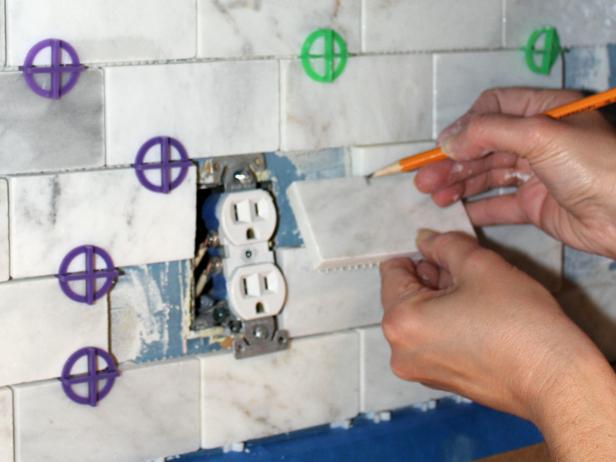
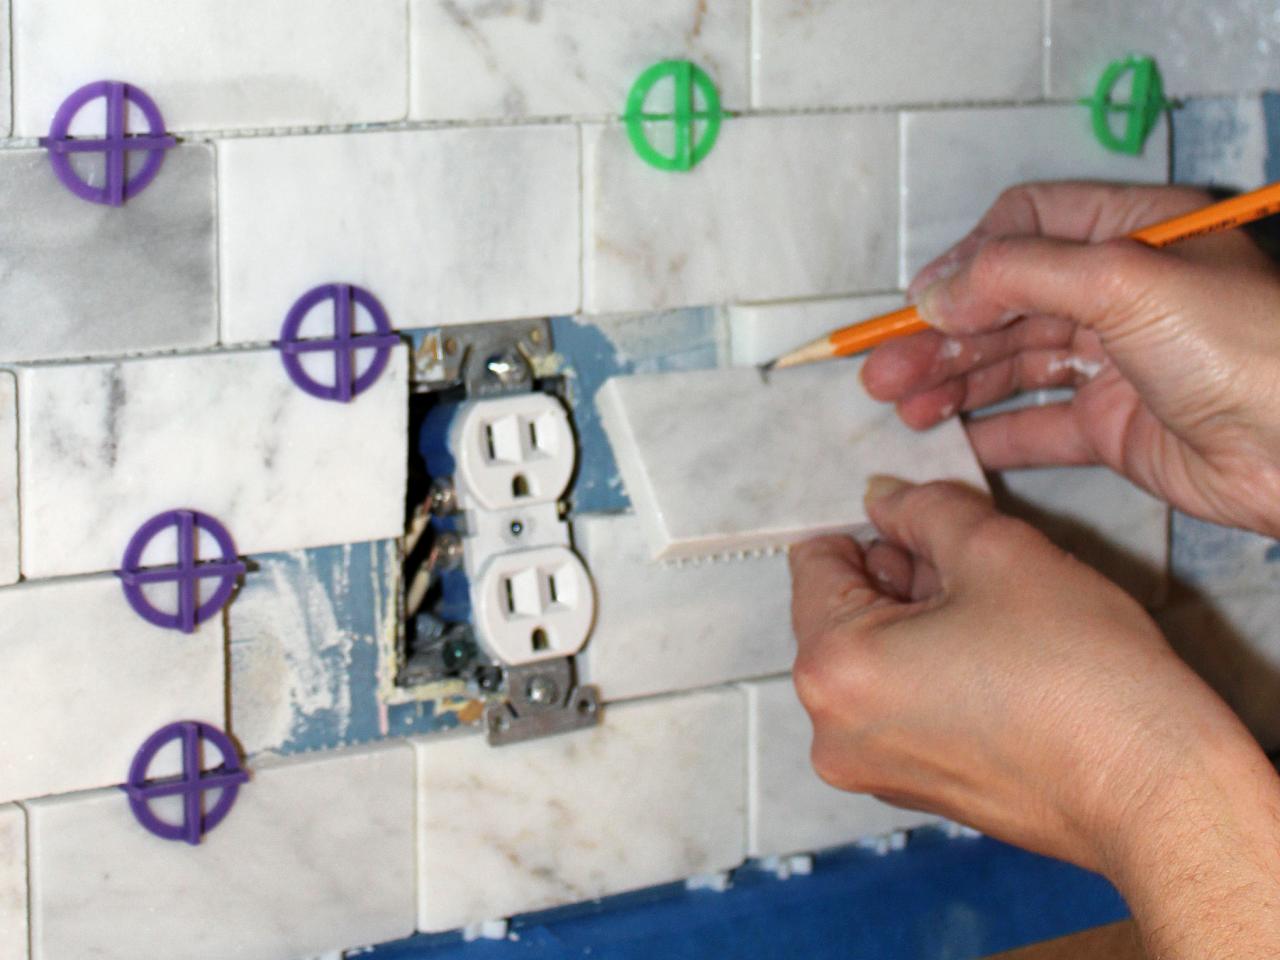
Cutting Tiles
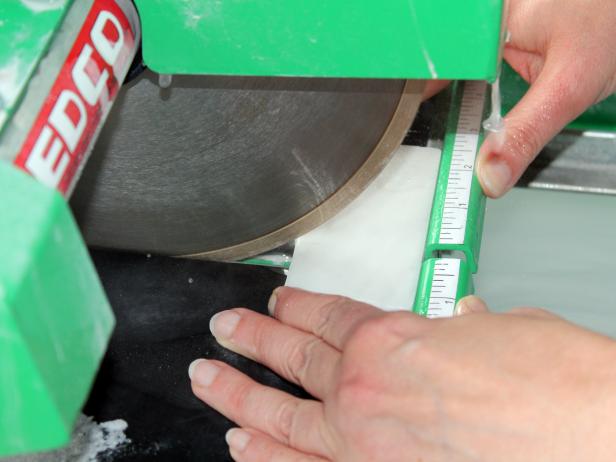
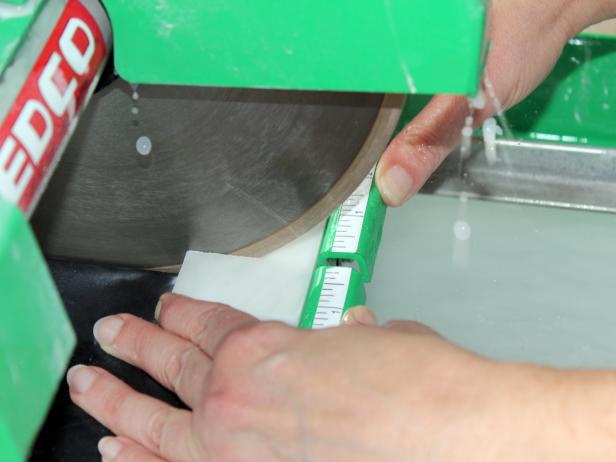
Marking cuts is easy: Simply hold a whole tile in front of the area you need to cover and make a light pencil mark where you need to cut (Image 1). Turn on the wet tile saw, allowing water to coat the blade. Position tile so the blade will hit on your marked line and slowly move tile through the saw (Images 2 and 3).
Note: Marble is delicate. If you force the tile through too quickly, your cut will not be smooth. Back-butter and position your cut tiles around outlet, sliding them under the outlet's metal clips (Image 4).
H. Camille Smith
H. Camille Smith
H. Camille Smith
H. Camille Smith
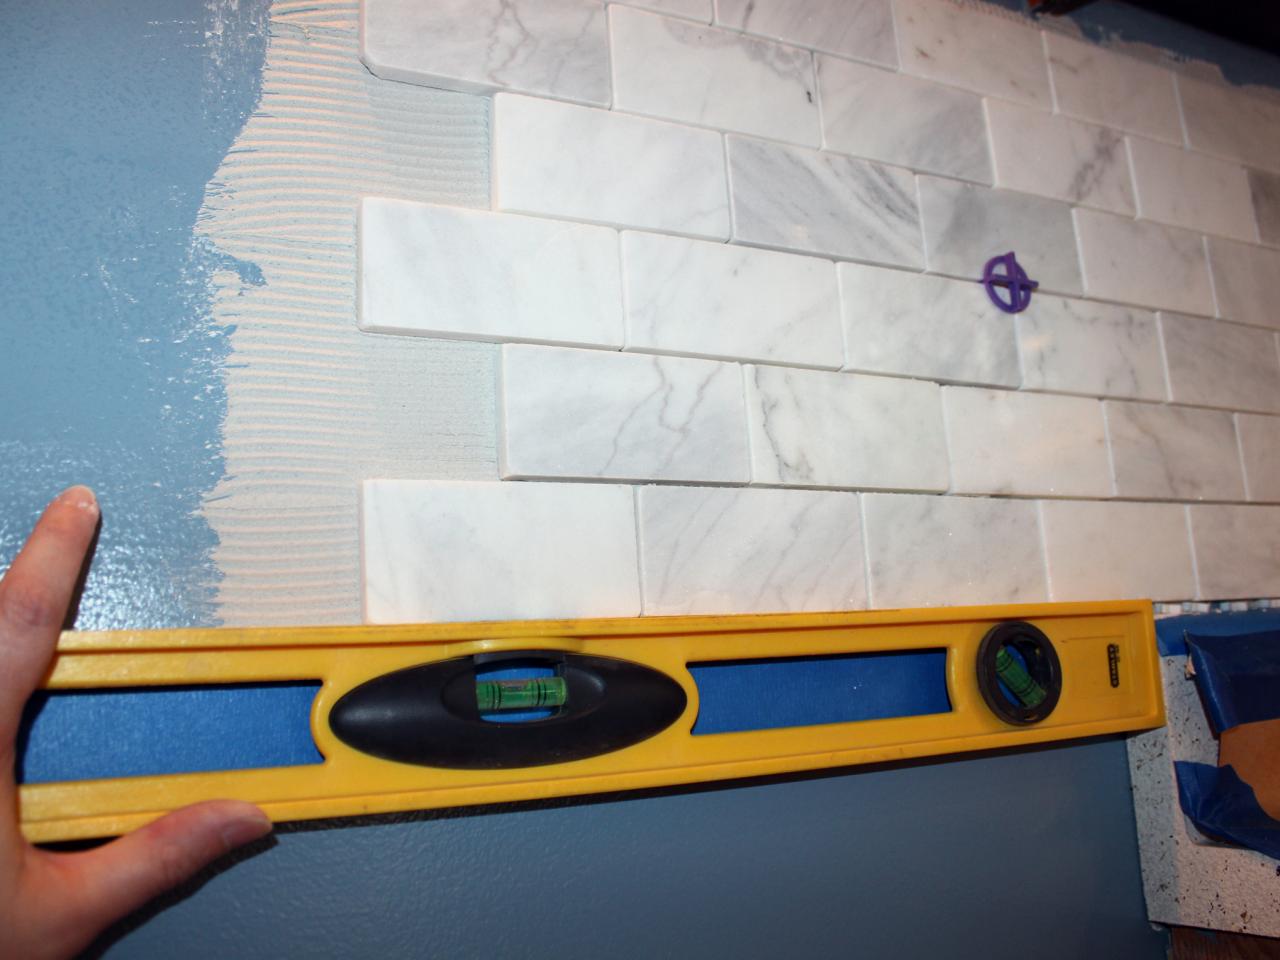
Keep It Level
As you go, use the spirit level to ensure a straight line. This is especially important in any areas that aren't resting on the countertop, like behind the stove.

H. Camille Smith
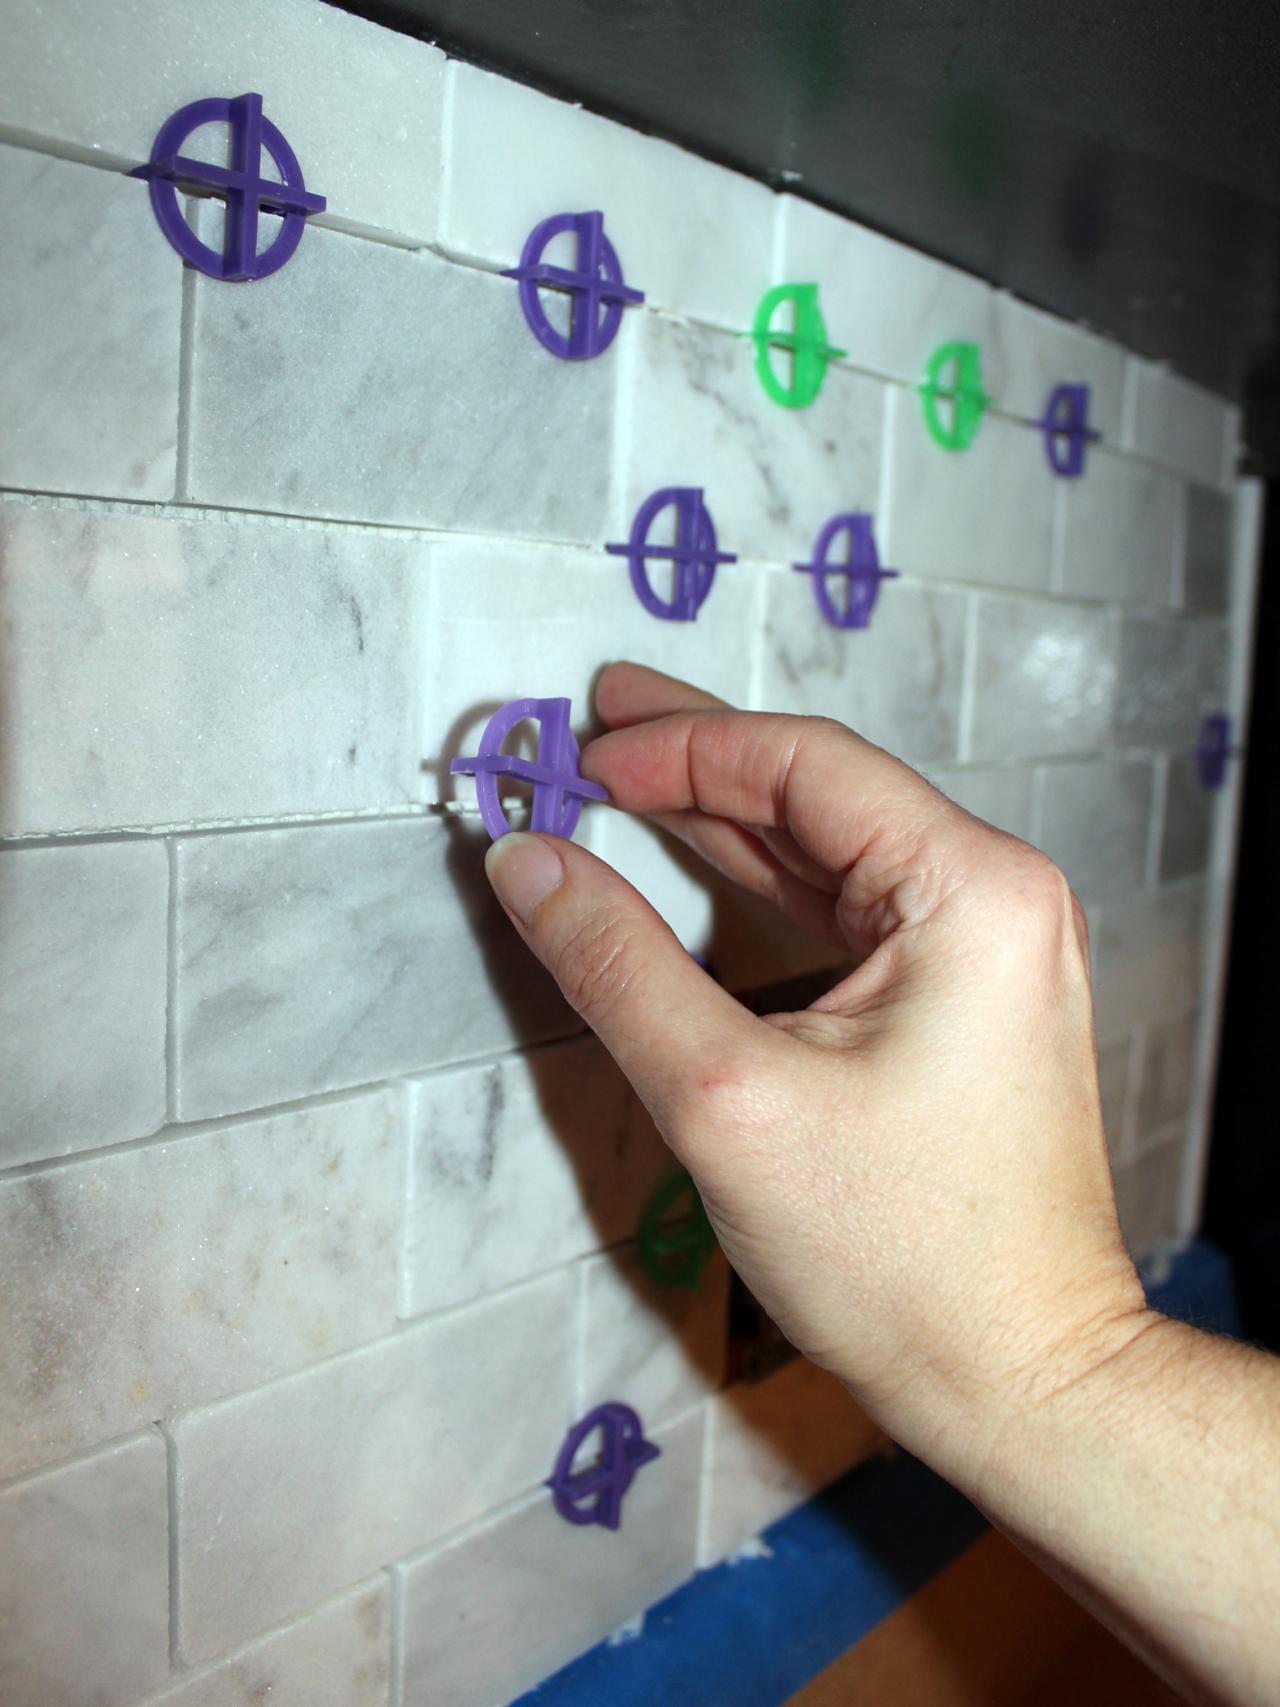
Remove Spacers and Clean Tile
Once mortar has fully cured, remove spacers. Using damp paper towels, meticulously clean surface of tile to remove any bits of mortar or dust.
Note: I used a quick-set adhesive that was ready to grout in just two hours, but many mortars require one-day dry time before grouting. Be sure to check manufacturer's suggested cure time of the product you use.

H. Camille Smith
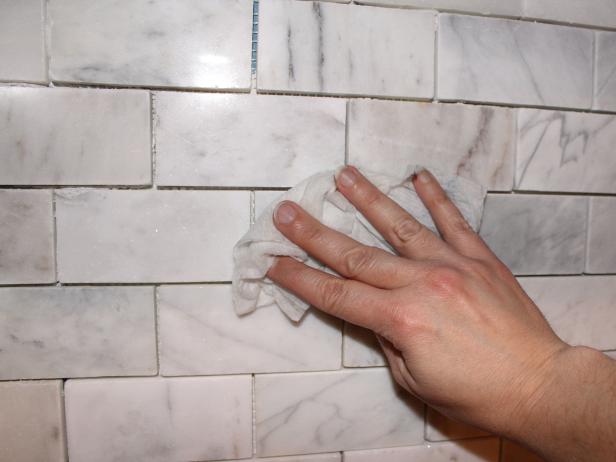
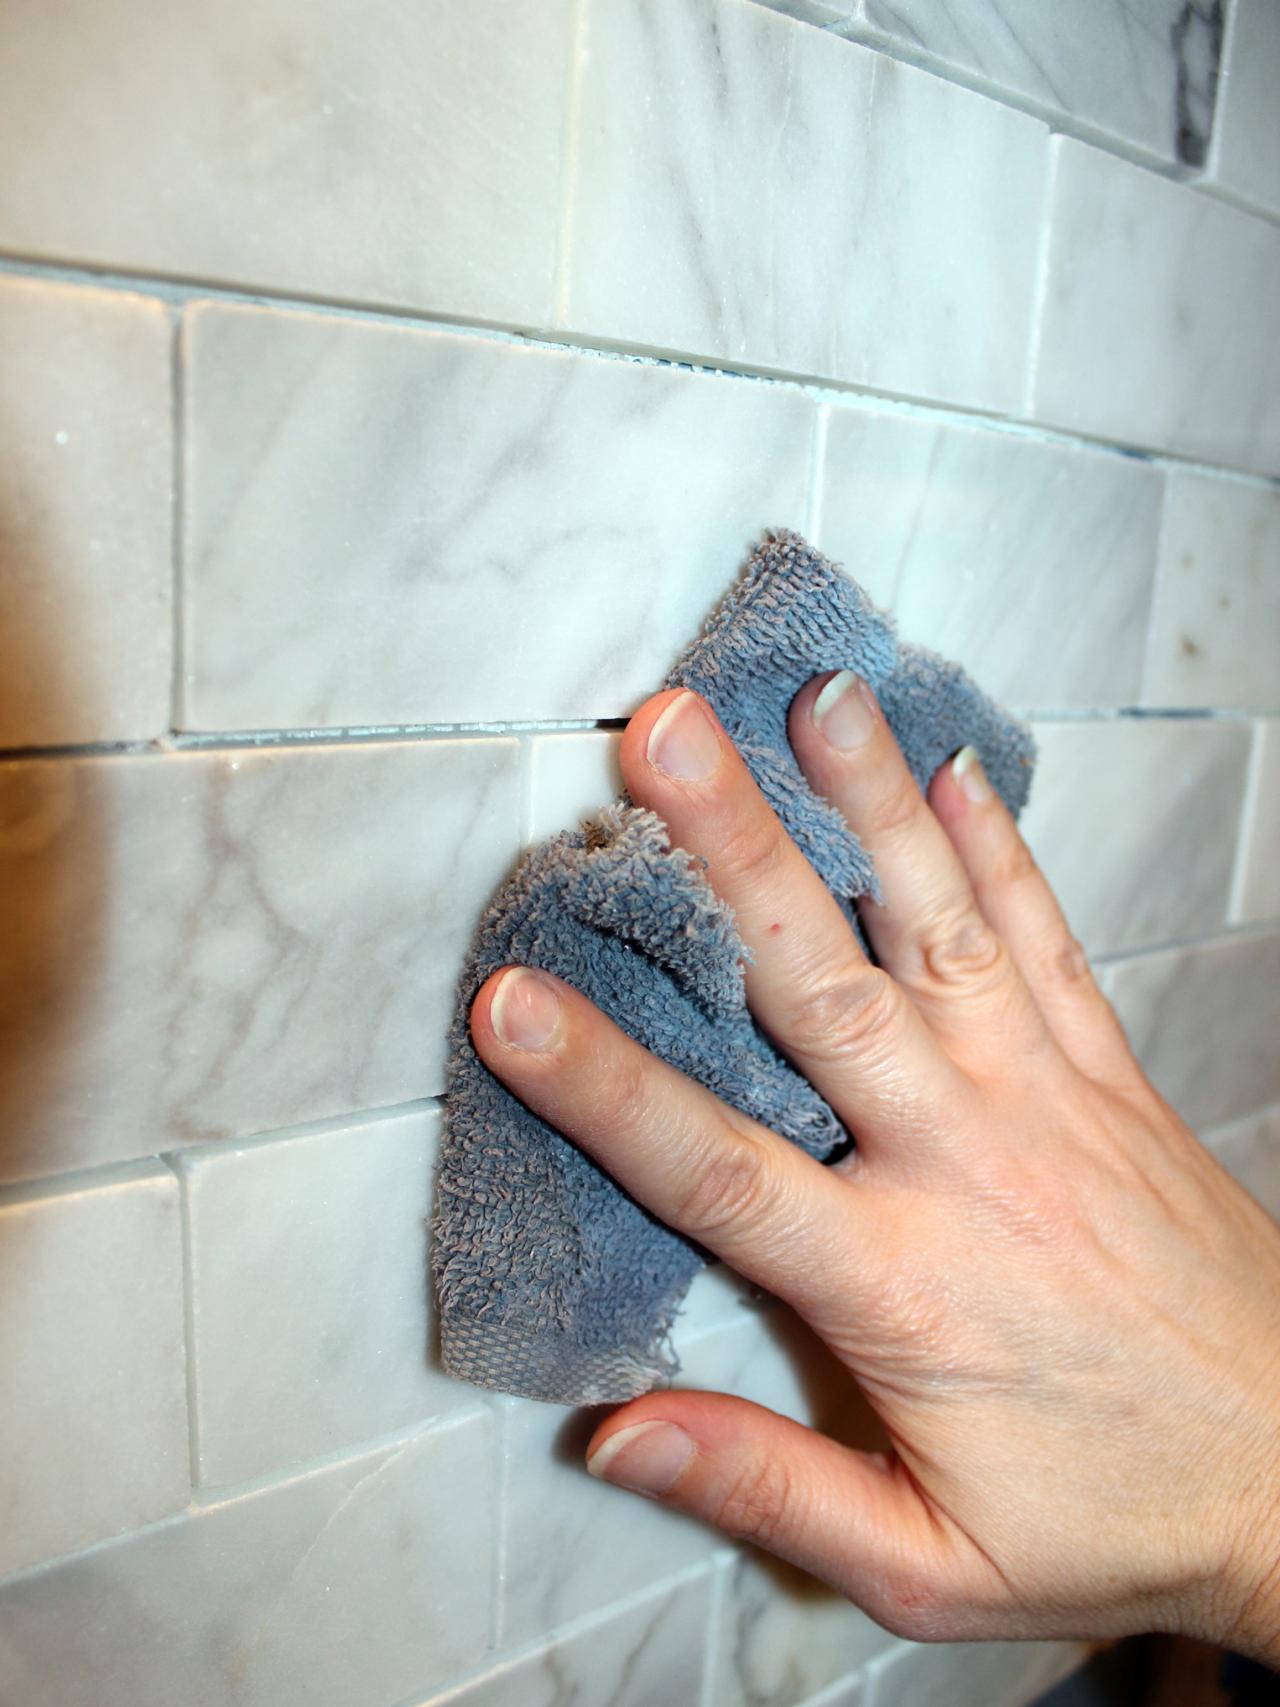
Seal Marble Before Grouting
Marble is porous and could easily absorb color from the grout, so it's important to seal the stone before you grout — even if you're using white grout. Just rub the tile's surface with a soft cotton rag that's damp with stone sealer.

H. Camille Smith
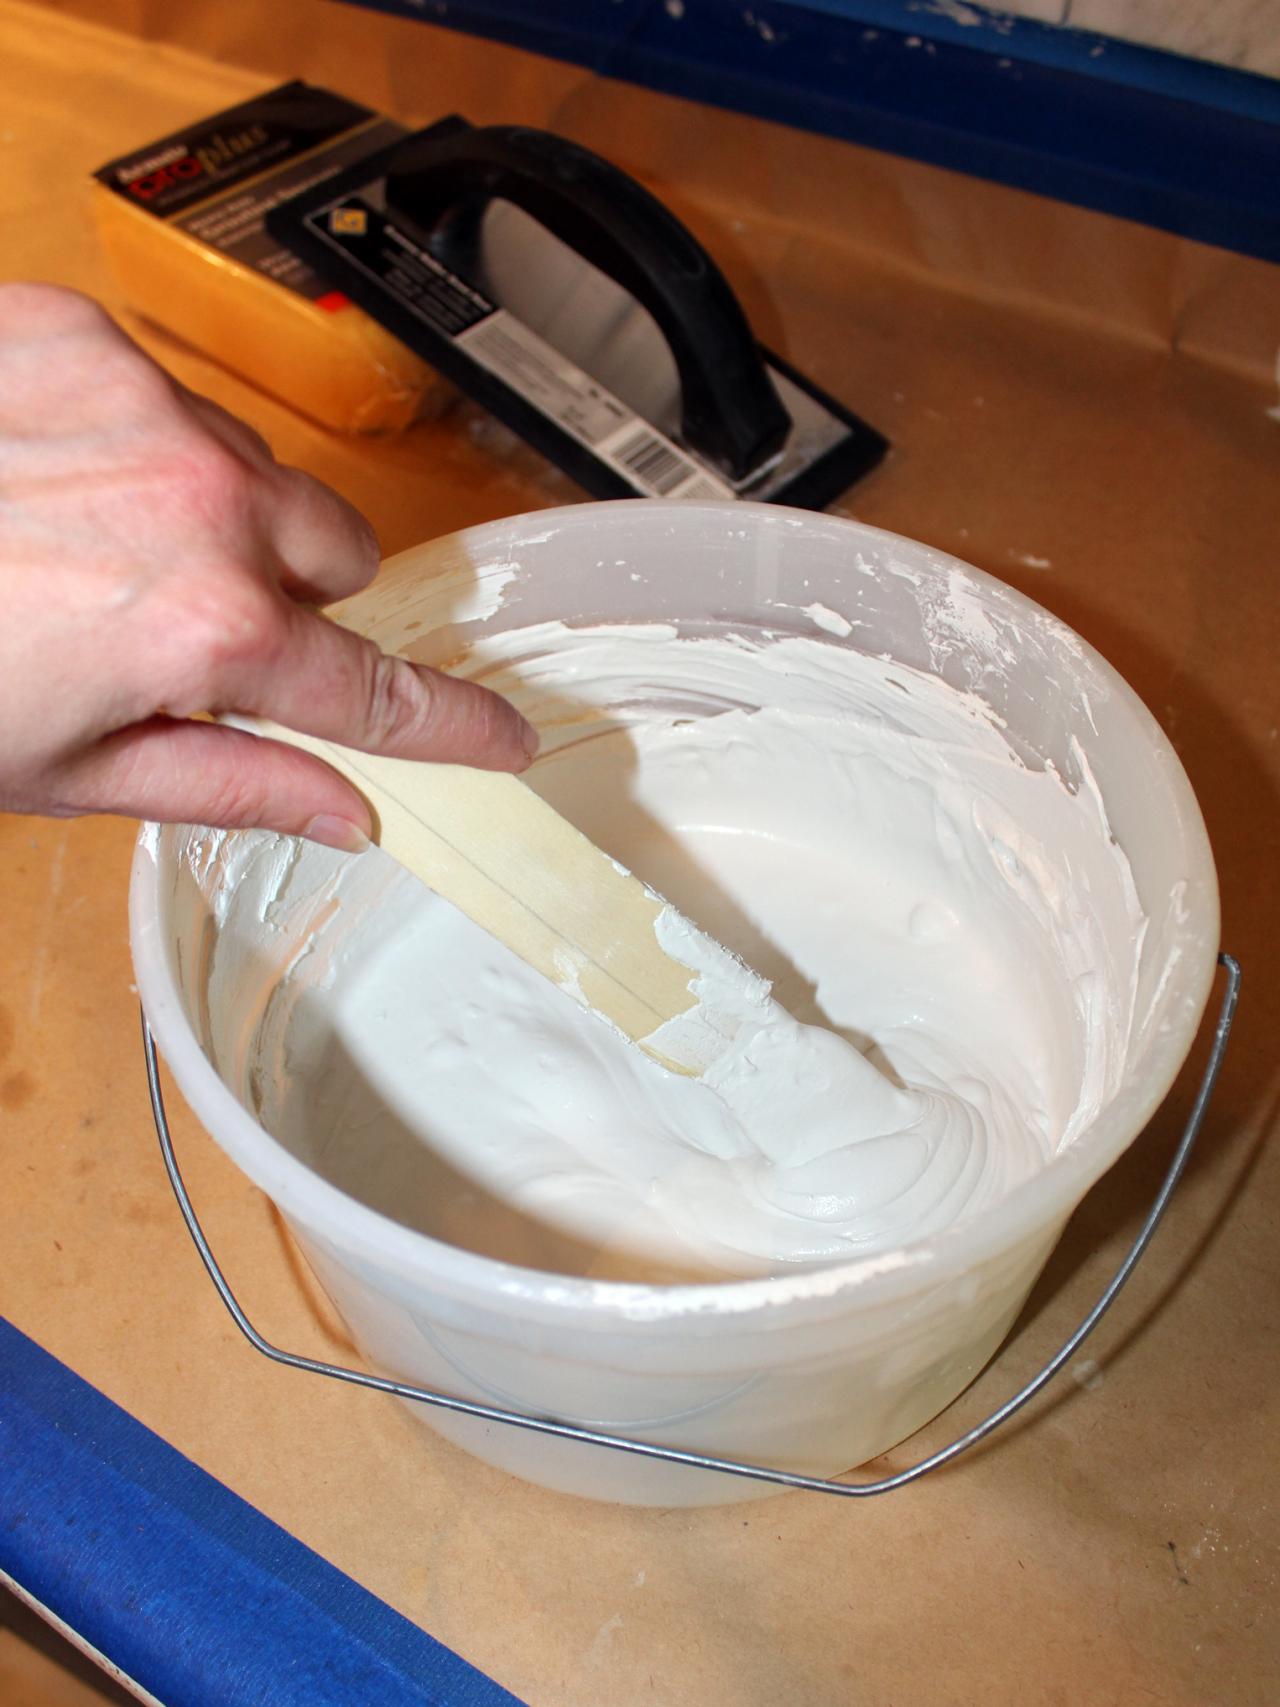
Mix Grout
Following manufacturer's instructions, stir together flexible grout adhesive (instead of water) and unsanded grout in a bucket using a wooden stir stick.
Tip: It's best to work in small batches, only mixing up as much grout as you can spread in 20 minutes. Stir until the mix is smooth and is the consistency of toothpaste. Before applying grout to the tile, allow it to "slake," or rest, for five to 10 minutes (check manufacturer's recommended time) so the chemicals can properly bond.

H. Camille Smith
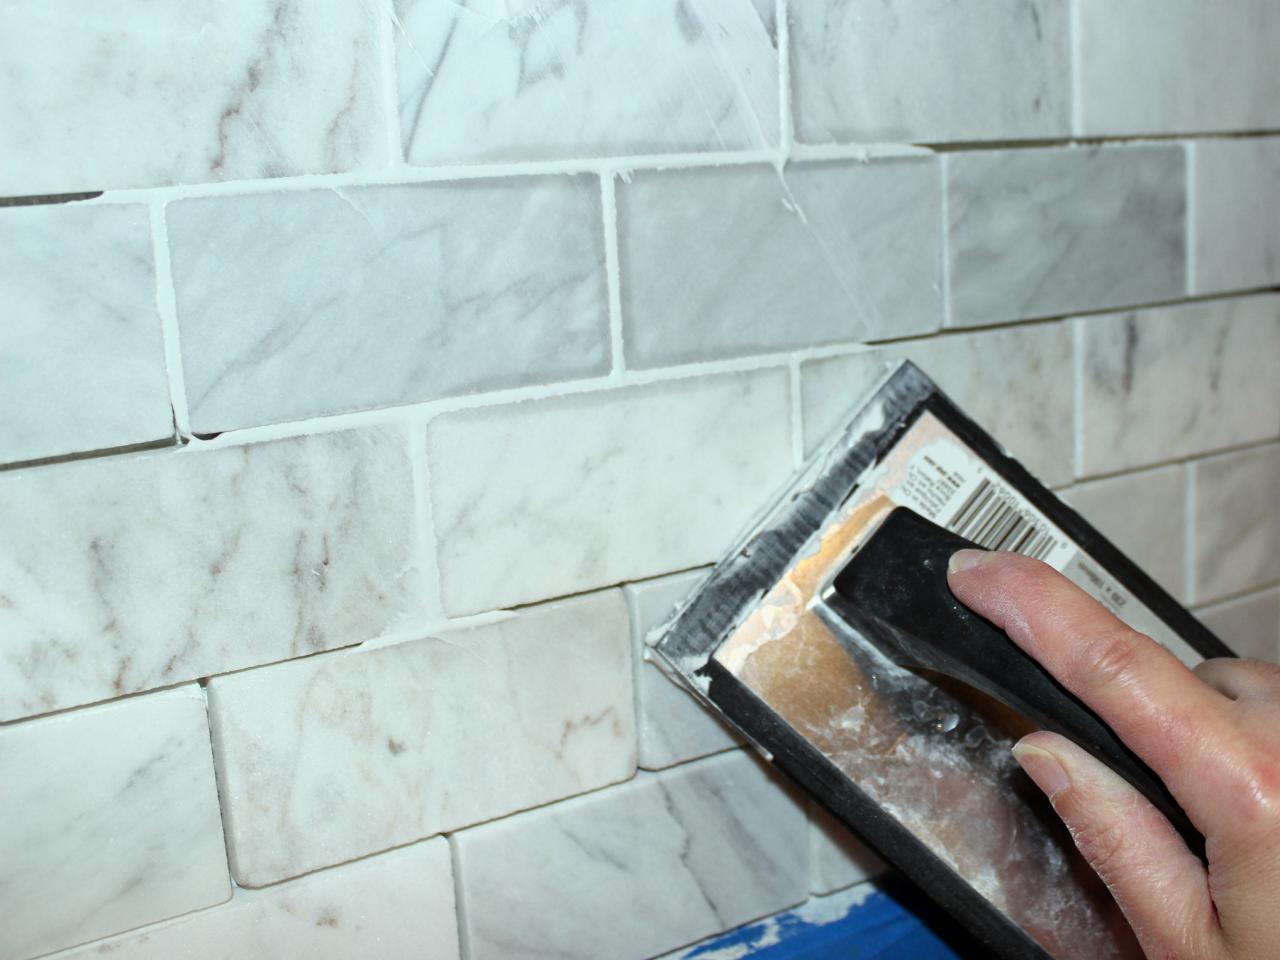
Apply Grout
After its slaking period, stir mortar. Dip one end of the grout float into bucket and apply to the wall, using enough pressure to work grout into the spaces between tiles. Working quickly, apply grout from multiple angles to minimize gaps in grout and ensure even coverage.
Tip: It's best to work in small areas; you'll need to clean the grout off the tile's surface once it begins to haze over.

H. Camille Smith
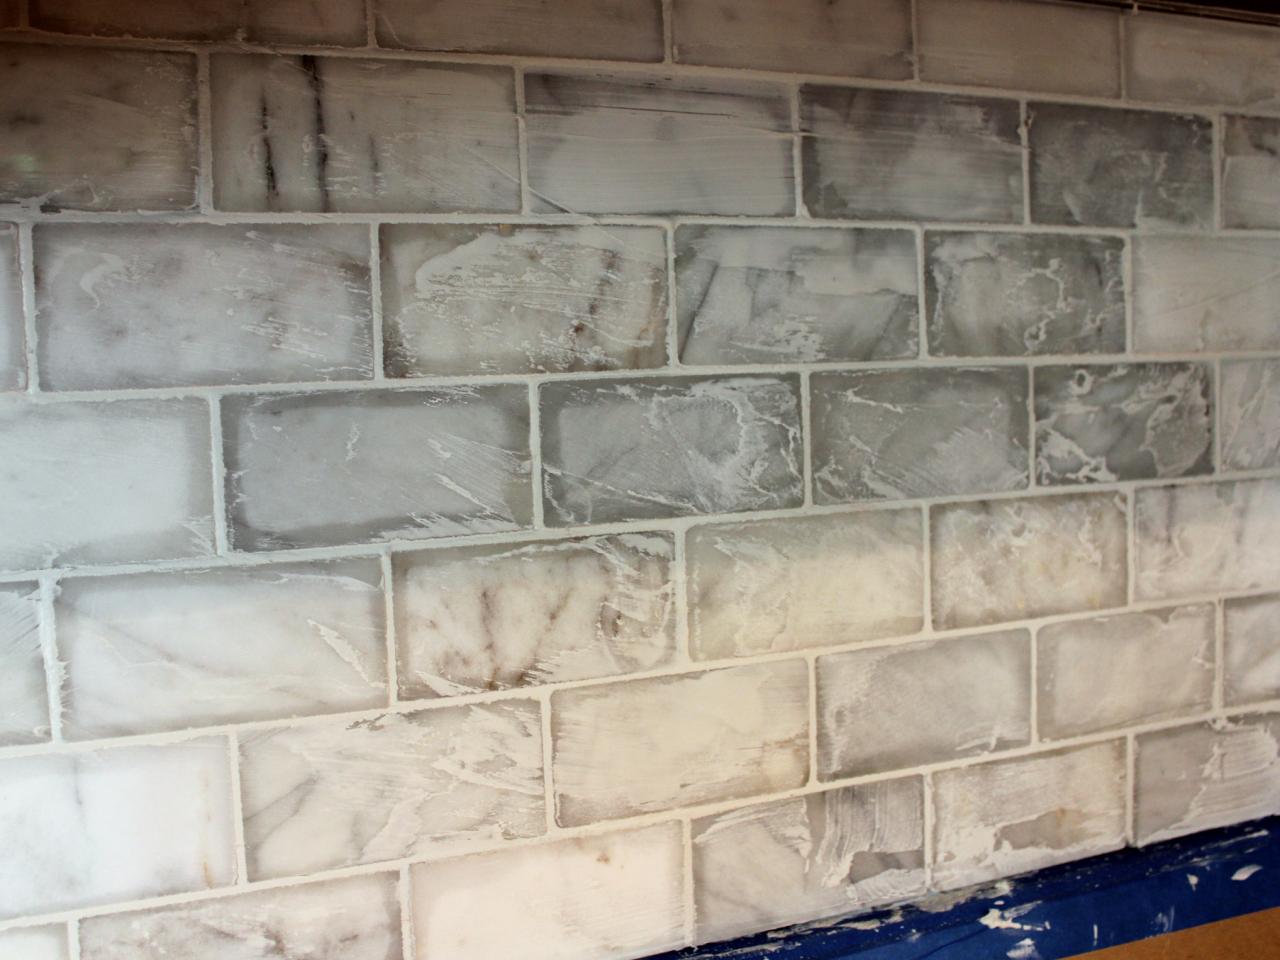
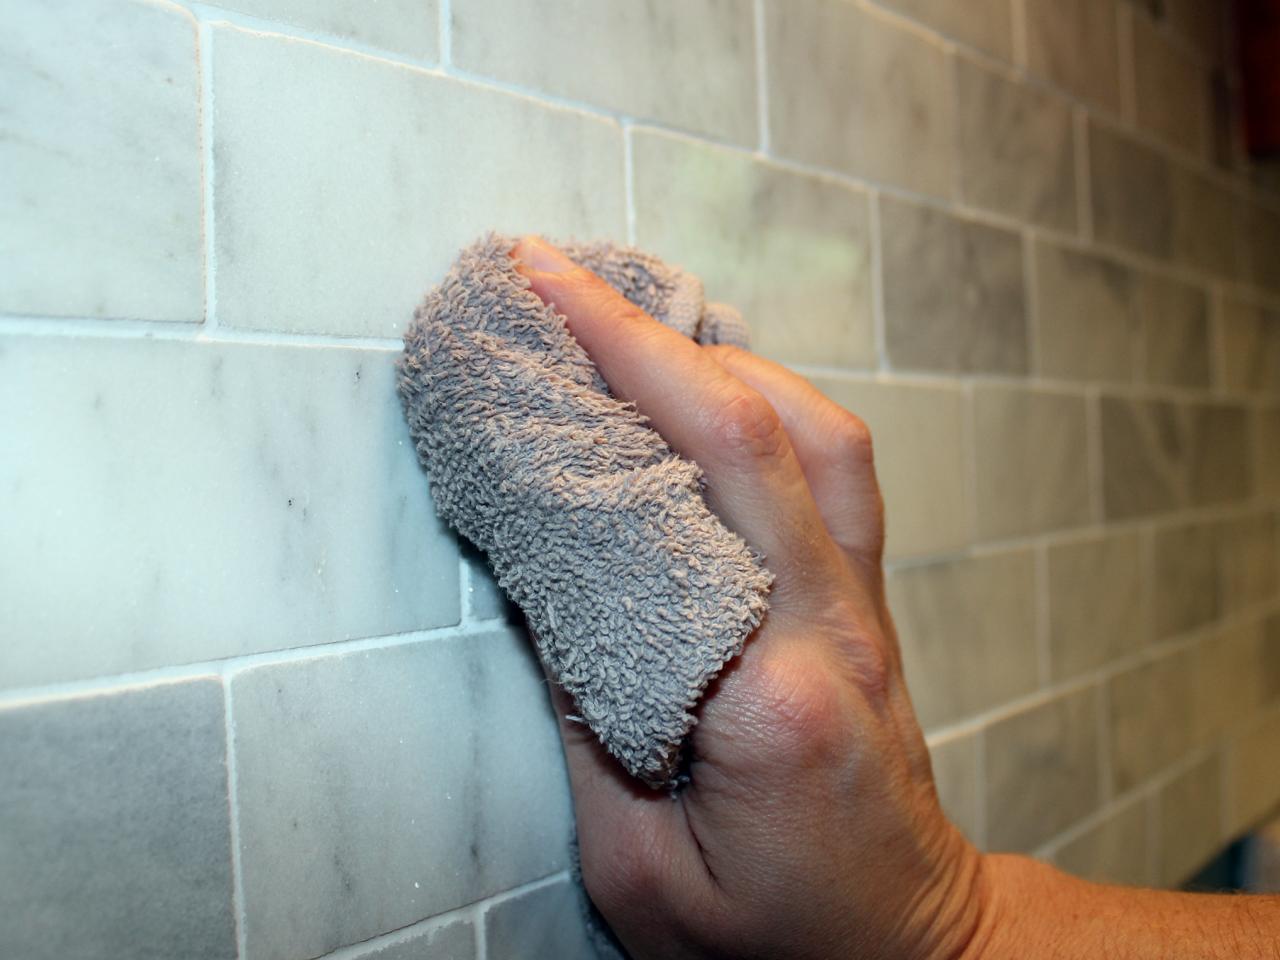
Clean Tile
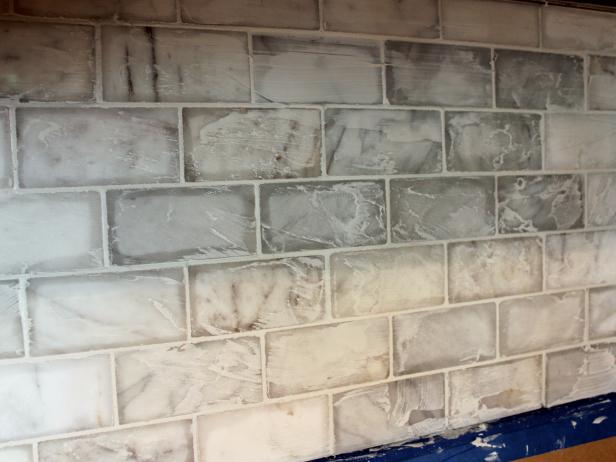
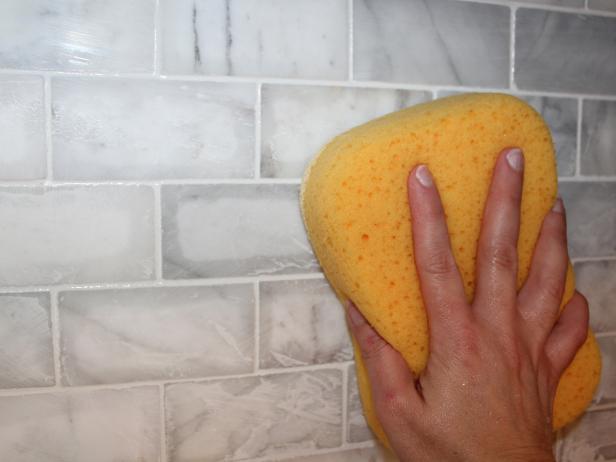
Don't let grout on the tile's surface completely dry out. Keep an eye on freshly grouted areas for a haze to develop (Image 1) then, using circular motions, clean the surface with a damp grout sponge, frequently rinsing and wringing it out in the sink (Image 2).
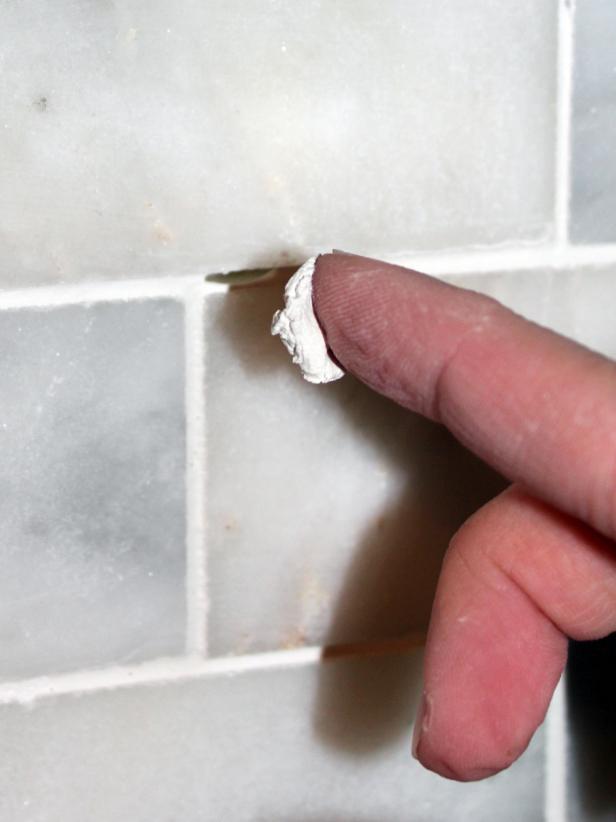
Tip: As you clean, look at the backsplash from all angles to check for gaps in the grout. Just fill any in with a dab of grout on your fingertip, and use the sponge to clean off any excess (Image 3). Continue cleaning grout till there is no visible haze (Image 4).
H. Camille Smith
H. Camille Smith
H. Camille Smith
H. Camille Smith
Seal Grout and Tile
The grout I selected cured in 24-48 hours, meaning it could be sealed in just 1-2 days. Check manufacturer's instructions and, after the recommended cure time, seal tile and grout using a soft cotton cloth and the same stone sealer you used before grouting. Remove any remaining drop cloths or tape (Image 2).

H. Camille Smith
H. Camille Smith
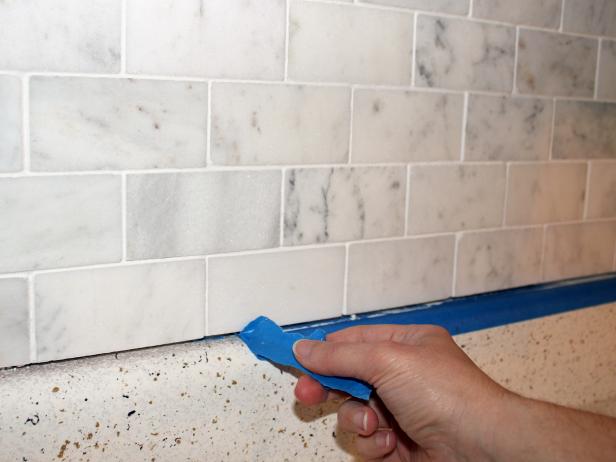
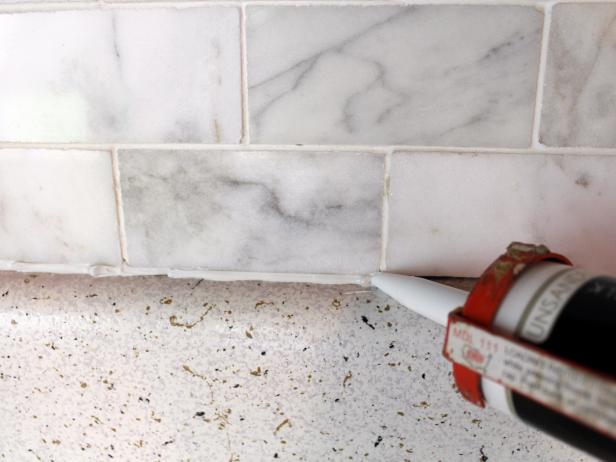
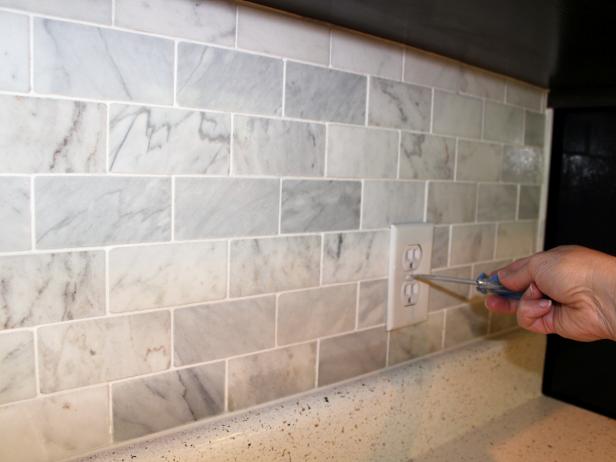
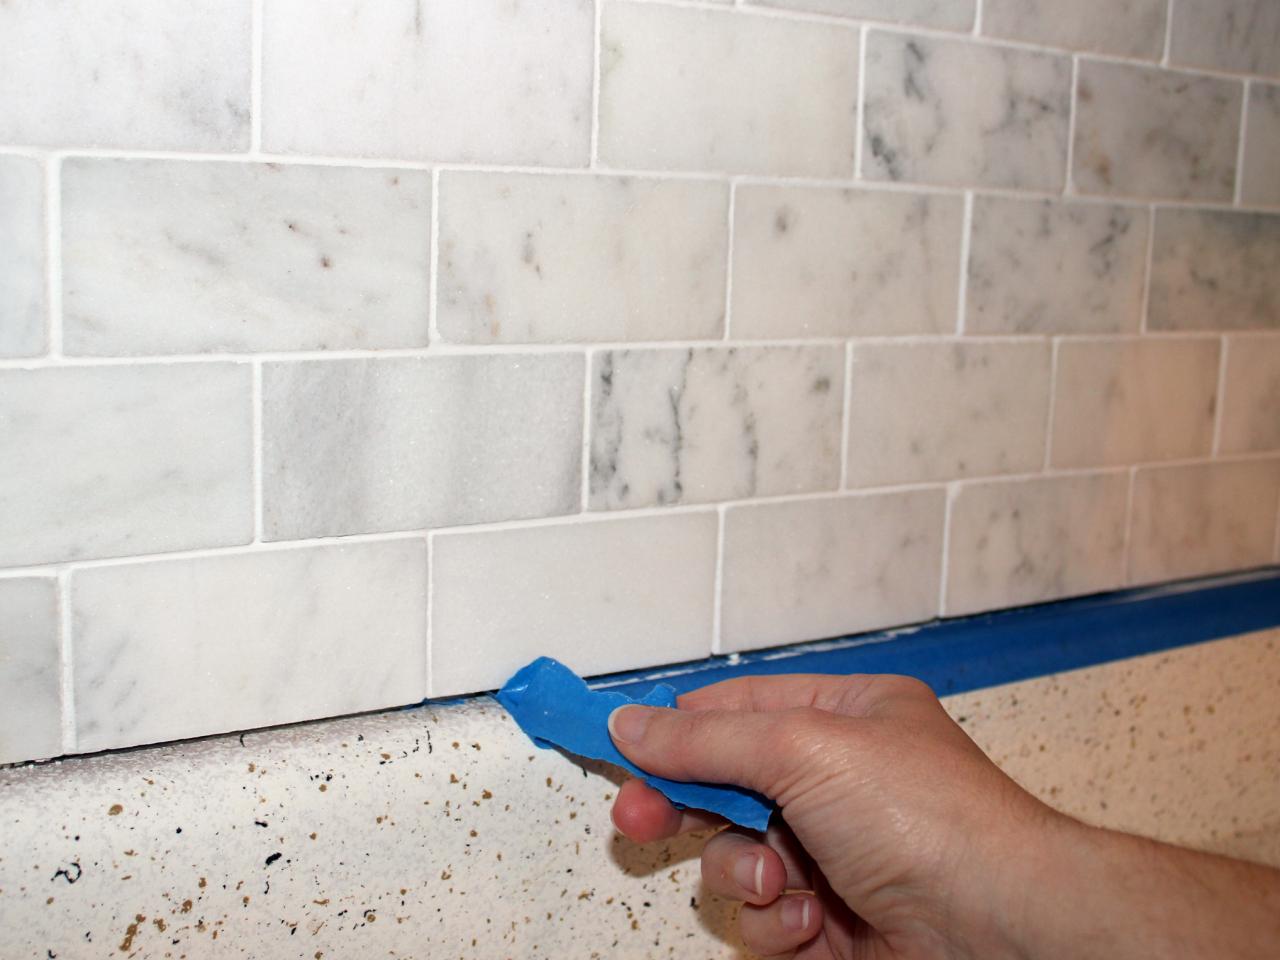
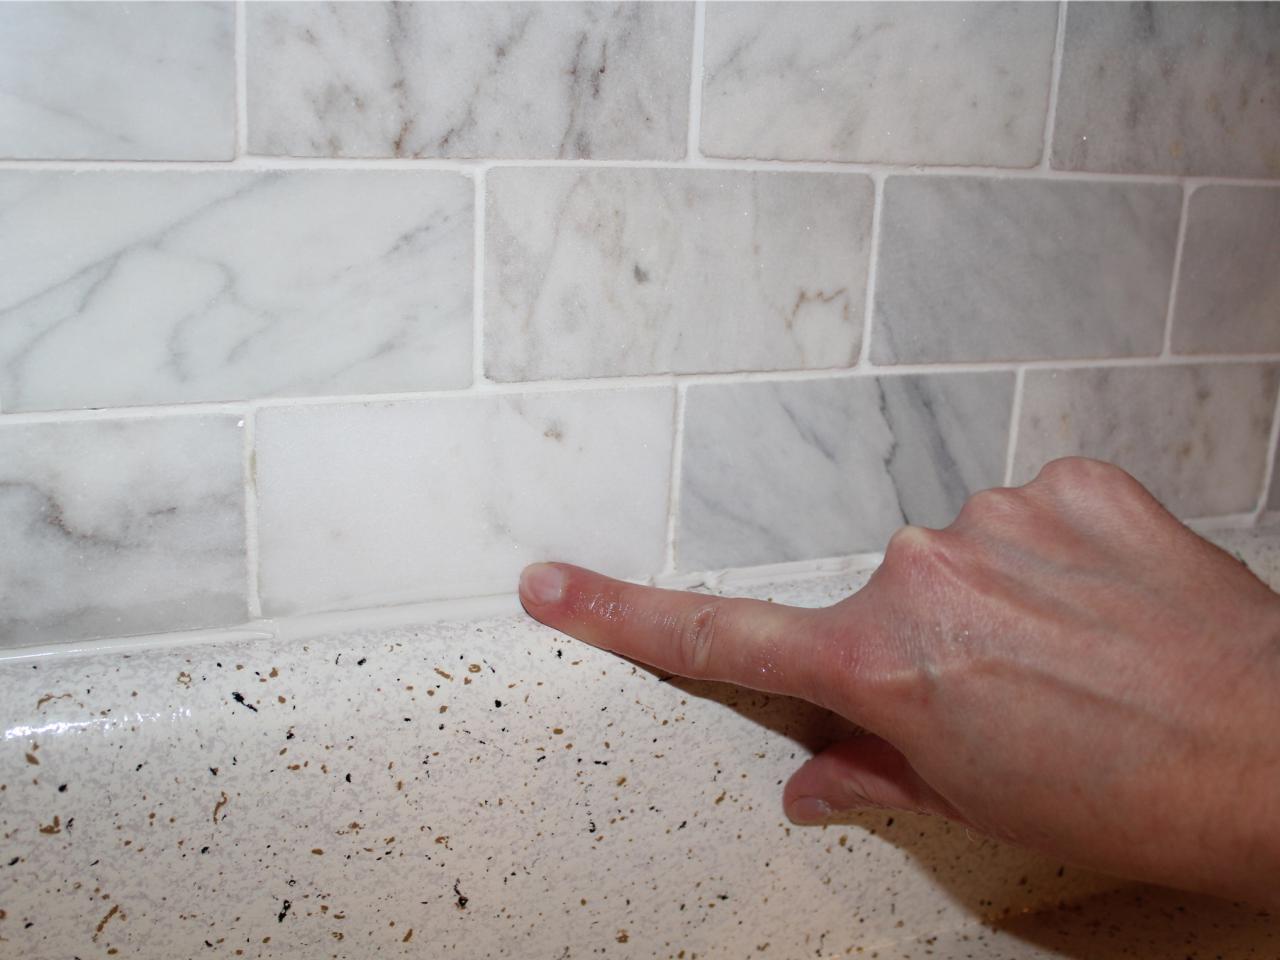
Caulk Between Countertop and Backsplash
Load caulk into caulking gun and cut off the tip at a slight angle. Position tip in the gap between countertop and tile. While applying even pressure, slowly move caulk gun along seam, leaving a line of caulk (Image 1). Wet your fingertip and smooth the caulked line (Image 2), wiping excess off caulk on a paper towel. Finally, reapply switch plate covers (Image 3), decorate and enjoy your stylish new kitchen (Image 4).

H. Camille Smith

H. Camille Smith
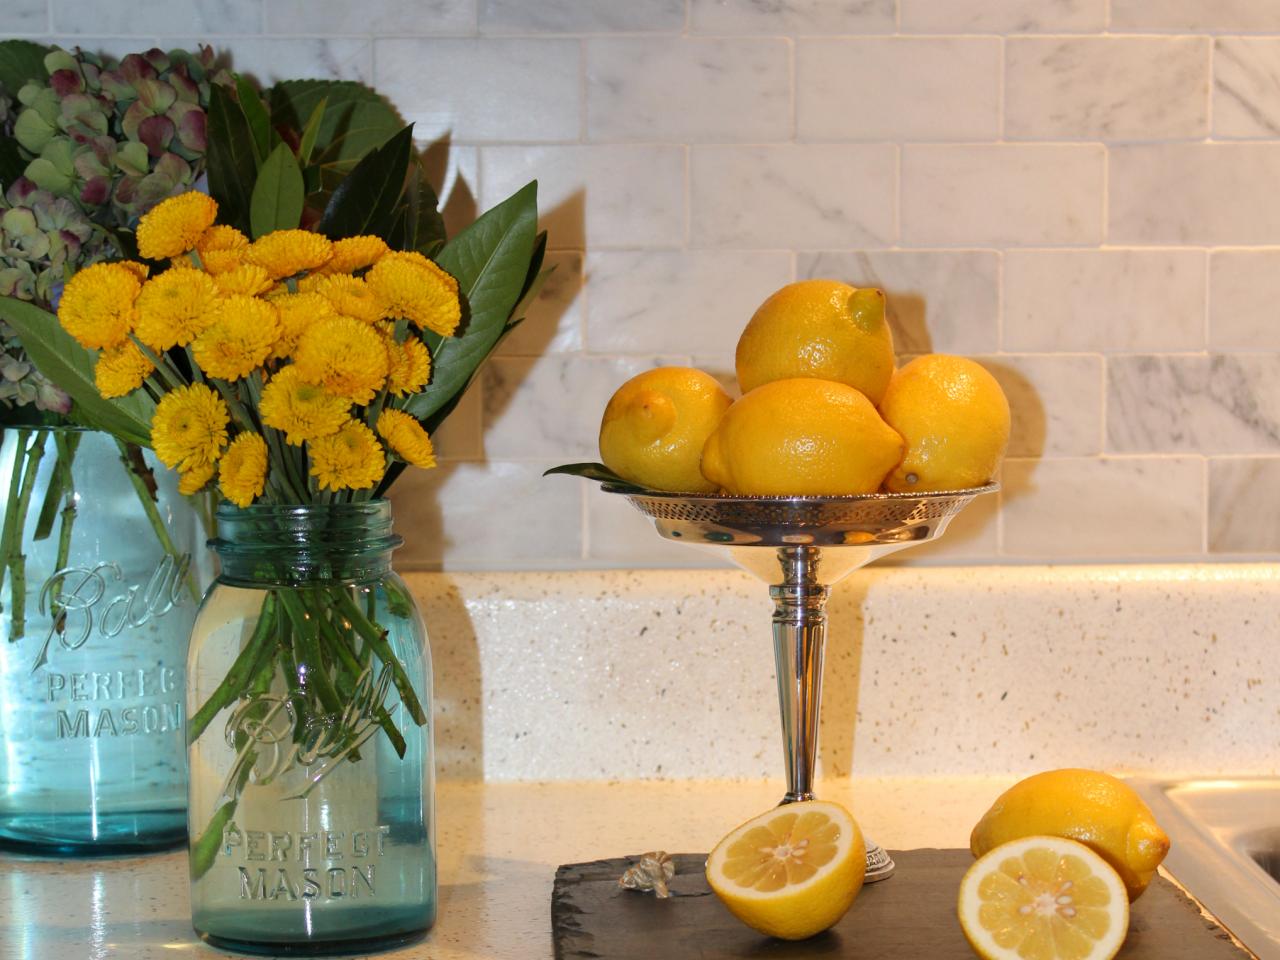
Traditional Neutral Kitchen with Marble Backsplash
This traditional neutral kitchen with wood cabinetry features an updated white and gray Carrara marble backsplash. Yellow accents and a green patterned throw rug bring pops of color to the vignette.
Photo By: H. Camille Smith


