
.-Battle-on-the-Beach-courtesy-of-HGTV.-.jpg.rend.hgtvcom.196.196.suffix/1714761529029.jpeg)


How to Install a Tin Tile Backsplash
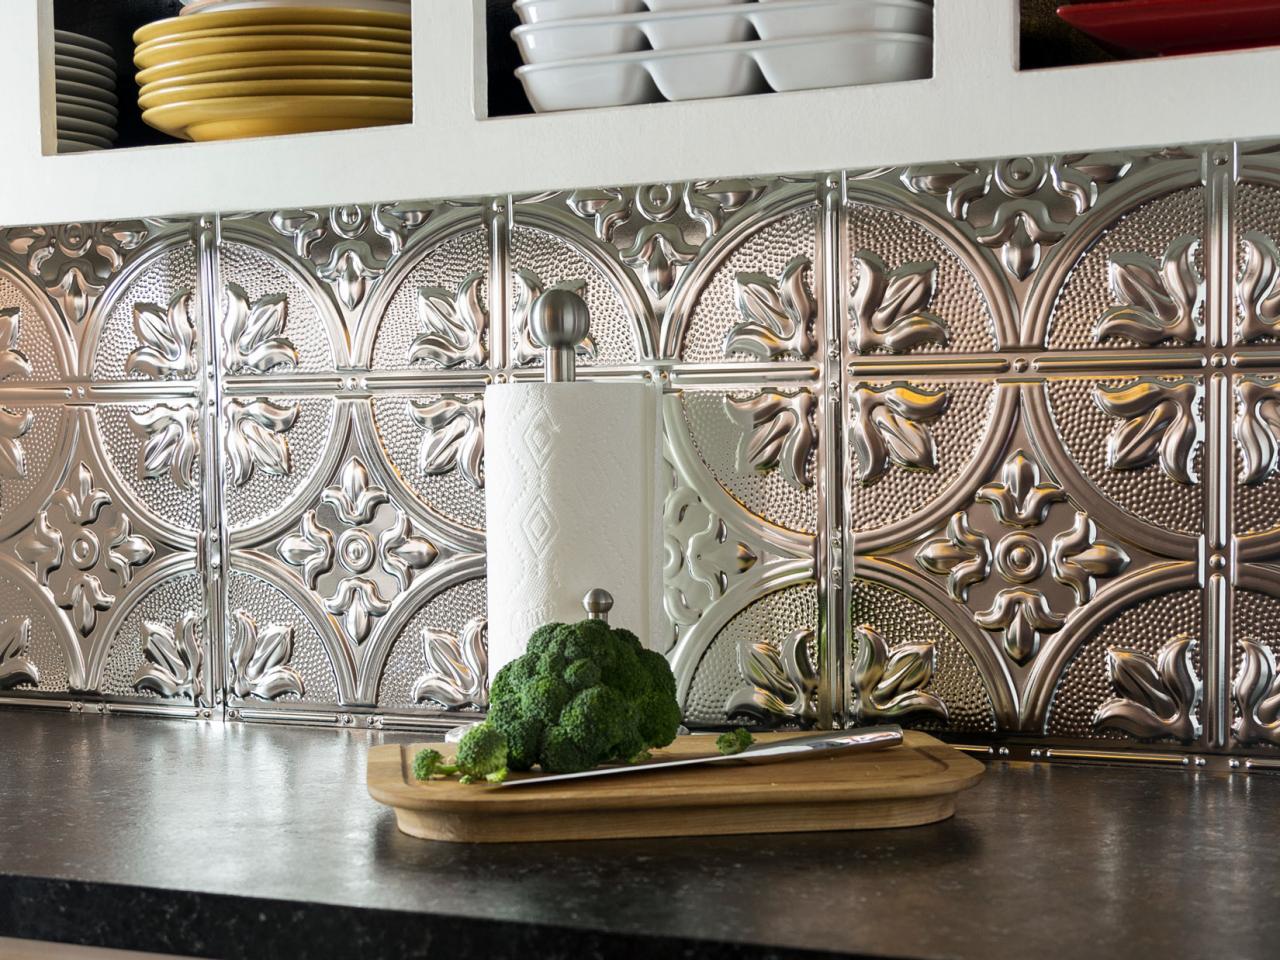
Give your kitchen a stunning, stylish upgrade with metallic-finish tiles. This DIY project requires just a few standard tools and not a lot of money.

Tin ceiling tiles were common at the turn of the 20th century. They were often painted white to mimic the look of high-end plasterwork that was found all through Europe. Today you can buy tin tile starting around $5 per square foot. They come in a variety of patterns and colors or can be painted whatever color you wish. Installing it as a backsplash will take less than a day and doesn't require any special skills. But, make sure to wear thick work gloves when cutting the tile. The edges will be very sharp!

Sam Henderson
Tools and Materials
- tin tiles
- construction adhesive
- clear silicone caulk
- drill
- level
- tin snips
- tape measure
- marker
- safety goggles
- leather work gloves
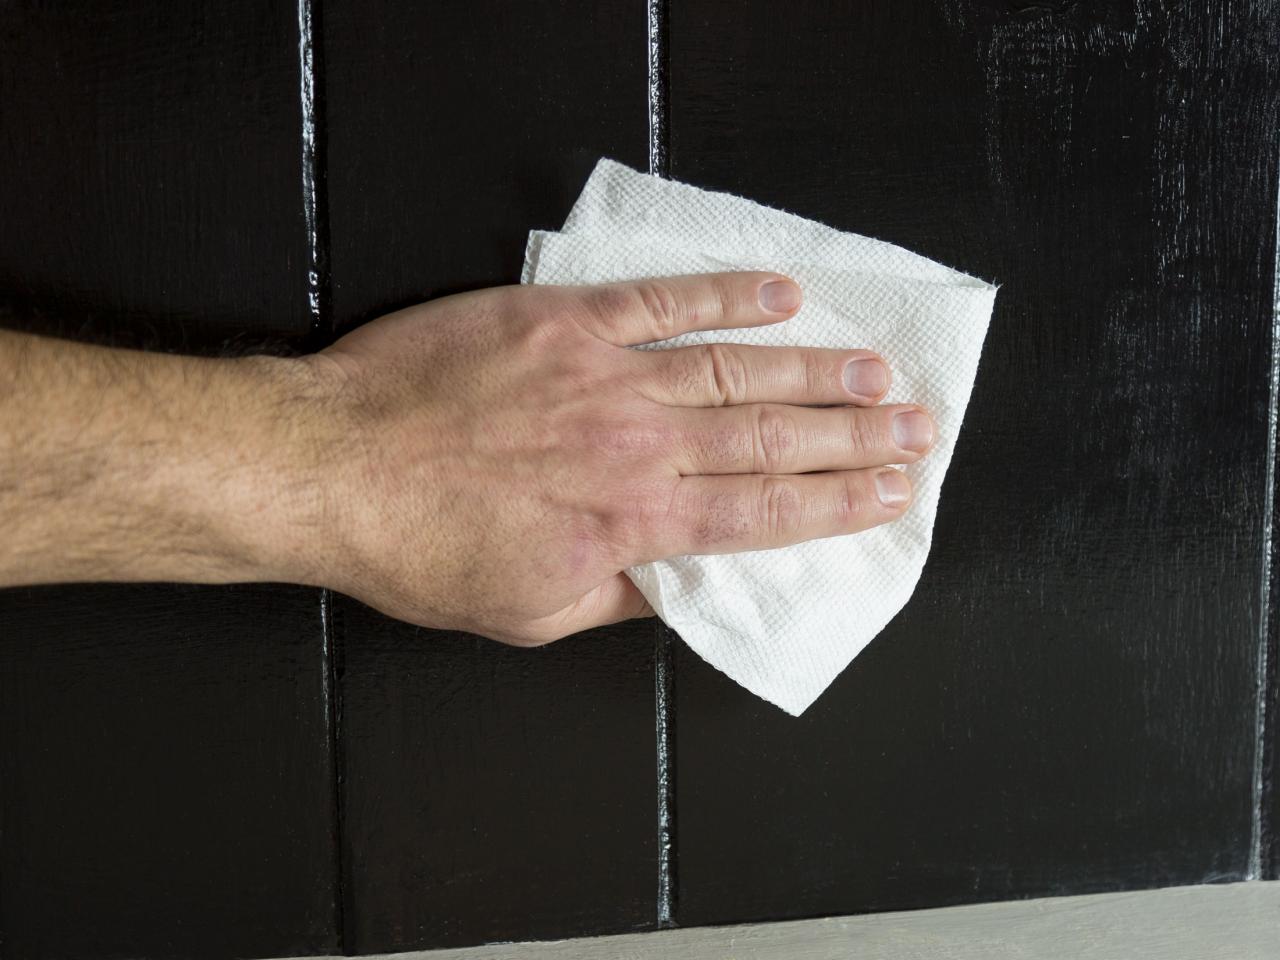
Step 1: Prep the Area
Clear the project area of hanging items. Remove switch plates and cut the power at the breaker box as a precaution. Clean the project surface with an all-purpose cleaner and paper towels. If working in an area that does not intersect with a countertop (behind a stove, for example) use a level to draw a line level with the countertops.

Sam Henderson
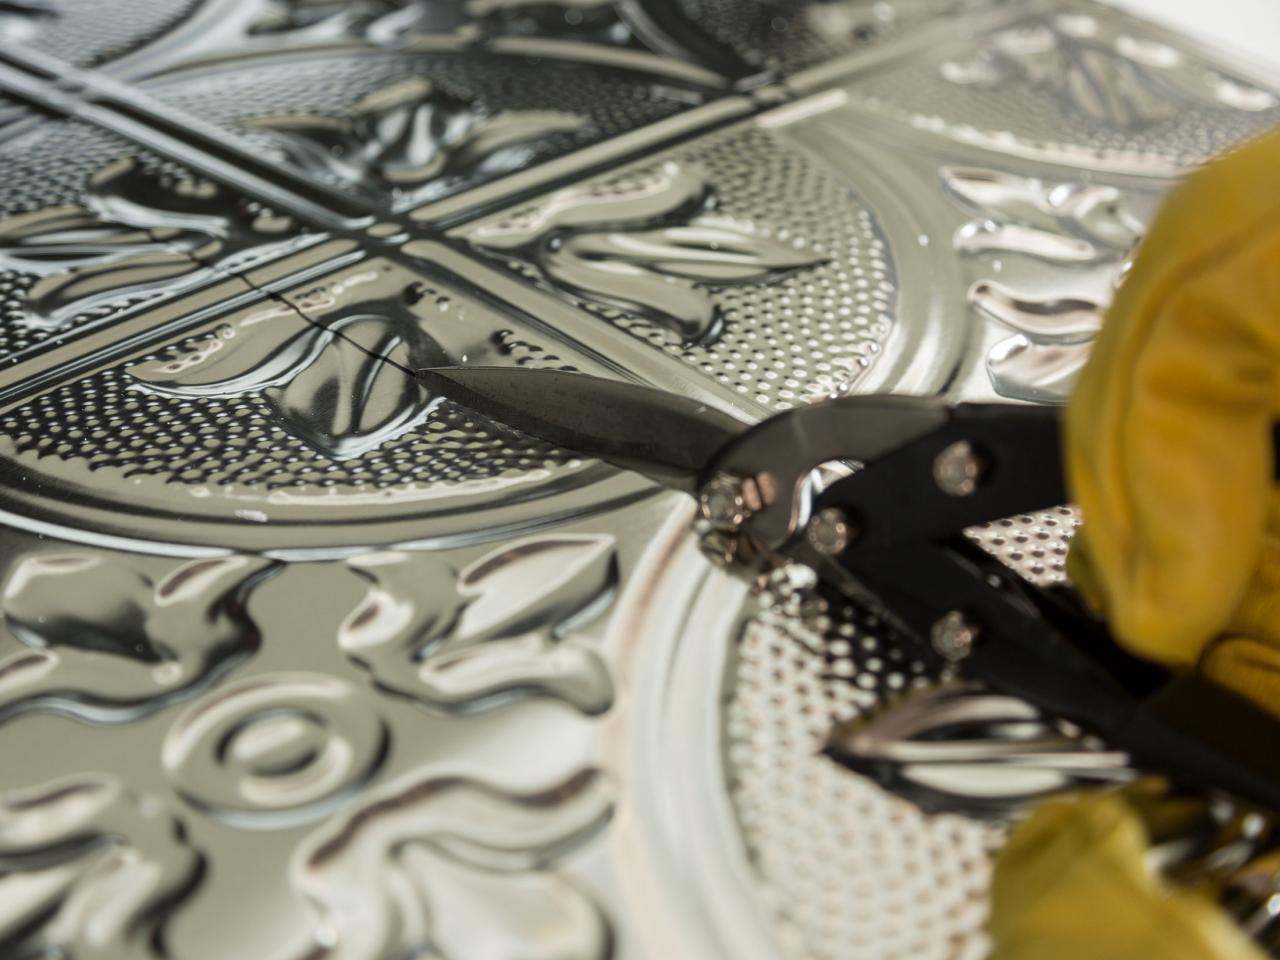
Step 2: Measure and Cut Tile
Measure all areas to be covered from end to end and from the countertop to the bottom of the upper cabinets. Make note of these measurements before beginning. Lay a tile on a flat surface and mark the measurement from the countertop to the bottom of the upper cabinets in a couple of places. Use a straightedge to draw a line between the marks. Use tin snips to cut on the line. Pro Tip: It is imperative to wear heavy-duty leather gloves to avoid injury. Tin tiles are very sharp on the edges.

Sam Henderson
Step 3: Measure and Cut Outlets and Switches
For areas that include an outlet or light switch, measure the distance from the last tile, including the overlap with the previous tile, to the outlet. Then measure the distance from the countertop to the bottom and top of the outlet. Use these measurements to draw a rectangle on the back of the tile. In one corner of the rectangle, drill a hole big enough to fit the tip of the tin snips. Cut out the rectangle and discard. Similarly, take measurements for protruding objects like window sills, etc. Carefully cut out the shapes as necessary using the tin snips. Pro Tip: Check your measurements at least once after drawing to avoid wasting materials.

Sam Henderson
Step 4: Secure Tiles to Wall
Add construction adhesive to the back of the tiles on all of the raised parts. Press the tile firmly to the wall in place. Rub all of the recessed areas and press them firmly to the wall. When adding secondary tiles, be sure to overlap the edges using the grooves which are typically embossed. Press the overlaps together and remove any construction adhesive that has squeezed out from behind the tile.

Sam Henderson

Sam Henderson
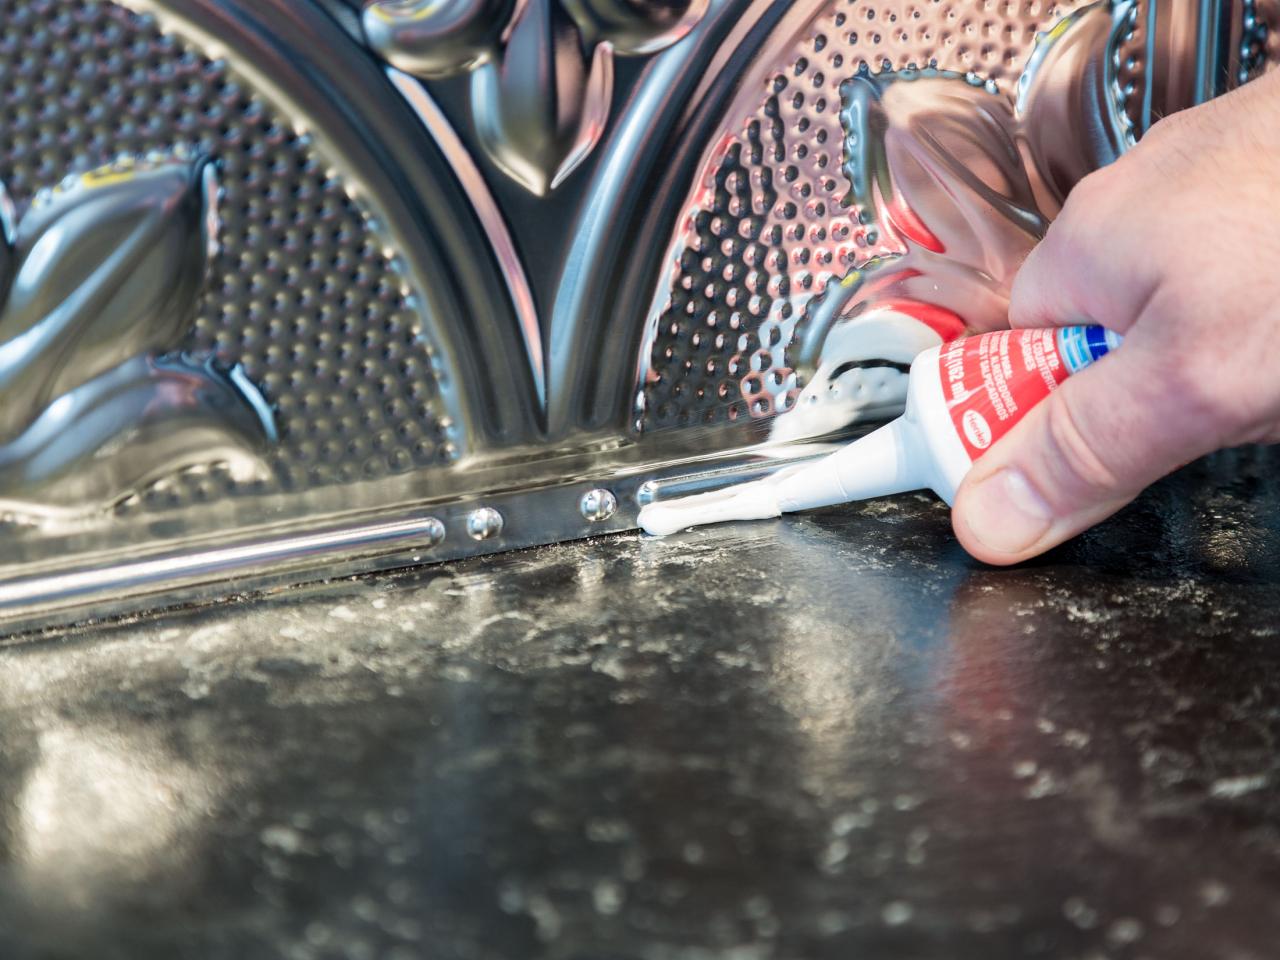
Step 5: Seal the Seams
Add a bead of silicone caulk to the bottom where the tiles meet the countertop to avoid water collecting behind the tiles.

Sam Henderson

Sam Henderson


