


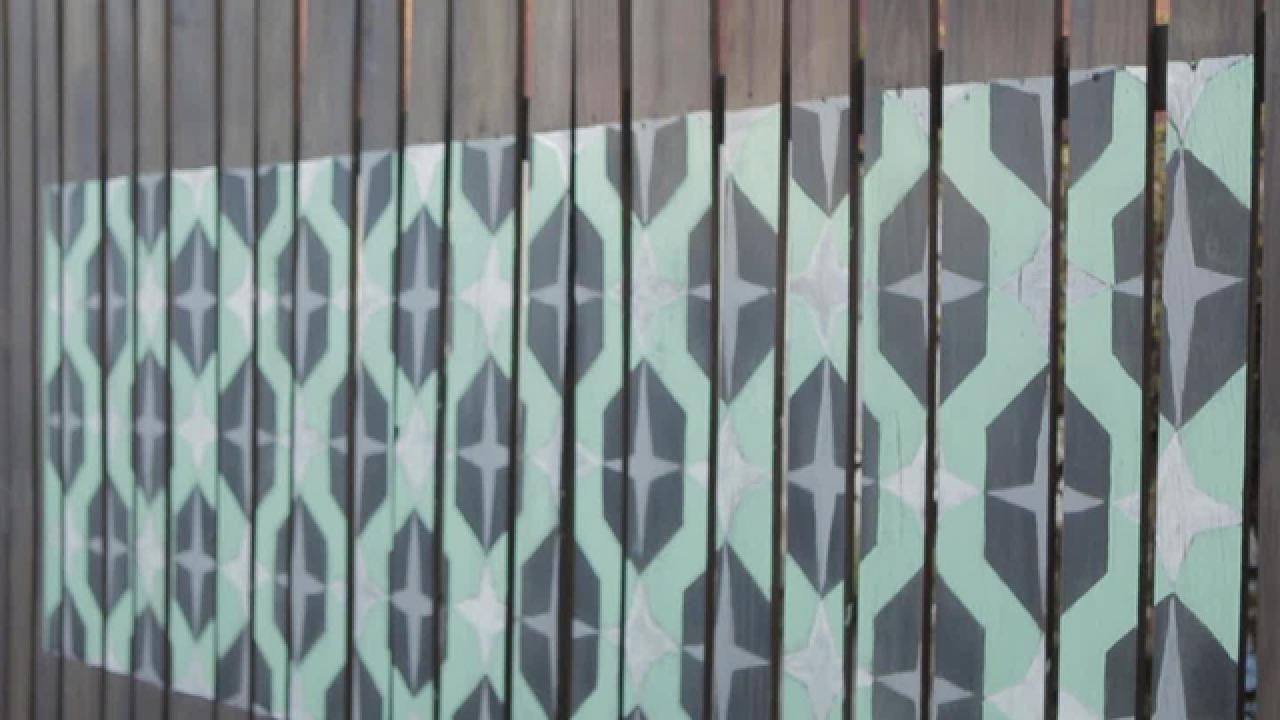
Update Your Fence With a Colorful Mural
We all know fences make good neighbors, but they're also a blank canvas just waiting to be graced with some fabulous design, like this easy-to-transfer midcentury geometric pattern.

Materials Needed
- 24" x 36" printable
- chalk
- painter's tape
- ruler
- level
- pencil
- 1" foam paintbrushes
- 3 exterior paint colors (we used black, gray, white and mint green)
- fine-grit sanding block
- old cloth
- latex gloves (optional)
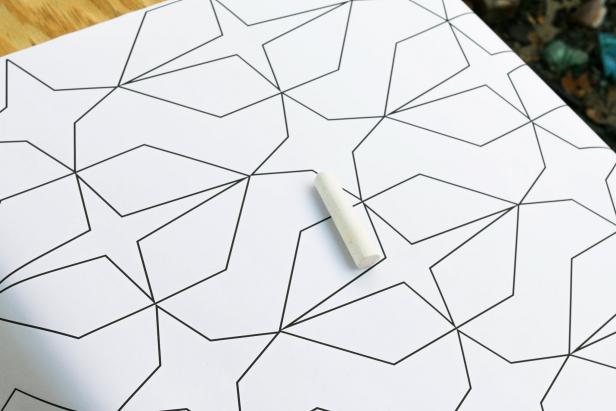
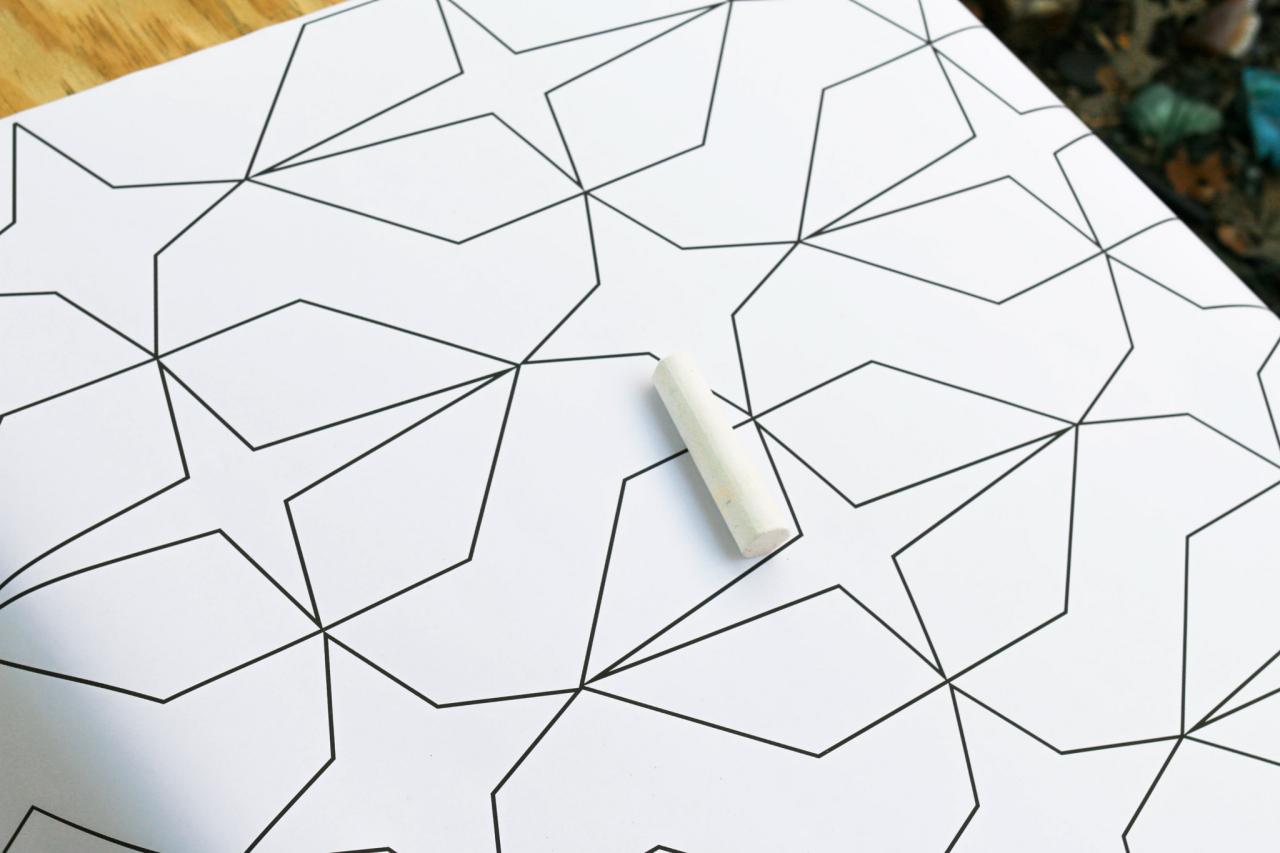
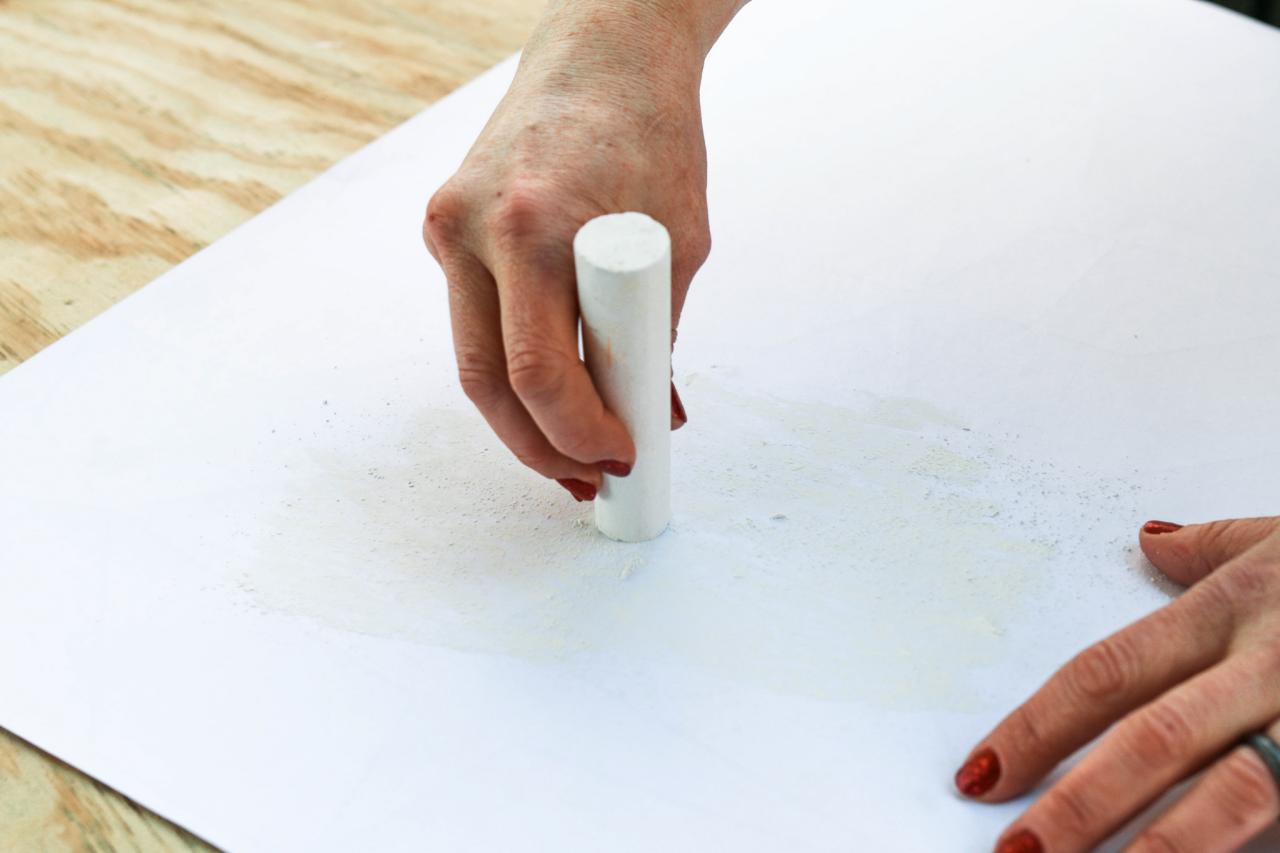
Prepare Printable
Print our downloadable design template onto 24” x 36” paper (Image 1). Place the design face down on a smooth, protected work surface and coat the backside of the paper with chalk, making sure to hit the areas with the lines the heaviest (Image 2).
Brian Patrick Flynn, Flynnsideout.com
Image 1

Brian Patrick Flynn, Flynnsideout.com
Image 2
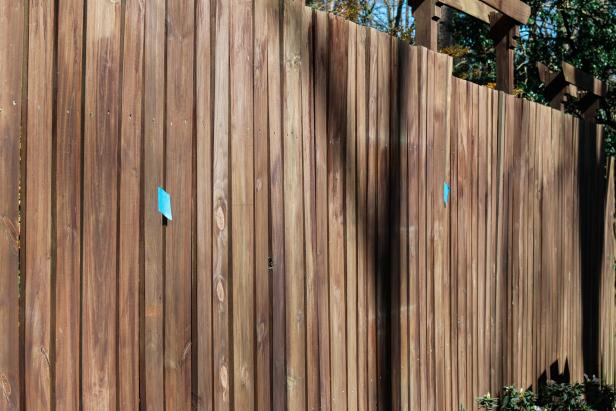
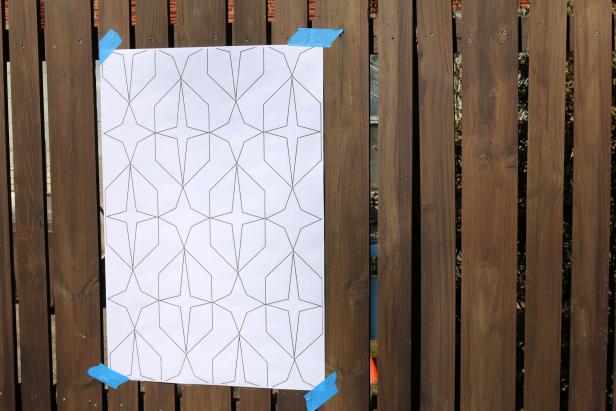
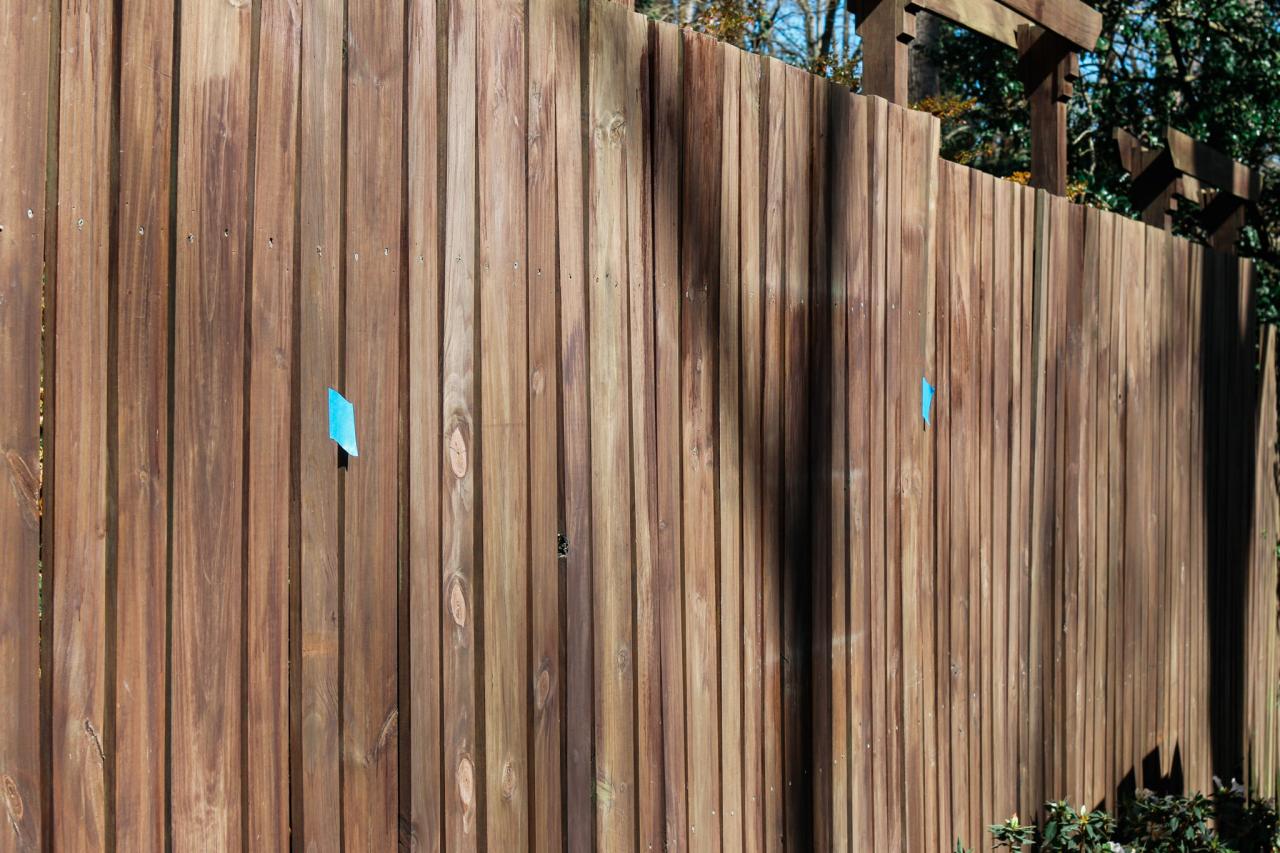
Tape Printable to Fence
Determine your design’s placement on the fence and mark the outside edges with tape (Image 1). Once the printable paper has been fully chalked, tape it in place on the fence with the printed side facing out (Image 2). Check the top of the paper to make sure the design is hanging level before moving on to the next step (Image 3).
Brian Patrick Flynn, Flynnsideout.com
Image 1
Brian Patrick Flynn, Flynnsideout.com
Image 2
Brian Patrick Flynn, Flynnsideout.com
Image 3
Transfer Design
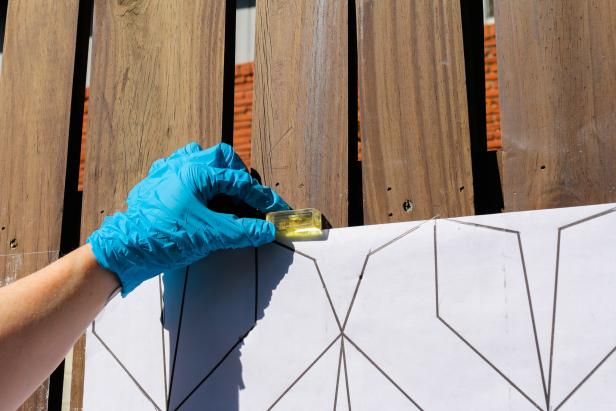
Using a pencil and ruler, firmly trace over every line of the design. This will transfer the chalk onto the fence. Once you’ve traced over the entire paper, gently remove the template. Make sure not tear the edges where the painter’s tape sticks to the paper.

Brian Patrick Flynn, Flynnsideout.com
Reveal, Outline + Repeat
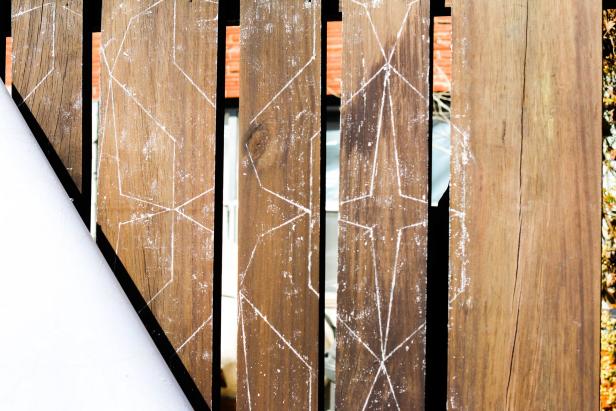
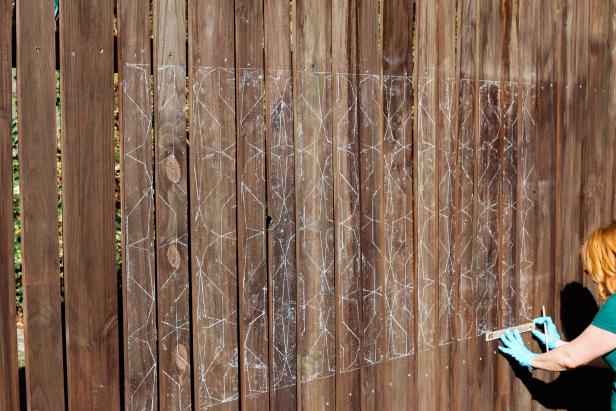
We repeated this process three more times to fill a large section of fence, but how large or small you go with the design is up to you. Once you’re done with each section (Image 1), chalk a line at the top and bottom of the design using a straight edge (Image 2).
Brian Patrick Flynn, Flynnsideout.com
Image 1
Brian Patrick Flynn, Flynnsideout.com
Image 2
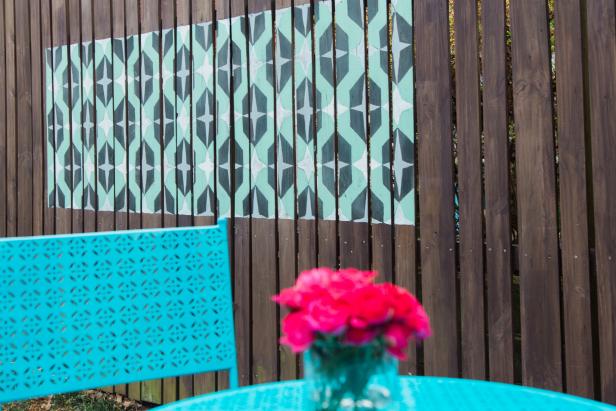
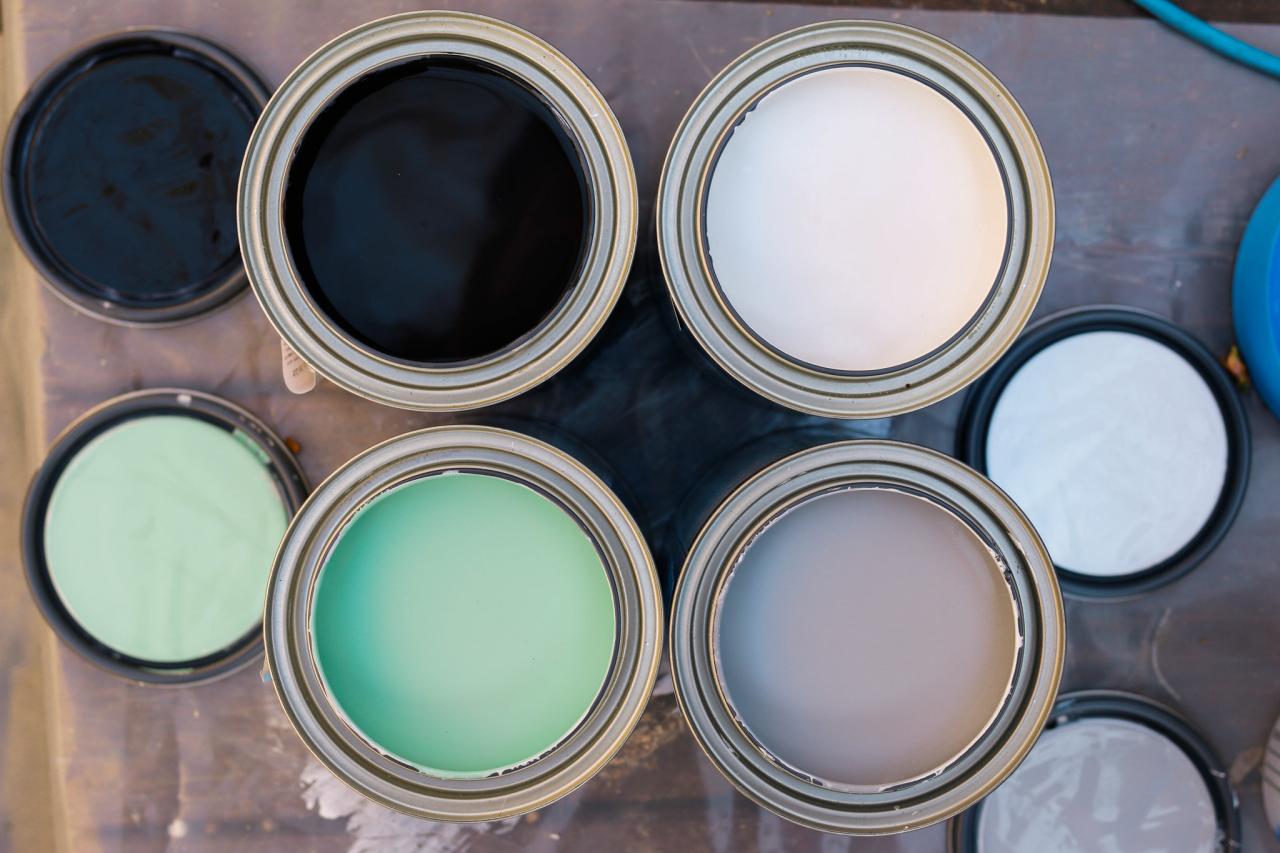
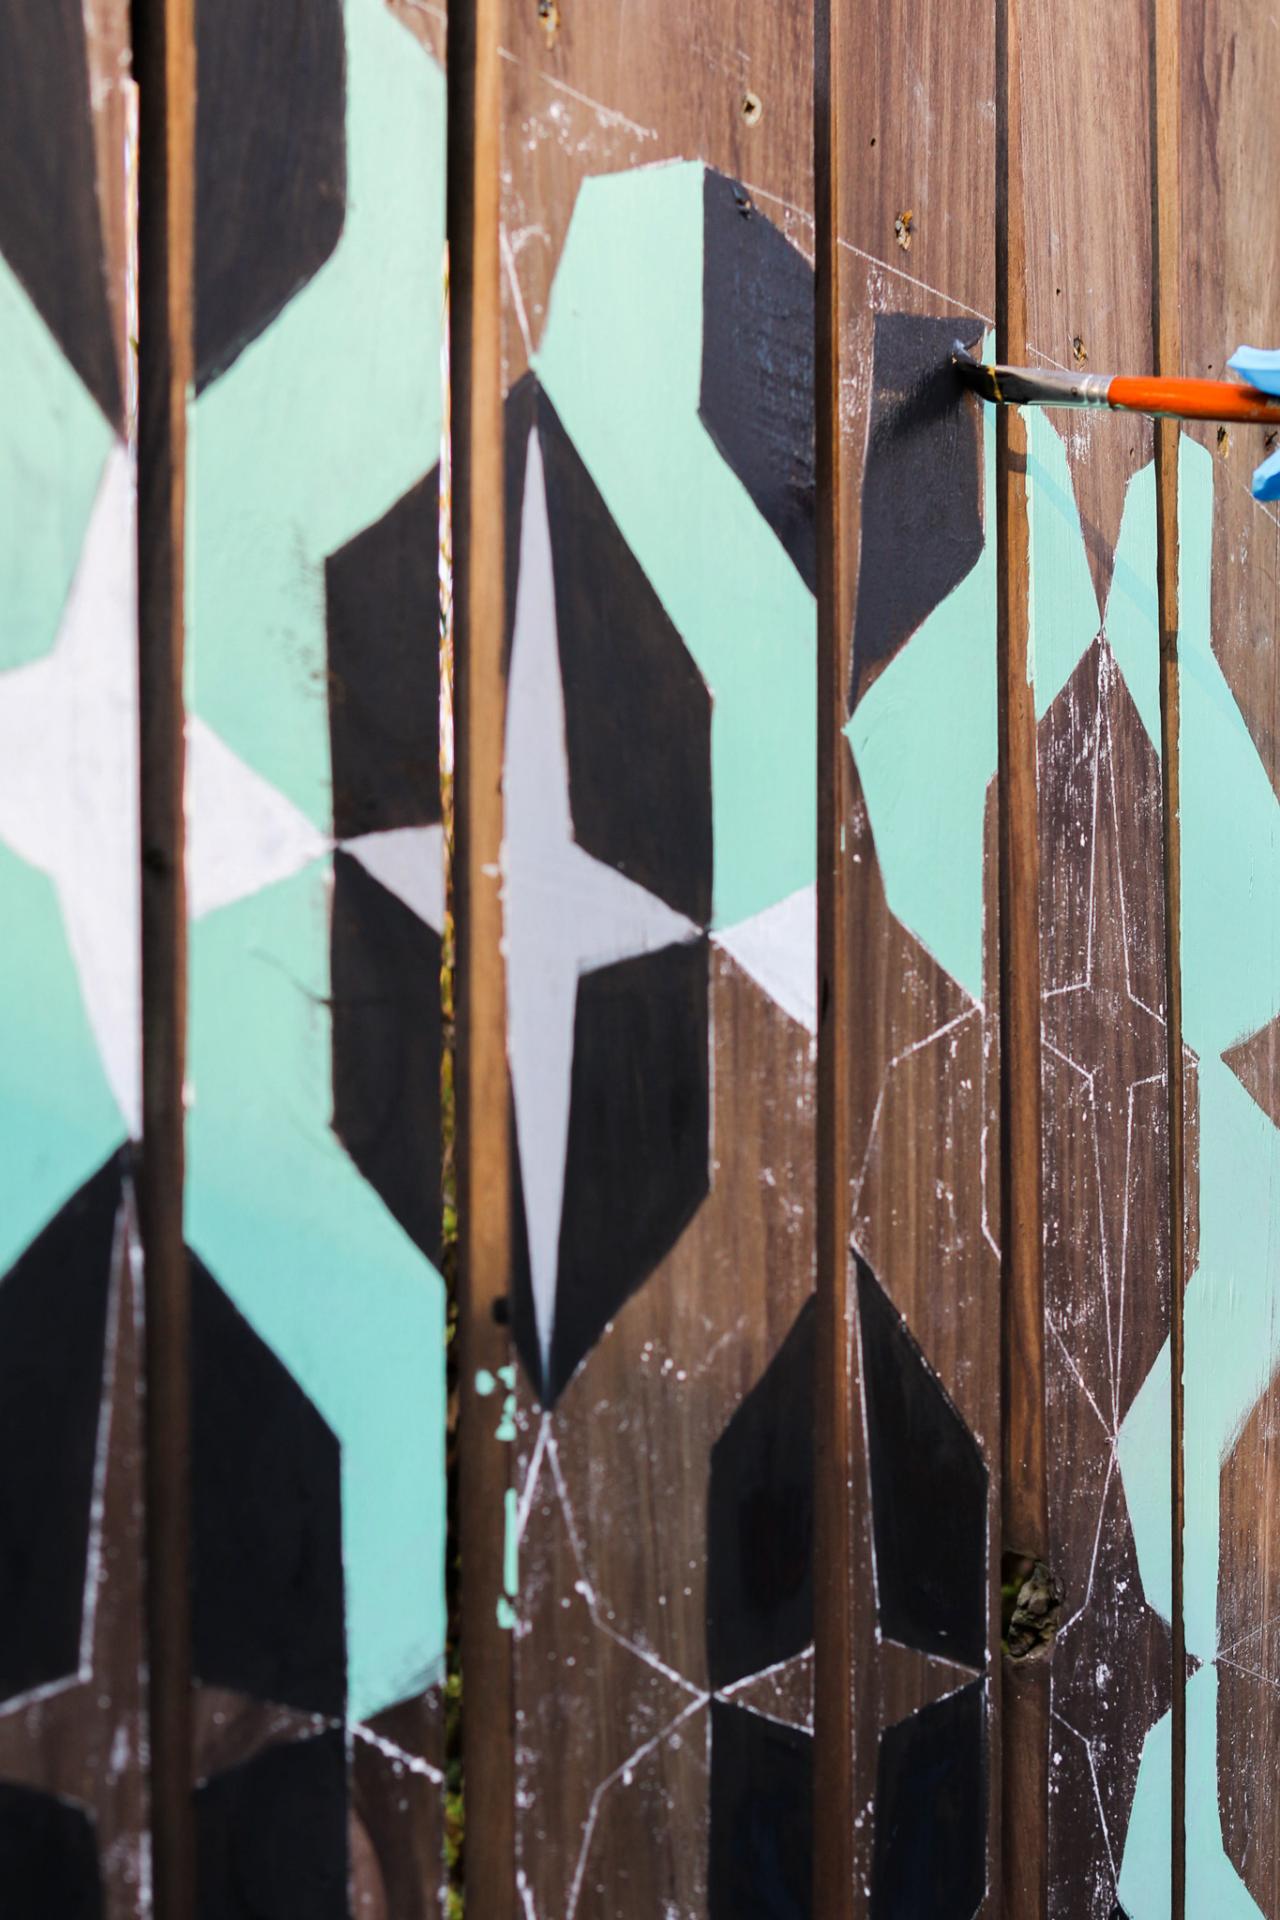
Add Paint
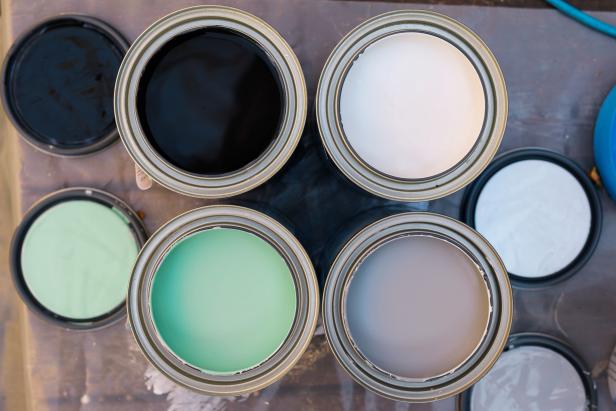
We used four different paint colors: black, gray, white and a mint green (Image 1). To simplify the process, paint the mural one color at a time or do it with friends, and assign colors to each person to knock it out faster (Image 2, 3). It doesn’t have to be perfect, as it will eventually look a little weathered.
Brian Patrick Flynn, Flynnsideout.com
Image 1

Brian Patrick Flynn, Flynnsideout.com
Image 2
Brian Patrick Flynn, Flynnsideout.com
Image 3
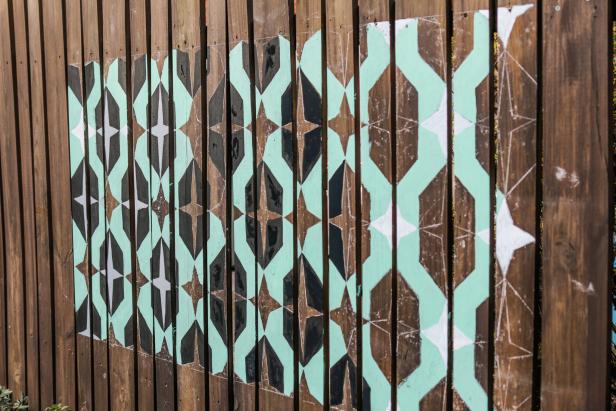
Sand for Weathered Look
Using a fine-grit sanding block, go over the mural once (Image 1), then wipe any excess dust off with a cloth. This will give the mural a time worn look (Image 2).

Brian Patrick Flynn, Flynnsideout.com
Image 1
Brian Patrick Flynn, Flynnsideout.com
Image 2


