


How to Make Distressed Leather-Wrapped Books

How to Make Distressed Leather-Wrapped Books
Make brand new books look like old leather-bound tomes by covering them in a removable leather jacket that you've distressed and antiqued. They'll add a timeworn touch to your bookcase and make great handmade gifts for literary friends.

Photo by: H. Camille Smith
H. Camille Smith
Materials Needed:
- leather (from a new hide or an old pillow, jacket or skirt)
- book
- tape
- urethane or epoxy-based adhesive
- Kraft paper
- scissors
- shoe polish that's darker than the leather you're using
- sandpaper (coarse, medium and fine grits)
- cotton swab or small disposable brush
- 2 squares of soft cotton fabric (an old T-shirt or sweatshirt)
Cut Paper and Leather
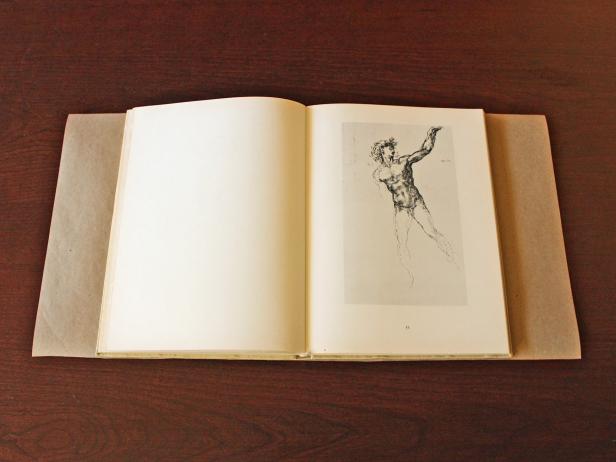
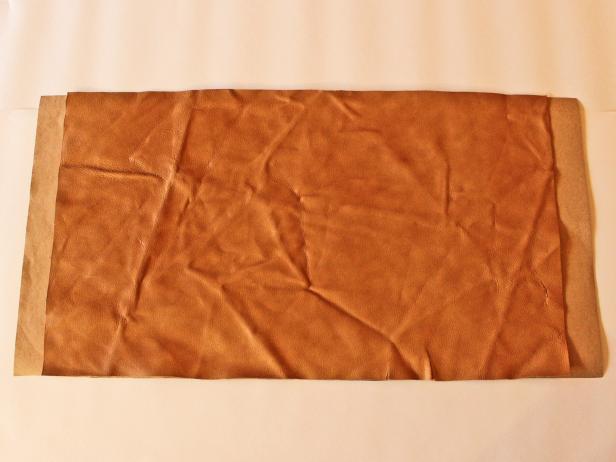
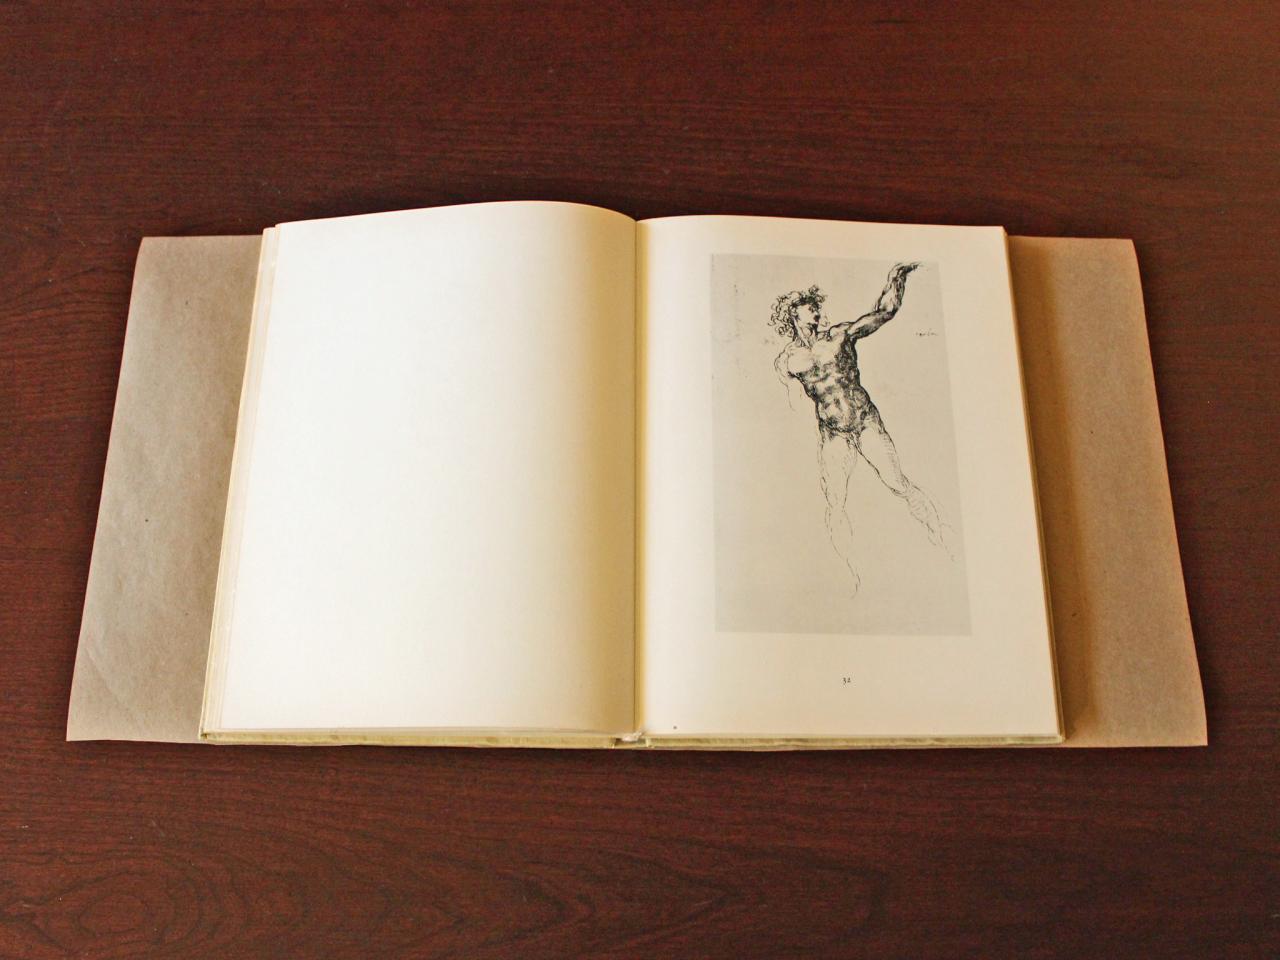
Measure book's cover and cut a piece of Kraft paper that's 4 inches longer than the cover (Image 1). Using the paper as a guide, cut a piece of leather that's 2 inches shorter than the Kraft paper (Image 2). Tip: Leaving 1 inch of uncovered paper on each side makes it easier to tape the finished leather cover to the book's inside flaps.
H. Camille Smith
Attach Leather to Paper
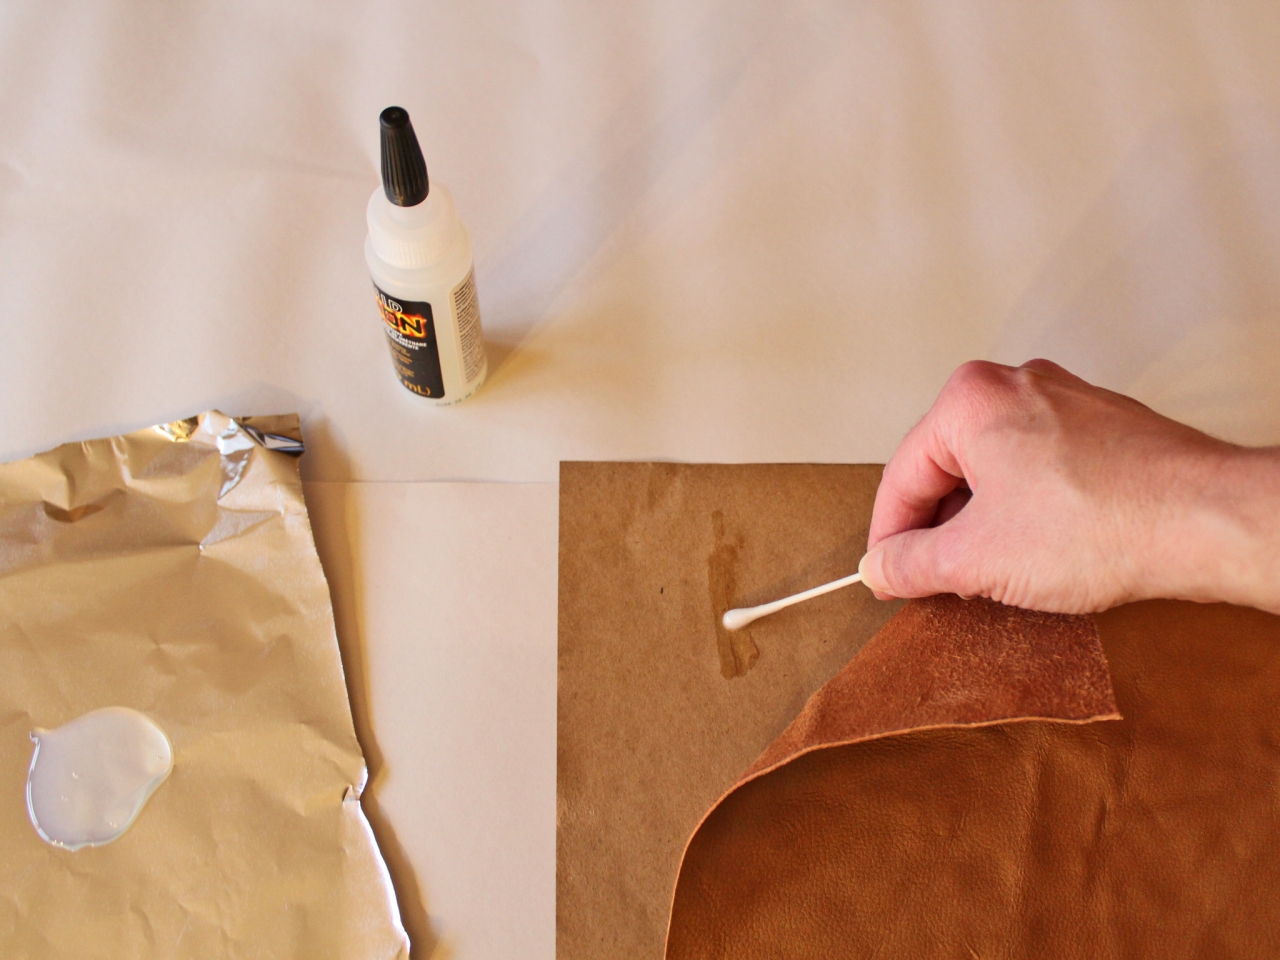
Position leather, suede side down, on the Kraft paper, leaving 1 inch of paper uncovered on each side. Using a cotton swab or small disposable brush, apply glue to the areas of the paper that will be covered by leather. Tip: Be sure to securely glue down all the edges so you don't leave any gaps between the leather and paper. Don't worry about smoothing out all the leather's wrinkles, they'll lend more character when you distress the finished cover.

H. Camille Smith
Attach Cover to Book
Position cover around book, making sure you've left an even amount on each side to tuck in as flaps. Once you're happy with the cover's position, open one side of the book at a time (to prevent the cover shifting) and tape the exposed paper edge to the book's inside flap.

H. Camille Smith
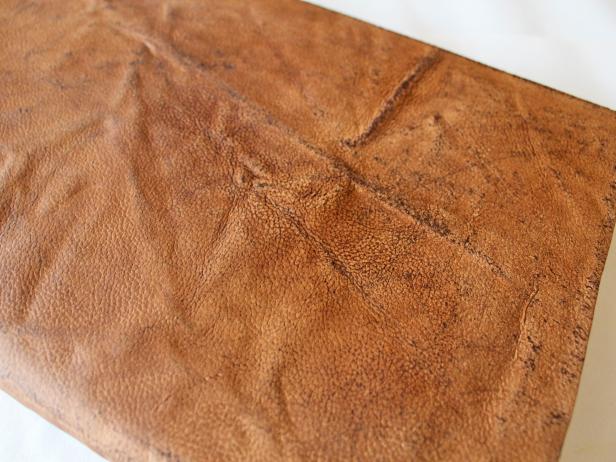
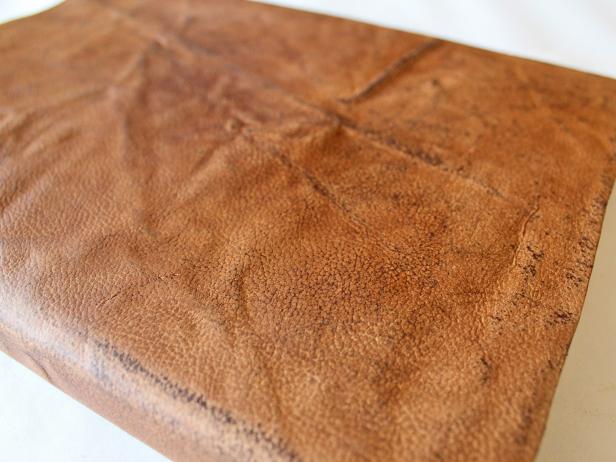
Distress Leather
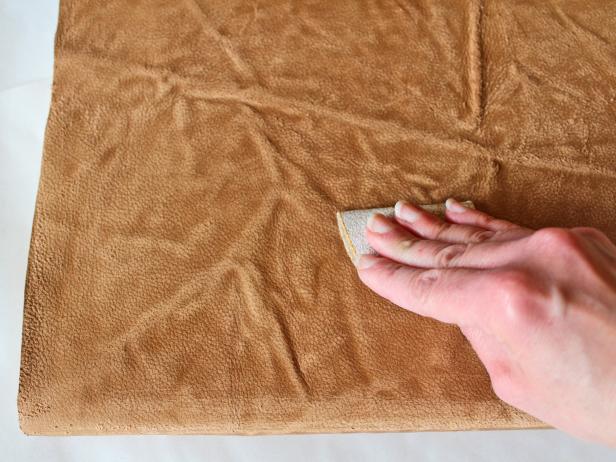
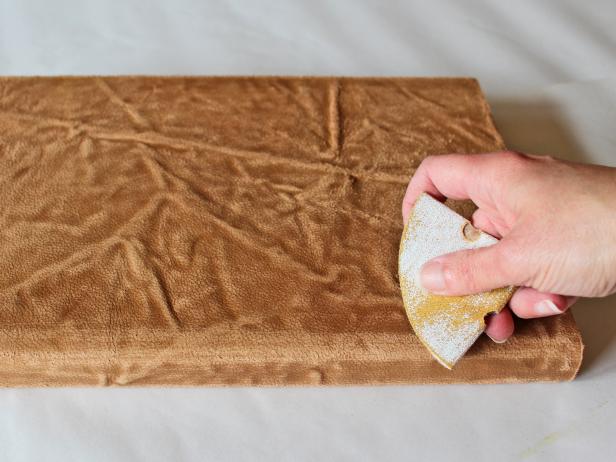
Starting with coarse-grit sandpaper (and working your way down to medium- then fine-grit), sand the leather, concentrating on any wrinkles or raised areas and the edges of the spine (Images 1 and 2). Tip: Just like distressing furniture, the key is to sand the areas that would naturally see the most wear and tear over time.
H. Camille Smith
H. Camille Smith
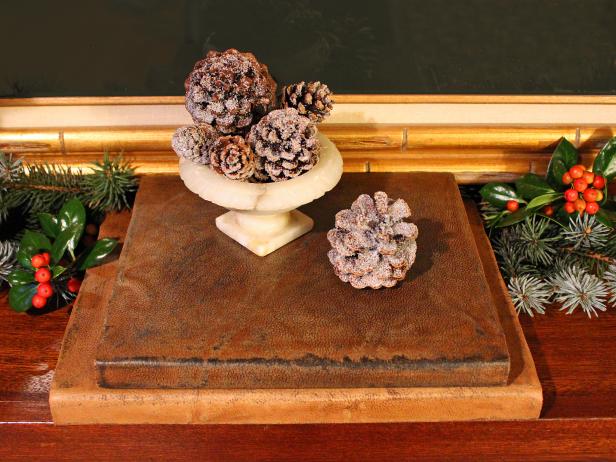
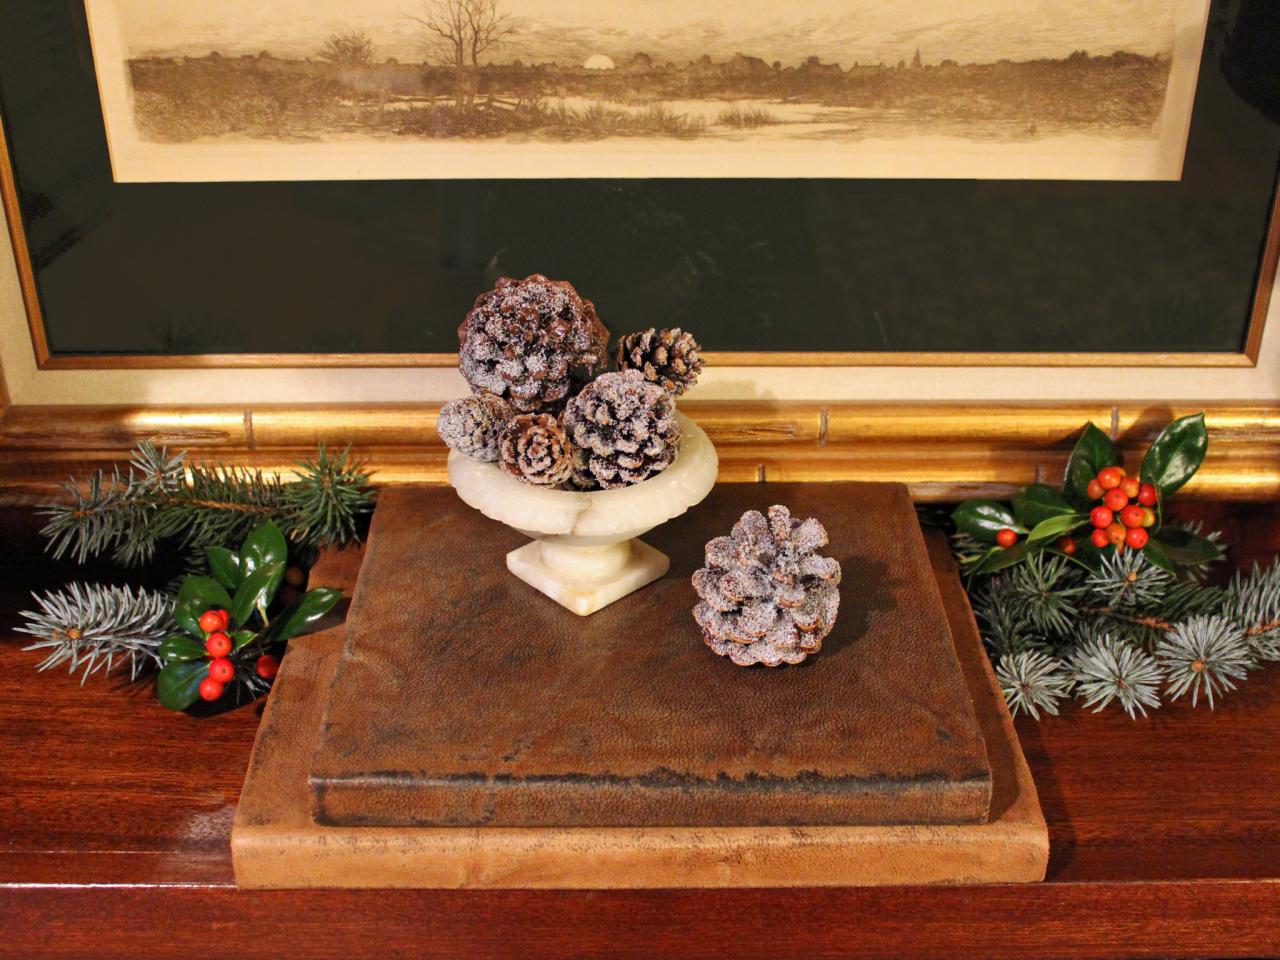
Stain and Polish Cover
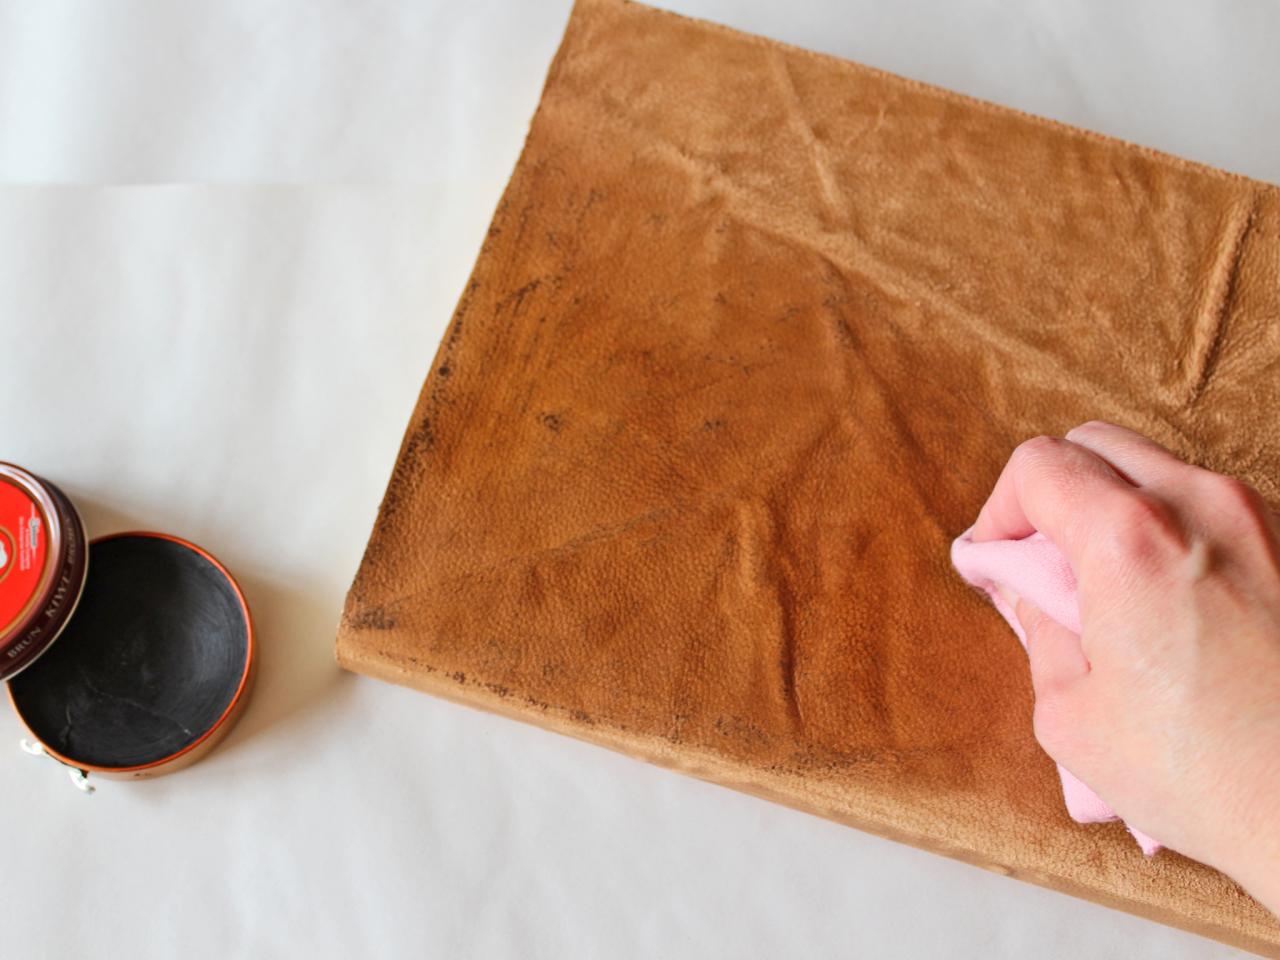
Using a soft cotton cloth, apply shoe polish in a darker shade (Image 1), really working it into the leather and concentrating on the areas you distressed (Image 2). After polish has dried, buff the leather with a second cloth to give it a soft sheen (Image 3). Display your antique look-alikes on a bookshelf or stacked on an end table (Image 4).

H. Camille Smith
H. Camille Smith
H. Camille Smith
H. Camille Smith
How To Make Distressed Leather-Wrapped Books
Make brand new books look like old leather-bound tomes by covering them in a removable leather jacket that you've distressed and antiqued. They'll add a timeworn touch to your bookcase and make great handmade gifts for literary friends.
Photo By: H. Camille Smith


