


How to Make a Cigar Box Purse

You’ll be surprised how stylish a cigar box can look when you turn it into a purse. Here’s how to do it:
Materials and Tools:
cigar box
small cordless drill
sanding attachment
drill bit
small sponge brushes
crafting knife
crafting glue with a glossy finish
purse hinges
purse feet
purse handle
purse closure *
hardware
decorative paper
bookbinding cloth
beads, flowers, ribbons, etc.
* If you choose to use a button for your purse closure, you’ll also need two elastics with metal T-bars on the ends.
Steps:

1. If you’re using a paper-covered cigar box, carefully remove as much paper as possible by using a straight-edge crafting knife to peel away the excess. If a gummy adhesive has been used to secure the paper to the box, use a hair dryer, set on medium heat, to loosen the glue, and carefully peel the paper away.
2. Use medium-grade sandpaper to sand down the rough edges where the remaining paper and the box meet.
3. If you’re using a cigar box that doesn’t have hinges but the top lid is secured by paper, file down the sides of the lid. This is necessary so that after the lid is covered with paper, it will still close easily.
4. After you decide what pattern or picture is going to be the major backdrop for your purse, cut out unique shapes and features from each of the complementing papers and concentrate on patterns you’d like to highlight on the final purse design.
5. Using a small sponge brush, carefully apply a medium amount of crafting glue to the back of the paper, and place it where you want it on your purse. Gently smooth the paper, getting rid of any air bubbles or wrinkles. Apply a sparse layer of crafting glue on top of the paper. Let it dry for a few minutes, until it’s tacky.

6. Layer the papers all over the purse in the same manner to achieve the desired collage design. Be careful not to glue the purse shut. Apply a layer of crafting glue all over the purse as the finishing layer for a glossy effect.
7. Measure the inside dimensions of your box and cut bookbinding cloth to fit. If you choose to cover the inside walls of the purse with the bookbinding cloth, cut those pieces separately from the bottom and lid pieces.
8. Trim the seams of the inside with decorative ribbon.
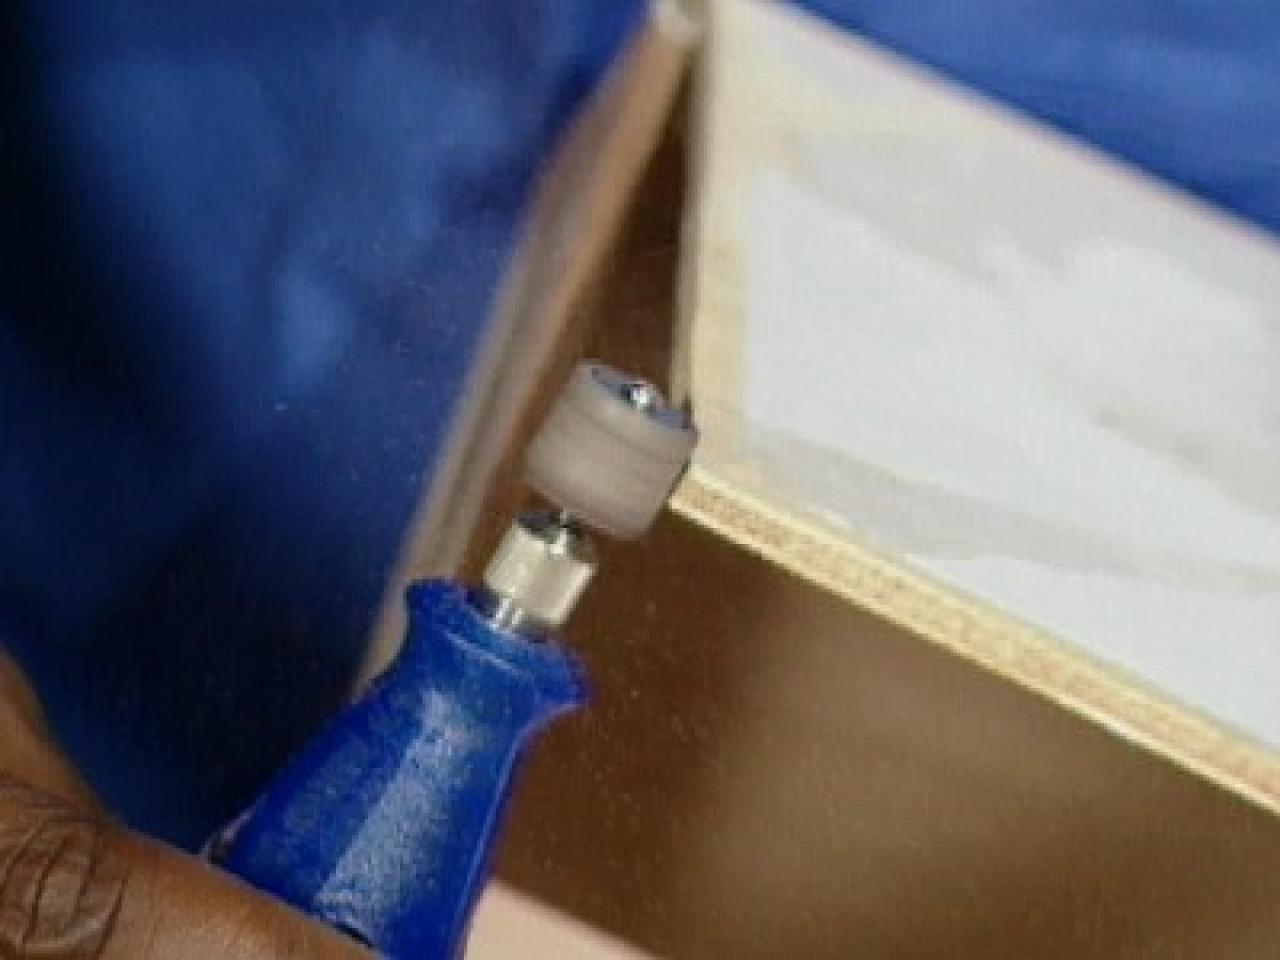
9. Measure on the bottom of the purse where you would like to place the purse feet, and drill holes with the cordless drill. Insert the purse feet and fold back the metal arms to secure them in place.
10. If you’re attaching a button closure, measure how far down you want the elastic to stretch, and make sure the hole is centered on the front of the purse. Drill a hole large enough to accommodate the metal ring on the back of the button so that the button sits flush on the lid of the purse. Insert the button and secure it with glue and the small length of elastic. Now you’ll notice an unsightly hole on the inside of the purse — another opportunity for embellishment. Place a bow or a small flower over the hole where the button has been secured.
11. To secure the longer length of elastic that will hold your purse closed, sit the purse upright on its feet and measure the center of the top of the purse. Drill a small hole and insert the long length of elastic, turning the metal pieces so that it’s secure.
12. Center the handle on the purse and use a pencil to mark where the screws will go. Lightly drill starter divots for the screws. Don’t drill actual holes, because they’ll be too big for the screws.
13. Apply firm but gentle pressure as you screw in the screws. Use a small dab of glue to permanently secure the screws in place.
Note: Do not get your purse damp for at least two weeks. And after that, it’s not advisable to leave it exposed to wet environments.


