


Wallpaper Hanging Instructions

Tools and Materials:
caulk
3/4" plywood
drywall compound
wallpaper
primer
wallpaper sponge
sandpaper
putty knife
wallpaper brush
sawhorses
drop cloth
pliers
measuring tape
level
broad knife
utility knife with breakaway blades
wallpaper tray
soft seam roller
long-nap paint roller
Steps:
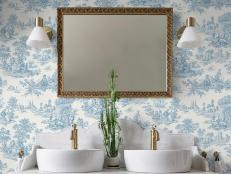
1. Prime the Walls
Prepare your walls by patching any holes and sanding them smooth. Prime the walls with an acrylic primer (or you can use wallpaper sizing) and let the wall dry.

2. Cut the Wallpaper to Size
Measure the height of the wall and allow an extra six inches for trimming. Roll out the wall covering on your work surface and cut several pieces to length with a utility knife.

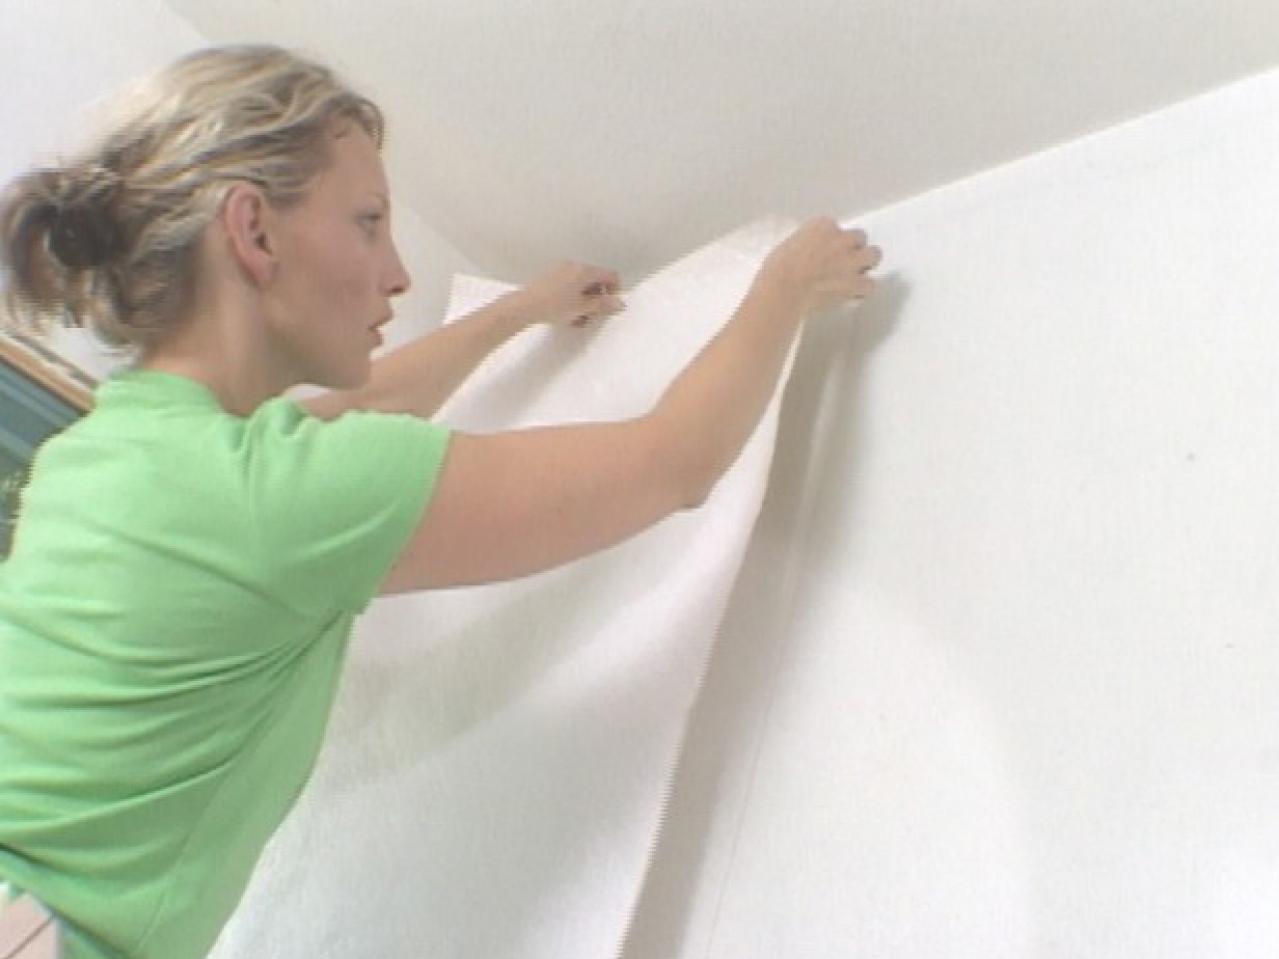
3. Mark a Plumb Line and Hang the First Piece
Mark a plumb line on the wall, unbook the wall covering and begin applying it to the wall. Slide the wall covering on the wall with the heels of your hands until the edge lines up with the plumb line.
We are adding crown molding later; if you don't plan to add molding, apply the wall covering so that an extra three inches extends past the top edge of the wall.

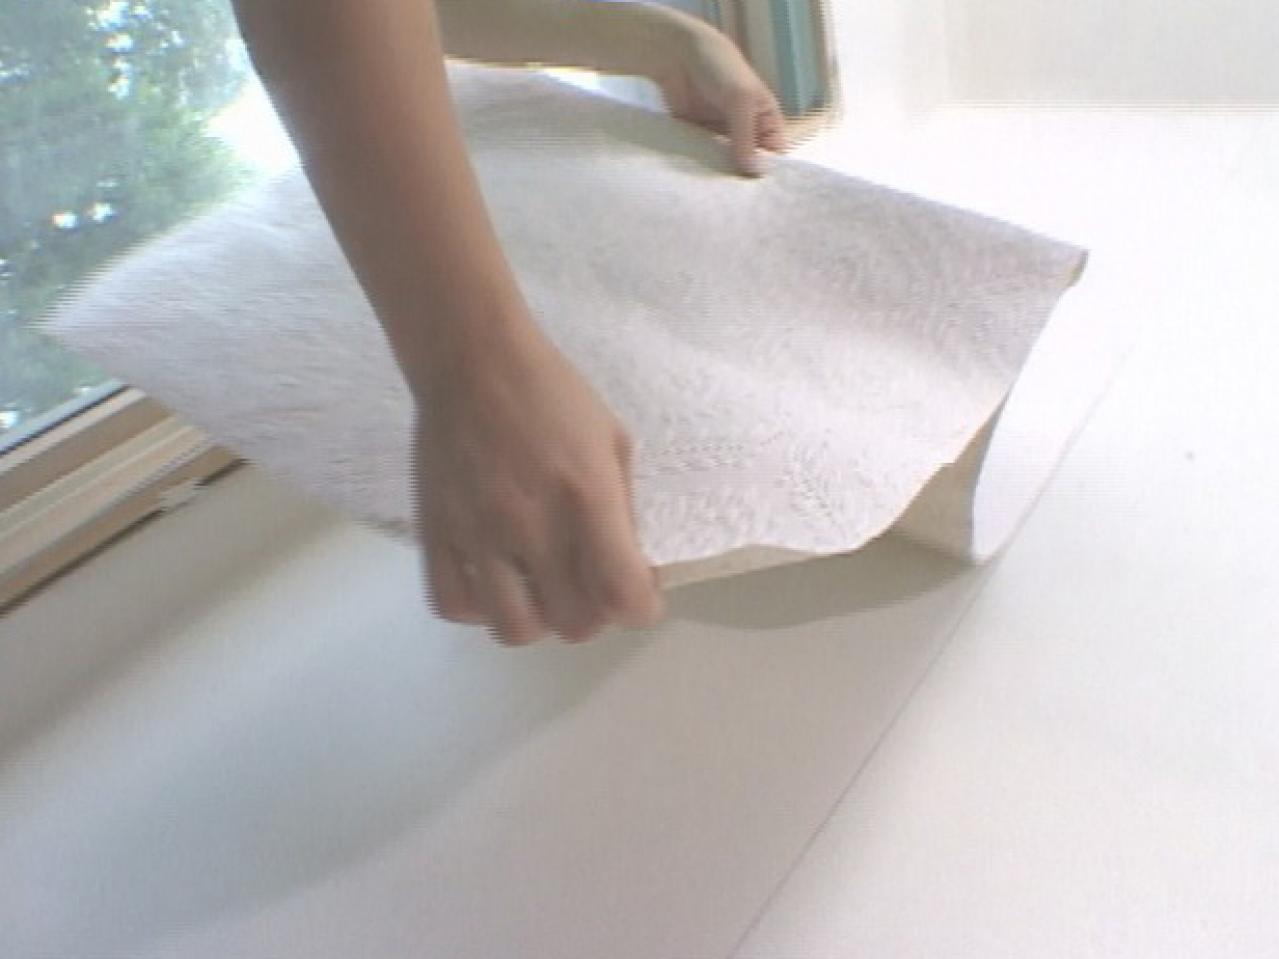
4. Smooth the Surface and Continue
To smooth out the paper, use a soft-bristle wallpaper brush if you have embossed paper or a straightedge for standard wallpaper.

Once the top of the paper is smooth, unbook the bottom piece and continue with the wallpaper brush. Use the same procedure to hang each remaining piece.
5. Clean Up the Corners
Before applying the wall covering in corners, use the straightedge and utility knife to cut off excess paper at the corner. If the piece you removed is more than 2" wide, use it to start the next wall. Draw another plumb line next to the corner 1/4" less than the width of the strip, and hang the strip. Press the edge into the corner, and use the straightedge and utility knife to trim the paper.
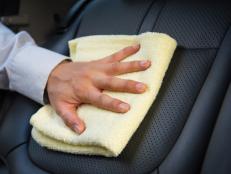
6. Fill in the Gaps With Caulk
After 20 minutes, use caulk to fill in any gaps in the corners. Wipe off excess caulk with a damp cloth or sponge.

7. Trim Away and Seal the Wall Covering
Hang the wall covering directly over outlets and switches, making sure that the power is turned off. After 20 minutes, cut an X over the outlets and switches, and trim away just enough material to expose them.
For embossed paper, seal the wall covering with satin or semi-gloss paint. Use a long-napped roller to get paint into all of the textured areas. The paint will hide the seam lines and give the wall a smooth appearance.


