


How to Add a Wet Effect to Walls With Glossy Paint


Materials Needed:
- satin latex paint
- high gloss clear coat
- HVLP paint sprayer
- painter's plastic
- roll of craft paper
- painter's tape
- ladder
- dust mask or ventilator
Test Paint Colors
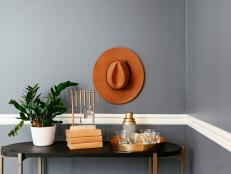
To achieve the wet look effect, dark paint colors work best. Pick up several test size paint containers in different tints and shades of the same hue from the local home improvement store, then apply all colors near a window. Depending on how the colors read based on lighting, choose the best fit for your space.

Remove Furniture & Fixtures
Since the wet look effect is achieved through a sprayed application, it's important to remove all furniture and fixtures from the space to protect them from overspray. Remove furniture, flat panel TVs, drapery hardware and lighting fixtures before starting paint preparation.

Remove & Tape Off Outlet Covers
Remove switch plates and outlet covers, then wrap any permanent covers such as phone jack plates or cable plates with painter's tape. Once all outlet covers are removed or protected, use painter's plastic and painter's tape to mask off any doors that lead to other interior areas of the home.

Protect Moldings, Baseboards & Floors
There are two ways to approach the wet look effect in regard to moldings and baseboards: minimizing their presence by spraying them the same color and finish as the walls, or making them prominent by keeping them as is. When moldings are basic contractor-grade, it's best to spray them the same color and finish as the walls to minimize their presence. Spaces with custom high-end moldings are usually a better fit for taping off so that the custom work remains a key feature of the decor. Mask off any moldings or baseboards by cutting craft paper to size, fitting it over the surface, then securing in place with painter's tape. Next, protect floors and windows by masking them off with painter's plastic and painter's tape.
Apply Base Coat to Ceiling
If the intended look involves adding a wet look to the ceiling in addition to the walls, it's important to spray the ceiling first. When walls are painted before the ceiling, overspray markings can occur. Following manufacturer instructions, load an HVLP paint sprayer until the tip puts out a fine mist of paint. Keeping the tip 8" from the ceiling surface, stand on a ladder and apply a base coat to ceiling, moving back and forth in a slow, controlled manner. For best coverage, start in one corner of the ceiling and work your way from one side of the room to the other in full runs, overlapping each run slightly.
Apply Base Coat to Concentrated Wall Areas
The best way to avoid overspray markings and/or paint drips is to spray the walls in concentrated sections. If a room has portions of walls that are separated with trim and molding, start there, then work your way into larger, more expansive wall surfaces. Keeping the sprayer tip 8" from the surface of the walls, apply a base coat, moving back and forth in a slow, controlled manner.

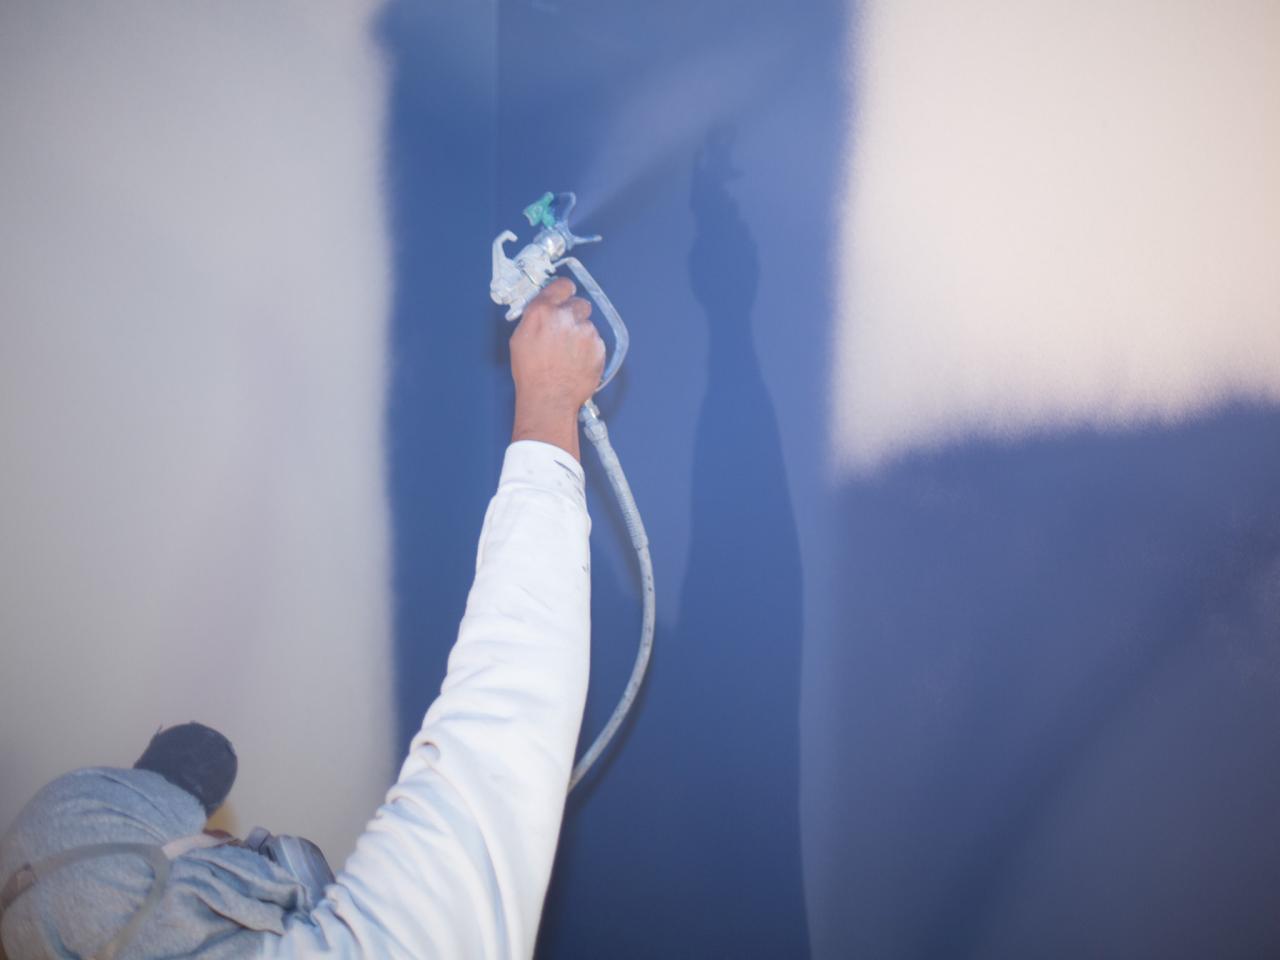
Apply Base Coat to Full Walls
Once smaller portions are covered with a base coat, use the HVLP paint sprayer to cover larger, more expansive walls. To avoid overspray markings, start in one corner, then make your way left and right in 4- to 6-foot sections, starting low, then working upward. After several sections are complete, step back and assess the wall to make sure it's properly covered. If there are any gaps in the sprayed paint, the walls may require a second base coat before the clear coat can be applied.

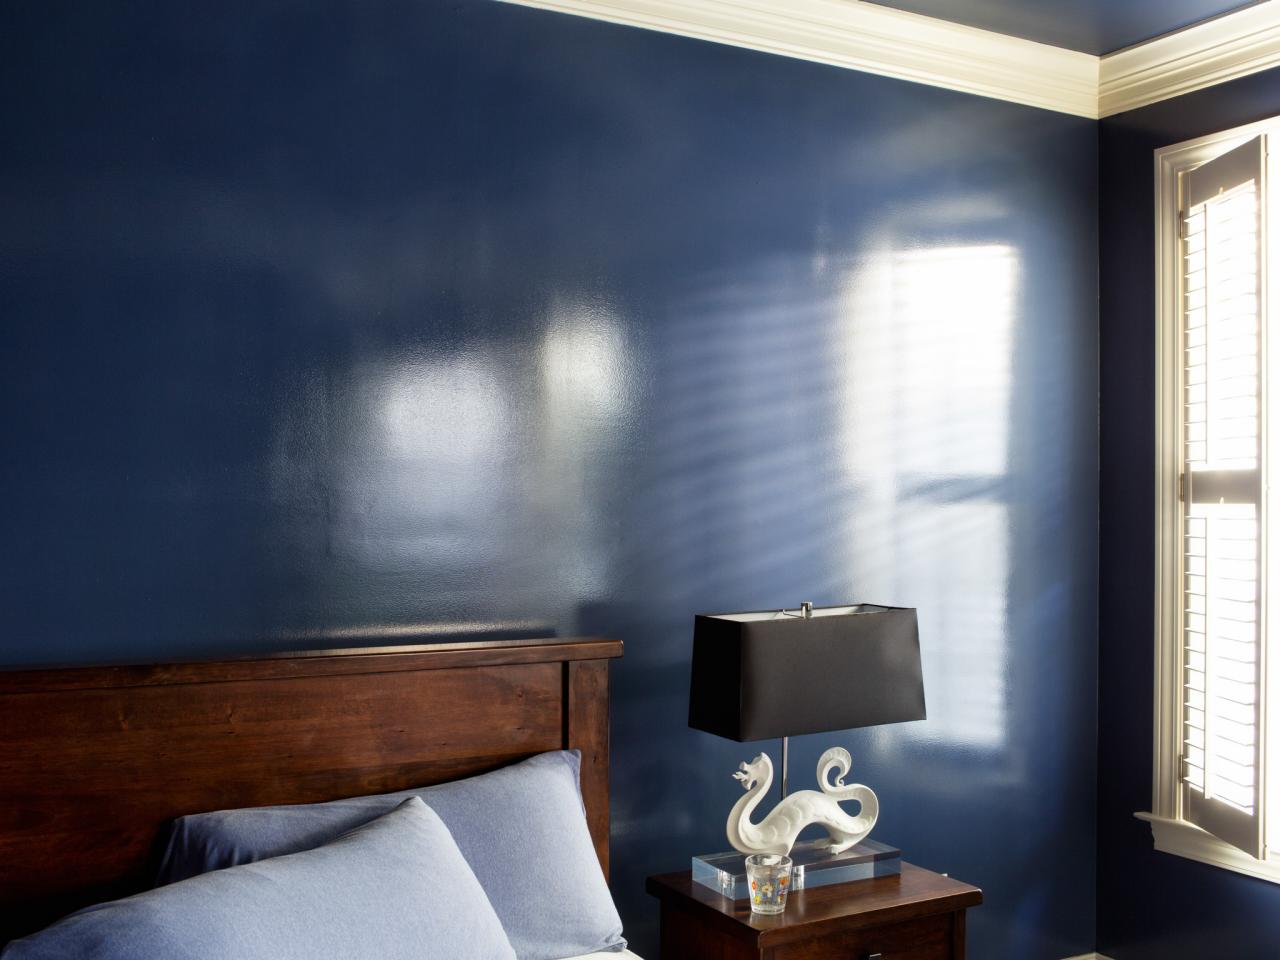
Apply Clear Coat
The wet look is achieved by spraying a clear coat of gloss over the base coat. To do that, empty the base coat paint from the HVLP paint sprayer in a well-ventilated outdoor area. Once all paint is flushed out with water (follow manufacturer instructions for proper cleaning and loading), load clear coat into paint sprayer until tip puts out a fine mist. Starting with the ceiling, apply the clear coat by beginning in one corner, then making your way from one side of the room to the other, slightly overlapping each run. Next, apply clear coat to walls by starting in one corner, then making your way left and right in 4- to 6-foot sections, starting low, then working upward.

Remove Tape & Craft Paper
Once clear coat is dry to the touch, remove the painter's tape and craft paper slowly, ensuring no tears in the clear coat occur. Next, remove all painter's tape and plastic from windows and floor as well as outlet covers. Replace all fixtures and switch plates.


